Every great photo starts with photography basics—learn them and watch your skills soar.
There are too many terms—ISO, aperture, shutter speed.
There are too many rules—composition, lighting, framing.
And there are too many opinions—“buy this camera”, “use that lens”.
So instead of learning randomly, this guide will give you everything in a clean, step-by-step way.
This guide is written in the simplest way possible so that:
- You don’t feel overwhelmed
- You understand why things work
- You can start practicing immediately
Think of this as your one complete foundation guide.
What are the basics of photography?
The basics of photography include understanding light, camera settings, and composition. The three main camera settings—aperture, shutter speed, and ISO—control how bright or dark your photo is. Good photography also depends on proper focus, simple composition, and using natural light effectively.

1. What is Photography (In the Simplest Way)
Photography is simply capturing light.
That’s it.
Your camera does not capture objects. It captures light reflected from objects.
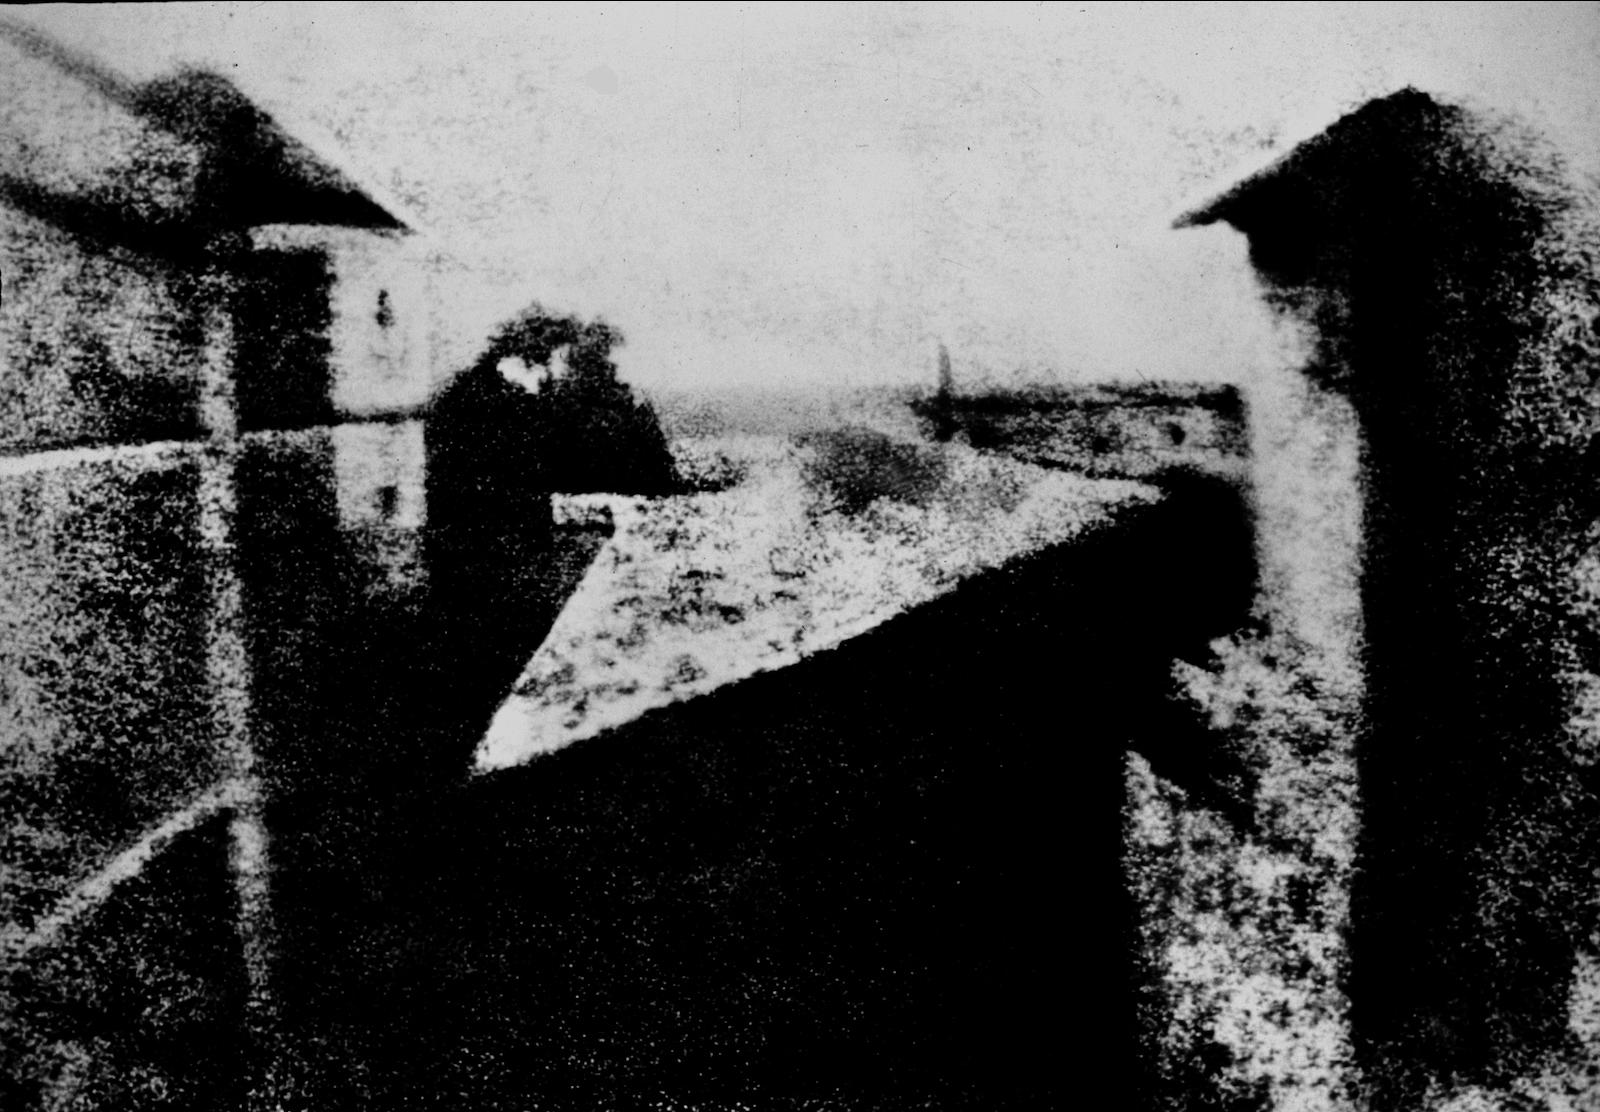
You might be interested in History of Photography.
Example:
- You take a photo of a tree.
- What actually reaches your camera is light bouncing off the tree.
👉 No light = no photo.
That’s why understanding light is more important than buying an expensive camera. Your camera is just a tool that records light.
Important Insight:
Good photographers don’t just “see objects”. They see light falling on objects.
2. Understanding Your Camera (Without Getting Technical)
You don’t need to know everything about your camera. Just a few basics:

Types of Cameras
- Mobile camera – Easiest, limited control, best for beginners, always with you
- DSLR – Traditional, strong battery, reliable, bigger, more control
- Mirrorless – Modern, compact, powerful, lighter, advanced
👉 The truth: A beginner can learn photography with any of these. Skills matter more than camera type.
Important Buttons You Should Know
- Shutter Button → Clicks the photo
- Mode Dial → Changes shooting mode (Auto, Manual, etc.)
- Lens → Controls zoom and focus
- Zoom Ring (on lens) → Zoom in/out
- Focus → Makes subject sharp (switch present for auto focus and manual focus)

Camera Modes (Simple Explanation)
- Auto Mode → Camera decides everything. Example: you are traveling and want quick shots.
- Aperture Priority (A / Av) → You control background blur. Example: you want a blurred background for a portrait
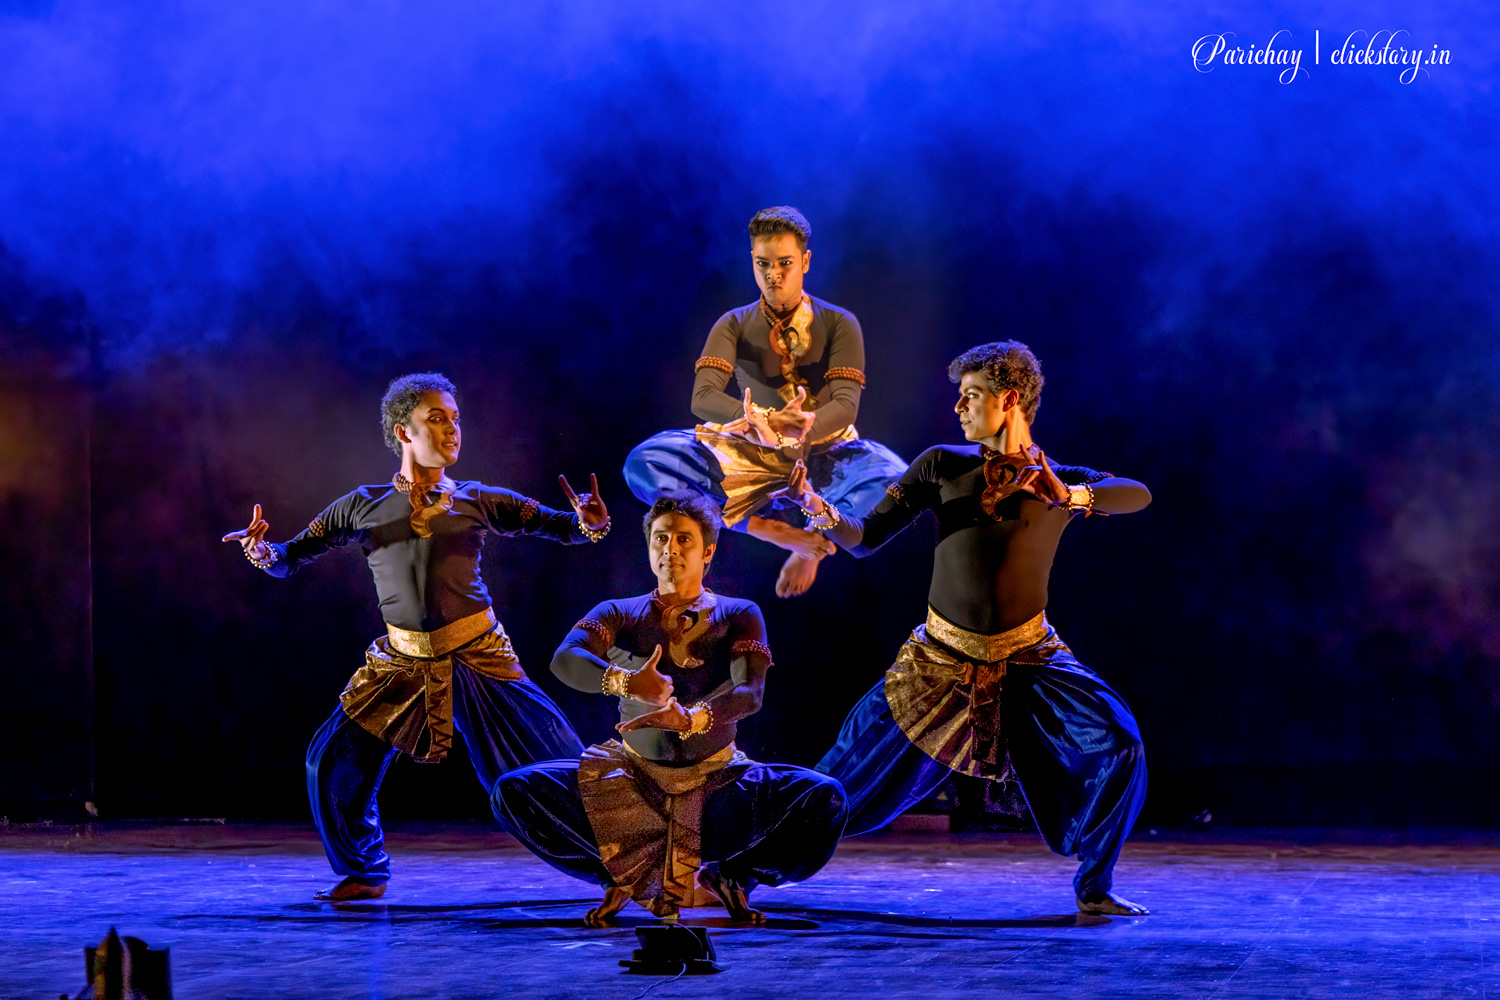
- Shutter Priority (S / Tv) → You control motion. Example: you want to capture or freeze the moment of a moving bike, airplane, flying bird, dancer on stage etc.
- Manual (M) → You control everything. Example: you want to change every aspect like shutter speed, aperture, ISO etc. But it requires more experience on same situation.
👉 Start with Auto, but slowly move out of it.
3. The Exposure Triangle (The Heart of Photography)
Every photo depends on how much light enters the camera. This is controlled by three settings:
- Aperture
- Shutter Speed
- ISO

Together, they control brightness and look of your photo. Think in other way that there are three ways to control brightness of an image.
7 Basic Photography Tips for Beginners
- Understand the exposure triangle (aperture, shutter speed, ISO)
- Always focus on your main subject
- Use natural light whenever possible
- Follow the rule of thirds for better composition
- Keep your photos simple and clean
- Avoid using Auto mode all the time
- Practice regularly with different settings
Aperture (Background Blur Control)
Aperture is the opening in your lens.
- Wide aperture (f/1.8) → More light, blurry background
- Narrow aperture (f/11) → Less light, sharp background

Example:
- Portrait → Use wide aperture → background blur
- Landscape → Use narrow aperture → everything sharp
Shutter Speed (Motion Control)
Shutter speed is how fast your camera takes the photo.
- Fast (1/1000 sec) → Freezes motion
- Slow (1 sec) → Shows motion blur

Example:
- Running dog → Fast shutter → sharp image
- Waterfall → Slow shutter → smooth flowing water
ISO (Light Sensitivity)
ISO controls how sensitive your camera is to light. Higher ISO generates noise or grain in the picture.
- Low ISO (100) → Clean image
- High ISO (3200) → Bright but grainy

Example:
- Sunny day → Low ISO
- Night → Higher ISO
Aperture vs Shutter Speed vs ISO (Quick Comparison)
| Setting | What It Controls | Effect on Photo | Example Use |
|---|---|---|---|
| Aperture | Light + Background Blur | Blurry or sharp background | Portrait with blurred background |
| Shutter Speed | Motion | Freeze or blur movement | Sports or waterfall |
| ISO | Brightness | Brightness + noise/grain | Night photography |
Simple Way to Remember
If your photo is too dark:
- Increase ISO
- Use wider aperture (say f/1.4 or f/1.8 etc.)
- Use slower shutter (say 1 sec, 1/15s, or 1/30s etc.)
If too bright:
- Do the opposite
Real-Life Example (Putting It Together)
You are taking a photo at night:
- Photo is dark → Increase ISO
- Subject is moving → Use faster shutter
- Background is distracting → Use wide aperture
👉 You adjust all three based on the situation. (Your pet is running indoor in incandescent light → increase ISO or wider aperture or both if light is too dim and increase shutter speed to freeze the motion.)
4. Focus & Sharpness (Why Your Photos Look Blurry)
A good photo is usually sharp where it matters.
Types of Focus:
- Auto Focus (AF) → Camera focuses
- Manual Focus (MF) → You focus
Example:
You click a photo of a flower:
- If focus is on flower → good photo
- If focus is on background → flower looks blurry
Simple Rule
Common Beginner Mistake:
Focusing on the wrong subject.
Example:
- You take a portrait
- Camera focuses on background instead of face
→ Result: blurry subject, sharp background (bad) - Holding camera shaky → causes blur (Solution: Hold steady or increase shutter speed)
5. Composition Basics (Making Your Photo Look Good)
Composition is how you arrange things in your photo.
Rule of Thirds
Imagine your screen divided into 9 boxes.
Place your subject on the lines or intersections.

Example:
Don’t keep a person in the center
Move them slightly left or right → looks more natural
Leading Lines
Lines that guide the viewer’s eyes.
Example:
Road leading to a mountain
Railway track
Framing
Use objects to frame your subject.
Example:
Shoot through a window
Use tree branches
Simplicity
Don’t add too many things.
Example:
A single flower looks better than a messy garden
6. Lighting Basics (This Changes Everything)
Lighting is more important than camera.
Types of Light
- Front light → Clear but flat
- Side light → Adds depth and texture
- Backlight → Creates dramatic effect and glow

Best Time to Shoot (outdoor)
- Morning (Golden Hour) → after sunrise (say 5 am to 8 am)
- Evening (Golden Hour) → before sunset (say 3 pm to 5 pm)
You might like to read various lighting angles in details.
Example:
- Same location at noon → harsh shadows
- Same location at sunset → warm, beautiful
Simple Rule:
If light looks bad → your photo will look bad.
7. Lenses & Basic Gear (What You Actually Need)
Beginners often think they need expensive gear. You don’t.
Kit Lens (18–55mm)
This is enough for:
- Portraits (say 55mm)
- Landscapes (say 18mm)
- Daily photography
Prime Lens vs Zoom Lens
- Prime (50mm) → Fixed, sharp, better blur
- Zoom (18–55mm) → Flexible
Truth:
A good photographer with a basic camera is better than a beginner with expensive gear.
8. Common Beginner Mistakes
Avoid these early:
- Shooting only in Auto mode forever
- Ignoring light
- Zooming too much instead of moving
- Over-editing photos
- Not practicing
9. Practice Guide (Most Important Section)
Photography is learned by doing.
Practice Idea 1: Shoot the Same Subject with Different Camera Settings
To understand photography basics, you must see how camera settings change your photo in real situations.
Choose a simple subject—like a cup, a flower, or a stationary object on a table. Keep your camera in the same position and take multiple photos by changing only one setting at a time.
Change Aperture (Background Blur Test)
Take 2–3 photos with different aperture values:
- Wide aperture (like f/1.8 or f/3.5)
- Medium (like f/5.6)
- Narrow (like f/11)
👉 Notice how the background changes:
- Wide aperture → background becomes blurry
- Narrow aperture → background becomes sharp
Change Shutter Speed (Motion Test)
Now introduce a little movement. You can:
- Move your hand
- Turn on a fan
- Pour water into a glass
Take photos using:
- Fast shutter (like 1/1000)
- Medium (like 1/125)
- Slow (like 1/10)
👉 Observe:
- Fast shutter → freezes motion
- Slow shutter → creates motion blur
Change ISO (Brightness & Noise Test)
Take photos with different ISO levels:
- ISO 100
- ISO 800
- ISO 3200
👉 Look closely:
- Low ISO → clean image
- High ISO → brighter but grainy
Final Step: Compare All Photos
After taking all shots, compare them carefully:
- Which photo looks best to your eyes?
- Which setting made the biggest difference?
- When does the image start losing quality?
You will start understanding how aperture, shutter speed, and ISO work together—not just as theory, but through real experience.
This is one of the most powerful exercises to build a strong photography foundation.
Practice Idea 2: Understand Light by Shooting at Different Times
One of the best ways to understand photography basics is to observe how light changes throughout the day.
Choose a simple subject—like a tree, a building, a cup on a table, or even a person. Take photos of the same subject at three different times:
Morning (Soft Light)
Shoot just after sunrise. The light is soft, warm, and gentle. Shadows are long but not harsh.
👉 Your photo will look calm and pleasing.
Afternoon (Harsh Light)
Shoot around midday. The light is strong and comes from directly above. Shadows become sharp and dark.
👉 Your photo may look too bright or have strong contrast.
Night (Low Light)
Shoot after sunset or in a dim environment. There is very little natural light.
👉 Your photo may look dark, or you may need higher ISO or slower shutter speed.
After taking all three photos, compare them carefully:
- Which photo looks more natural?
- Where are the shadows strongest?
- Which one feels more pleasing to your eyes?
You will quickly realize that the same subject can look completely different just because of light.
This simple exercise will train your eyes to see light, which is one of the most important skills in photography.
Practice Idea 3: Shoot One Subject in Different Creative Ways
To improve in photography, you don’t always need new places—you need a new way of seeing.
Pick one simple subject each day. It can be anything:
- A cup on your table
- A tree near your house
- A street in your area
Now challenge yourself to photograph the same subject in different creative ways.
Try Different Angles
Don’t just shoot from eye level.
- Go low and shoot upward
- Go high and shoot downward
👉 The same object will look completely different.
👉 Check out the detailed post on various angles or POV
Change Distance
- Take one photo from far away
- Take another very close
👉 This changes how important the subject feels.
Play with Lighting
- Shoot in sunlight
- Shoot in shade
- Try backlight (light coming from behind the subject)
👉 Light can change the mood of your photo.
Use Different Composition Techniques
- Place subject in center
- Use rule of thirds
- Add background elements
👉 See which looks better.
Experiment with Focus
- Focus on the subject
- Focus on something in front or behind
👉 This changes what the viewer notices first.
At the end, compare your photos and ask:
- Which one looks most interesting?
- Which one tells a better story?
- Which one feels more professional?
This simple habit will train your creativity and help you see ordinary things in an extraordinary way.
Simple Habit:
Take at least 5 – 10 photos daily.
10. Where to Go Next
Once you understand these basics, you can explore:
- Portrait photography
- Landscape photography
- Street photography
- Editing (Lightroom, Photoshop)
- Advanced composition
Final Thought
Photography is not about having the best camera. Photography is not about perfection.
It is about:
- Seeing light → Observing
- Understanding moments → Experimenting
- Practicing again and again → Improving
Your first photos may not be good. That’s normal. The more you shoot, the better you see. And once you start seeing light differently, you will never look at the world the same way again.
Photography Basics in One Minute
- Photography is capturing light
- Exposure depends on aperture, shutter speed, and ISO
- Focus keeps your subject sharp
- Composition makes your photo look good
- Lighting is more important than camera gear


It is really needed for the novice as well as pro camera users.