

Street photography is the documentation of daily life and put a mirror of present world’s situation. No retake, no manipulation is possible if it is really a street photography. So, we can say it is a straight photography of the current situation without any rehearsal, makeup and artificial lights.
Street photography is one of the most accessible forms of photography. You do not need a studio, expensive lighting, or exotic locations. A camera, a familiar street, and the willingness to observe can be enough.
At its heart, street photography is about finding meaningful moments in ordinary public spaces. A person waiting for a bus, sunlight falling between buildings, two strangers sharing an umbrella, a crowded market, or an unexpected interaction can all become photographs.
But good street photography is not simply pointing a camera at people walking past. It involves observation, timing, composition, light, anticipation, and an understanding of how to photograph respectfully in public.
This guide takes you from the fundamentals to practical shooting techniques, creative approaches, common mistakes, and exercises you can use to improve.
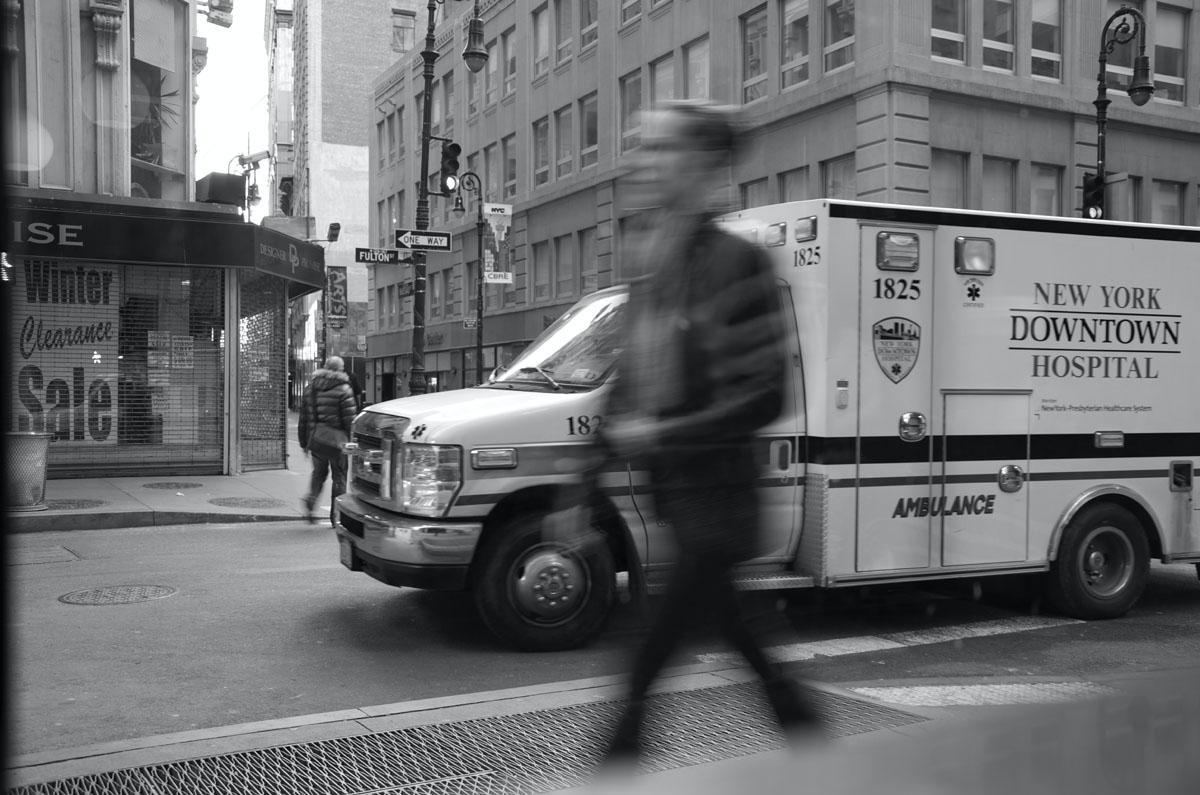
What Is Street Photography?
Street photography is a genre focused on observing and photographing everyday life in public or publicly accessible environments.
The “street” does not necessarily mean a literal road. Street photographs can be made in:
- Sidewalks
- Markets
- Train stations
- Bus stops
- Shopping districts
- Parks
- Cafés
- Public transport
- Beaches
- Festivals
- Neighborhoods
- Airports
- Public buildings
The defining characteristic is usually not the location but the candid observation of everyday life.
A street photograph might document a decisive moment, reveal an interesting relationship between people and their surroundings, explore light and shadow, or communicate something about a place and its culture.
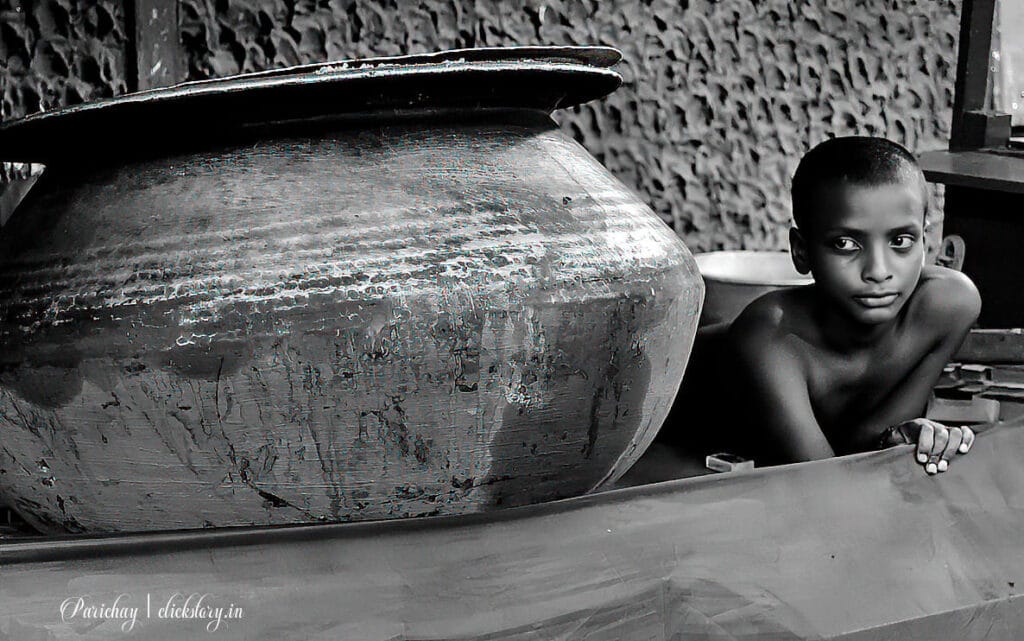
Street photography versus documentary photography
The two genres overlap, but their intentions can differ.
Street photography often concentrates on individual moments, visual relationships, atmosphere, or spontaneous events.
Documentary photography generally has a more deliberate subject or story—for example, documenting a community, occupation, social issue, or historical event over time.
A single photograph can belong to both categories.
Why Does Street Photography Matter?
Street photography teaches you to see rather than simply photograph. When you walk through a city with a camera, you begin noticing things you might normally ignore:
- Interesting shadows
- Repeating shapes
- Contrasting colors
- Facial expressions
- Body language
- Reflections
- Layers of activity
- Unusual gestures
- Architectural patterns
- Moments of coincidence
This makes street photography particularly valuable for photographers who want to improve their visual awareness.
It also teaches an important principle: You cannot control the scene, so you must learn to anticipate it.
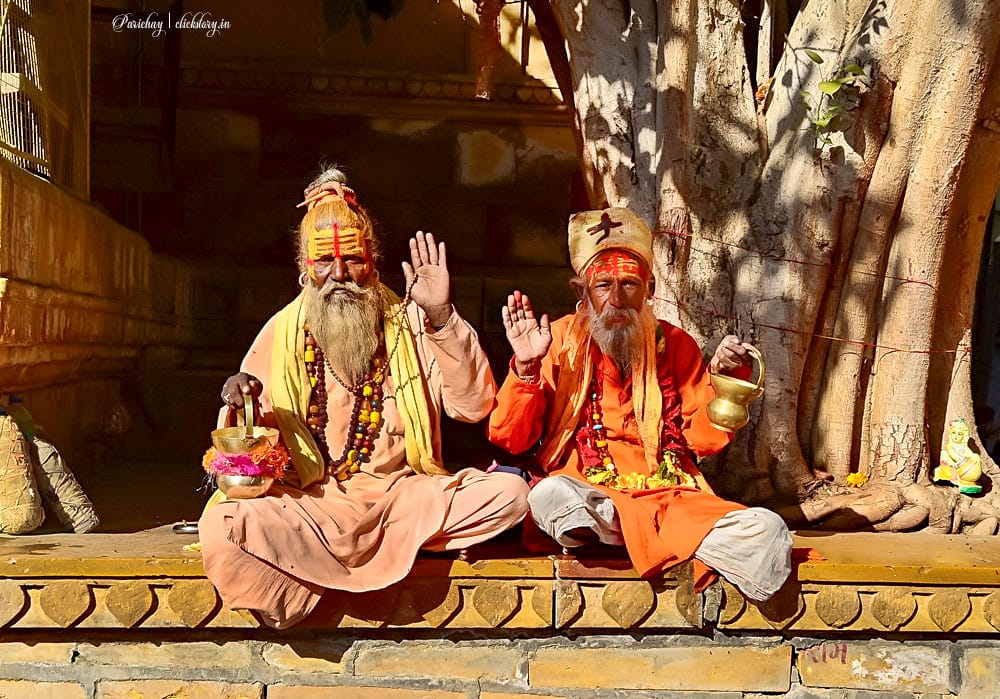
Unlike studio photography, you cannot usually ask the sun to move, the pedestrian to stand somewhere else, or the bus to arrive again. You work with what happens.
How Does Street Photography Work?
A successful street photograph often combines four elements:
Subject + light + composition + timing
- A potentially interesting subject may produce an ordinary photograph if the composition is weak.
- Beautiful light may produce an uninteresting photograph if nothing meaningful happens within it.
- A great moment may disappear if you press the shutter too late.
Street photography therefore depends heavily on anticipation. Instead of constantly reacting to whatever appears in front of you, look for situations where something interesting is likely to happen.
For example, imagine a brightly lit patch of sidewalk surrounded by deep shadow. Rather than immediately photographing the empty pavement, you could wait. Eventually, someone may walk through the light.
Now you have a photograph with:
- Strong contrast
- A clear subject
- Visual simplicity
- A sense of timing
The photographer did not create the moment. They recognized its potential and waited for it.
Where Should You Shoot?
You do not need to travel to a famous city to make good street photographs. Start somewhere you can visit repeatedly.
Good locations include:
Markets: These are excellent because they contain movement, people, color, textures, gestures, and interactions.
Look for:
- Vendors interacting with customers
- Hands exchanging objects
- Interesting displays
- People moving through narrow spaces
- Contrasting expressions
- Layers of activity
- Public transport
Train stations, bus stops, platforms, and terminals offer excellent opportunities for observing movement.
Look for:
- People waiting
- Commuters rushing
- Reflections in windows
- People sleeping
- Crowds moving in different directions
- Strong architectural lines
- Busy intersections
Intersections allow you to observe repeated patterns. You may notice that every few minutes:
- Traffic stops.
- Pedestrians cross.
- Light changes.
- Vehicles begin moving.
- Another group repeats the pattern.
Instead of photographing randomly, you can anticipate the moment.
- Quiet residential streets
- Street photography does not have to be chaotic.
Quiet neighborhoods can provide photographs based on:
- Light
- Architecture
- Shadows
- Solitude
- Color
- Human presence
Choosing a Camera for Street Photography
Almost any camera can work. A smartphone, compact camera, mirrorless camera, DSLR, or even an older interchangeable-lens camera can produce compelling street photographs.
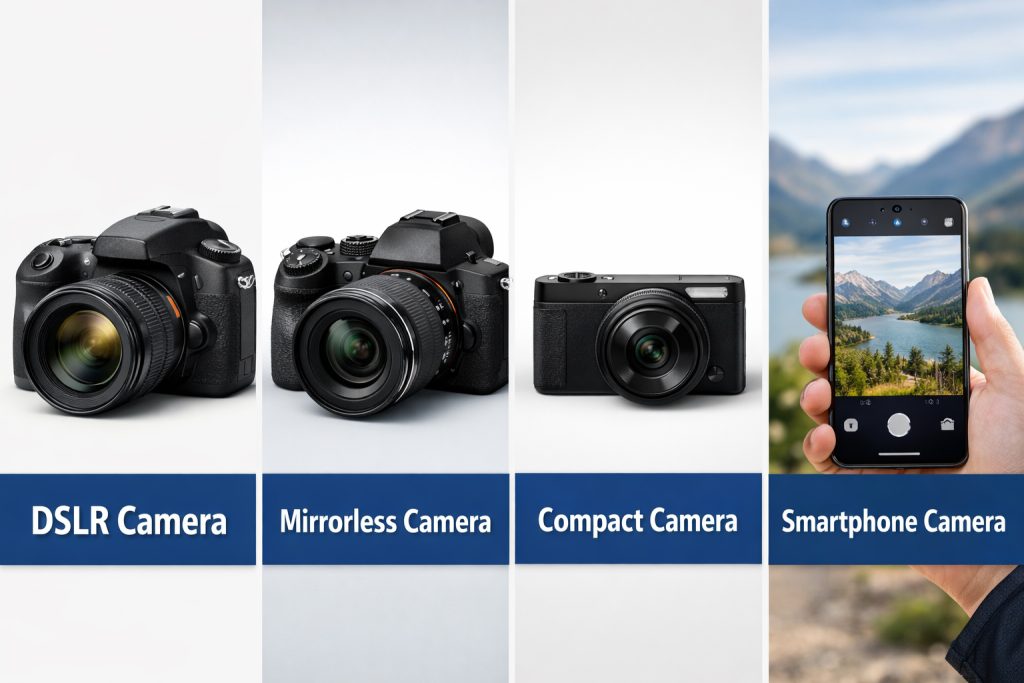
The most important characteristic is not resolution. It is how comfortable you are using the camera.
A street camera should ideally allow you to:
- React quickly
- Change settings easily
- Carry it comfortably
- Focus reliably
- Shoot without attracting unnecessary attention
A smaller camera can be convenient because it is easier to carry for several hours.
But there is no requirement that street photography must be done with a small or discreet camera.
What Focal Length Should You Use?
Focal length strongly affects how you interact with the environment.
Wide-angle lenses
A 24mm or 28mm equivalent lens allows you to include more of the surroundings.
This is useful when:
- The environment is important
- You want foreground and background layers
- You photograph close to your subject
- You want a strong sense of place
The disadvantage is that you generally need to get physically closer to your subject.
35mm equivalent
35mm is a popular street-photography focal length because it provides a relatively natural perspective while still including environmental context.
It works well for:
- Candid moments
- Environmental portraits
- Groups
- Architecture with people
- Everyday scenes
50mm equivalent
A 50mm lens provides a narrower field of view and can help isolate subjects.
It can be useful when:
- You want more separation
- You prefer photographing from slightly farther away
- You want to simplify busy backgrounds
- Longer lenses
Telephoto lenses can also be used for street photography. They allow you to photograph from farther away and compress the relationship between foreground and background.
However, they can make the resulting image feel more observational and less immersive.
There is no universally correct focal length.
The best choice depends on the kind of relationship you want between the viewer, subject, and environment.
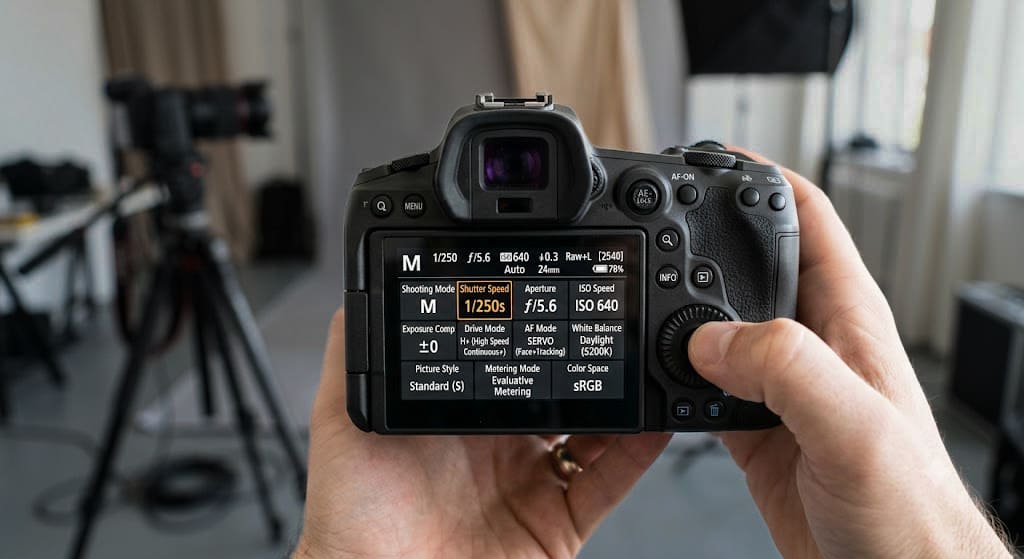
Camera Settings for Street Photography
Street photography rewards settings that allow you to react quickly.
A useful starting point is Aperture Priority.
Set an aperture and allow the camera to choose shutter speed automatically.
For example:
- f/2–f/2.8: shallow depth of field and subject isolation
- f/4–f/5.6: more environmental detail
- f/8: greater depth of field when you want several elements sharp
Keep an eye on shutter speed.
If people are moving, a shutter speed around 1/250 second or faster is often a useful starting point.
For faster movement, you may need:
- 1/500 sec
- 1/1000 sec
- Or faster
If you intentionally want motion blur, slower shutter speeds become useful.
ISO
Allowing Auto ISO can make street photography easier.
Instead of constantly adjusting three exposure variables, you can prioritize:
Aperture + shutter speed
and allow ISO to compensate for changing light.
For example:
- Aperture: f/5.6
- Minimum shutter speed: 1/250 sec
- ISO: Auto
This gives you a practical balance between depth of field, motion control, and exposure.
Autofocus for Street Photography
Modern autofocus systems can be extremely useful for street photography.
Continuous autofocus can help when your subject is moving.
However, autofocus is not always the best solution.
Another approach is zone focusing.
You choose a relatively small aperture, such as f/8, and focus at a distance that gives you a useful zone of acceptable sharpness.
This can allow you to photograph quickly without waiting for autofocus.
Zone focusing becomes particularly useful with wider lenses and predictable distances.
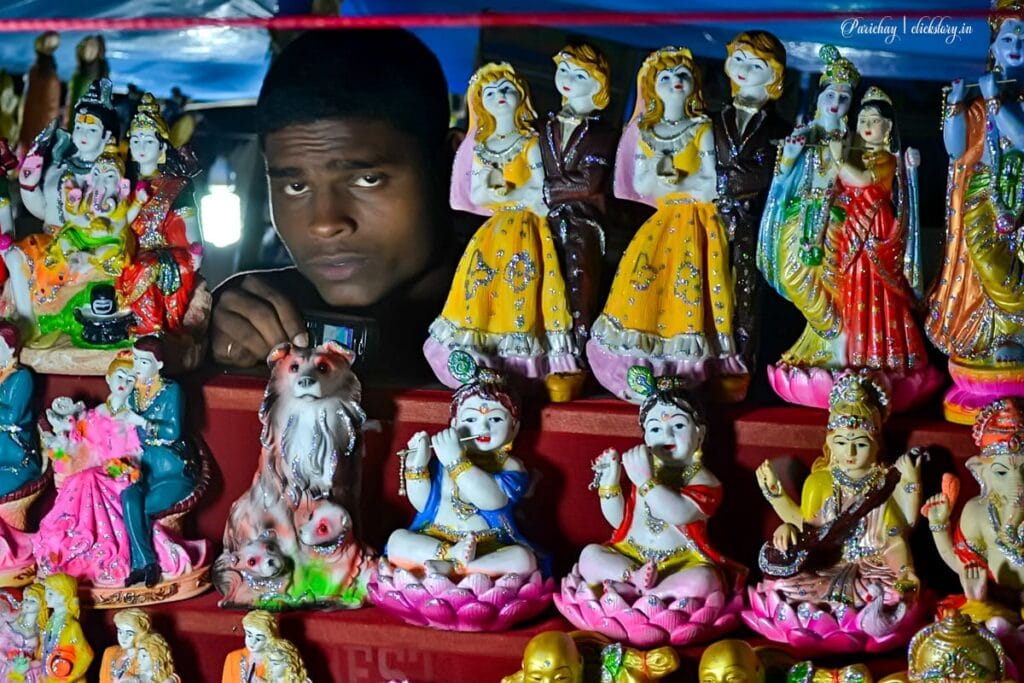
Why Anticipation Matters More Than Reaction
One of the biggest differences between casual snapshots and deliberate street photography is anticipation.
Suppose you see a person approaching an interesting background.
Instead of immediately taking a photograph, ask:
What is likely to happen next?
Maybe the person will:
- Enter a patch of light
- Walk behind a sign
- Align with a doorway
- Meet another person
- Cast a shadow
- Pass behind a colorful wall
Position yourself first.
Then wait.
This turns street photography into a process of pre-visualization and timing.
The Decisive Moment
Street photography is often associated with the idea of capturing the right moment.
The decisive moment is not necessarily the most dramatic moment.
It can be a tiny alignment:
- A person’s gesture matching a statue
- A cyclist passing beneath a beam of light
- Two strangers making similar gestures
- A person’s silhouette aligning with architecture
- A reflection completing the composition
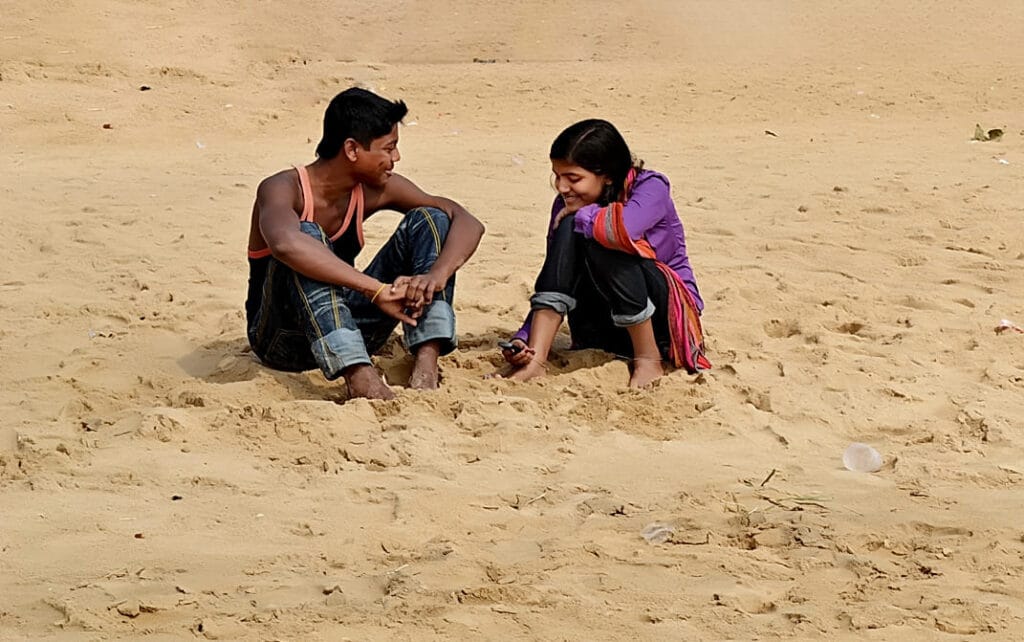
The scene may look ordinary one second before the photograph and completely different one second later.
Your job is to recognize when the elements temporarily come together.
Composition in Street Photography
Because street scenes can be visually chaotic, composition becomes extremely important.
Look for layers
Try to build photographs with:
Foreground → subject → background
For example, a person might be partially framed by a doorway while other people appear in the distance.
Layers create depth.
Look for leading lines
Roads, walls, railings, buildings, shadows, and sidewalks can direct attention toward your subject.
Instead of treating architecture as background clutter, use it as a compositional tool.
Use frames
Look for natural frames such as:
- Doorways
- Windows
- Arches
- Gaps between buildings
- Vehicle windows
- Railings
- Shadows
A frame can isolate your subject from surrounding distractions.
Look for symmetry
Buildings and public spaces often contain strong symmetry.
A person entering the frame can disrupt that symmetry and become the visual focal point.
Use negative space
A person standing alone against a large wall or empty sky can create a very different emotional effect from a crowded photograph.
Negative space can communicate:
- Isolation
- Calm
- Loneliness
- Scale
- Simplicity
Light Is One of Your Best Street-Photography Tools
You cannot control the architecture or people, but you can often choose where you stand relative to the light.
Look for:
Hard sunlight
Hard sunlight produces strong shadows and high contrast.
It can create graphic compositions.
Backlighting
Place yourself facing toward the light source and look for silhouettes, glowing edges, or translucent subjects.
Side lighting
Side light emphasizes texture and creates dimensionality.
Reflected light
Walls, windows, vehicles, and other surfaces can bounce light onto people.
Golden-hour light
Low-angle sunlight can provide warmer tones and longer shadows.
But do not assume that dramatic light is always necessary.
Flat, overcast light can be excellent for photographing expressions, details, and subtle interactions.
Color or Black and White?
Both approaches work.
Color can emphasize:
- Clothing
- Signs
- Architecture
- Contrasting objects
- Cultural details
- Complementary colors
Black and white can emphasize:
- Light
- Shadow
- Shape
- Texture
- Gesture
- Emotion
- Geometry
A useful exercise is to photograph the same type of scene with both approaches and compare what changes when color is removed.
Photographing People in Public
People are often central to street photography, but photographing strangers requires judgment and respect.
Rules and expectations around photographing people vary by country, location, and situation.
Beyond legal requirements, consider the ethical context.
Avoid treating people merely as visual objects.
Be especially careful when photographing:
- Children
- People in vulnerable situations
- People experiencing distress
- Private moments
- Sensitive situations
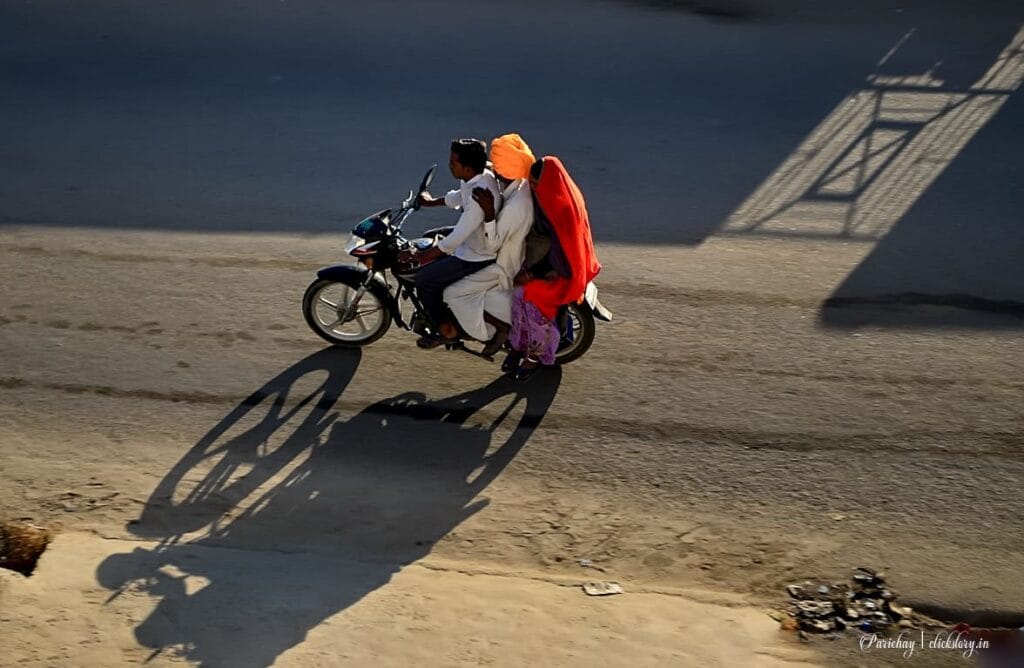
A photograph may be legally permissible in a particular location while still being inappropriate to publish or use commercially.
When appropriate, ask permission.
If someone clearly objects, a respectful response is generally better than escalating the interaction.
What If Someone Notices You?
This is one of the biggest concerns for beginners.
If someone looks at you after you take a photograph, do not panic.
You can simply smile or acknowledge them.
If they ask why you photographed them, answer honestly.
You might say:
“I liked the light and the way the scene looked.”
You do not need an elaborate explanation.
And remember: you do not have to photograph every person who catches your attention.
If a situation feels uncomfortable or inappropriate, move on.
Street photography should not become a confrontation.
How to Approach Strangers
There are several approaches.
Candid photography
You photograph without interrupting the moment.
This is useful for capturing spontaneous interactions.
Ask-first photography
You approach someone and ask whether you can make a photograph.
This can produce more intimate portraits because the person knows you are photographing them.
Photographing the environment
People become elements within a larger composition rather than the sole subject.
This can be a useful option if you are uncomfortable photographing strangers directly.
Common Street Photography Mistakes
- Photographing everything
When you first begin, it is tempting to photograph every interesting person, building, and object.
The result is often a large collection of photographs without a clear visual idea.
Instead, try giving yourself a theme.
For example:
“Today I am photographing shadows.”
Now you start looking differently.
- Standing too far away
Beginners often use a long lens and photograph people from a distance.
This can produce technically competent photographs but may lack a sense of connection.
Try gradually becoming more comfortable working closer.
- Ignoring the background
A great subject can be ruined by:
- Poles appearing from someone’s head
- Distracting signs
- Bright objects
- Random clutter
- Overlapping people
Before pressing the shutter, quickly scan the entire frame.
- Chasing interesting subjects
Sometimes photographers see an interesting person and immediately follow them.
This often produces rushed compositions.
Instead, find an interesting place and wait for the right person to enter it.
The environment becomes your stage.
- Overusing shallow depth of field
Shooting everything at f/1.4 or f/1.8 may produce attractive background blur, but it can remove important context.
Street photography often benefits from showing where the subject exists.
- Relying on editing to fix weak photographs
Cropping, contrast, and color adjustments can improve a good photograph.
They cannot reliably create a meaningful moment that was never captured.
Try to solve composition and timing while taking the photograph.
How to Photograph Crowds
Crowds can appear chaotic, but they contain patterns.
Look for:
- One person facing the opposite direction
- A single bright color
- Repeated gestures
- One person isolated from the group
- Different levels of movement
- A gap between people
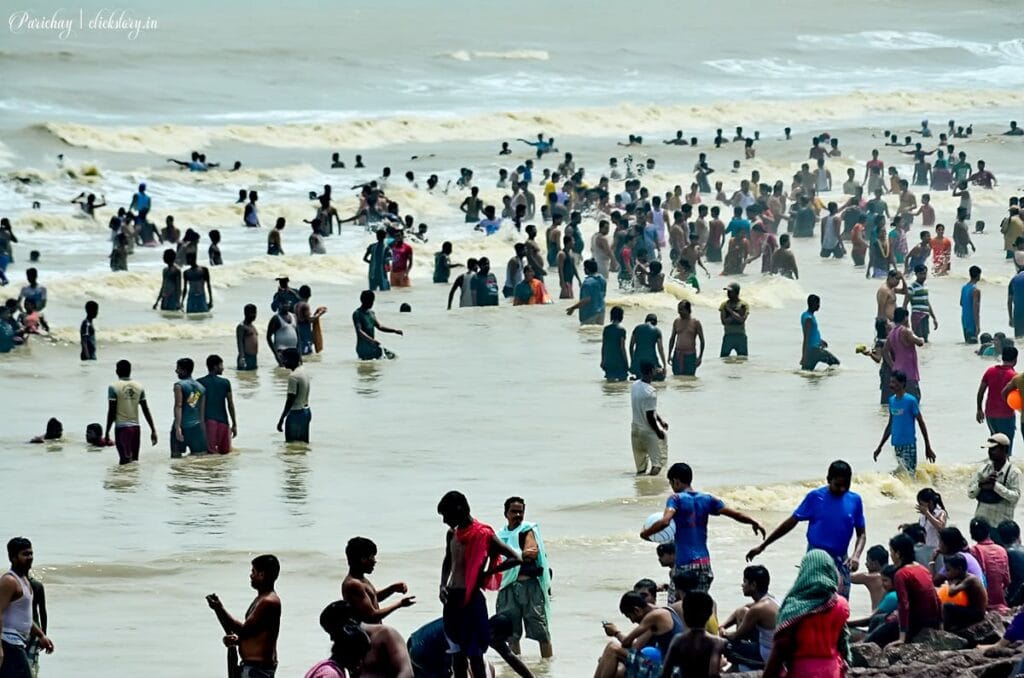
A crowded scene becomes much more interesting when you find a visual relationship within it.
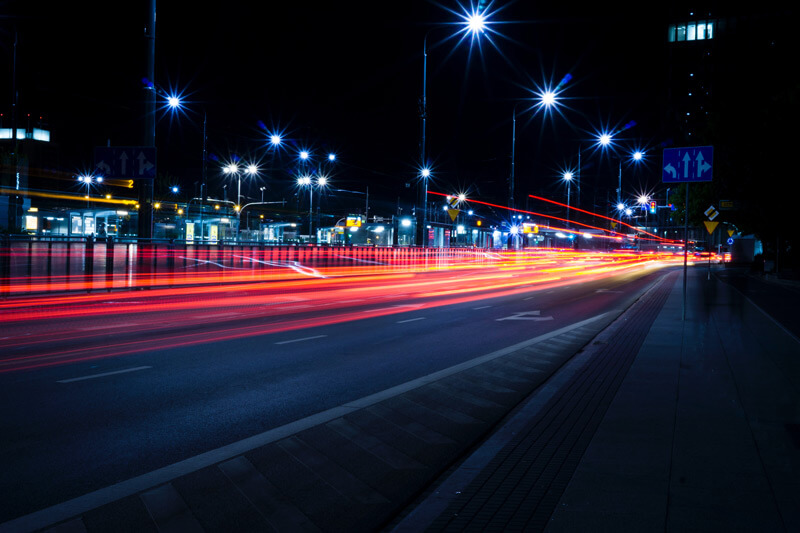
Photographing Motion
Street photography is an excellent place to experiment with shutter speed.
Freeze motion
Use a faster shutter speed such as:
1/500 sec or 1/1000 sec
This can freeze:
- Running people
- Cyclists
- Vehicles
- Sports
- Gestures
Show motion
Try a slower shutter speed such as:
1/15 sec, 1/8 sec, or 1/4 sec
Moving subjects can become blurred while stationary elements remain relatively sharp.
This creates a sense of movement.
Reflections and Shadows
Some of the most interesting street photographs do not show a subject directly.
Look for reflections in:
- Shop windows
- Car windows
- Puddles
- Mirrors
- Polished surfaces
- Glass buildings
Shadows can also become the primary subject.
A person’s shadow may communicate their presence without showing their face.
This can create photographs that are visually intriguing while also giving the subject greater anonymity.
Shooting Through Objects
Do not always photograph from an unobstructed viewpoint.
Try shooting through:
- Glass
- Curtains
- Leaves
- Railings
- Doorways
- Vehicle windows
- Reflections
Foreground obstruction can create depth and make the viewer feel as though they are observing the scene rather than simply looking at it.
Creating Stories With Street Photography
A single photograph can communicate a moment.
A series can communicate a place.
Instead of asking:
“What is the best street photograph I can make today?”
occasionally ask:
“What can I learn about this neighborhood by photographing it for a week?”
You might create a series about:
- Commuters
- Street vendors
- Night workers
- Public transport
- Architecture
- Neighborhood rituals
- Changing storefronts
- Street food
- Urban loneliness
- Children at play
- Morning routines
The longer you photograph a place, the more subtle patterns you begin to notice.
Developing a Personal Street-Photography Style
Style does not usually appear because you deliberately choose one.
It develops from repeated choices.
Perhaps you consistently photograph:
- Strong shadows
- Quiet moments
- Bright colors
- Crowds
- Architecture
- Humor
- Solitude
- Motion
- Minimal compositions
After reviewing hundreds of your photographs, patterns will begin to emerge.
Study those patterns.
They can tell you what naturally attracts your attention.
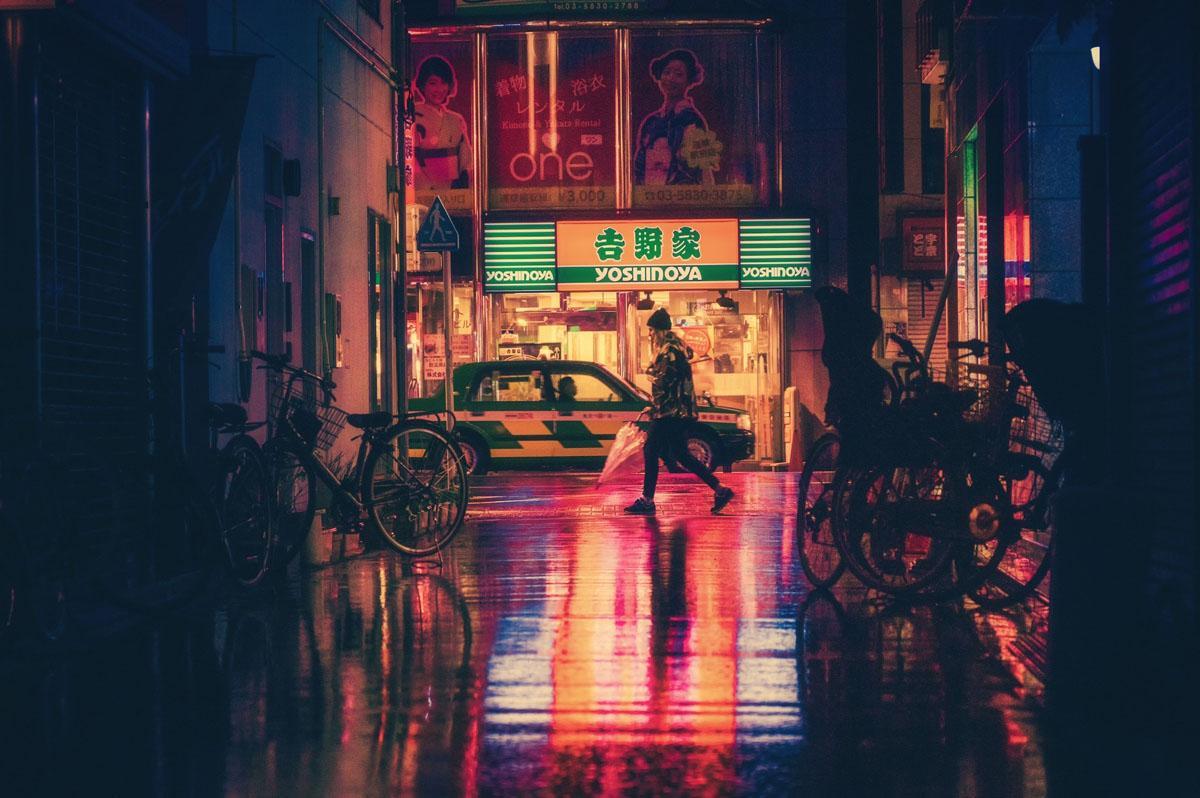
Editing Street Photographs
Editing should strengthen the visual idea rather than replace it.
Start with:
Crop
Remove distracting edges and improve composition.
Exposure
Correct an image that is slightly too bright or dark.
Contrast
Increase separation between light and dark areas when appropriate.
Highlights and shadows
Recover useful detail without making the photograph look artificial.
Color
Adjust white balance and saturation carefully.
Black and white
Try monochrome when color is distracting from the photograph’s structure or emotion.
Avoid applying the same dramatic preset to every photograph simply because it looks impressive.
Consistency matters, but so does the character of each image.
A Simple Street-Photography Workflow
A practical workflow might look like this:
Step 1: Choose a location
Pick one neighborhood, station, market, or street.
Step 2: Spend 10 minutes observing
Do not immediately start photographing.
Look for:
- Light
- Movement
- People
- Backgrounds
- Patterns
- Potential subjects
Step 3: Find a promising scene
Look for a strong background, interesting light, or unusual composition.
Step 4: Position yourself
Choose your angle before the moment happens.
Step 5: Wait
Let people enter the composition.
Step 6: Photograph the moment
Shoot when the elements align.
Step 7: Review later
Do not judge every photograph while you are still shooting.
Step 8: Identify patterns
Ask:
- What attracted me to this scene?
- Where did the composition fail?
- Was the timing right?
- Was the background distracting?
- Was the light effective?
This feedback loop is how you improve.
A Practical Street Photography Assignment
Try this exercise on your next outing.
Assignment: One Street, One Hour
Choose one street or public area.
Stay there for one hour.
Your goal is to make photographs using five different approaches:
Photograph 1 — Light
Find an interesting patch of light.
Photograph 2 — Geometry
Look for lines, shapes, or symmetry.
Photograph 3 — Human interaction
Look for two or more people interacting.
Photograph 4 — Decisive moment
Wait for a moment when multiple elements align.
Photograph 5 — Detail
Forget the wider scene and photograph a small detail that represents the location.
Afterward, select your best five images.
Then ask:
Do the five photographs look like they belong to the same place?
If they do, you are beginning to think beyond individual snapshots and toward visual storytelling.
A More Advanced Exercise: Photograph Without Moving
For your next session, choose one location and stay in the same position for 30 minutes.
You are not allowed to move your feet.
You can change:
- Camera orientation
- Focal length
- Exposure
- Timing
- Framing
But you must remain in the same spot.
This exercise teaches you to stop searching endlessly for new subjects and instead discover possibilities within an existing scene.
You may be surprised by how much changes simply because you wait.
Street Photography: The Most Important Skill
Your camera matters.
Your lens matters.
Your settings matter.
But the most important skill is observation.
A technically perfect photograph can still be visually empty.
A slightly imperfect photograph can be unforgettable if it captures something meaningful.
So when you go out, do not spend the entire time asking:
“What should I photograph?”
Instead ask:
“What is happening here that most people are not noticing?”
That question changes the way you see.
Street photography is ultimately an exercise in paying attention. The ordinary city is full of gestures, coincidences, contrasts, humor, tension, beauty, and quiet moments. Your job is to recognize them—and be ready when they appear.
Final Takeaway
You do not need expensive equipment to start street photography.
Start with the camera you already have. Choose a familiar place. Slow down. Observe before shooting. Look for light, layers, gestures, contrasts, and relationships. Learn to anticipate rather than simply react.
Most importantly, photograph consistently.
The more time you spend walking, watching, waiting, and photographing, the better you become at recognizing the fleeting moments that make street photography so compelling.
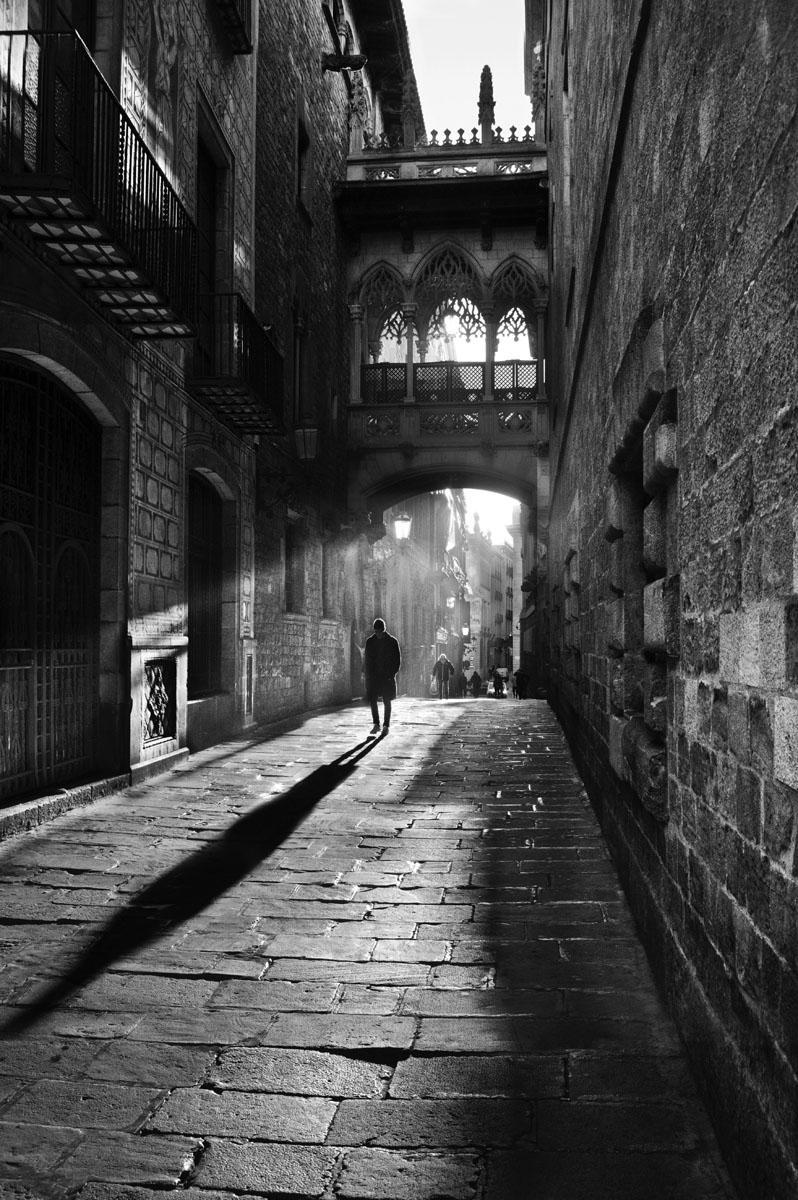
Thank you Pexel for freely sharing these photographs. Thank you Joao Cabral, Francesco Lick and Pixabay for these class photos.
Frequently Asked Questions (FAQs)
1. What is street photography?
Street photography is the documentation of everyday life as it unfolds naturally in public spaces. It captures real moments without rehearsal, retakes, artificial lighting, or manipulation, acting as a visual mirror of the present world.
2. Is street photography always candid?
Yes, true street photography is candid and unposed. The subjects are not directed, staged, or controlled by the photographer. The authenticity of the moment is what defines the genre.
3. Can street photography be edited or manipulated?
Basic adjustments like exposure, contrast, and cropping are acceptable, but altering the reality of the scene through heavy manipulation, composites, or object removal moves the image away from street photography.
4. Is posed photography considered street photography?
No. If models are posed, directed, or hired—even in public spaces—the work shifts toward conceptual photography or an outdoor studio setup, not street photography.
5. Can you use artificial lights in street photography?
No. Using flashes, strobes, or artificial lighting contradicts the core principle of street photography, which relies solely on available light and spontaneous conditions.
6. Why is spontaneity important in street photography?
Street photography is inherently reactive. The unpredictability of daily life requires anticipation, quick decision-making, and timing. This spontaneity is what makes each frame unique and unrepeatable.
7. Does street photography need people in the frame?
Not necessarily. Street photography can include or exclude people. Images may focus on human presence directly or use people to provide scale, context, and atmosphere within a larger scene.
8. What does “human scale” mean in street photography?
Human scale refers to scenes dominated by people as primary subjects. Larger-scale street scenes may include people only to give context, shifting the focus toward mood, space, and environment.
9. Can cityscapes be considered street photography?
Yes, if they are captured organically while walking through public spaces and reflect the lived atmosphere of a place. The image should feel observed, not planned or staged.
10. What is “street furniture” in photography?
Street furniture includes everyday urban elements like lampposts, benches, mailboxes, signs, and geometric structures. Photographing these elements candidly can still fall under street photography.
11. Is architectural photography part of street photography?
Casual architecture can be included if it is photographed as part of everyday observation rather than a planned architectural shoot. It adds cultural and environmental context to a place.
12. Can street photography be done while traveling?
Absolutely. Travel often enhances street photography because unfamiliar environments heighten observation, leading to more instinctive and context-rich images.
13. Is street photography a form of visual storytelling?
Yes. Street photography reports reality through a single frame, telling stories about society, culture, emotion, and time without narration or explanation.
14. Why is street photography considered a mirror of the moment?
Because it records life exactly as it happens—unfiltered and unrehearsed. Each photograph becomes a historical document of a fleeting moment that will never occur again.
15. What skills are essential for street photography?
Observation, anticipation, patience, timing, and the ability to react quickly are far more important than technical perfection in street photography.

wow