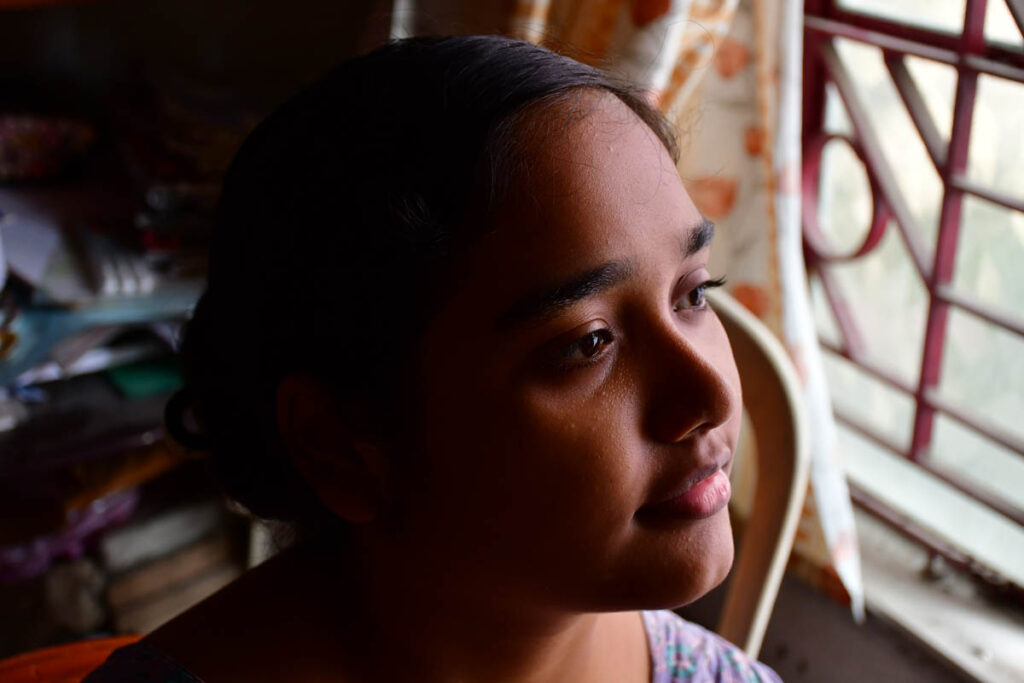
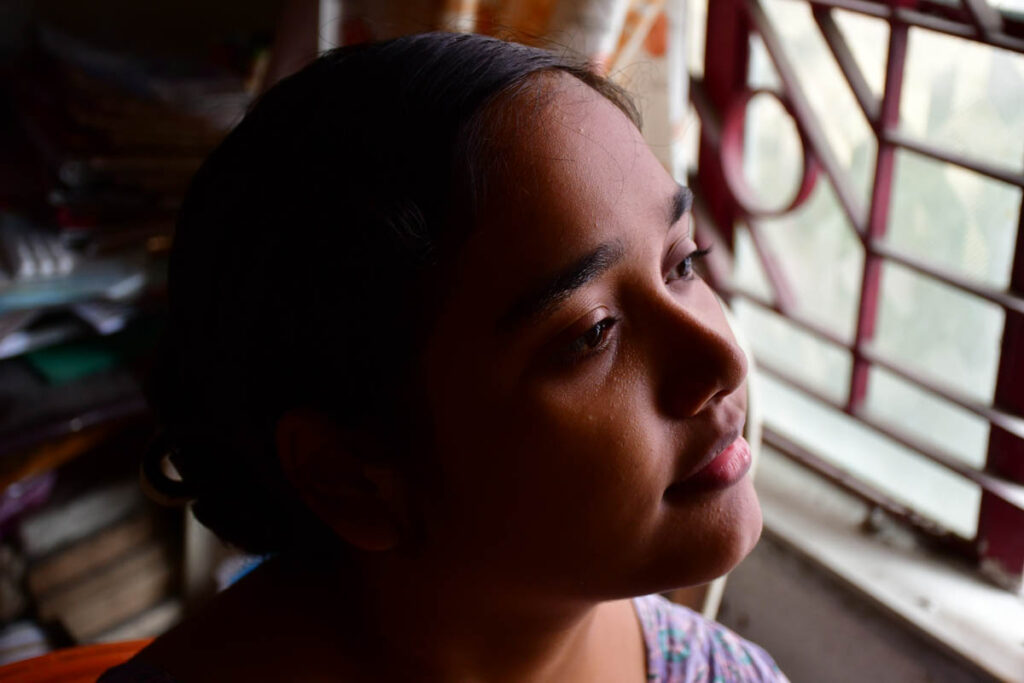
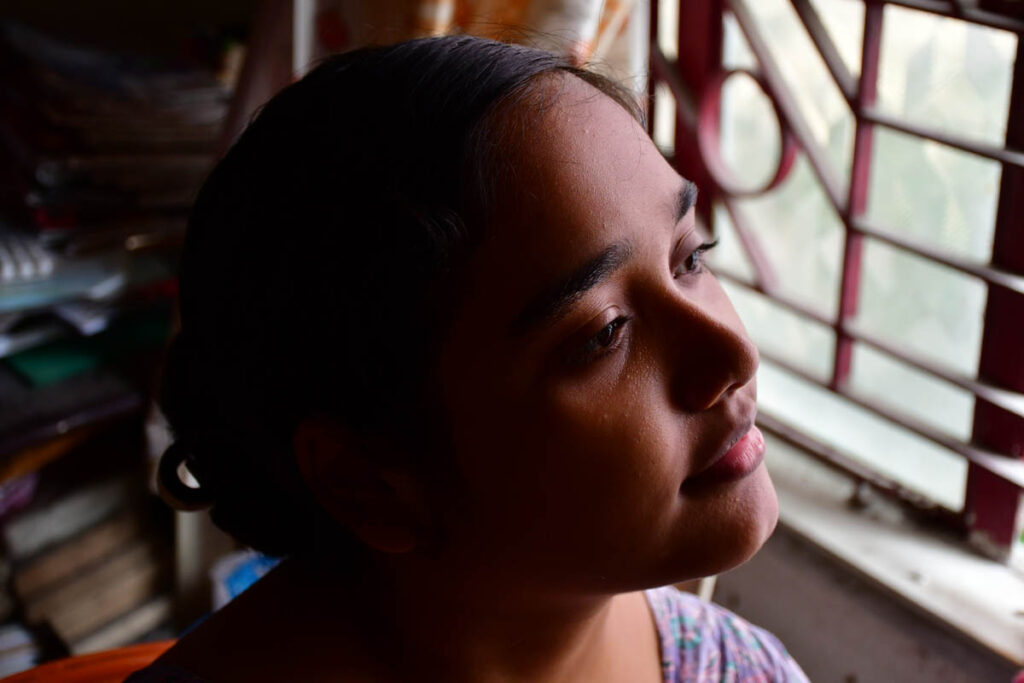
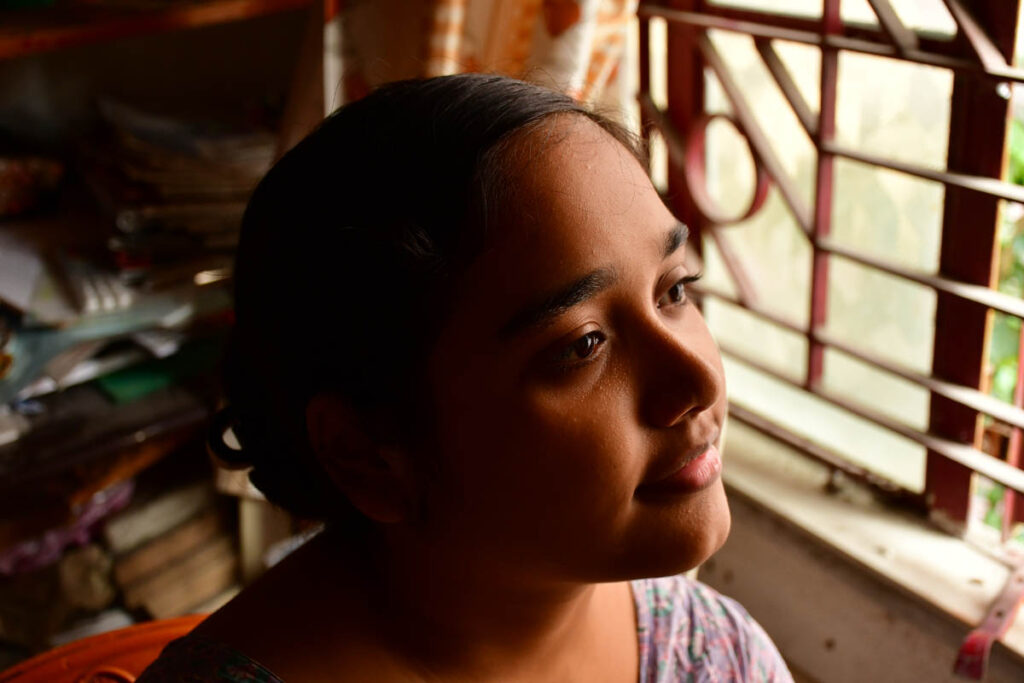
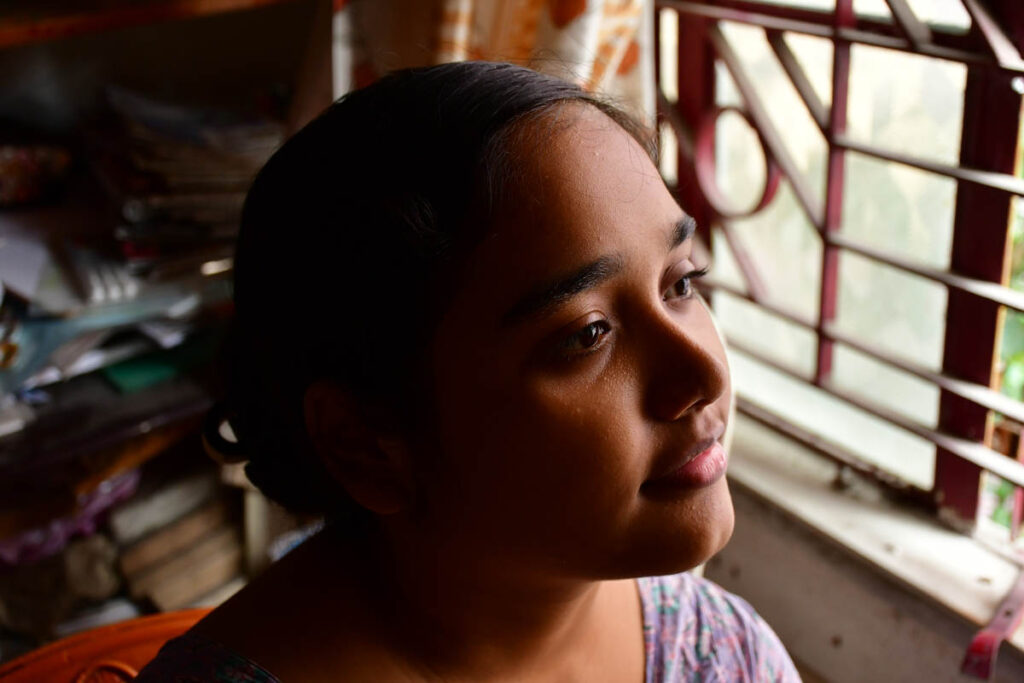
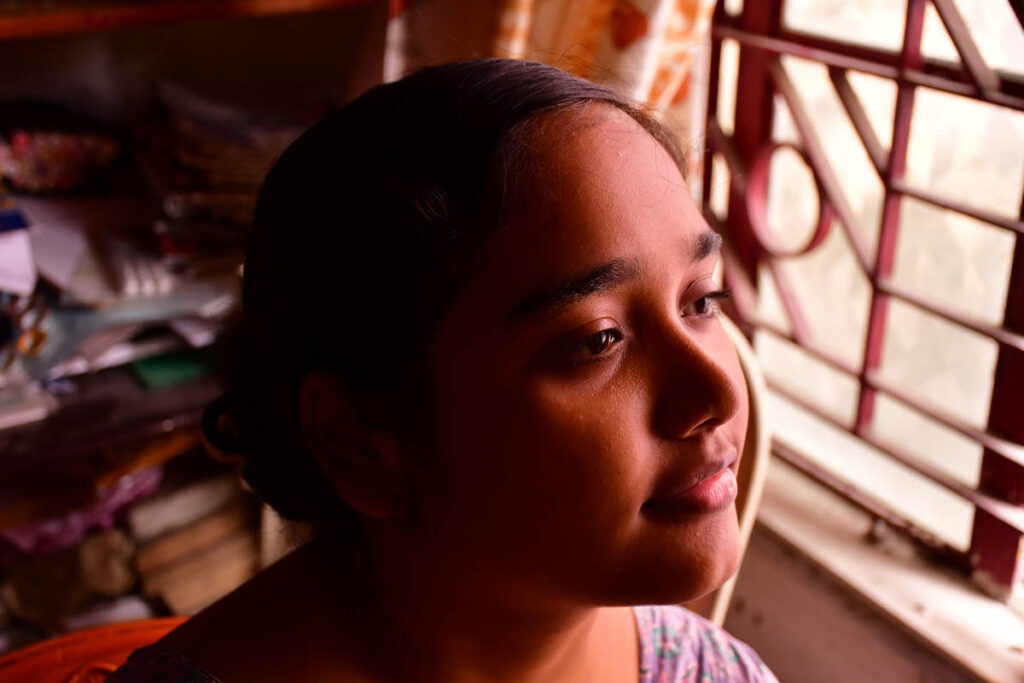
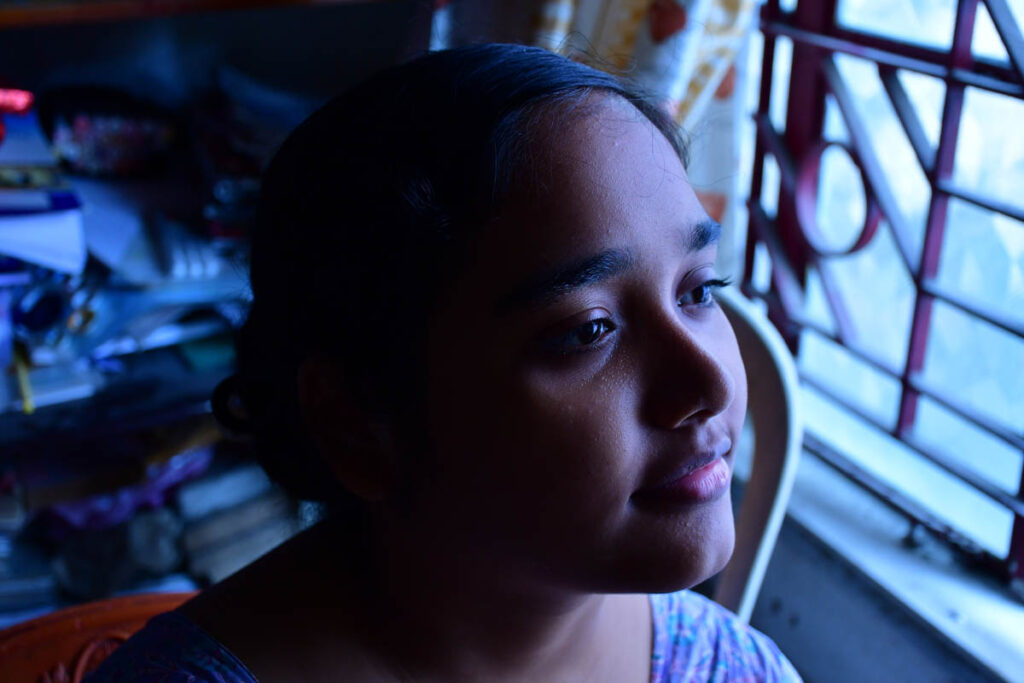
Bracketing and High Dynamic Range (HDR) photography are two powerful techniques that can help you navigate challenging lighting situations in your photographic journey.
Bracketing involves taking multiple shots of the same scene at different exposure levels, ensuring you capture the best possible details in both highlights and shadows.
On the other hand, HDR photography takes this a step further by merging these exposures to create a single image that showcases a wide dynamic range of tones, perfect for scenes with significant contrast. This article is focuses into the concepts behind these techniques, provide effective examples, and offer assignments to enhance your skills.
What is Bracketing in Photography?
Bracketing refers to the practice of taking multiple shots of the same scene at different exposure levels. The primary goal is to ensure that at least one image captures the ideal exposure, especially in high-contrast environments.
Types of Bracketing
- Exposure Bracketing: The most common form, where three or more shots are taken at varying exposures (e.g., -2 EV, 0 EV, +2 EV).
- Focus Bracketing: Involves taking multiple images at different focal points, which is especially useful in macro photography.
- White Balance Bracketing: Allows you to capture images with different color temperatures to find the most appealing tone.
Example of Exposure Bracketing
Imagine you’re photographing a breathtaking sunset over a city skyline. The sky is ablaze with color, but the buildings in the foreground are in shadow. By using exposure bracketing, you can capture:
- -2 EV: This image will show the rich colors of the sunset but may make the buildings too dark.
- 0 EV: This image balances the scene, but you might lose some details in the highlights.
- +2 EV: This exposure will illuminate the buildings but may wash out the colors in the sky.
By capturing these three exposures, you ensure that you have a range of data to work with, leading to a better final image.
The Mechanism of HDR Photography
High Dynamic Range (HDR) photography takes the concept of bracketing a step further. It involves merging multiple exposures to create a single image that retains details in both the bright and dark areas of a scene.
How HDR Works
- Capture Multiple Exposures: Similar to bracketing, HDR begins with taking several photos at different exposures.
- Merge the Images: HDR software analyzes and combines these images, selecting the best details from each.
- Tone Mapping: After merging, the software adjusts brightness and contrast to produce a final image that appears natural or artistically enhanced.
Example of HDR Photography
Consider the same sunset over the city skyline. You capture three exposures:
- The -2 EV shot captures the vivid sunset colors.
- The 0 EV shot provides a balanced exposure.
- The +2 EV shot reveals the details in the dark buildings.
Using HDR software, you combine these images to create one that displays the full range of colors and details, producing a stunning final photograph that beautifully showcases both the sky and the city.
How Bracketing Relates to HDR Photography
- Foundation for HDR: Bracketing is often the first step in creating an HDR image. Photographers use bracketing to capture a series of exposures that will later be combined to form an HDR image. Essentially, bracketing provides the raw materials needed for HDR processing.
- Exposure Variability: When bracketing, the variations in exposure are crucial for HDR. By taking multiple shots at different exposures (e.g., -2 EV, 0 EV, +2 EV), photographers can ensure that the HDR software has a range of data to work with, allowing for a more accurate representation of the scene.
- Scene Complexity: Bracketing is especially useful in scenes where lighting conditions are complex. For example, when photographing a sunset over a mountain range, the sky may be incredibly bright while the mountains are in shadow. By using bracketing, you can capture the full tonal range of both the bright sky and the dark foreground.
Example of Bracketing and HDR in Action
Let’s consider a practical example to illustrate how bracketing relates to HDR photography.
- Scenario: You are photographing a landscape during sunset, where the sky is brilliantly lit with orange and red hues, but the foreground is dark due to shadows from nearby trees.
- Set Up Your Camera: You decide to use bracketing to capture this scene. You set your camera to bracket three exposures: one at 0 EV (normal exposure), one at -2 EV (to capture detail in the highlights of the sky), and one at +2 EV (to capture details in the shadows).
- Capture the Images: You take the three shots:
- The 0 EV exposure shows a balanced image but might lose detail in the brightest areas of the sky
- The -2 EV exposure captures the vibrant colors of the sky but leaves the foreground too dark.
- The +2 EV exposure reveals details in the foreground shadows, but the sky appears blown out.
- Merge for HDR: Using HDR software, you load the three images.
The software analyzes the exposures and combines them, selecting the best parts from each:
- It extracts the vibrant colors of the sky from the -2 EV shot.
- It pulls details from the +2 EV shot to brighten the foreground.
- The 0 EV image provides a balanced foundation, ensuring a smooth transition between tones.
- Post-Processing: After merging, you may further adjust the tone mapping to enhance the image’s visual appeal, resulting in a final HDR image that showcases both the brilliant sunset and the detailed foreground.
Assignments to Enhance Your Skills
Now that you understand bracketing and HDR photography, here are some practical assignments to help you develop your skills:
Assignment 1: Practice Exposure Bracketing
- Objective: Capture a series of three images of the same scene at different exposures.
- Instructions:
- Choose a high-contrast scene, such as a landscape during sunset or a cityscape at dusk.
- Set your camera to take three exposures: one at 0 EV, one underexposed (-2 EV), and one overexposed (+2 EV).
- Compare the images and identify which exposure captures the best details in highlights and shadows.
Assignment 2: Create an HDR Image
- Objective: Use HDR techniques to merge multiple exposures into a single image.
- Instructions:
- Select a scene with significant contrast (e.g., a backlit subject).
- Capture at least three exposures using bracketing.
- Use HDR software (like Adobe Lightroom or Photomatix) to merge the images.
- Experiment with tone mapping to achieve your desired look.
- Share your HDR image with peers or online communities for feedback.
Assignment 3: Explore Focus Bracketing
- Objective: Enhance your macro photography skills using focus bracketing.
- Instructions:
- Choose a small subject, like a flower or an insect.
- Capture multiple images, adjusting the focus slightly with each shot.
- Combine these images using focus stacking software or techniques to create a final image with greater depth of field.
- Analyze the results and adjust your approach based on what you learn.
Assignment 4: Experiment with White Balance Bracketing
- Objective: Understand the impact of different color temperatures on your images.
- Instructions:
- Choose a scene with varied lighting conditions, such as indoors with natural light or outdoors during the golden hour.
- Take three shots at different white balance settings (e.g., daylight, cloudy, tungsten).
- Compare the images and determine which white balance setting produces the most visually appealing result.
Assignment 5: Landscape Bracketing Challenge
- Objective: Capture a stunning landscape using exposure bracketing.
- Instructions:
- Visit a location with varied lighting, such as a mountain range or a beach at sunrise or sunset.
- Take a series of five exposures at different EV levels (e.g., -3 EV, -1 EV, 0 EV, +1 EV, +3 EV).
- In post-processing, compare how each exposure captures the scene’s details.
- Select the best exposures for an HDR merge, or create a collage showing each exposure side by side.
Assignment 6: Urban HDR Experiment
- Objective: Create a compelling HDR image in an urban setting.
- Instructions:
- Choose a busy street or cityscape with both bright lights (like neon signs) and dark areas (like shadowed buildings).
- Use bracketing to capture at least three different exposures.
- Merge the images in HDR software, focusing on retaining detail in both highlights and shadows.
- Consider adding artistic elements, like a slight vignette or color adjustments, to enhance the final image.
Assignment 7: Night Photography with Bracketing
- Objective: Experiment with night photography using exposure bracketing.
- Instructions:
- Select a location with interesting light sources, such as a city skyline, streetlights, or illuminated landmarks.
- Set your camera to take three or more exposures at different settings (e.g., -1 EV, 0 EV, +1 EV).
- Analyze how different exposures affect the quality of light and detail in your image.
- Merge them into an HDR image to showcase the vibrant lights and preserve details in darker areas.
Assignment 8: Creative Focus Stacking
- Objective: Master focus bracketing and stacking for macro photography.
- Instructions:
- Set up a macro scene with a subject that has depth, like a flower or insect.
- Capture a series of images, changing the focus point slightly between each shot.
- Use software like Adobe Photoshop or Helicon Focus to stack the images and create a final photo with enhanced depth of field.
- Experiment with different subjects to see how focus stacking can change the outcome.
Assignment 9: Architectural HDR
- Objective: Create an HDR image that highlights architectural details.
- Instructions:
- Choose an interesting building or structure to photograph, ideally at dawn or dusk.
- Use bracketing to capture multiple exposures (at least three).
- Pay attention to lines and angles while composing your shots.
- Merge the images in HDR software, emphasizing the textures and colors of the architecture.
Assignment 10: Seasonal Changes with Bracketing
- Objective: Document a location over time using bracketing.
- Instructions:
- Choose a specific spot (like a park or a view) that changes with the seasons.
- Over several weeks or months, visit this location and capture bracketing exposures during different times of day or weather conditions.
- Create an HDR image for each visit, highlighting the seasonal changes.
- Compile a photo series to showcase how the environment transforms over time.
Assignment 11: Self-Portrait HDR
- Objective: Apply HDR techniques to self-portrait photography.
- Instructions:
- Set up a controlled lighting environment for your self-portrait (using natural light or flash).
- Use bracketing to capture multiple exposures while you strike different poses or facial expressions.
- Merge the images into a single HDR photograph that showcases your best features and background details.
- Experiment with different backgrounds to see how they affect the overall mood of the portrait.
Assignment 12: White Balance Exploration
- Objective: Understand how different white balance settings affect your images.
- Instructions:
- Select a subject under various lighting conditions (e.g., indoor vs. outdoor, natural vs. artificial light).
- Capture images at different white balance settings (e.g., daylight, cloudy, fluorescent, tungsten).
- Analyze the results in post-processing, focusing on how the color temperature changes the overall feel of the images.
- Choose your favorite white balance and create an HDR image by merging shots taken with that setting.
Conclusion
Bracketing and HDR photography are essential techniques that can significantly enhance your photographic skills. By understanding these concepts and practicing through assignments, you can learn to capture stunning images that truly reflect the beauty of your subjects, regardless of lighting conditions. Dive in, experiment, and let your creativity shine!

