Hello! Friends. How are you? Today I will discuss the merging of various pictures in a single image file. My first idea is various sitting positions of the model in a single image file. It is a continuous process of my photography idea project.

Requirements for Merging various sitting positions of the model in a single image file:
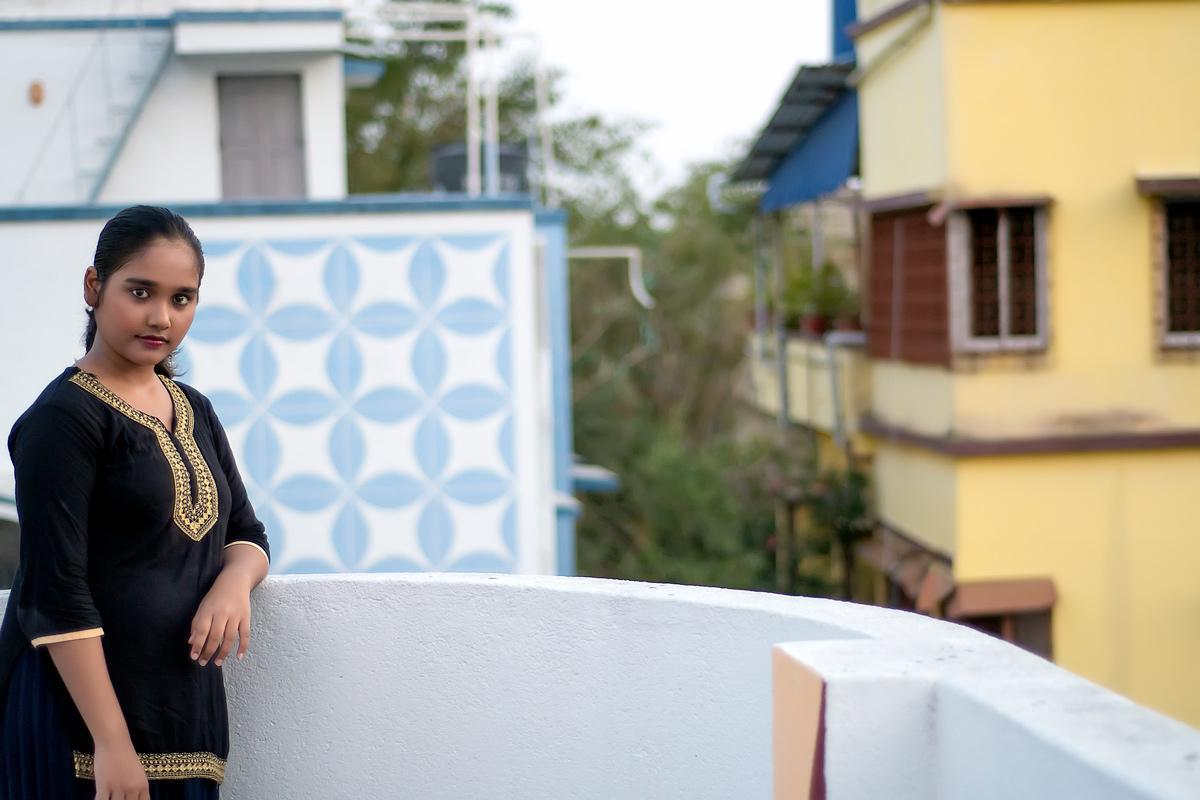
- A model [Biyas from my side]
- A table
- Tripod
- A pencil or chalk
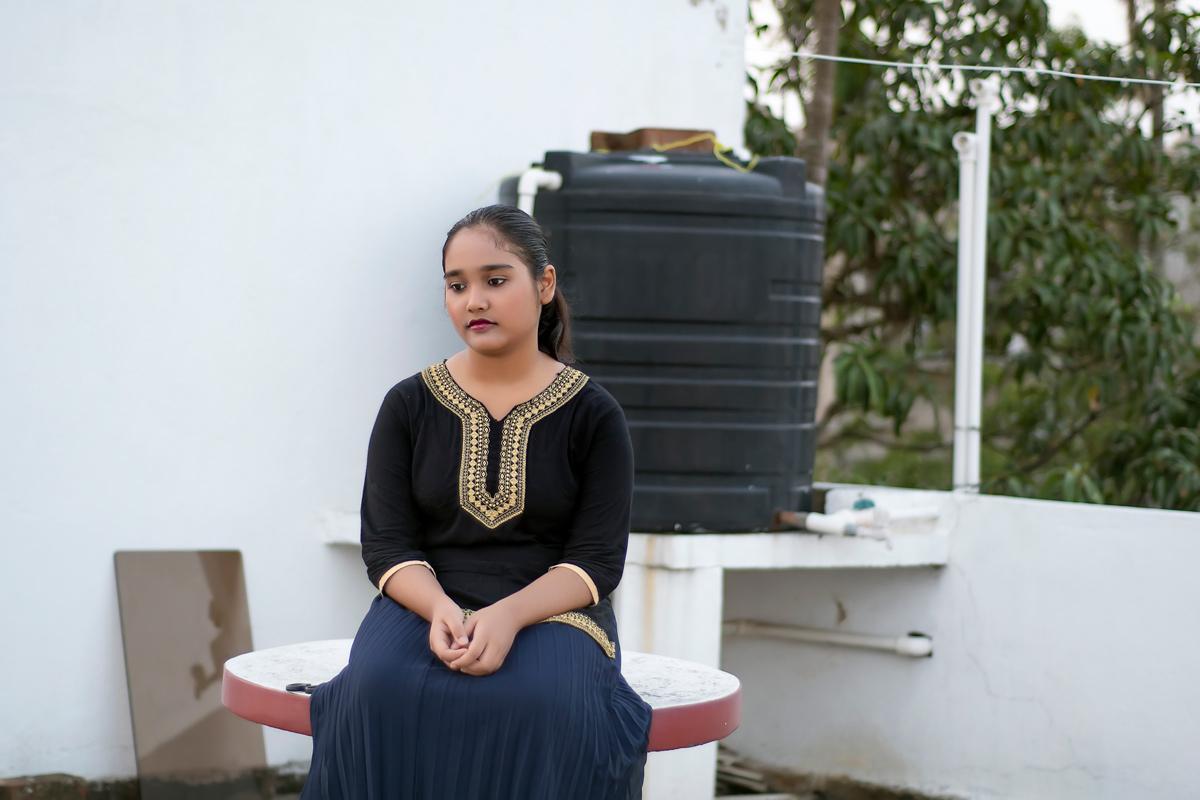
Choose a well-lighted room or rooftop. I prefer soft light. Therefore, I choose to shoot between 4 pm to 6 pm.
How to or the technique behind this merging subjects
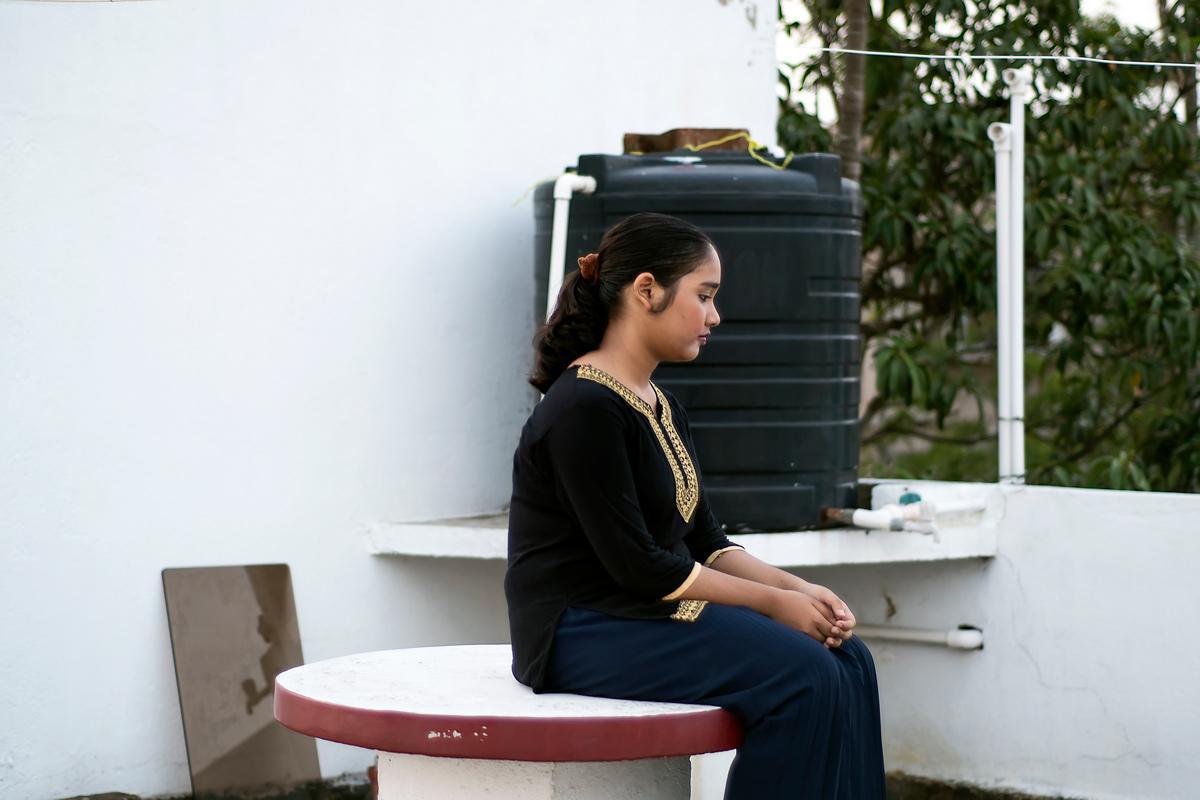
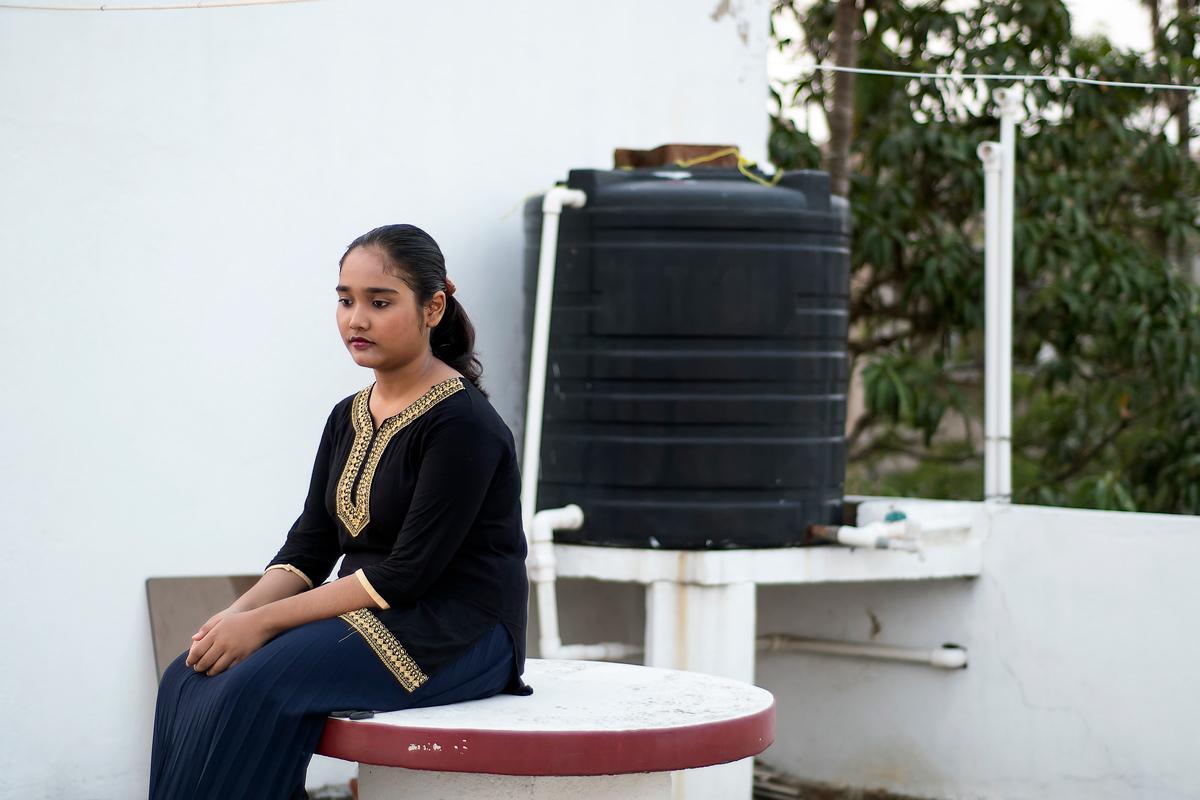
Set your camera on a tripod. Measure the frame angle through your camera lens. You can frame the full figure of the model or up to the knee. Whatever the frame you choose, please keep in mind that headspace and table should be visible.
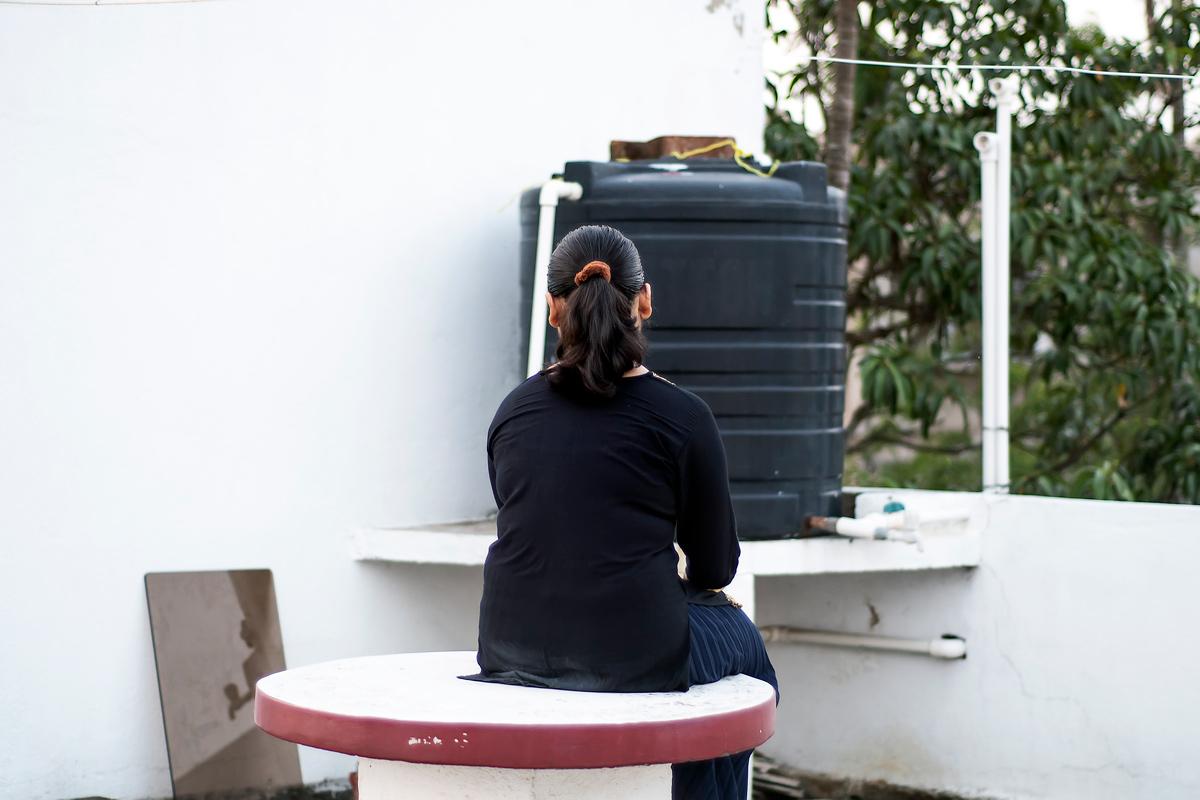
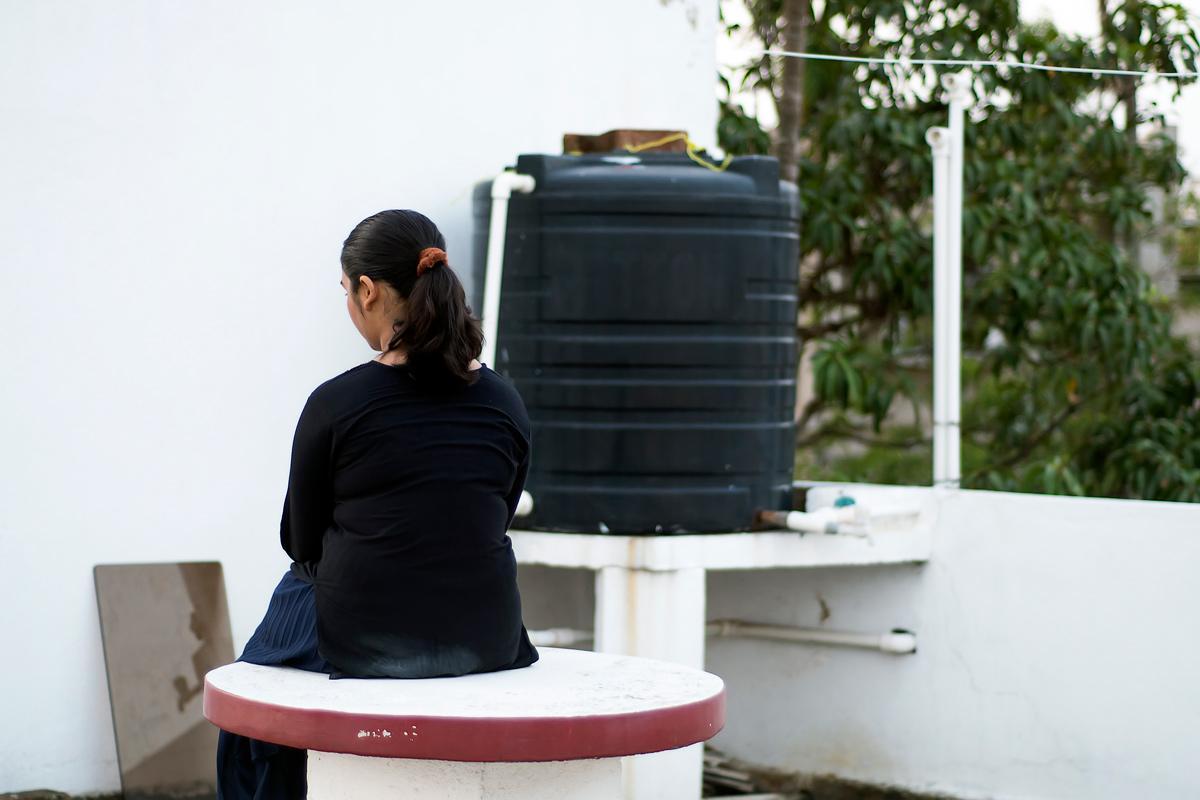
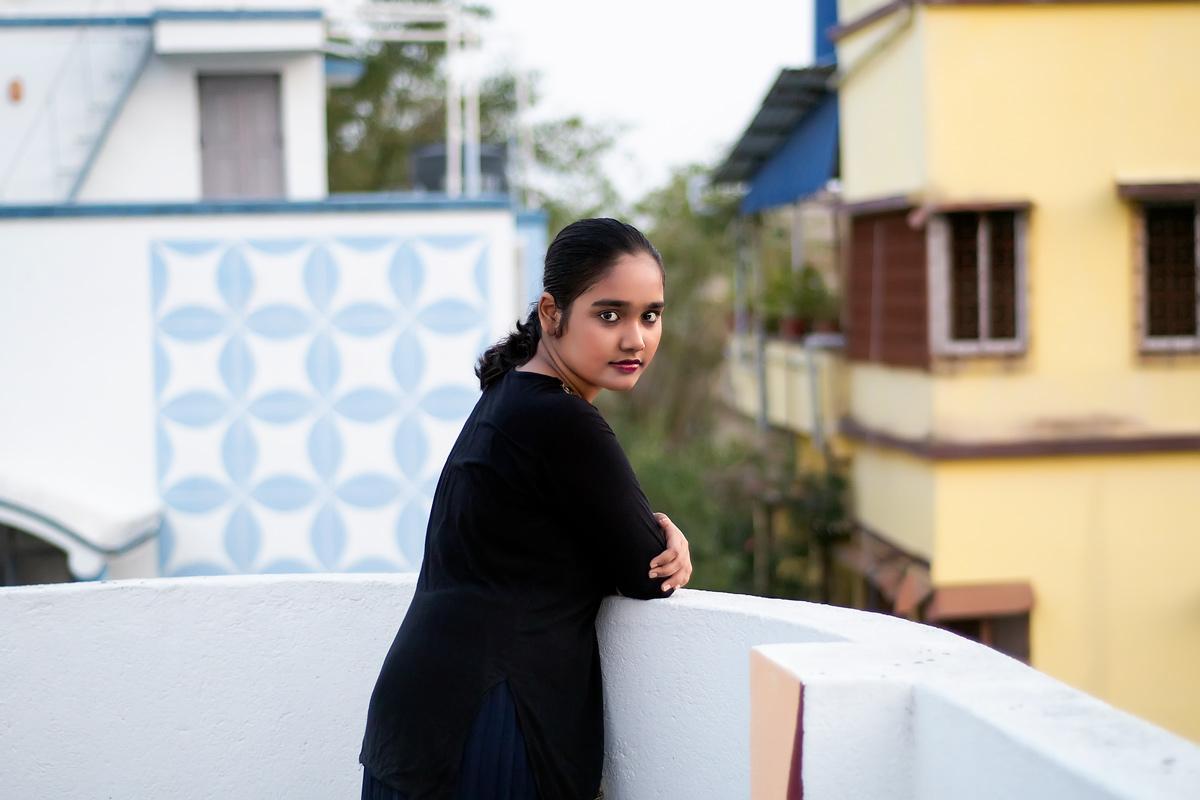
Now ask your model to sit at the table. Measure the width i.e. how much space she/he will acquire in sitting position. Mark with a pencil/chalk on the table on both sides of the model. Again, ask your model to sit from the last dot that you have marked and put a new dot on another side of the model’s sitting position. Once the model comes to the starting position, stop the marking. You are ready for the photoshoot.
Camera specification:
- Go for autofocus mode
- Shutter speed: 1/60s or 1/125s
- Aperture: f/5.6 or f/8
- ISO: 200-400 based on light condition
Now click the first shot. Ask your model to maintain the marked line and shift into the second doted position. Click the second shot.
Note: model sits between two dots. When she/he shifts to another position then the last dot turns into an old dot and one new dot. The shifting process will take place until and unless your model comes to the first position. It helps to merge the images with ease.
However, when the model will cover the whole table, visualize through your mind’s eye that the model sits at every angle of the table. The audience will think that the model is sitting at various positions on the table.
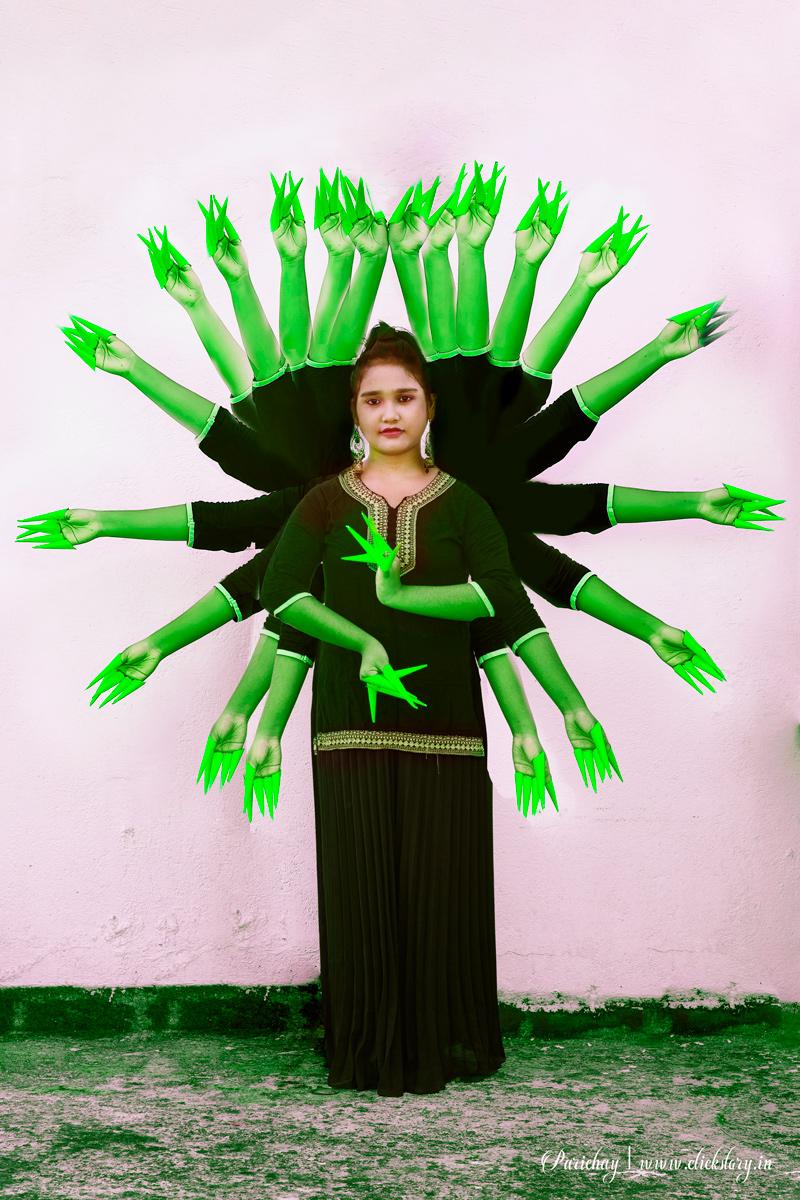
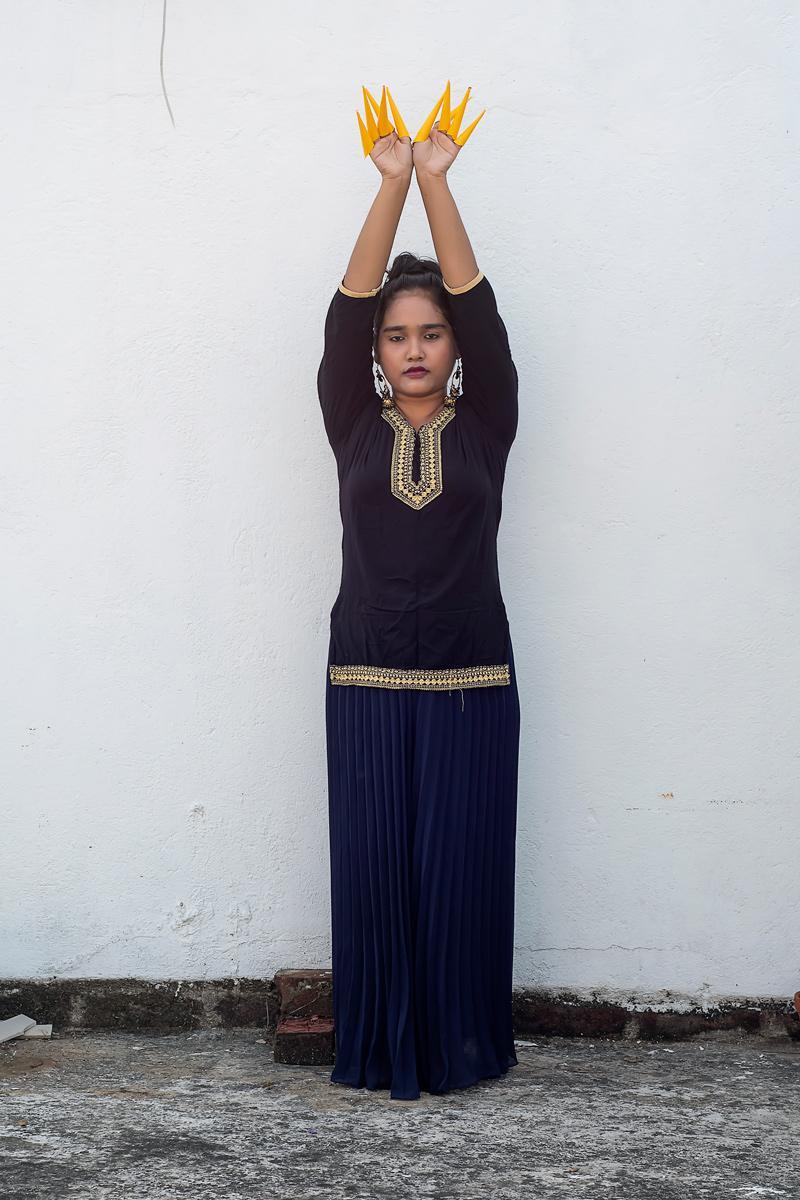
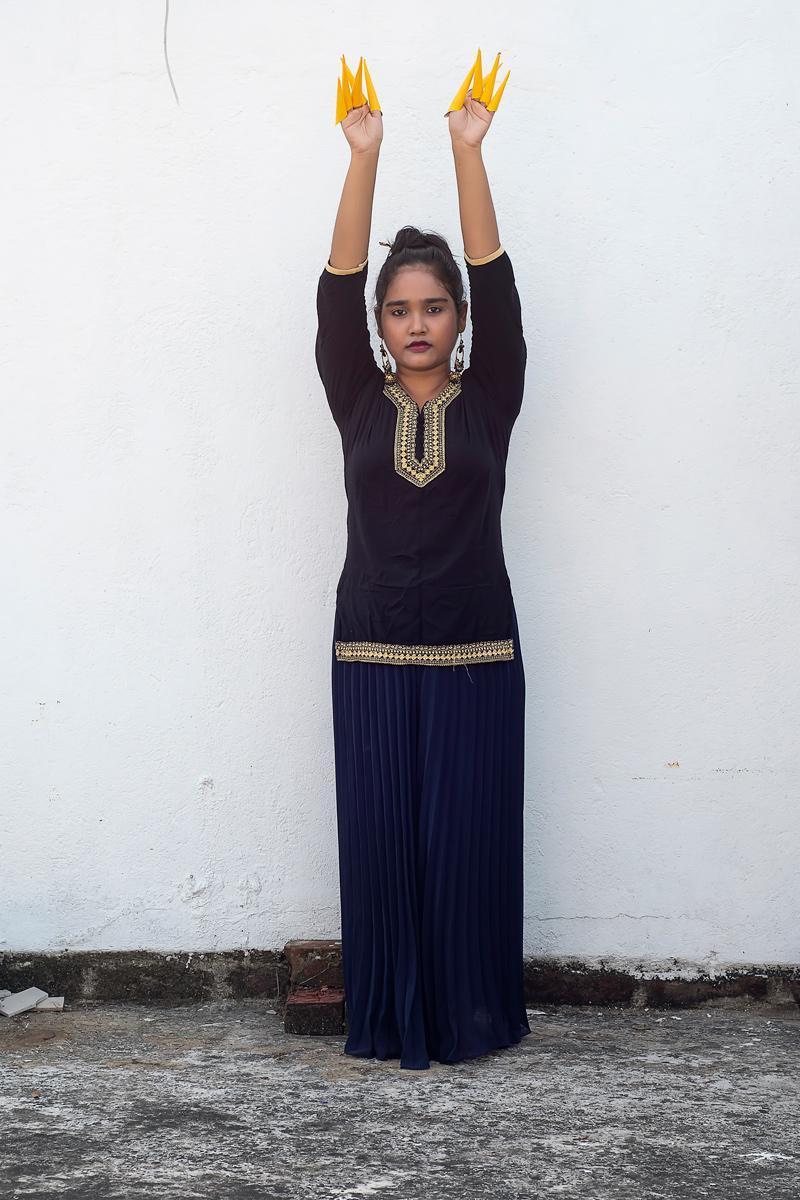
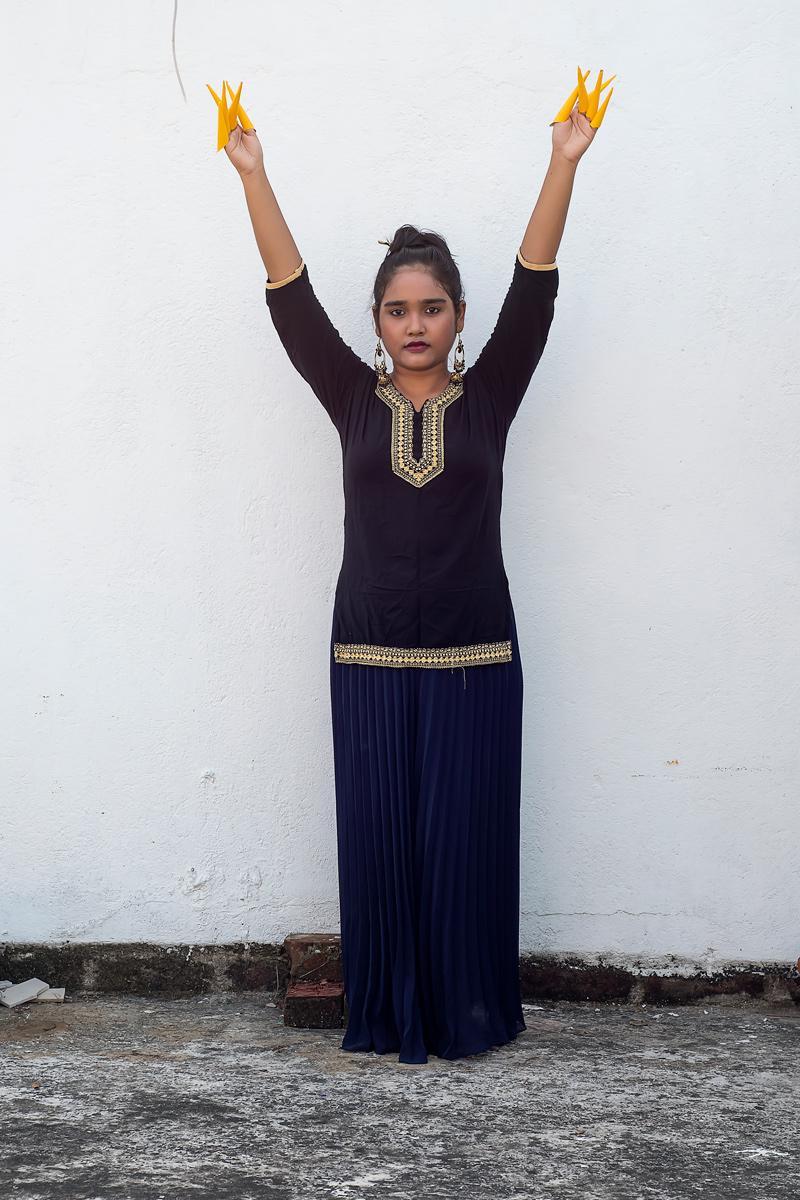
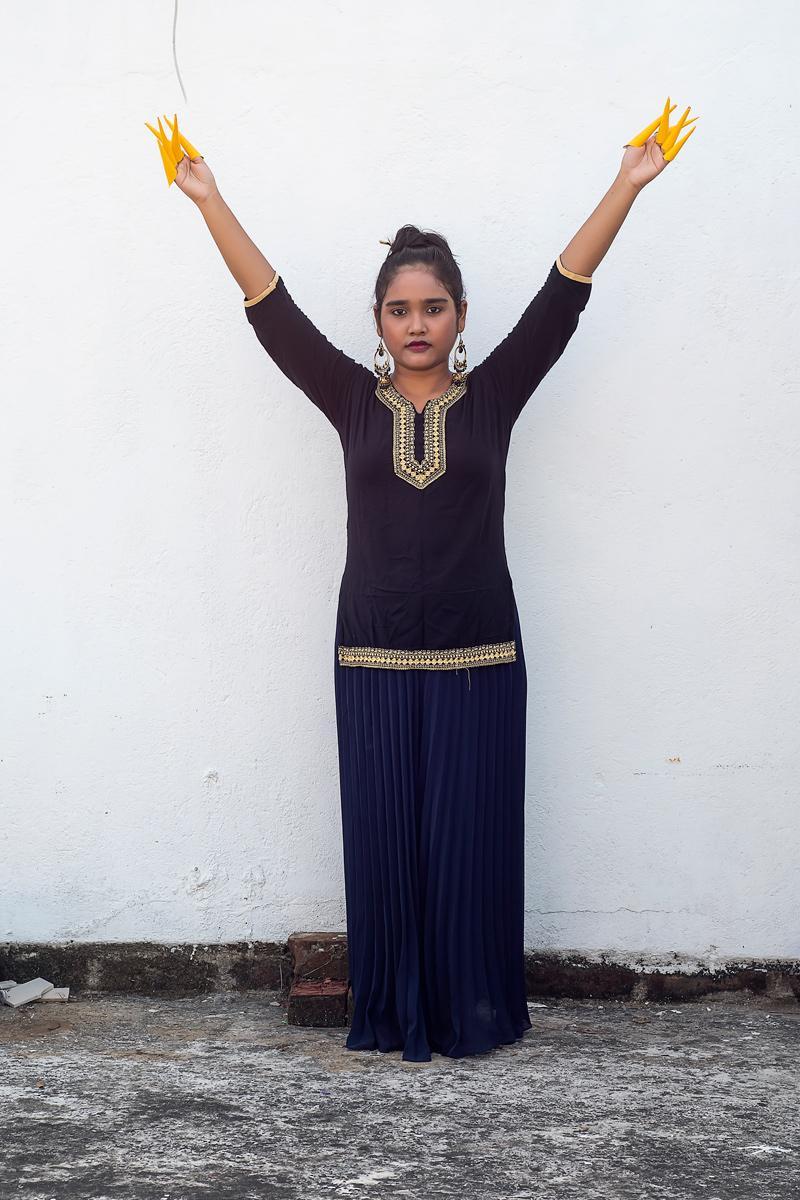
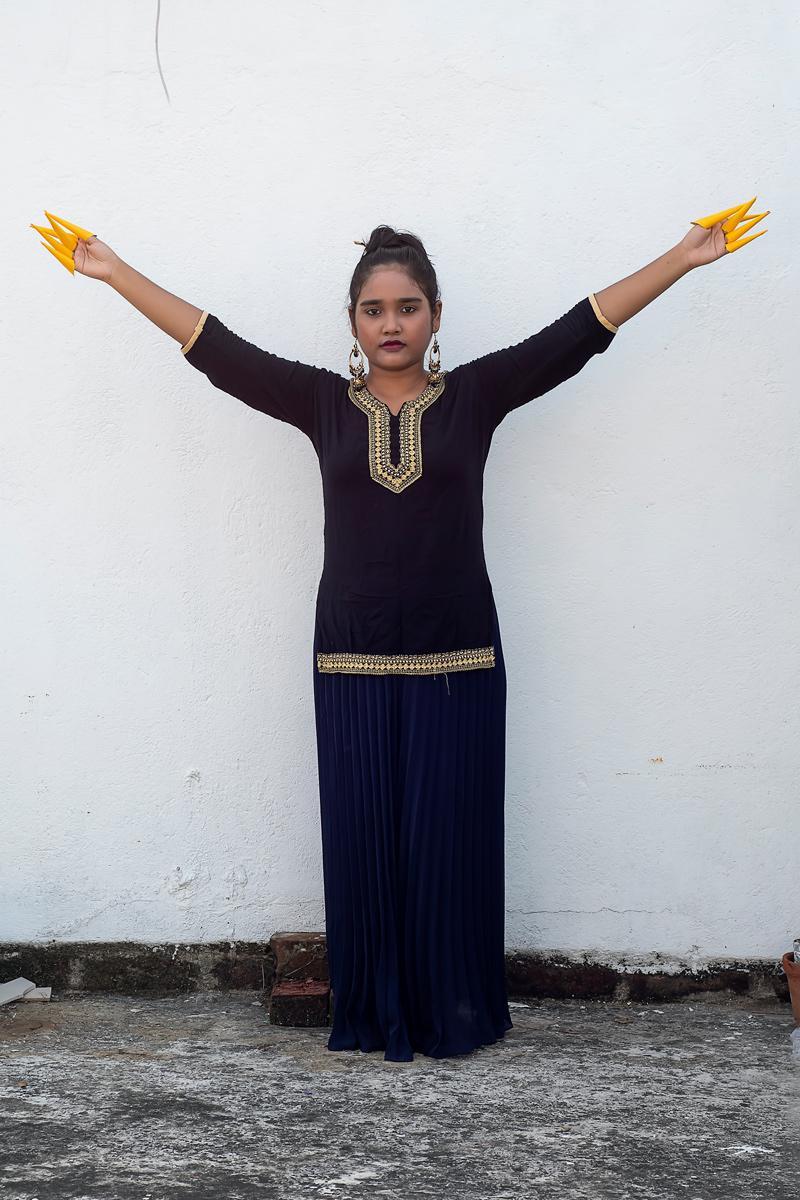
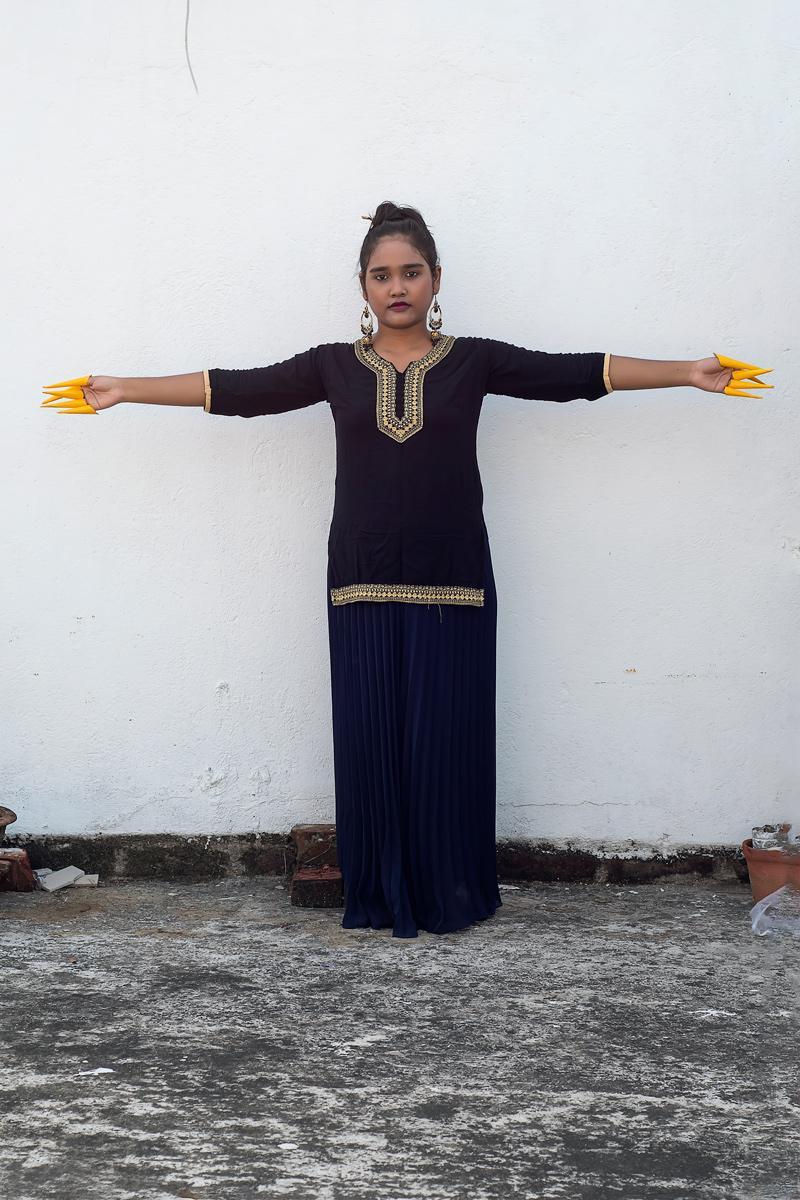
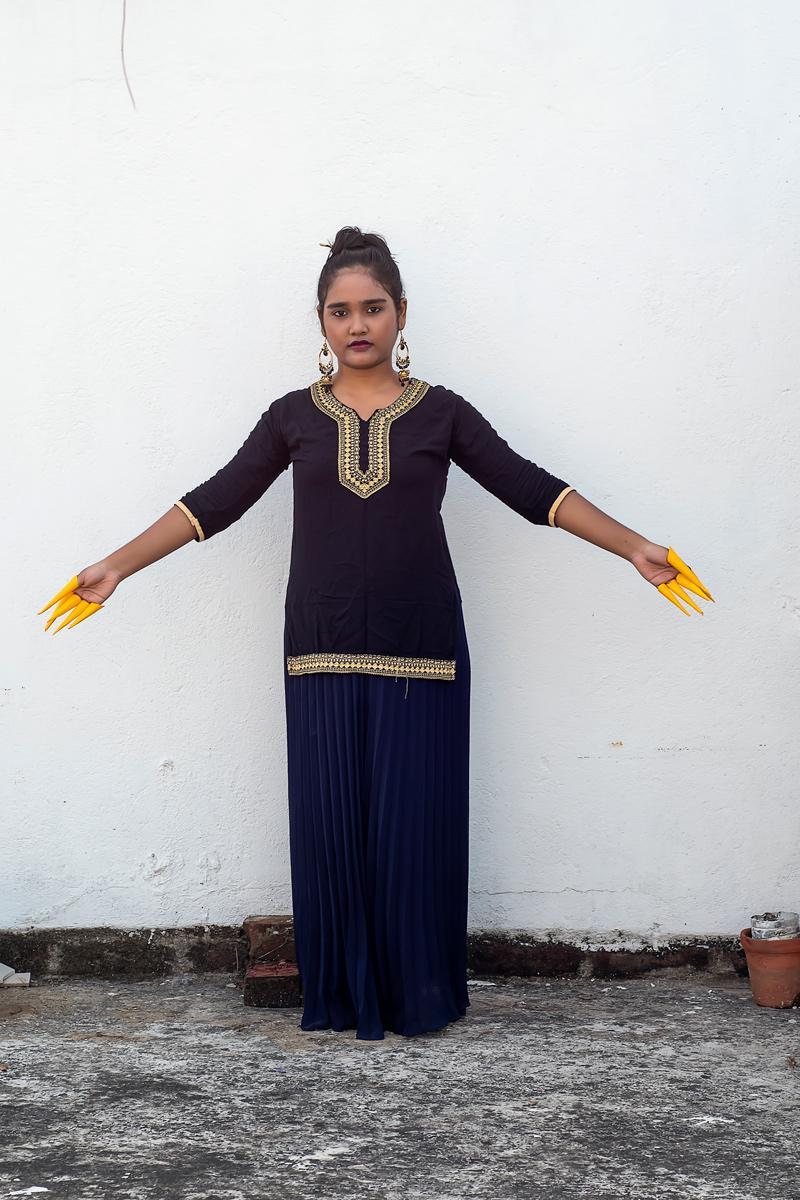
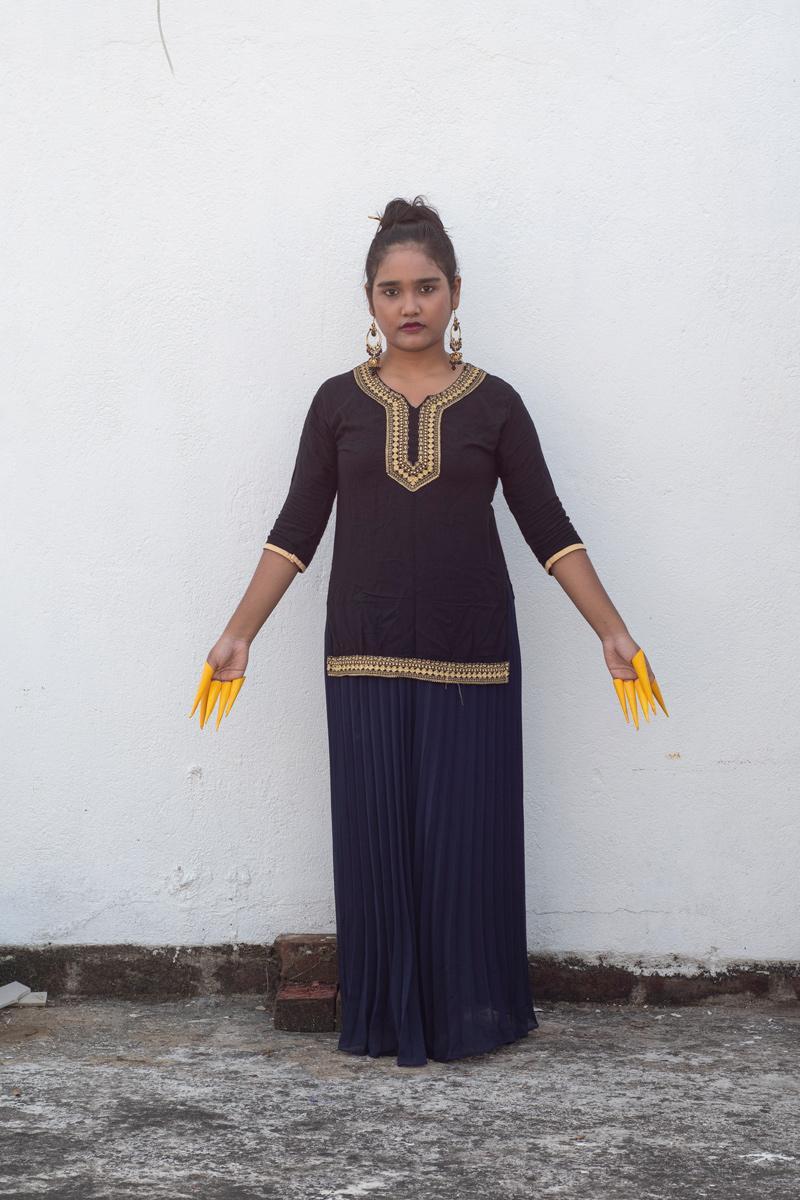
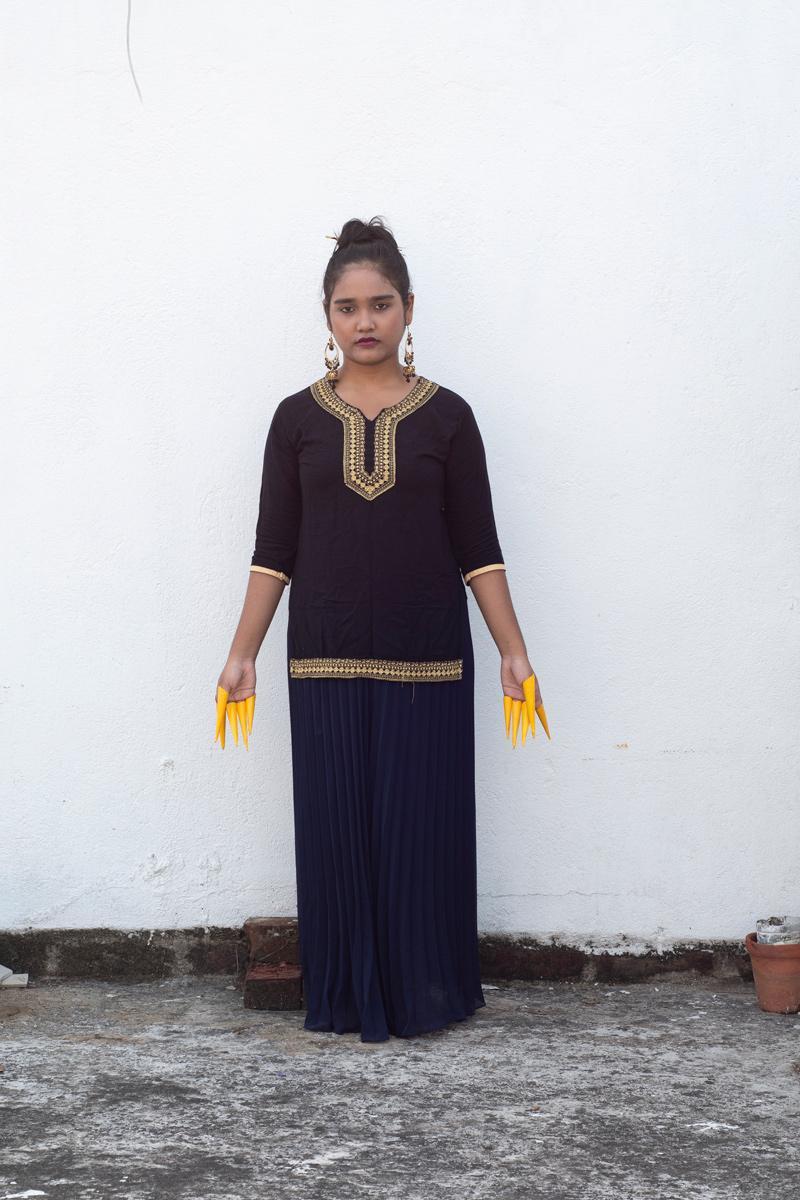
Another idea of multiple pictures into a single image file or merging pictures is the result of multi hands of the model. You should be very much careful to edit the hands because one might be overlapping with the other one.


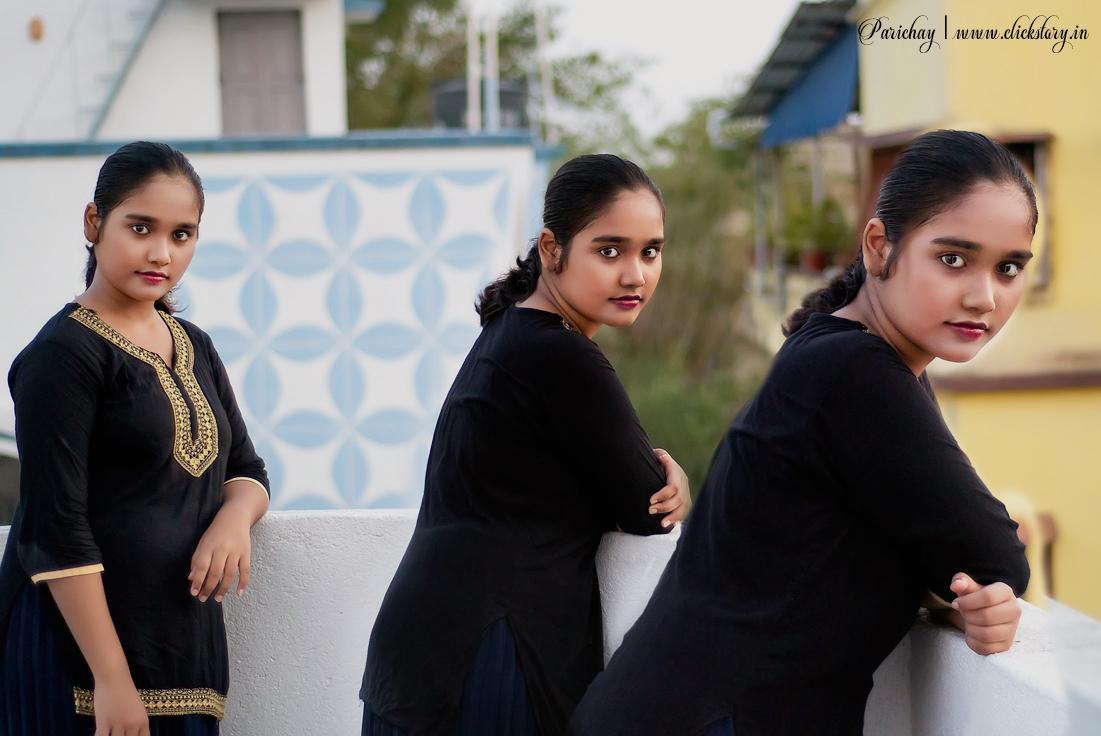
Another idea of merging multiple image files into a single one is to put your model into various positions in a room or garden or rooftop and so on. However, do not forget to use a wide-angle lens (18mm) and the camera shall be on a tripod. Do not move the tripod or camera when you click the various positions of your model. It helps you to merge the image files with the same scale, angle, and background.
Note: if your camera lens is VR enabled, please switch it off when you place it on the tripod. A tiny vibration of the VR motor may create a problem for shudder etc.

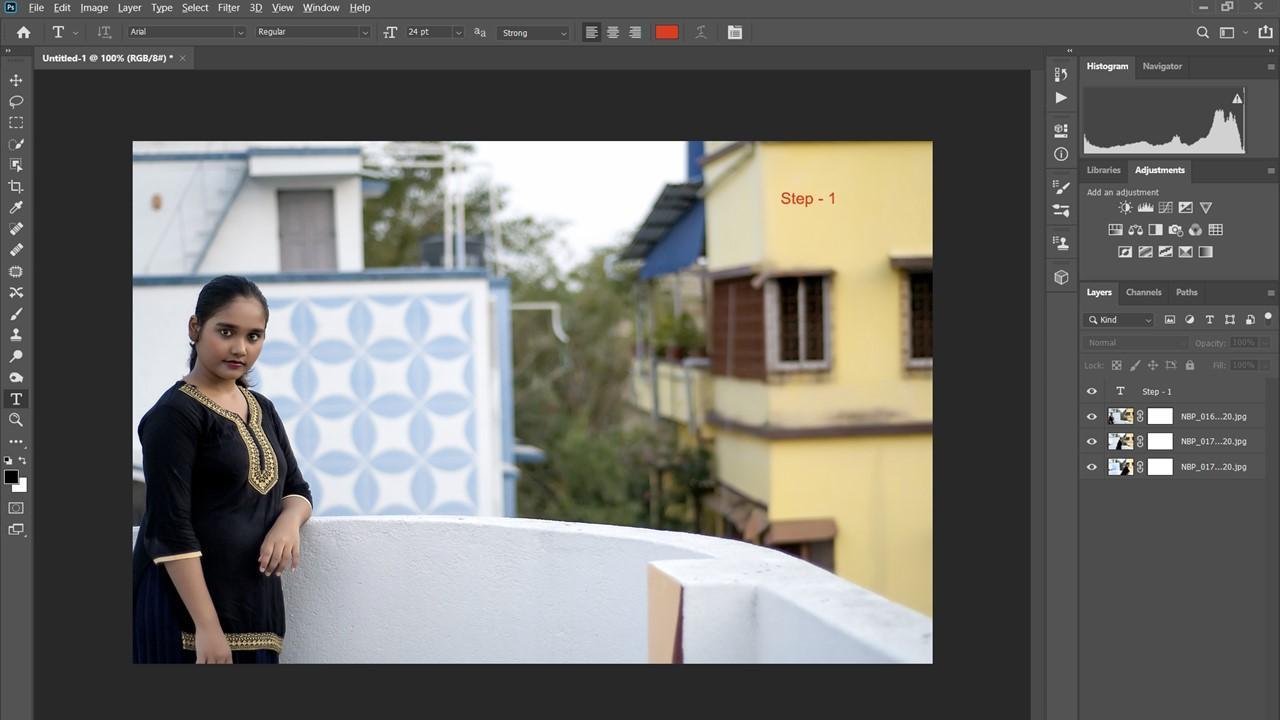
Your 50% work completed. Now store the image files into your computer’s hard disk. Open a photo editor. I prefer Photoshop. So, now I discuss the merging trick using PS.
Edit your files one by one for perfect exposure, noise removal, color correction, etc., and save all the image files in a new folder.
Open the PS again. Click on the File menu then go to Scripts and choose Load Files into Stack.
It helps to open all the files in a single file and the image files will store as layers. Suppose you click eight (8) positions of your model and the files are like NBP_001, NBP_002 …… NBP_008, all will be opened as a layer in a single image file.
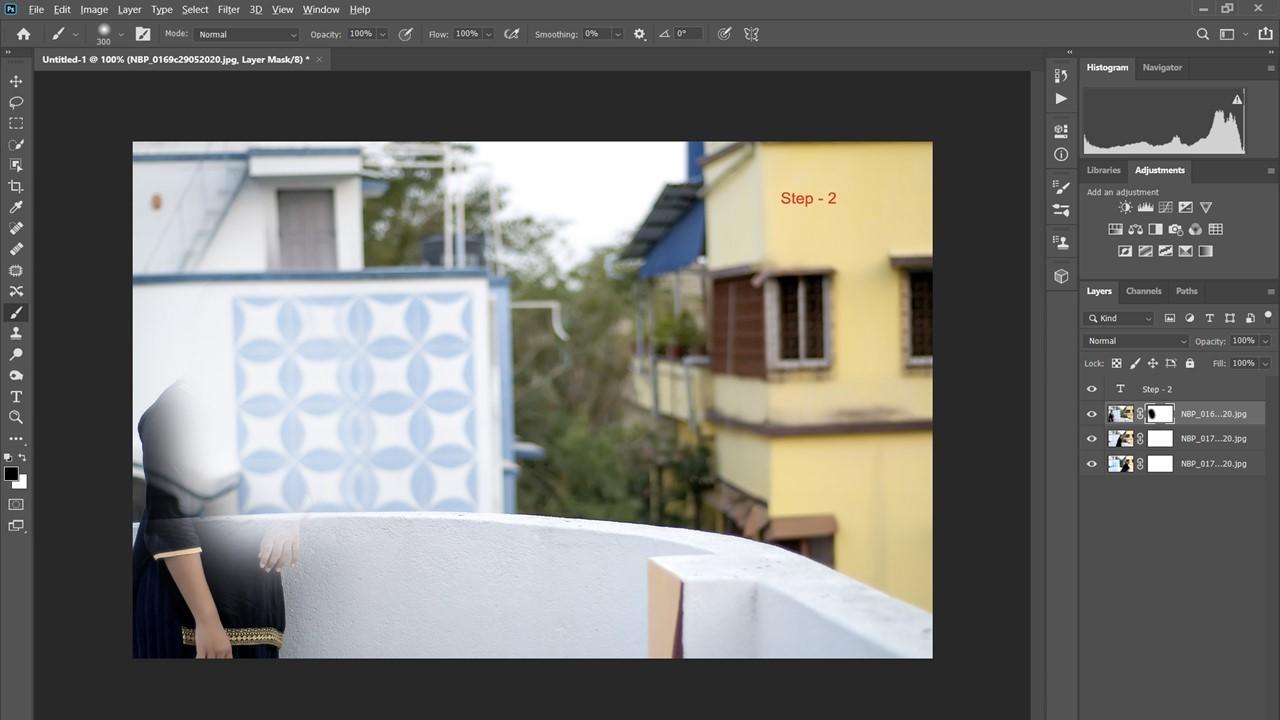
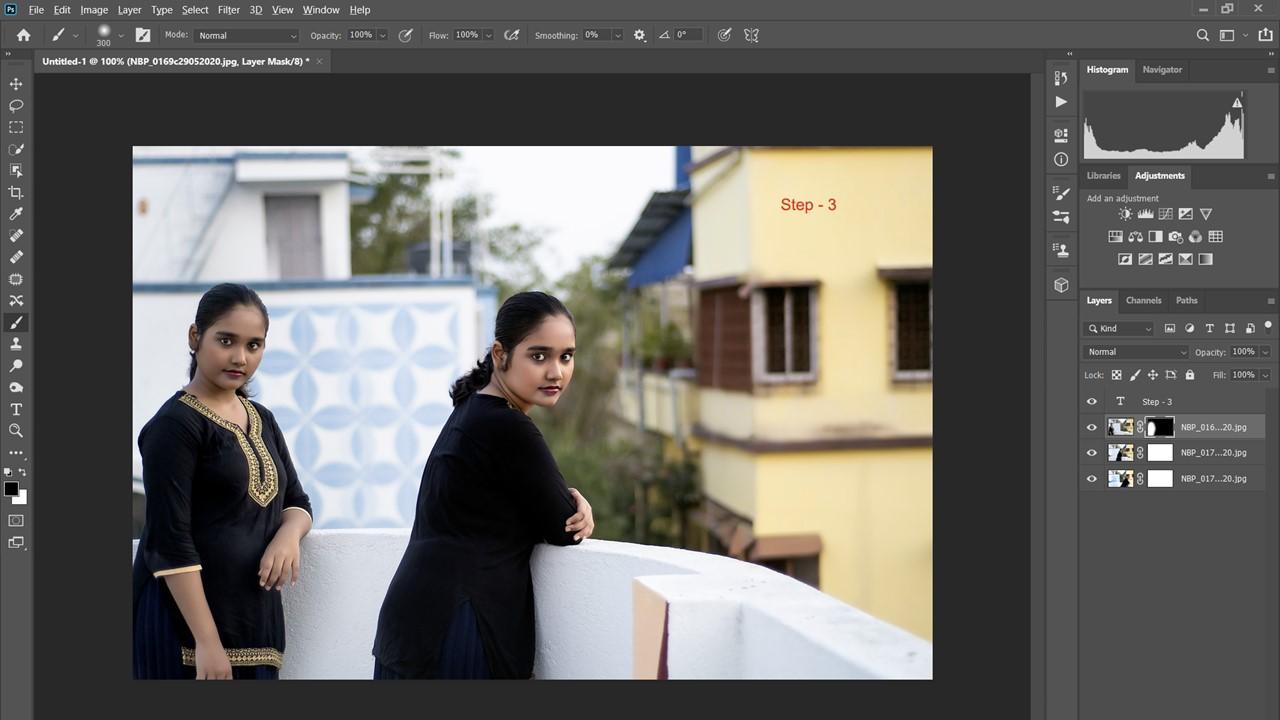
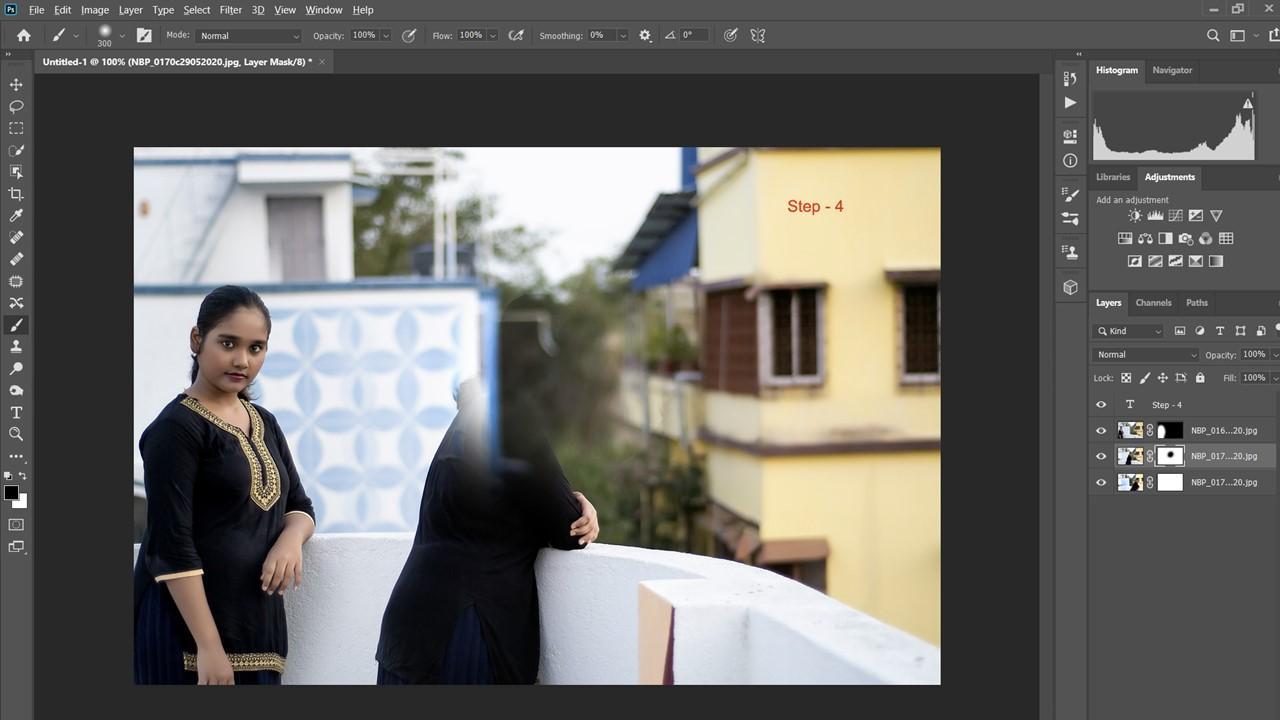
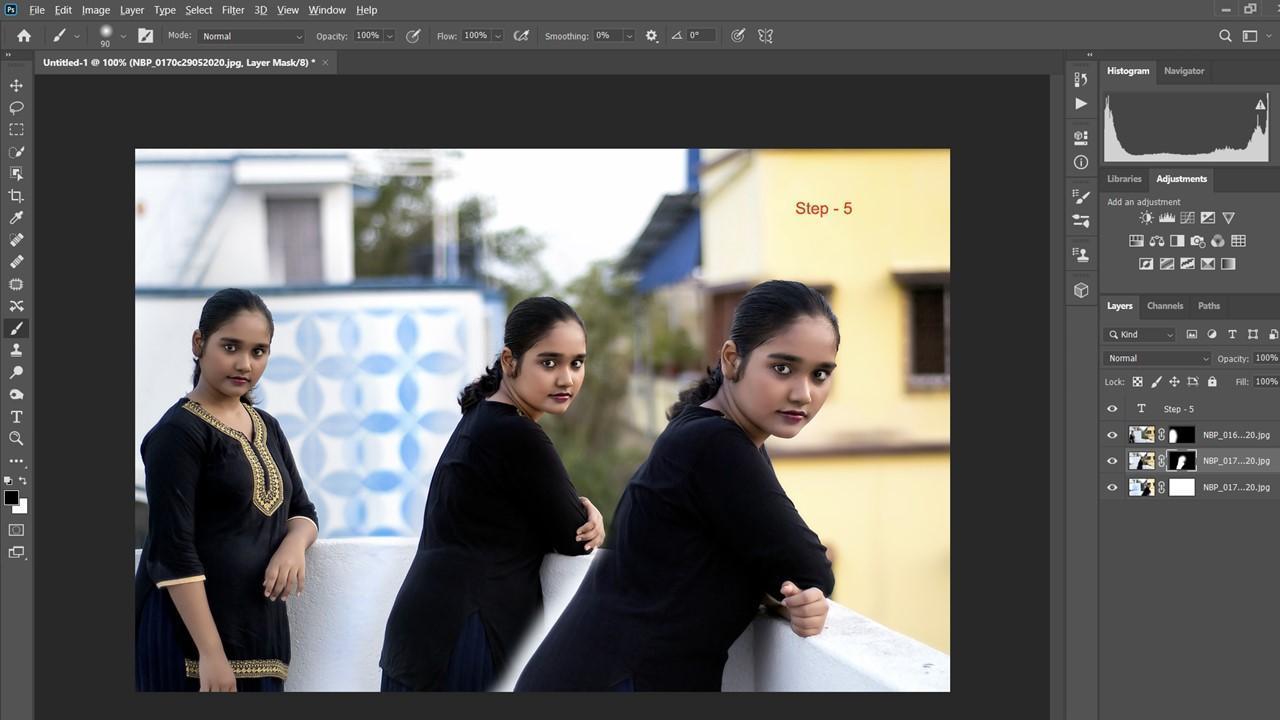
Insert a layer mask in each layer image file except the last one [NBP_008].
The files insert into the layer area in a top-down approach.
- Choose the first image file [NBP_001] and select the mask.
- Insert mask up to the last but one layer (NBP_007). Keep the last layer without inserting any mask.
- Take a soft brush with hardness 35-40% and erase the subject or model.
- Press Ctrl + I or inverse the mask. [white color mask turns into black color].
- Do the same process up to the last but one layer [NBP_007].
- Now click on the merge visible or Shift + Ctrl + E
- Edit the image files for little errors and save them with a new name file name like Biyas_multiple_final.
Hope you may like the idea of merging multiple images into one single image. It is also known as multiple pictures in a single image file. Is it a concept of a double or multi-exposure system? Waiting for your response and awesome clicks and new multiplicity ideas. Happy clicking.


baba wow wow wow
A lovely tutorial. thank you so much Sir
woooowwww