

The right portrait settings begin with the person, the light and the story—not the numbers on your camera.
There is a particular moment that happens just before a portrait is made.
Your subject is standing in front of you. Perhaps they are sitting beside a window, walking through an old street, standing under a tree, or simply looking toward you in the afternoon light.
You raise your camera.
Then the questions begin.
Should I use f/1.8?
Is 1/125 sec fast enough?
Should ISO be 100?
Should I use eye autofocus?
What focal length should I choose?
Should I shoot at 85mm?
And before you have really looked at the person standing in front of you, you are already thinking about the camera.
This is understandable. Portrait photography has become surrounded by recommendations about settings and equipment. Open the aperture. Use a fast lens. Keep ISO low. Use eye autofocus. Shoot at 85mm or 105mm. Blur the background.
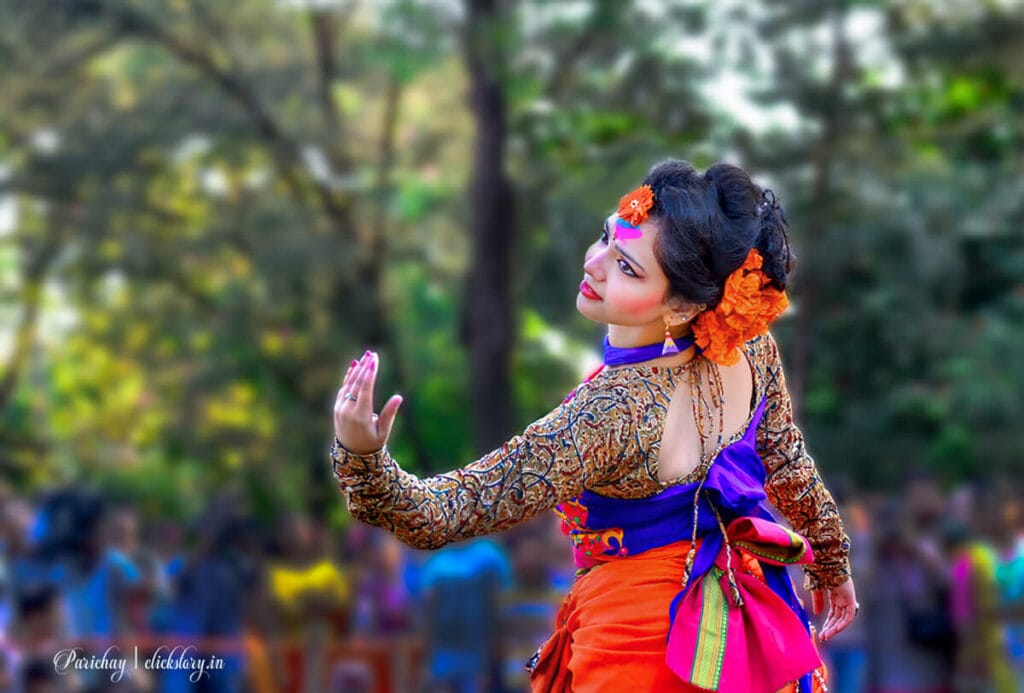
Much of this advice is useful. But there is a problem. A technically perfect portrait can still feel completely lifeless. The eyes may be sharp. The background may be beautifully blurred. The exposure may be perfect. The skin may look clean.
And yet something is missing.
The person.
That is why the best camera settings for portrait photography are not a fixed combination of numbers. They are decisions made in response to the person, the light, the distance, the movement and the feeling you want the photograph to contain.
The camera records the portrait. You decide what the portrait should say.
The Question Photographers Keep Asking
One of the most common questions in portrait photography is:
“What are the best camera settings for portraits?”
The conventional answer is familiar.
Use a wide aperture, perhaps f/1.8 or f/2.8. Keep the shutter speed reasonably fast. Keep ISO as low as possible. Use a suitable portrait lens. Focus on the eye.
These are good starting points.
But they are not really portrait settings. They are technical responses to particular photographic situations.
- If your subject is sitting perfectly still beside a large window, you may choose different settings from those you would use for someone walking through a busy street.
- If you are photographing one person’s face, your aperture decision may be different from photographing three people standing together.
- If your subject is moving, shutter speed suddenly becomes more important.
- If the light is falling rapidly in the evening, ISO may need to rise.
- And if your lens only opens to f/4, that does not mean you cannot make a beautiful portrait.
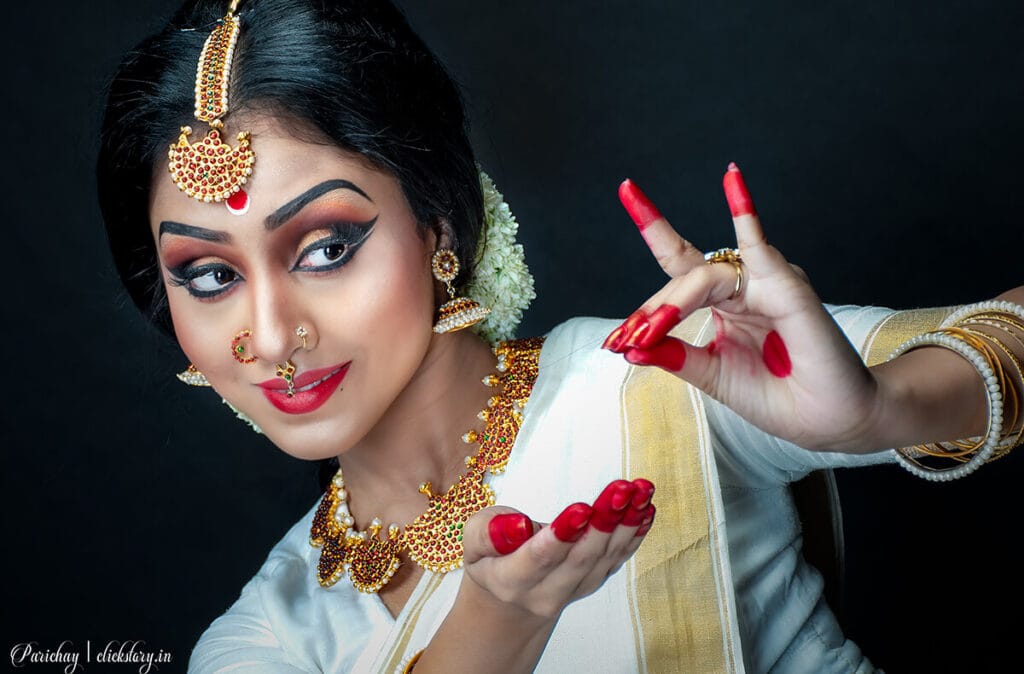
So perhaps the better question is:
What does this particular portrait need from my camera?
That question leads to much better photographs.
The First Decision Is Not on Your Camera
Before changing aperture, shutter speed or ISO
- Look at the person.
- Look at the light.
- Look at the background.
- Look at the distance between you and your subject.
- Look at what is happening around them.
Most importantly, decide what you want the photograph to communicate.
- Perhaps you want a quiet, intimate portrait where the person’s expression is everything. Perhaps you want to show the person within their environment.
- Perhaps the location is an important part of their story.
- Perhaps you want movement.
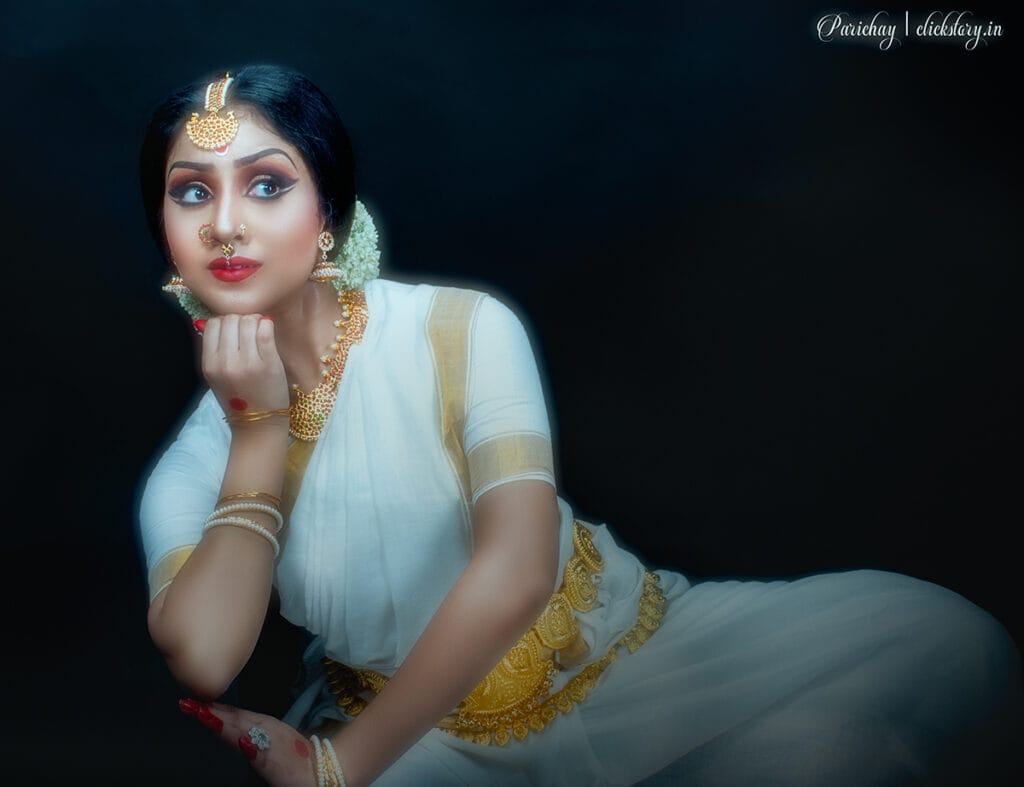
- Perhaps you want a dramatic face surrounded by darkness.
- Perhaps you want the photograph to feel spontaneous rather than posed.
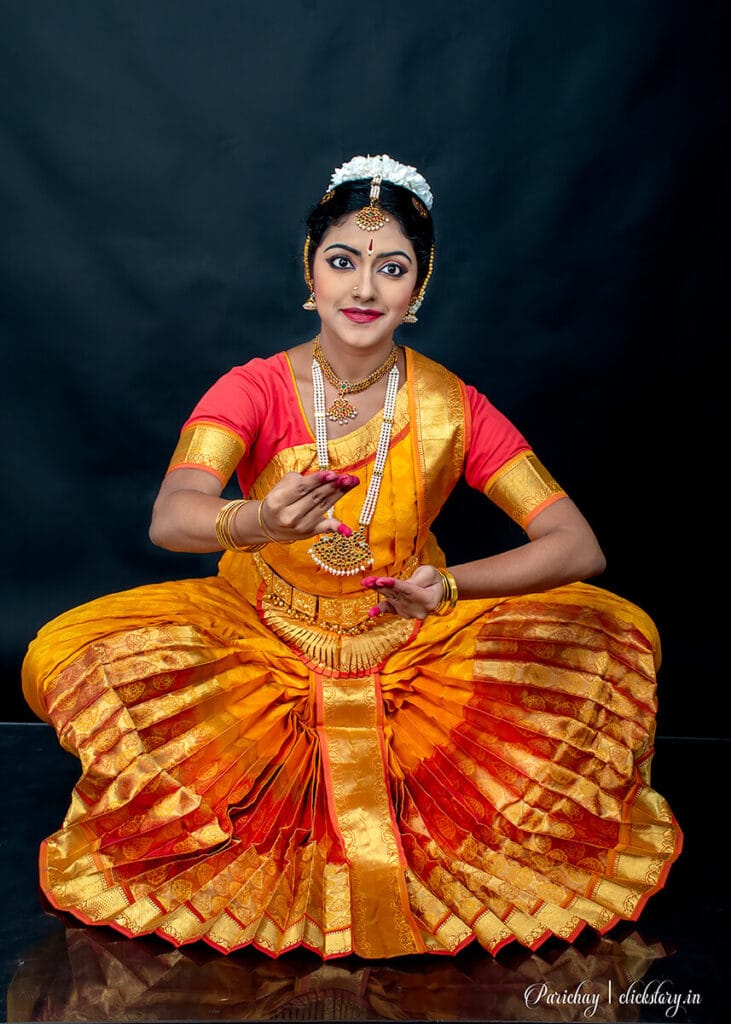
These intentions affect your technical choices.
- A photographer who wants the environment to tell part of the story may choose a smaller aperture.
- A photographer who wants the face to dominate the frame may use a wider aperture.
- A photographer photographing a moving subject may prioritise shutter speed.
- A photographer working in very low light may accept a higher ISO rather than allowing motion blur.
The principle is simple:
Your photographic intention comes before your camera settings.
The settings are there to help you achieve the intention.
When You Find Yourself in This Situation
Imagine that you are photographing a person near a large window. The window is providing beautiful soft light. Your subject is sitting quietly, looking slightly away from the camera. You raise the camera.
You could immediately set the aperture to f/1.8.
But stop for a moment.
- Look at the background.
- Is it already simple?
- Is there enough separation between your subject and the background?
- How much of the person’s face do you want to keep sharp?
- If you photograph a face at a very wide aperture, especially from close range, the depth of field can become extremely shallow.
- One eye may be sharp while the other becomes noticeably softer.
- That may be exactly what you want.
- Or it may not.
If you want both eyes and more of the face to remain clearly defined, you might choose f/2.8, f/4 or even smaller depending on the situation. Nothing about this is automatically better or worse. You are making a decision.
Now imagine that the same person gets up and starts walking toward you.
- The portrait has changed.
- The subject is moving.
Suddenly shutter speed becomes much more important.
You may need to increase it from 1/125 sec to 1/250 sec, 1/500 sec or faster depending on the movement and focal length.
- The aperture may then need to change.
- ISO may need to rise.
The important thing is that you did not memorise a new portrait preset.
You read the situation.
What Your Camera Needs From You
Portrait photography does not require you to understand every camera setting equally deeply.
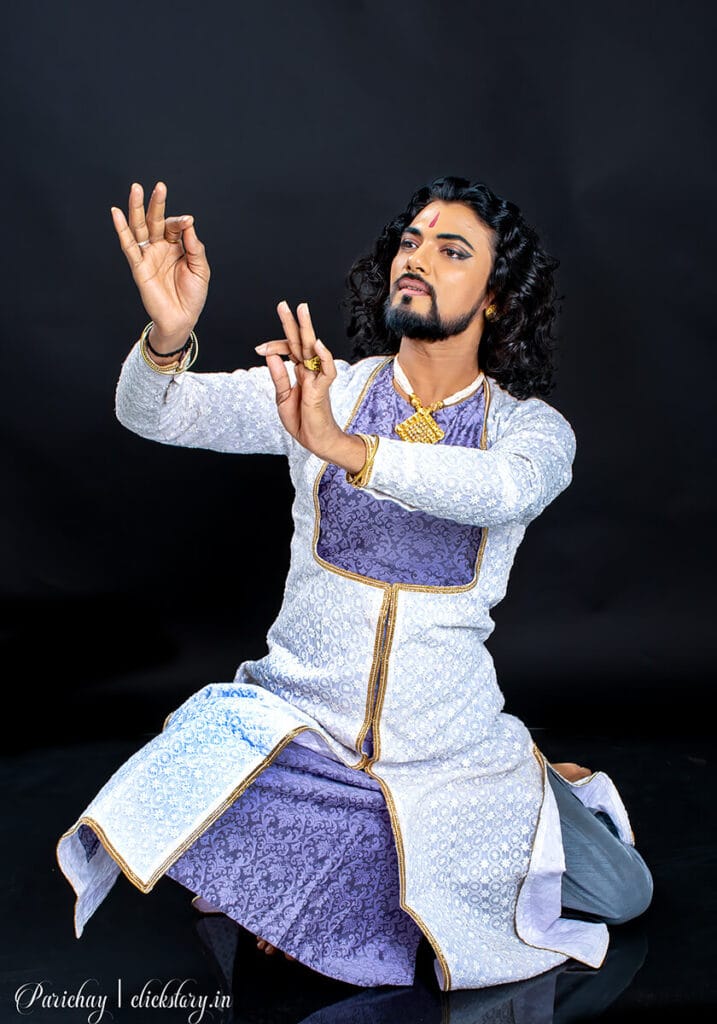
A few controls matter enormously.
Aperture
It affects both exposure and depth of field.
- A wide aperture such as f/1.8 or f/2 can create strong separation between the subject and background.
- But wide open is not automatically the best choice.
- At f/1.8, a close-up portrait can have an extremely shallow depth of field. If the subject’s face is angled, one eye may fall outside the sharp area.
- At f/4, you may have more of the face in focus while still achieving useful background separation.
- And if you are photographing several people, f/5.6 or f/8 may make much more sense.
So don’t ask:
“What aperture is best for portraits?”
Ask:
“How much of this photograph needs to be sharp?”
Shutter Speed
Shutter speed controls how effectively you freeze movement.
- For a person sitting still, 1/125 sec may often be perfectly usable.
- But the required shutter speed changes with movement.
- A person turning their head, walking, laughing, gesturing or moving their hands may require a faster shutter.
- At longer focal lengths, camera shake can also become more noticeable.
- A useful starting point is to think about subject movement first, rather than blindly following a minimum shutter-speed rule.
- If the person is moving, protect the photograph with shutter speed.
- A slightly higher ISO is usually a much smaller problem than a face blurred by movement.
ISO
ISO becomes important when the available light is not enough for the aperture and shutter speed you want.
- In bright daylight, ISO 100 or a low native ISO may be perfectly practical.
- Indoors, in shade or during evening light, ISO may need to rise.
- Do not treat higher ISO as photographic failure.
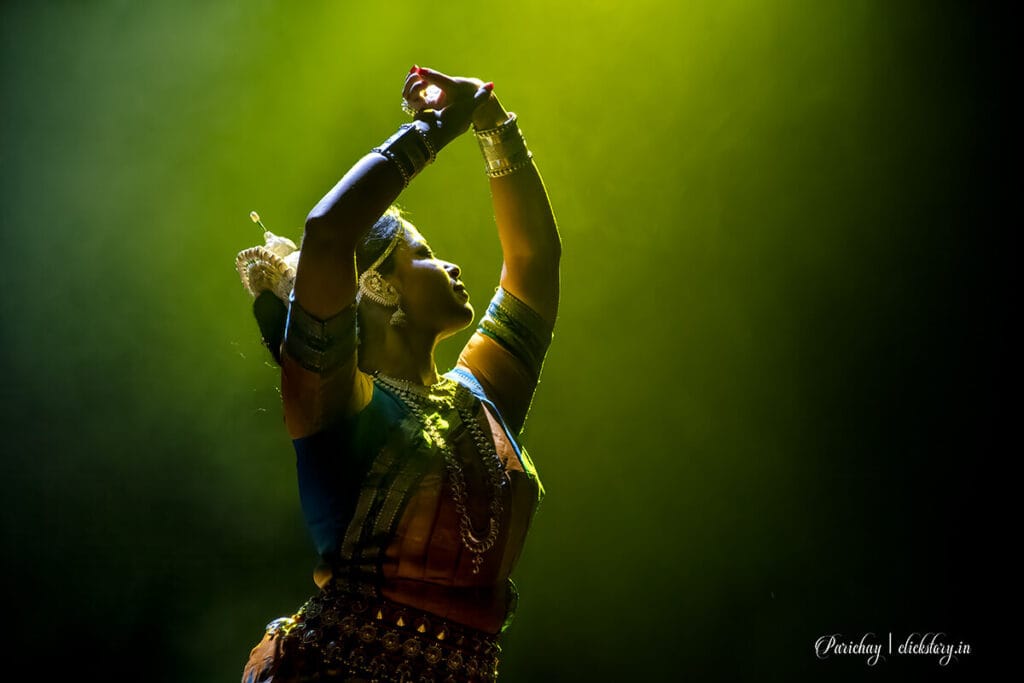
Modern cameras can produce remarkably usable images at higher ISO settings.
A sharp portrait with some noise is usually more valuable than a clean-looking file ruined by motion blur.
Focal Length
Focal length affects how you frame the person and how the relationship between the subject and background appears.
- A wider focal length lets you include more of the environment.
- A longer focal length can give you a tighter composition and make it easier to isolate the subject.
- But focal length also affects how close you need to stand.
- Instead of memorising “85mm is best for portraits,” understand what different focal lengths allow you to do.
- A 35mm portrait can tell us about the person’s surroundings.
- A 50mm portrait can provide a natural-feeling perspective while still allowing some environment.
- An 85mm or 105mm focal length can make a portrait feel more intimate from a greater working distance.
- There is no single focal length that owns portrait photography.
Focus
For portraits, focus accuracy matters because viewers naturally look toward the face and eyes.
If your camera has reliable eye-detection autofocus, it can be extremely useful. But autofocus is not a substitute for observation. You still need to decide where you want the focus to be and whether the camera is actually focusing where you expect.
And remember:
A sharply focused portrait is not automatically a successful portrait.
Sharpness is a technical achievement. Connection is a photographic one.
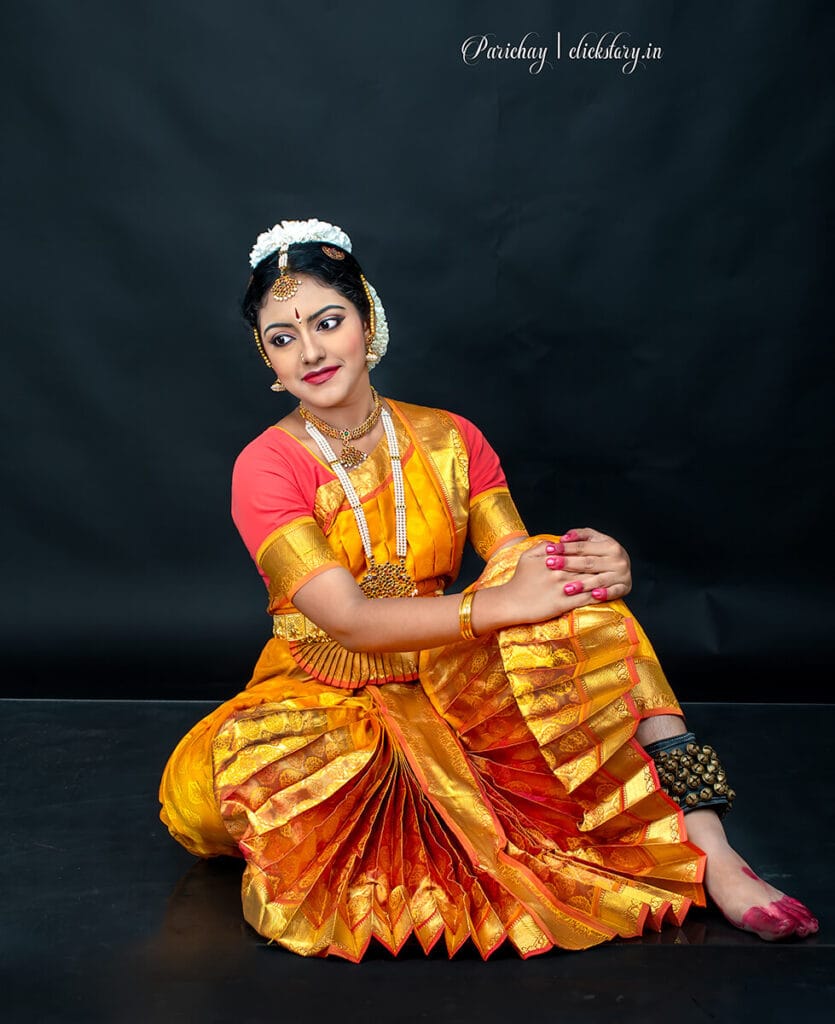
You Don’t Need the Ideal Lens
Portrait photography is often presented as if you need a specialist lens before you can begin.
- An 85mm f/1.8.
- A 50mm f/1.4.
- A 70–200mm f/2.8.
These lenses can certainly be useful.
But the photographer who owns only one versatile zoom lens should not feel excluded from portrait photography.
Imagine someone using an 18–105mm lens with a maximum aperture of around f/4 at the wider end and becoming progressively slower as they zoom.
They may look at photographs made with an 85mm f/1.4 and conclude:
“I cannot make portraits like that because I don’t have the lens.”
That conclusion is too quick.
At 85mm or 105mm, the photographer can still create strong subject separation by increasing the distance between the subject and background.
- They can also move closer or farther away to change the composition.
- They can look for cleaner backgrounds.
- They can use shade, window light or evening light.
- They can position the subject against a distant background rather than a wall only a few feet behind them.
- They may not reproduce the exact visual characteristics of an f/1.4 lens.
But they can make a completely different—and potentially very good—portrait.
This is an important distinction.
You do not need to reproduce another photographer’s photograph. You need to make your own photograph with the equipment you have.
When the Equipment Becomes a Limitation
Suppose your lens only opens to f/4.
What do you do?
You have several options before buying anything.
Change Your Position
- Move closer if the composition requires it.
- Or move farther away if you need a different relationship between subject and background.
- Position yourself so that the background becomes visually simpler.
A small change in your position can sometimes do more for a portrait than changing the aperture.
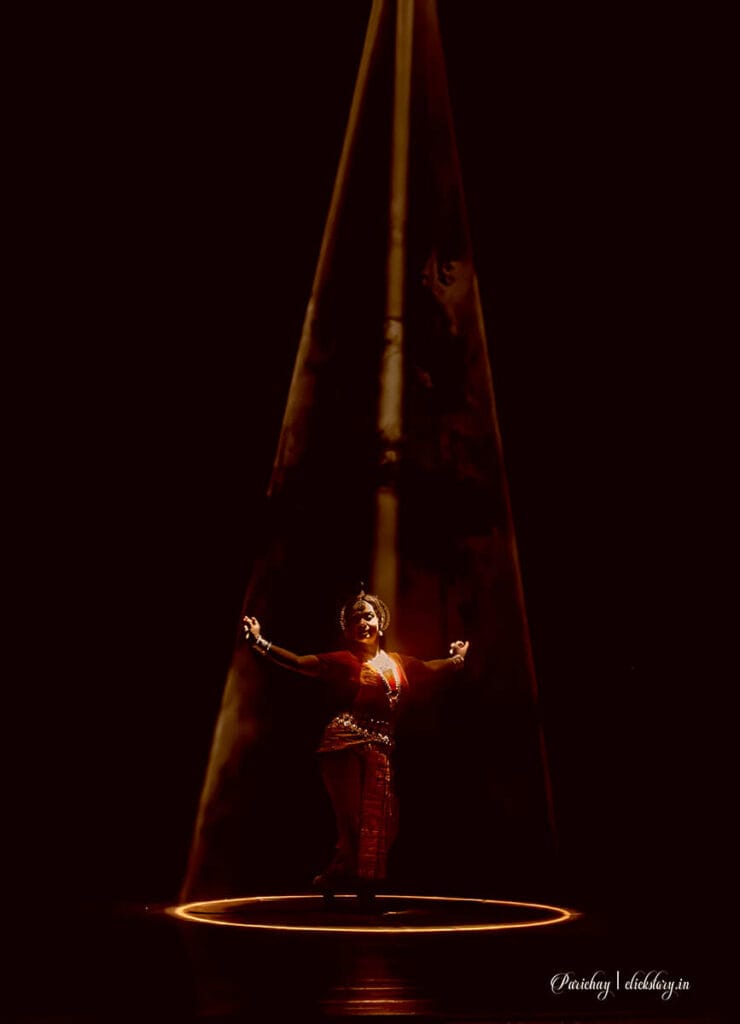
Change the Distance Between Subject and Background
This is particularly important when you are working with a slower lens.
Suppose your subject is standing two metres in front of a wall. The background may remain relatively recognisable. Now place the subject much farther away from that wall. The background can become softer and less distracting even though your lens aperture has not changed.
This is not a trick.
It is simply understanding how photographic relationships work.
Change the Composition
- You do not always need a head-and-shoulders portrait.
- Use the environment.
- If the background is interesting, include it.
- If it is distracting, simplify it.
-> Perhaps your lens does not give you extreme background blur.
-> Then make the photograph interesting through composition, light, colour, expression and context.
-> A portrait does not become meaningful merely because the background disappears.
Change the Light
- Look for open shade.
- Use a doorway.
- Use a window.
- Photograph during softer evening light.
- Move the subject away from harsh overhead sunlight.
- Good light can compensate for many equipment limitations.
And sometimes it produces a more interesting portrait than an expensive lens would.
Three Photographers, Three Different Portraits
Imagine three photographers photographing the same person.
The subject is standing beside an old building during late afternoon.
Photographer One: The Environmental Portrait
Intention: Show the person as part of their surroundings.
Equipment: 18–105mm zoom lens.
Settings: Around 35mm, f/5.6, 1/250 sec, ISO adjusted to the available light.
Approach: The photographer keeps enough of the building visible to give context.
Result: The viewer learns something about both the person and the place.
Photographer Two: The Intimate Portrait
Intention: Concentrate attention on the person’s expression.
Equipment: A medium telephoto focal length.
Settings: Around 85–105mm, f/4, 1/250 sec or faster if needed.
Approach: The photographer moves farther away, frames tightly and places the subject against a distant background.
Result: The face becomes the primary visual element, even without an extremely wide aperture.
Photographer Three: The Atmospheric Portrait
Intention: Create a mood rather than simply record appearance.
Equipment: Whatever lens is available.
Settings: The aperture and shutter speed are chosen according to the available light and desired depth of field.
Approach: The photographer uses the direction of light, shadows and surrounding colour to create atmosphere.
Result: The photograph tells us something about the moment rather than simply showing what the person looked like.
Three photographers -> One subject -> Three different photographs.
There is no reason they should use identical settings. They were solving different photographic problems.
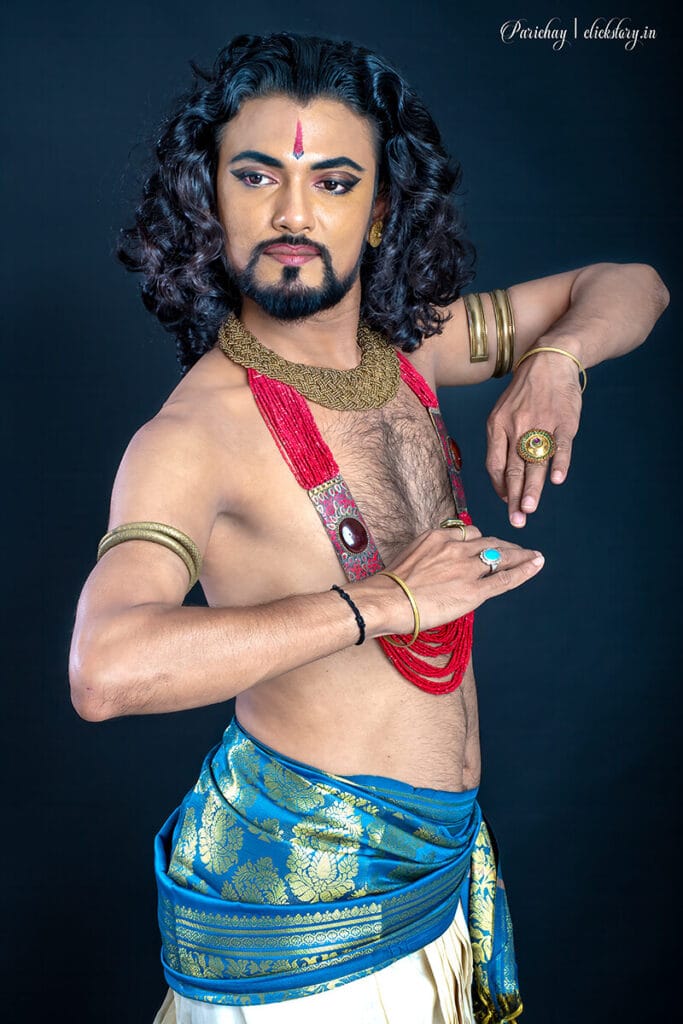
The Light Changes Everything
Portrait photographers often talk about settings as if the subject exists independently of light.
It doesn’t.
The light is part of the portrait.
Soft Light
- Soft window light or open shade can produce gentle transitions across the face.
- This is often forgiving and useful for portraits.
- Your main technical concern may simply be keeping enough shutter speed to prevent movement.
- If your subject is still, you have more flexibility.
Hard Light
- Direct midday sunlight can create strong shadows under the eyes, nose and chin.
- Instead of immediately changing camera settings, change the subject’s position.
- Move them into open shade.
- Turn them toward or away from the light.
- Use the shadow intentionally.
- The problem may not be exposure.
- The problem may be the quality and direction of the light.
Golden Hour and Evening
- As the sun gets lower, the quality and direction of light change.
- You may have beautiful backlighting or warm side light.
- But remember that light levels are also falling.
- Your camera may need a slower shutter, wider aperture or higher ISO.
- Prioritise the setting that protects the most important part of the photograph.
- If the subject is moving, protect shutter speed.
- If the subject is still and you need more depth of field, you may accept higher ISO.
Low Light
- Low light does not automatically mean “ISO 100 and tripod.”
- For a portrait, your first priority is often the person.
- If the person is moving, use an appropriate shutter speed.
- Then open the aperture as far as your composition requires.
- Then raise ISO as necessary.
- Noise can often be managed.
- Motion blur cannot be magically removed after the photograph is made.
The principle is:
Do not memorise settings for light. Learn to read the light and then choose the settings.
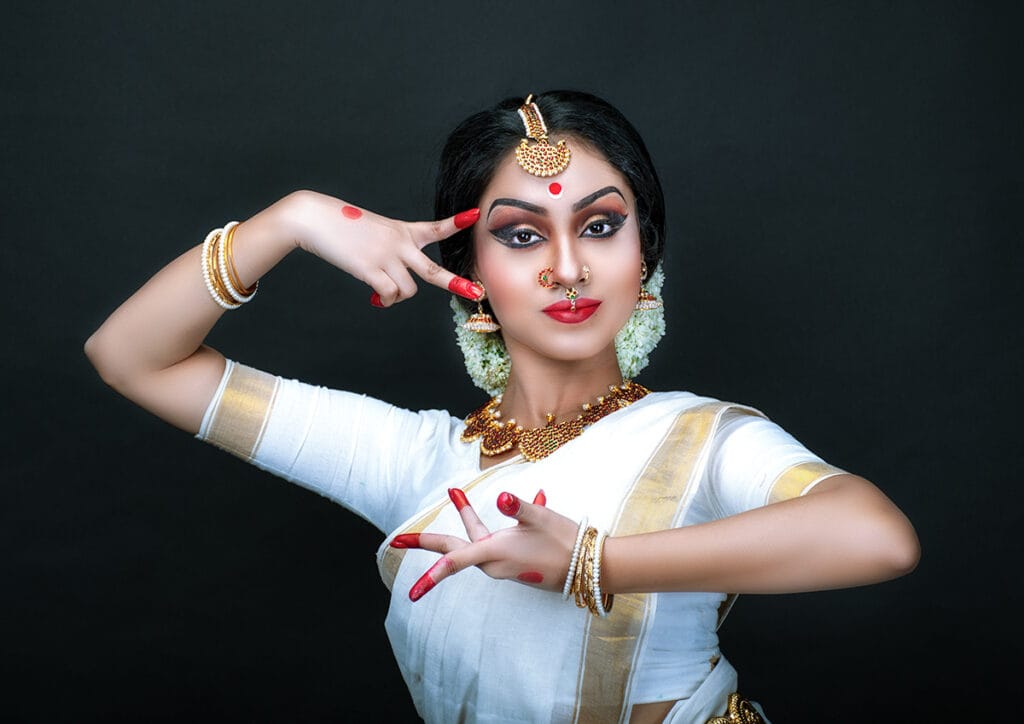
One Subject, Four Different Portraits
Imagine photographing the same person in the same location.
The person has not changed.
Your intention has.
1. The Environmental Portrait
What you want to show: The person and the place they belong to.
Possible settings: 35mm, f/5.6, 1/250 sec, ISO according to the light.
Why: A smaller aperture helps retain more environmental detail.
2. The Classic Portrait
What you want to show: The person as the dominant subject.
Possible settings: 70–105mm, f/4, around 1/250 sec, appropriate ISO.
Why: The longer focal length and tighter composition can reduce visual distractions while the wider aperture available on the lens provides some separation.
3. The Candid Portrait
What you want to show: The person’s natural behaviour rather than a posed expression.
Possible settings: A shutter speed around 1/250 sec or faster, aperture selected according to the light and desired depth of field, Auto ISO if appropriate.
Why: The priority is being ready for movement and changing moments.
4. The Atmospheric Portrait
What you want to show: Mood, light and emotion.
Possible settings: Whatever combination best preserves the intended atmosphere—perhaps a wider aperture, a faster shutter and a higher ISO as the light falls.
Why: The technical settings serve the mood rather than existing as an end in themselves.
The subject did not change.
Your intention did.
Therefore, the settings changed.
The Mistake Photographers Often Notice Too Late
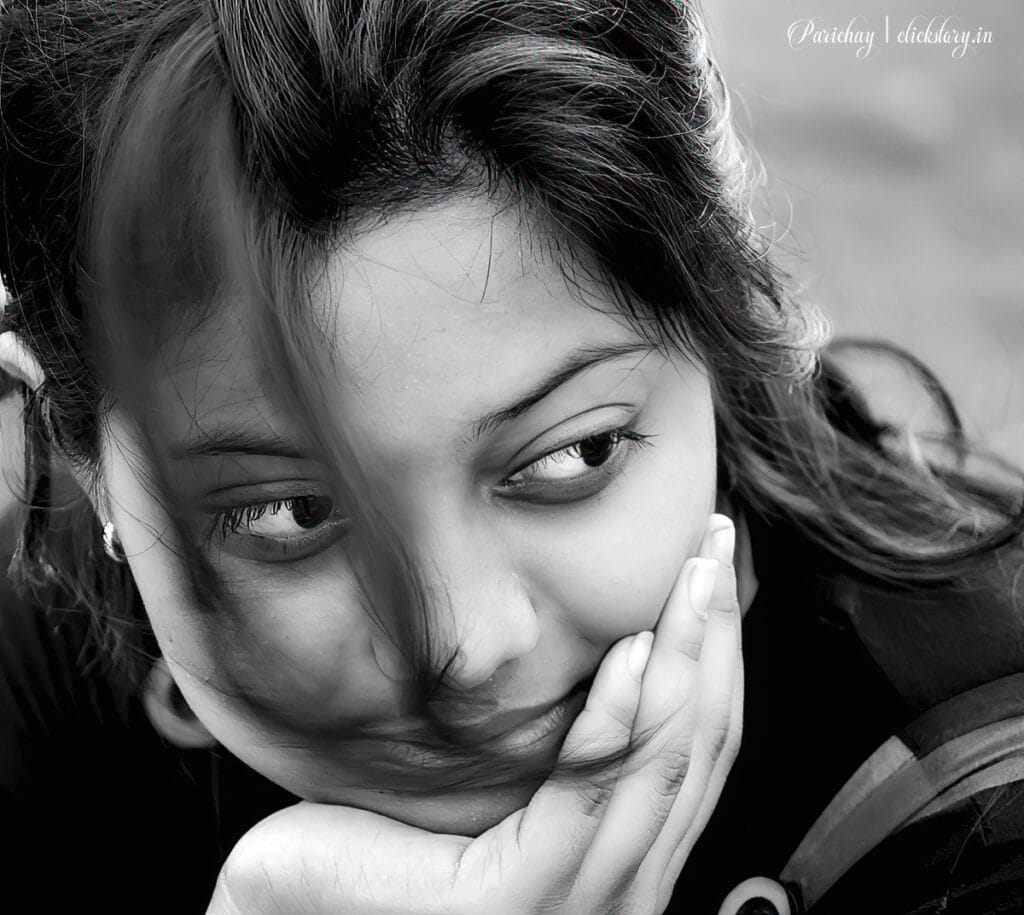
One of the biggest mistakes in portrait photography is producing a technically impressive photograph that says very little.
- The eyes are sharp.
- The background is beautifully blurred.
- The skin is well exposed.
- The composition follows all the rules.
And yet the person feels absent.
Why?
Because the photographer became more interested in making a portrait photograph than photographing a person.
Sometimes we become so concerned with settings that we forget to communicate with our subject.
- We forget to wait.
- We forget to observe.
- We forget that a person’s expression can change in a fraction of a second.
A portrait can be technically imperfect and emotionally powerful.
The opposite is also true.
A technically flawless portrait can feel empty.
So before pressing the shutter, ask yourself:
What am I seeing in this person right now?
- Maybe it is confidence.
- Maybe uncertainty.
- Maybe laughter.
- Maybe tiredness.
- Maybe quietness.
- Maybe nothing obvious at all.
Your job is not always to manufacture an expression. Sometimes it is simply to notice one.
What Changes When You Change the Distance?
Distance is one of the most overlooked controls in portrait photography.
Imagine photographing a person with the same camera and lens.
Stand relatively close to your subject and make the portrait. Then step back, switch to a longer focal length, and move until the subject occupies almost the same space in the frame.
At first, the two photographs may appear remarkably similar.
But look a little longer.
The framing might be almost identical, yet the photographs can feel completely different. The relationship between the person and the surroundings has changed. The background may appear more compressed, distant elements can seem to draw closer together, and the face itself may render differently—not simply because you changed the lens, but because you changed your position in relation to your subject.
This is an important distinction that often gets lost in the familiar advice to “use an 85mm lens for portraits.”
An 85mm lens can certainly be a wonderful choice for portrait photography. But the lens is only one part of the equation. Your camera-to-subject distance, the subject’s distance from the background, the focal length you choose, and the way these elements interact all contribute to the final photograph.
The photograph is shaped not only by the lens you use, but by where you stand.
And once you begin to understand that, focal length stops being a number you simply memorise and becomes a creative decision.
You are no longer asking, “Which lens should I use?”
You are asking a more interesting question:
“What do I want this portrait to feel like?”
Practical Camera Settings for Portrait Photography
The following settings are useful starting points, not universal rules.
| Portrait Situation | Aperture | Shutter Speed | ISO | Focus | Main Purpose |
|---|---|---|---|---|---|
| Person sitting still | f/2.8–f/5.6 | 1/125–1/250 sec | 100–800+ | Eye/AF-S or AF-C as appropriate | Controlled portrait |
| Outdoor portrait in good light | f/2.8–f/5.6 | 1/250 sec+ | 100–400 | Eye AF | Natural-light portrait |
| Moving subject | f/2.8–f/5.6 | 1/500 sec+ | Auto/200–1600+ | Continuous AF/eye AF | Freeze movement |
| Environmental portrait | f/4–f/8 | 1/125–1/250 sec | 100–800+ | Eye AF/single-point as needed | Show person and place |
| Evening portrait | f/2.8–f/4 | 1/125–1/250 sec | 800–3200+ | Eye AF | Preserve atmosphere |
| Very low-light portrait | Widest practical aperture | Fast enough for movement | Higher ISO | Reliable eye/face focus | Preserve subject and mood |
The settings you begin with are just that—a beginning.
If your subject starts moving, shutter speed may need to go up. If you want more of the scene to remain sharp, stop down the aperture. And when the light begins to disappear, raising the ISO may be a far better choice than allowing motion blur to ruin the moment.
Sometimes the problem isn’t the camera settings at all.
Perhaps the background is too distracting. Before reaching for another lens, try moving yourself. Change the subject’s position. Find a different angle. A small shift in where you stand can transform the photograph more dramatically than changing equipment ever could.
And when the situation changes faster than you can react, Auto ISO can be a remarkably useful tool. There is little value in protecting a beautifully low ISO number if, in doing so, you miss the photograph.
This is where photography becomes less about chasing perfect settings and more about making sensible decisions.
The goal is not to keep ISO as low as possible.
The goal is to make the photograph.
If You Have Only One Lens
This deserves special attention because not every photographer owns an 85mm f/1.8 or a 70–200mm f/2.8.
Suppose your only lens is an 18–105mm zoom with a maximum aperture around f/4 at the wide end and a smaller maximum aperture as you zoom.
You can still make portraits.
- At 18–35mm, you can create environmental portraits where the surroundings contribute to the story.
- At 50–70mm, you can create more conventional compositions while maintaining some context.
- At 85–105mm, you can work farther from your subject and create tighter portraits with useful background compression and separation.
You may not get the extremely shallow depth of field associated with a very fast prime lens.
That’s fine.
- Use the limitations intelligently.
- Place your subject farther from the background.
- Look for uncluttered surroundings.
- Use evening light.
- Use backlighting.
- Use shadows.
- Move yourself rather than waiting for the lens to solve the composition.
And don’t forget something photographers sometimes overlook:
A portrait does not need a completely blurred background.
Sometimes the background is part of the story.
If your subject is a musician, teacher, craftsman, traveller, athlete or artist, removing everything around them may actually remove useful information.
Your 18–105mm lens may not give you the same photograph as an expensive portrait prime.
But it can give you a photograph that the expensive lens cannot: one that includes the environment you chose to keep.
The limitation may change the photograph you make. It does not prevent you from making one.
What About the Photographer Who Is Just Starting?
Learn by Photographing, Not by Memorising
Don’t begin portrait photography by trying to memorise twenty different combinations of aperture, shutter speed and ISO. Photography becomes much easier when you stop treating settings as answers and start treating them as decisions.
Begin simply.
One camera. One lens. One person.
If you are still learning exposure, Aperture Priority can be a useful place to start. Choose an aperture based on how much of the scene you want to keep in focus, then keep an eye on the shutter speed your camera is selecting. If it begins to fall too low for your subject, raise the ISO or open the aperture.
But don’t spend the entire session staring at the numbers.
Look at the light.
Watch how it falls across the face. Notice where the shadows appear. See what happens when your subject turns slightly toward the window, or away from it. Photography starts making more sense when you begin connecting what you see with what the camera is doing.
And then keep photographing. Don’t make one portrait and move on. Make ten. Then twenty.
The first photograph might be ordinary. The fifth may reveal something you didn’t notice at the beginning. By the fifteenth, you may start anticipating the expression, the light, or the moment before it happens.
Move three steps to one side. Ask your subject to turn toward the window. Then change your position again. Watch how the background shifts, how the light changes across the face, and how a small movement can alter the entire mood of the photograph.
This is how settings gradually stop feeling like technical decisions and start becoming instinctive.
You don’t learn portrait photography by memorising what to set.
You learn it by photographing, observing, adjusting—and photographing again.
A Simple Exercise to Understand Portrait Photography
You can do this exercise with almost any camera and lens.
The Exercise
- Photograph one person in the same location.
- Make one portrait showing the environment.
- Move closer and make a tighter portrait.
- Change your position relative to the light.
- Change the distance between your subject and the background.
- Compare all the photographs.
Now ask yourself:
What changed?
- Was it the aperture?
- The focal length?
- The background?
- The direction of light?
- The subject’s expression?
- Your distance?
- Your perspective?
Probably more than one thing.
The important lesson is that portrait photography is not about finding one perfect setting.
- It is about understanding relationships.
- Camera to subject.
- Subject to background.
- Subject to light.
- Photographer to subject.
- And moment to moment.
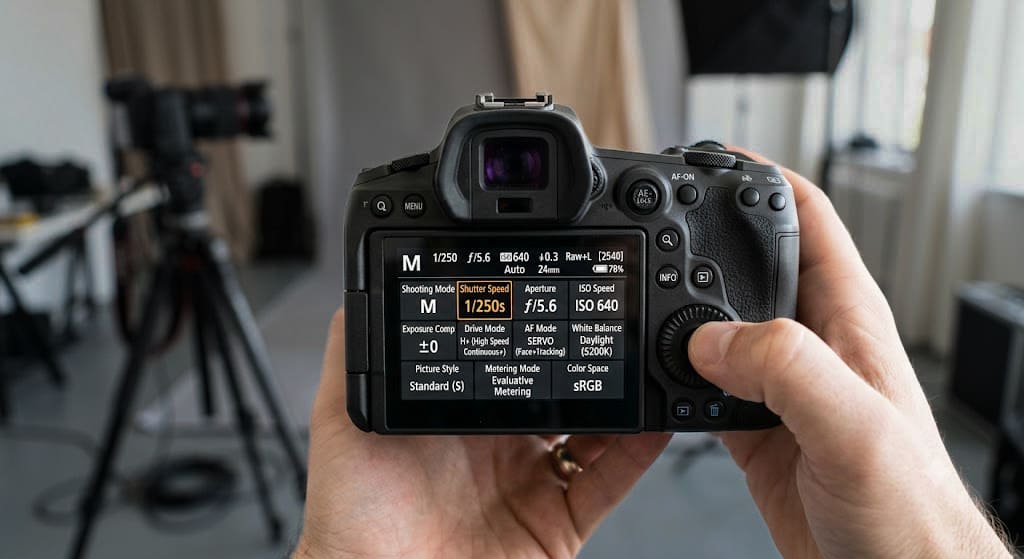
If You Remember Only Five Things
- Aperture is not a portrait preset.
Choose it according to how much of the photograph you want in focus. - Protect shutter speed when your subject moves.
A noisy photograph can often be useful. A blurred expression may not be. - Light matters more than equipment.
Before changing lenses, look at where your subject is standing. - Your distance changes the photograph.
Move yourself before deciding that you need different equipment. - Sharpness is not the same as connection.
The most important part of a portrait may have nothing to do with the settings displayed on the camera.
The Person Comes Before the Portrait
Eventually, the numbers on your camera should become quieter.
Not because they are unimportant, but because you understand what they are doing.
You no longer need to ask, “What is the correct portrait setting?” every time someone stands in front of your camera.
- You look.
- You see the light.
- You notice the background.
- You notice how the person is standing.
- You notice whether they are comfortable or restless.
- You decide what you want to remember about this moment.
Then you choose the settings.
- Perhaps that means f/2.
- Perhaps it means f/4.
- Perhaps it means f/8.
- Perhaps ISO 100 is appropriate.
- Perhaps ISO 1600 is the better decision.
- Perhaps your expensive lens stays in the bag and the 18–105mm you already own makes the photograph.
There is no contradiction in any of this.
Photography is not a competition to discover the smallest aperture, lowest ISO or widest lens. The settings are simply the language through which you translate what you saw. And sometimes the most important thing you can do before pressing the shutter is not change a setting at all. It is to spend another few seconds looking at the person.
Because before there is a portrait, there is a person. And that person—not the aperture, not the lens, not the camera—is where the photograph begins.

Seriously it helps. Thanks
The images you captured are too good. Lovely article.