

When the Moment Moves Faster Than Your Decisions
Imagine standing beside a cricket field on a late afternoon. A batter strikes the ball, a fielder dives to stop it, and a cloud briefly covers the sun. You raise your camera, press the shutter, and review the photograph. The player’s face is slightly blurred, the ball has disappeared into the background, and the moment you wanted to preserve looks nothing like what you saw.
Your camera may have been working perfectly. The problem was that the settings did not match the action unfolding in front of you.
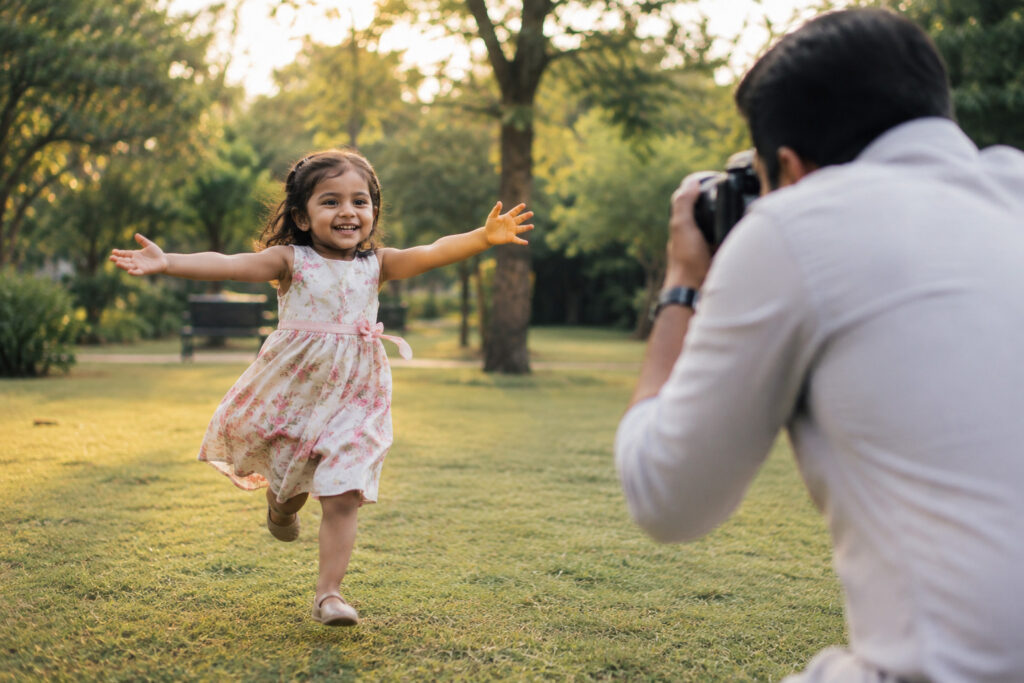
Now imagine photographing a child running through a garden, a dog jumping to catch a ball, or a cyclist passing through a narrow street. Each situation presents a different challenge. Some movements happen predictably, while others are sudden. Some subjects are moving toward you, while others cross the frame. Bright sunlight makes fast shutter speeds easy to achieve, but indoor lighting can make the same photograph surprisingly difficult.
It is natural to ask, “What camera settings should I use?”
The answer depends on more than how fast the subject moves. You must also consider the direction of movement, the distance between you and the subject, the available light, the lens you are using, and the kind of photograph you want to create.
The best camera settings for moving subjects are the settings that control the movement you want to preserve, reveal, or deliberately blur.
Once you understand this idea, photographing action becomes less about memorizing numbers and more about making decisions before the decisive moment arrives.
The Question Photographers Keep Asking
“What are the best camera settings for moving subjects?”
It is one of the most common questions among photographers learning to photograph action. A photographer wants sharp photographs of running children, moving vehicles, birds in flight, athletes, or animals, and naturally looks for a reliable combination of shutter speed, aperture, ISO, and autofocus.
The difficulty is that moving subjects do not behave in the same way.
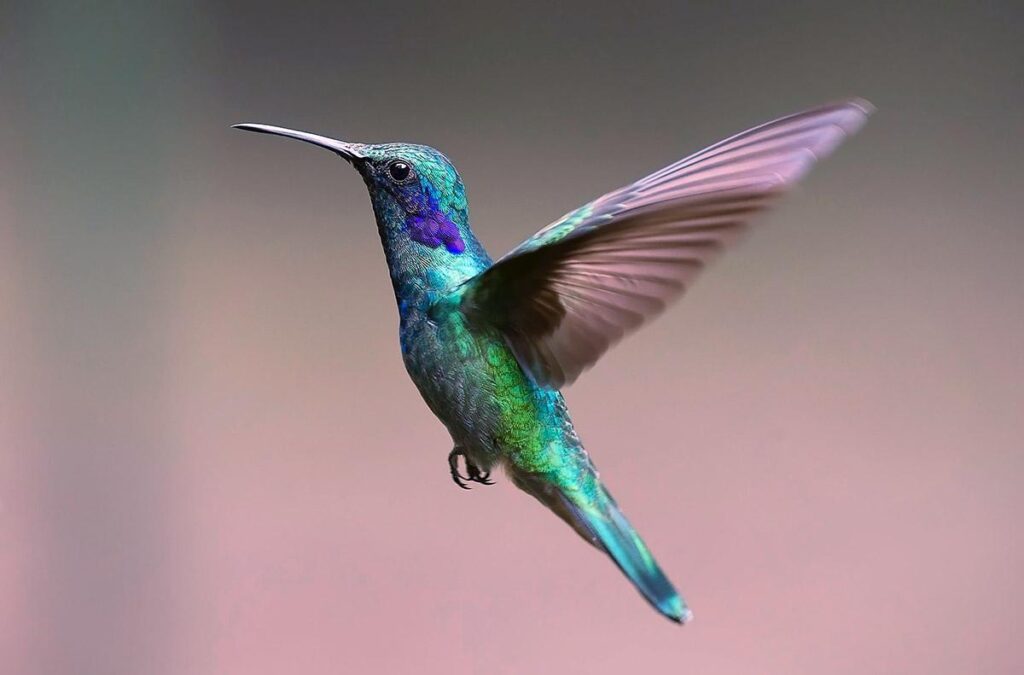
A person walking slowly across a bright street may be photographed successfully at 1/250 second. A sprinter accelerating toward the finish line might require 1/1000 second or faster. A bird flapping its wings may need an even faster shutter speed, depending on the desired detail. Meanwhile, a cyclist photographed with a deliberate panning technique may look more dynamic at 1/60 second than at 1/2000 second.
The light changes the decision, too. A shutter speed of 1/1000 second is relatively easy to achieve outdoors at midday. Indoors, the same setting may require a wide aperture and a high ISO.

Even sharpness is not always the final objective. Sometimes you want every detail frozen. At other times, you want a blurred background that suggests speed or a little motion in the subject’s limbs that makes the photograph feel alive.
Instead of asking only which settings are best, ask a more useful question:
What does this particular photograph require my camera to do?
That question helps you choose settings with a purpose.
The First Decision Is Not on Your Camera
Before changing a setting, observe the subject for a few seconds if the situation allows it. Understanding the movement can be more useful than immediately selecting the fastest shutter speed available.
Start by asking what is actually moving. Is the entire subject moving across the frame? Are only the hands, wings, wheels, or legs moving quickly? Is the subject approaching you, moving away, or crossing from one side to the other?
These differences matter because apparent motion depends on direction and distance as well as actual speed. A runner crossing close in front of you can move across the frame much faster than a runner moving directly toward you at the same physical speed.
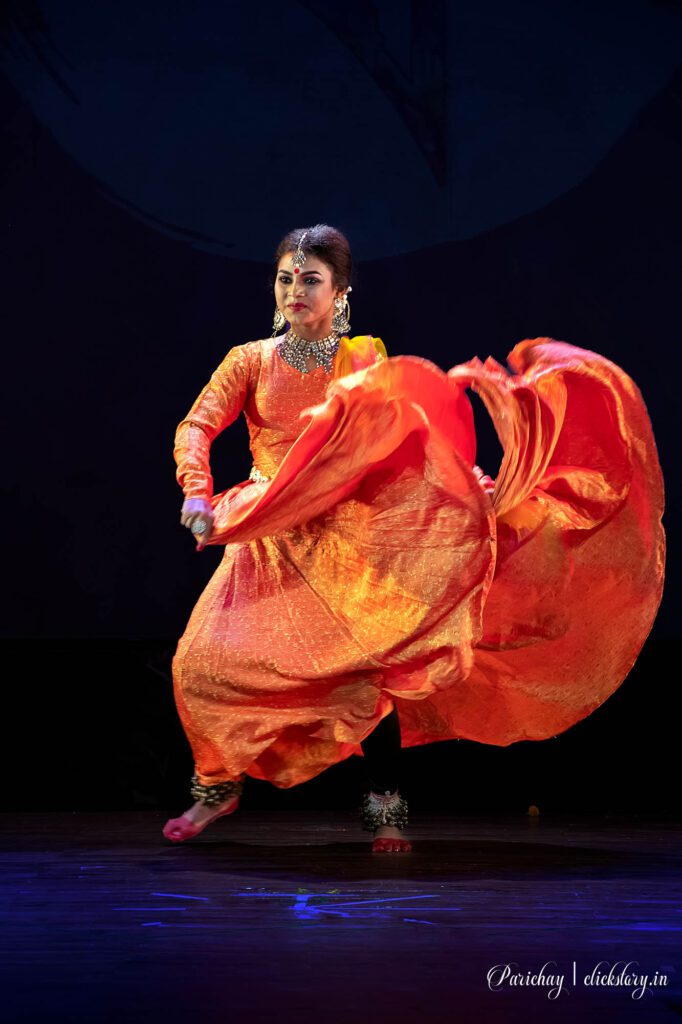
Next, decide what needs to be sharp. If you are photographing a group of dancers who jumps at a time, you might want the eyes, face, and body posture to be clearly defined. If you are photographing a train entering a station, you might prefer the front of the train to be sharp while the platform and background show some movement or vice versa.

Then examine the light. Is the subject in direct sunlight, open shade, or a dim indoor space? Is the light changing? Can you move closer, change your position, or wait for the subject to pass through a brighter area?
Finally, consider your intention. Do you want a clean action photograph that freezes the event, or do you want to communicate speed and energy?
Your answers determine the settings that make sense.
When You Find Yourself Photographing a Runner
Consider the runners are starting to run during an outdoor race. The light is reasonable, the runner is moving quickly, and you want to capture the expression on their face while keeping the body and clothing reasonably sharp.
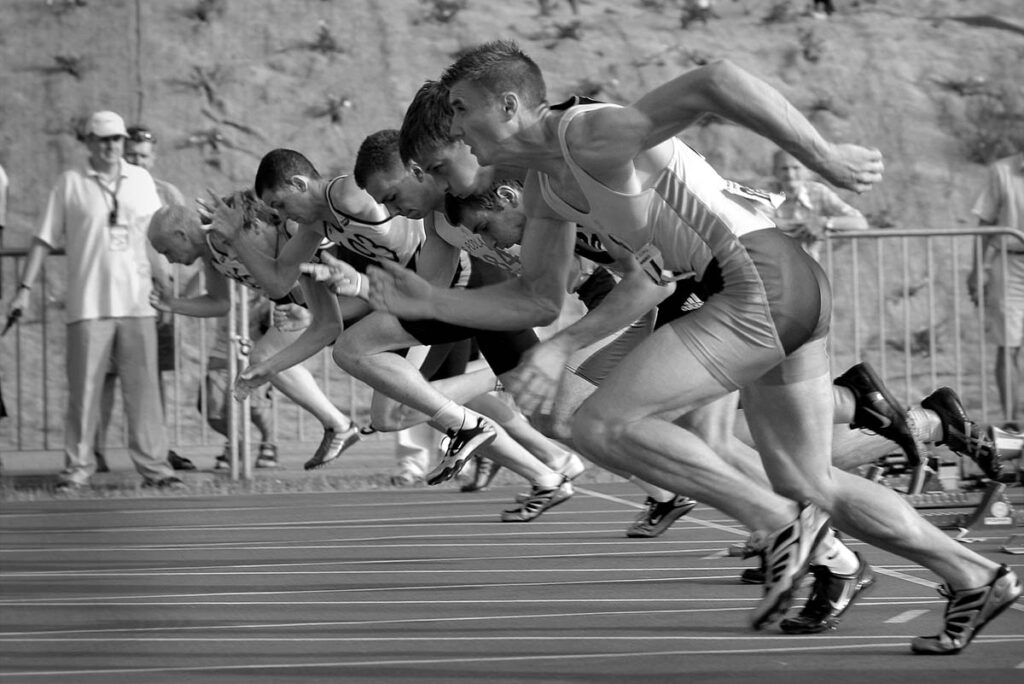
The main problem is motion blur. Even if your camera focuses accurately, a shutter speed that is too slow can record the runner’s movement during the exposure. The result may have a sharp background but a blurred face or limbs.
A useful starting point is 1/1000 second, continuous autofocus, and burst shooting. If the runner is moving very quickly across your frame, or if you want to freeze a particular instant such as a foot striking the ground, you may want to try 1/1600 or 1/2000 second. For slower movement or a more relaxed running scene, 1/500 second may be sufficient.
The aperture might be around f/4 to f/5.6 if you want to separate the runner from the background while maintaining enough depth of field for focusing errors to be less noticeable. If several runners need to remain sharp, f/5.6 to f/8 may be more appropriate, provided the light allows it.
What happens if you choose 1/250 second instead? You may capture a perfectly usable photograph, particularly if the runner is moving toward you rather than rapidly across the frame. However, the arms, legs, or face may show some blur. That blur could be undesirable if your intention is to freeze the action.
If the light becomes too dim, do not automatically lower the shutter speed until the photograph becomes blurred. Increase ISO, open the aperture if possible, or move to a brighter position. If none of these options works, accept that you may need to compromise between noise, depth of field, and motion sharpness.
The important lesson is to choose a shutter speed for the movement you need to capture, then adjust the other settings to support it.
Understanding the Settings That Matter Most
Shutter Speed: Your Main Tool for Controlling Motion
Shutter speed determines how long the camera records light. It also determines how much movement can occur during the exposure.
For moving subjects, shutter speed is often the first setting to consider because motion blur cannot usually be corrected simply by making the photograph brighter or sharpening it later.

Here are some useful starting points:
| Shutter speed | Possible use |
|---|---|
| 1/60–1/125 sec | Slow movement, intentional blur, or careful panning |
| 1/250 sec | Walking people, slower movement, some casual activities |
| 1/500 sec | Children playing, moderate action, many outdoor activities |
| 1/1000 sec | Running, many sports situations, active pets |
| 1/2000 sec or faster | Fast action, sudden movements, selected wildlife and sports moments |
These are not guarantees. A bird flapping its wings, a tennis player striking a ball, and a child running toward the camera may require different shutter speeds even if their movements appear equally energetic.
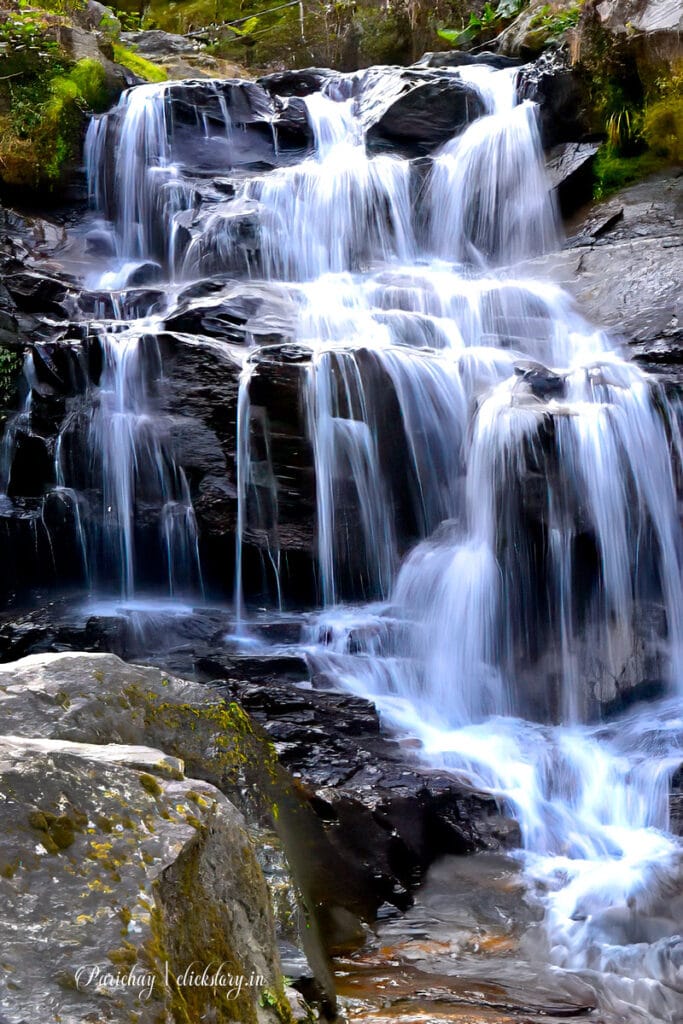
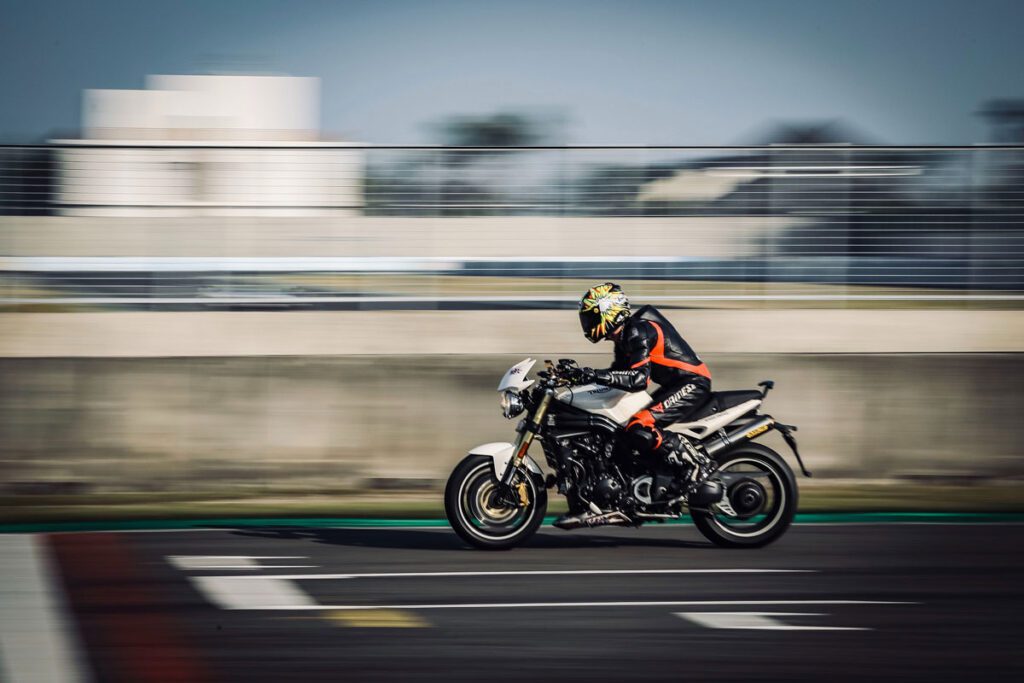
A slower shutter speed is not necessarily a mistake. At 1/60 second, a cyclist may appear sharp enough through a panning technique while the background becomes streaked. A waterfall or spinning wheel may also benefit from visible motion.
The question is not simply how to eliminate blur. It is whether the blur supports the photograph you are trying to make.
Aperture: Balancing Light and Depth of Field
Aperture controls the amount of light entering the camera through the lens and influences depth of field—the range of distances that appear acceptably sharp.
A wide aperture, such as f/2.8 or f/4, can help you maintain a fast shutter speed in limited light. It can also soften a distracting background, making the subject more prominent.
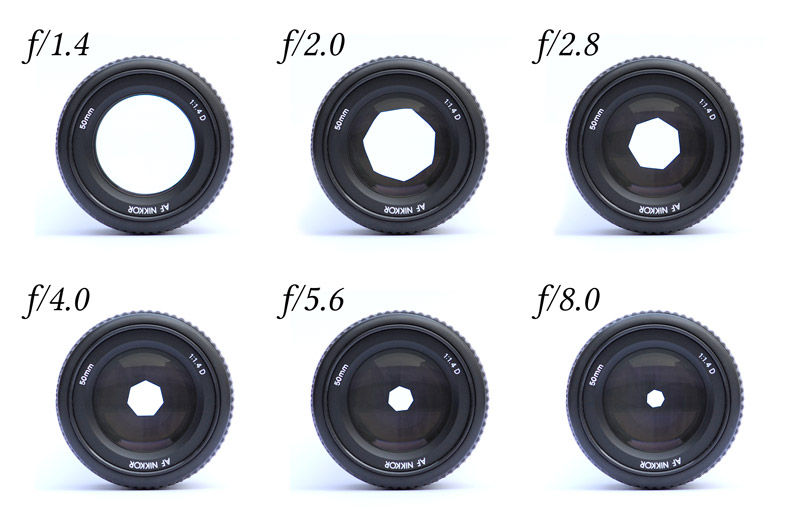
However, a very wide aperture reduces depth of field. If a child runs toward you and changes distance quickly, focusing becomes more demanding. If several players are spread across a field, a wider depth of field may help keep more of them sharp.
A setting around f/5.6 can be a useful compromise in many outdoor action situations. For group activities, you might try f/8 when there is sufficient light. For indoor action, f/2.8 or the widest available aperture may be necessary.

Remember that the widest aperture is not automatically the best aperture. Choose it according to the light, the subject’s distance, and how much of the scene needs to remain sharp.
ISO: Keeping the Shutter Speed Fast Enough
ISO determines how strongly the camera amplifies the recorded signal. Raising ISO makes it easier to use a faster shutter speed or a smaller aperture in limited light, although it can increase visible noise and reduce some image quality.
Suppose you are photographing a basketball game in a dim indoor court. At ISO 400, your camera may only provide 1/250 second at the aperture you have selected. If the players are moving quickly, that shutter speed may not be enough.
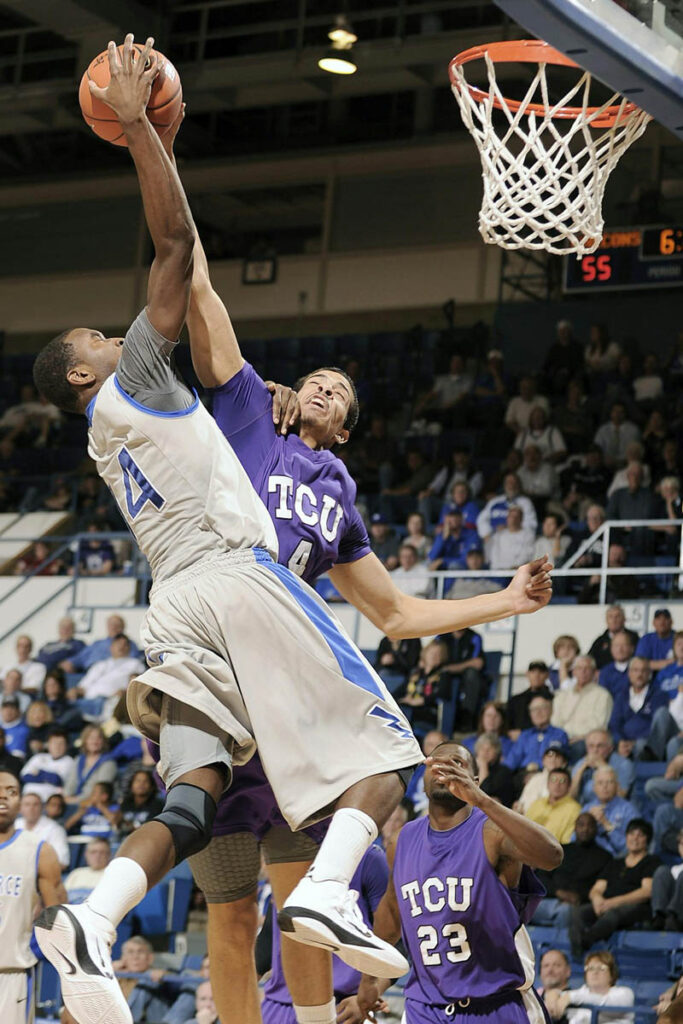
Increasing ISO to 1600, 3200, or higher may allow you to reach 1/800 or 1/1000 second, depending on the lighting and lens. The resulting photograph may show more noise, but the action could be much sharper.
A noisy photograph with a clear expression and frozen movement is often more useful than a clean photograph with an unintentionally blurred face.
Auto ISO can be particularly helpful when light changes frequently. You can choose a minimum shutter speed or use Manual mode with a fixed shutter speed and aperture, allowing ISO to adjust automatically. Check how your camera implements Auto ISO, because options differ between models.
Focus: Keeping Up With a Changing Subject
When photographing moving subjects, continuous autofocus is usually the most useful starting point. It is called AF-C on many Nikon and Sony cameras and AI Servo on many Canon cameras. Other manufacturers may use different labels.
Unlike single autofocus, continuous autofocus keeps adjusting focus as the subject changes distance, provided the camera can track it successfully.
For a runner moving toward you, use a suitable tracking area and continuous autofocus. If your camera offers subject recognition for people, animals, or vehicles, try it when the detected subject matches your scene. Eye detection can help with portraits of moving people, but it is not infallible, particularly when the subject turns away or becomes obstructed.
For a predictable subject crossing a fixed point, you may also pre-focus on the area where the action will occur. This can be useful when photographing a runner passing a finish marker or a cyclist riding through a particular section of a course.
Manual focus can work well when the distance is predictable, the camera struggles with low contrast, or the subject repeatedly passes through the same position. It is less convenient when the subject is constantly changing distance.

No autofocus mode can guarantee sharp results. Good tracking technique, a suitable focus area, and anticipating the subject’s movement remain important.
Drive Mode: When One Frame Is Not Enough
Burst or continuous shooting allows the camera to record several photographs while the shutter button is held down.
This is useful when the decisive moment happens quickly: a footballer heading a ball, a child jumping, or a dog catching a toy. A short burst may give you several slightly different expressions and body positions to choose from.
However, burst shooting is not a replacement for timing. Long bursts can fill your memory card, make reviewing photographs difficult, and sometimes cause the camera’s buffer to fill.
Use short, intentional bursts around the important moment. Also check your camera’s continuous autofocus and burst settings to ensure that focus tracking remains active during a sequence.
You Don’t Need the Ideal Equipment
You do not need an expensive professional camera to photograph moving subjects successfully. A basic mirrorless camera or DSLR with a kit lens can capture running children, cyclists, pets, and many sporting activities.
The main challenge is understanding what your equipment can and cannot do.
A standard 18–55mm kit lens may have a maximum aperture around f/3.5–5.6, depending on the focal length. That is often sufficient in daylight, but it becomes restrictive in dim conditions, especially when you need a fast shutter speed.
An older camera may have less reliable subject tracking or produce more visible noise at high ISO. You can still improve your results by anticipating the action, choosing a suitable focus area, and photographing in better light when possible.
A telephoto zoom lens can help you fill the frame when you cannot approach the subject. A fast prime lens can make indoor action easier by allowing more light into the camera. Neither is mandatory for every type of moving-subject photography.
The most useful equipment is the equipment that allows you to make the photograph you actually want. Learning to anticipate movement and manage the available light will often improve your results more than purchasing a new lens without understanding why you need it.
When the Equipment Becomes a Limitation
Every camera and lens has limitations, but those limitations do not always require a purchase to solve.
When your lens does not reach far enough: Look for a position that brings you closer to the action while remaining in a safe and permitted area. You might also compose a wider photograph that includes the surroundings instead of trying to fill the entire frame with the subject.
When your lens is too slow in low light: Open the aperture to its widest available setting, raise ISO, or look for brighter light. If possible, photograph near a window or in a well-lit part of the venue.
When autofocus struggles: Try a more suitable focus area, simplify the background, or pre-focus on a predictable point. A subject moving against a busy background can be difficult for even capable autofocus systems to track.
When your camera struggles at high ISO: Expose the photograph appropriately, avoid unnecessarily underexposing it, and consider whether a slightly slower shutter speed will still give acceptable sharpness. You can also photograph during brighter periods or choose a position with better light.
When you cannot freeze the movement: Consider whether you actually need to freeze it. A panning photograph of a cyclist, a runner with slight motion in the legs, or a vehicle with blurred surroundings can communicate speed effectively.
The best solution is sometimes a different photograph, not a different piece of equipment.
Three Photographers, Three Different Photographs
Imagine three photographers watching the same cyclist ride through a park.
Photographer 1: The Action Photographer
Purpose: Freeze the cyclist at the most exciting moment.
Approach: The photographer tracks the cyclist and takes a short burst as the bicycle passes.
Possible settings: 1/1600 second, f/4.5, Auto ISO, continuous autofocus, and burst mode.
Why: The fast shutter speed helps freeze the rider and bicycle, while the relatively wide aperture helps maintain exposure and separates the subject from the background.
Photographer 2: The Storytelling Photographer
Purpose: Show the cyclist as part of the park rather than isolating the rider.
Approach: The photographer includes the path, trees, and surrounding environment, using a wider composition.
Possible settings: 1/500 second, f/8, ISO 400–800 depending on the light, and continuous autofocus.
Why: A moderately fast shutter speed may be sufficient for the movement, while f/8 provides greater depth of field to keep more of the environment recognizable.
Photographer 3: The Creative Photographer
Purpose: Communicate the sensation of speed.
Approach: The photographer follows the cyclist with the camera during the exposure, keeping the rider as steady as possible in the frame while allowing the background to blur.
Possible settings: 1/60–1/125 second, f/8 or a suitable aperture, low ISO when the light allows, and a tracking or continuous focus mode.
Why: The slower shutter speed creates motion streaks in the background. The technique takes practice, and not every frame will be sharp, but the results can feel more dynamic than a completely frozen photograph.
The subject has not changed. The photographer’s intention has changed, so the camera settings change too.
The Light Changes Everything
Bright Midday Sun
Bright daylight makes fast shutter speeds easier to achieve. You may be able to use 1/1000 second or faster without raising ISO significantly.
The challenge is often harsh contrast. A subject moving from sunlight into shade may suddenly become underexposed. Watch the changing light and use Auto ISO or exposure compensation when appropriate.
Overcast Light
Cloudy conditions provide softer light but reduce the amount of light available. This can be helpful for reducing harsh shadows, but you may need a higher ISO to maintain a fast shutter speed.
If the subject is moving quickly, prioritize the shutter speed required for the action rather than automatically keeping ISO low.
Golden Hour
Warm light shortly after sunrise or before sunset can produce attractive photographs of runners, cyclists, and animals. However, the light becomes weaker as the sun approaches the horizon.
A shutter speed that worked earlier may become too slow within a short period. Keep checking the exposure and allow ISO to rise when necessary.
Indoor Sports and Events
Indoor venues can be challenging because artificial lighting is often weaker than daylight. A fast lens and higher ISO can be useful, but the actual settings depend on the venue and the camera.
Start with the shutter speed required for the action, open the aperture as needed, and raise ISO to obtain a workable exposure. If the lighting changes between parts of the venue, monitor the results.
Backlighting
When the subject moves against a bright sky or a strong light source, the camera may expose for the background and leave the subject too dark.
Use exposure compensation or manual exposure where appropriate. If the subject is the priority, make sure the subject’s exposure supports your intention, even if some background highlights become very bright.
One Subject Can Give You Four Completely Different Photographs
Consider a dog running toward a ball in an open field. The subject and location remain the same, but the way you photograph the action can change its meaning.
Photograph 1 — Freeze the Jump
Approach: Capture the dog suspended in the air with its paws lifted and eyes focused on the ball.
Possible settings: 1/2000 second, f/4, Auto ISO, continuous autofocus, and a short burst.

Reason: The fast shutter speed reduces motion blur during the jump. A wide aperture helps maintain exposure and can soften the background.
Photograph 2 — Show the Speed
Approach: Follow the dog with the camera while using a slower shutter speed.
Possible settings: 1/80–1/160 second, f/8 if the light allows, and continuous autofocus.
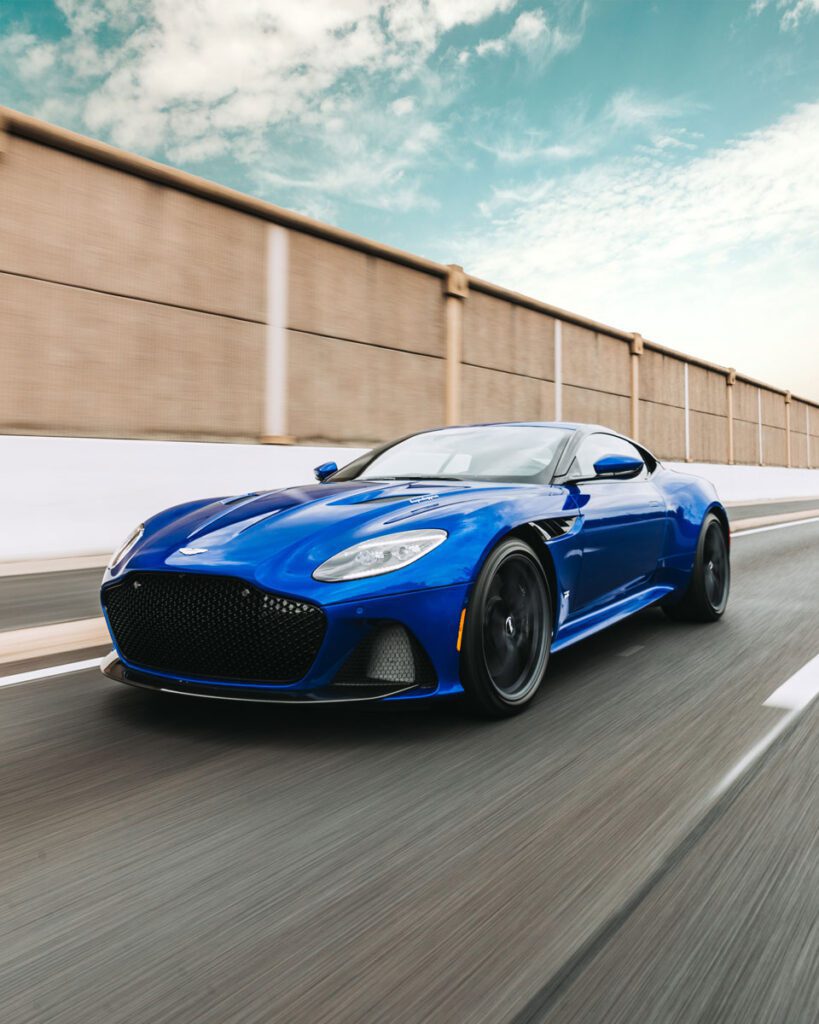
Reason: Panning can keep the dog relatively sharp while the background becomes blurred. The exact shutter speed depends on the dog’s speed, distance, and direction.
Photograph 3 — Include the Environment
Approach: Photograph a dancer through the field, leaving enough space to show where it is going.
Possible settings: 1/500–1/1000 second, f/5.6–f/8, and continuous autofocus.
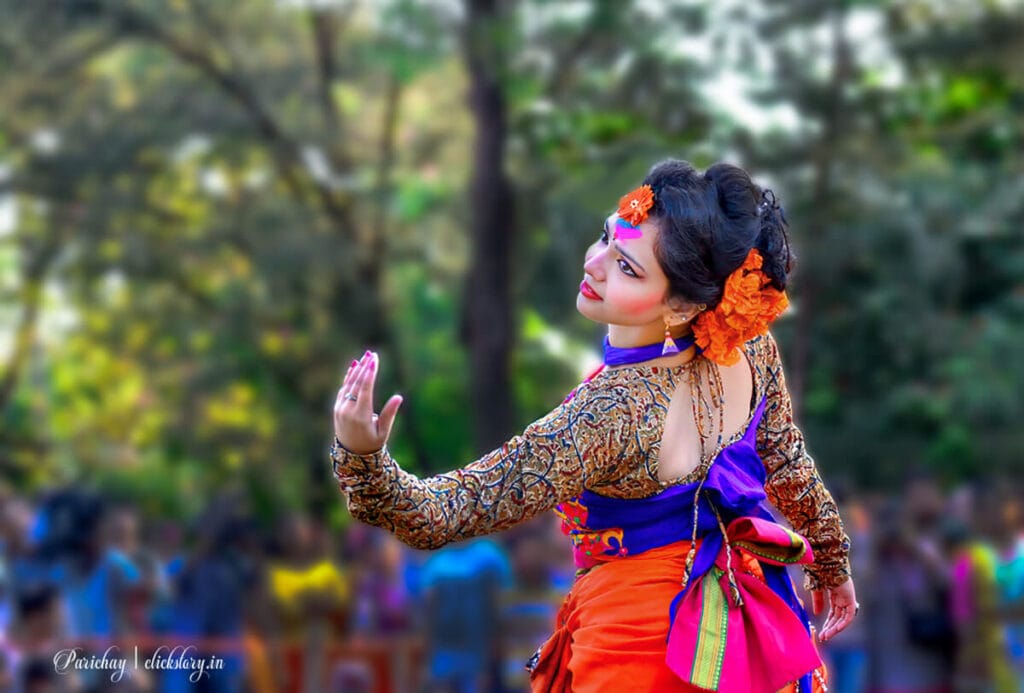
Reason: The faster shutter speed helps preserve the action, while a smaller aperture can keep more of the surroundings sharp. A wider composition gives the movement a sense of direction.
Photograph 4 — Capture the Anticipation
Approach: Photograph the dog just before it begins running, concentrating on its posture and attention toward the ball.
Possible settings: 1/500 second, f/4–f/5.6, and continuous autofocus.
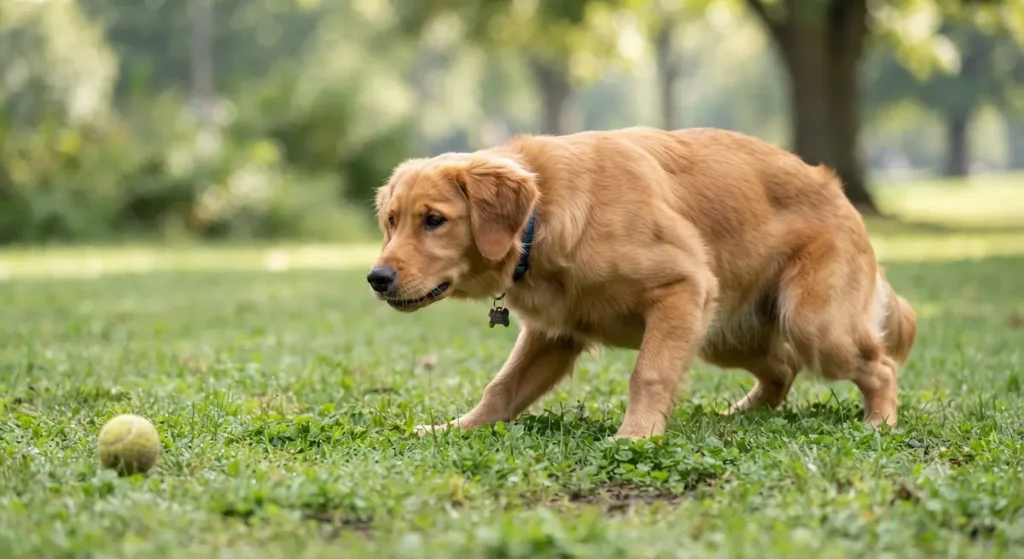
Reason: The photograph is about anticipation rather than maximum speed. A moderately fast shutter speed may be sufficient, while the framing emphasizes the dog’s expression and body language.
The subject is the same, but the photograph changes because the photographer changes the intention.
The Mistake Photographers Often Notice Too Late
One of the most frustrating mistakes in moving-subject photography is getting the exposure right while missing the moment.
You may capture a sharp photograph of a football player, but the player is looking away. You may freeze a runner, but another person overlaps the face. You may photograph a jumping dog at exactly the right shutter speed, only to discover that the ears are hidden behind the head or the ball has already left the frame.
These are not necessarily exposure problems. They are problems of timing, composition, and anticipation.
Photographers often notice them after the event because they concentrate so heavily on the viewfinder’s focus indicators and exposure display that they overlook the larger scene.
Before pressing the shutter, consider a few questions:
- What will the viewer notice first?
- Is anything distracting from the subject?
- Are the edges of the frame clean?
- Is there enough space in front of a moving subject?
- Is the subject’s face or important action visible?
- Does the background support the photograph?
- Am I anticipating the moment or reacting after it has passed?
For moving subjects, it is often useful to leave some space in the direction the subject is travelling. A runner moving toward the right edge of the frame can look cramped if there is no space ahead.
Try watching the subject’s rhythm before taking photographs. A runner may repeat a stride pattern, a cyclist may pass a particular point, and a dog may pause briefly before jumping. Recognizing these patterns helps you anticipate the moment instead of relying entirely on reaction time.
What Changes When You Change Shutter Speed?
Shutter speed is one of the most useful variables to experiment with because it directly affects the appearance of movement.
1/250 Second — Movement Begins to Show
At 1/250 second, a walking person may appear reasonably sharp, but quick hand movements or running legs can show blur. This setting can be useful when the movement is moderate or when a natural sense of motion matters.
1/500 Second — A Practical Middle Ground
At 1/500 second, many everyday activities become easier to photograph. Children playing, people walking briskly, and some casual sports situations can be captured successfully, depending on movement and distance.
However, very fast action may still show blur, especially when the subject crosses the frame close to the camera.
1/1000 Second — Freeze More Action
At 1/1000 second, you have a better chance of freezing running, jumping, and many sporting moments. This is a useful starting point for action photography, but it may not be fast enough for every subject.
If the light is weak, achieving this speed may require a wide aperture and a higher ISO.
1/2000 Second — Preserve Brief Moments
At 1/2000 second, rapid movements can be rendered with greater clarity. This is useful for fast sports, energetic animals, and sudden actions where fine detail matters.
The trade-off is that the camera receives less light during the exposure. You may need to increase ISO, open the aperture, or photograph in brighter conditions.
The purpose is not to find one perfect number. It is to understand what happens when you change the number.
Practical Camera Settings for Moving Subjects
The following table provides useful starting points for common situations. The right choice depends on the actual movement, distance, lighting, lens, and intended result.
| Situation | Aperture | Shutter speed | ISO | Focus | Other setting | Main purpose |
|---|---|---|---|---|---|---|
| Walking people | f/4–f/8 | 1/250–1/500 sec | Auto or 100–800 | AF-C/AI Servo | Single shot or short burst | Capture natural movement |
| Running children | f/4–f/5.6 | 1/500–1/1000 sec | Auto ISO | Continuous AF with tracking | Short burst | Keep faces and bodies sharp |
| Outdoor sports | f/4–f/5.6 | 1/1000–1/2000 sec | Auto ISO | Continuous AF | Burst mode | Freeze important action |
| Birds in flight | f/5.6–f/8 | 1/1600–1/3200 sec | Auto or higher ISO | Continuous AF with tracking | High-speed burst | Preserve wing and body detail |
| Indoor sports | f/2–f/2.8 if available | 1/500–1/1000 sec | Often 1600–6400 or higher | Continuous AF | Burst mode | Balance motion sharpness and low light |
| Creative panning | f/8 or suitable aperture | 1/30–1/125 sec | Low ISO when possible | Continuous AF or pre-focus | Pan with the subject | Show speed through background blur |
These are starting points, not fixed rules.
The shutter speeds depend on the subject’s movement and your desired degree of sharpness. The ISO values are illustrative rather than limits; indoor sports may require ISO 6400 or more on some cameras, while bright outdoor scenes may need much less.
Aperture depends on the lens you own and the depth of field you want. If your lens cannot open to f/2.8, use its widest available aperture and compensate with ISO or improved lighting.
For panning, a smaller aperture is often helpful in bright conditions because it reduces the amount of light entering the camera. In dim light, you may need a different aperture or a different shutter speed to obtain the desired effect.
Also remember that image stabilization primarily helps reduce camera shake. It does not freeze a moving subject. Some lenses and cameras offer panning-specific stabilization modes, but the correct mode depends on your equipment and technique.
If You Have Only One Lens
A general-purpose zoom such as an 18–105mm lens can be useful for many kinds of moving-subject photography. It allows you to photograph a scene from a wide perspective and then zoom in for a tighter view without changing lenses.
At 18mm, you can include the surroundings and show how the subject relates to the environment. This is useful for cyclists riding through a landscape, children playing in a garden, or athletes moving across a large field.
At 105mm, you can frame the subject more tightly from a distance. The narrower field of view can also make it easier to simplify a busy background, provided you have enough working distance and suitable focus.
If the lens has a maximum aperture of f/4 at the wide end and f/5.6 at the long end, low-light action becomes more challenging as you zoom in. You may need a higher ISO to maintain the same shutter speed.
You can work around this limitation by photographing in brighter light, moving closer when safe and permitted, or choosing a composition that uses the wider focal lengths. You can also learn to anticipate movement so that you spend less time searching for the subject through the viewfinder.
An 18–105mm lens will not behave like a professional f/2.8 telephoto lens in a dim indoor arena. That is a genuine equipment limitation, not a failure of technique.
You do not need to make the same photograph as someone using specialist equipment. Find the photographs that your equipment allows you to make well.
What About the Photographer Who Is Just Starting?
If you are new to photographing moving subjects, begin with just two priorities: shutter speed and continuous autofocus.
Start by using Shutter Priority mode, usually marked S or Tv, depending on the camera. This lets you choose the shutter speed while the camera adjusts aperture to produce the exposure. Auto ISO can also help if your camera supports it in this mode.
For a child running in a garden, try 1/500 second first. If the movement is still blurred, increase the speed to 1/1000 second. If the photograph is sharp but too dark, check whether the lens has reached its widest aperture and whether ISO needs to increase.
Use continuous autofocus when the subject is changing distance. If your camera offers subject tracking, test it in a relatively simple scene before relying on it during an important event.
Do not begin by trying to master every autofocus area, metering mode, custom button, and burst setting. Learn how shutter speed changes movement, then understand how aperture and ISO help you achieve the exposure you need.
Review your photographs at a useful magnification. Check the eyes or the most important part of the action rather than judging sharpness only from a small thumbnail.
Once these decisions become familiar, you can explore Manual mode with Auto ISO, more advanced tracking settings, and creative motion blur.
A Simple Exercise to Understand Moving-Subject Photography
You can complete this exercise with a basic camera and lens. A smartphone with manual shutter controls can also be useful, although its available settings may differ.
Exercise: Photograph the Same Movement at Different Shutter Speeds
- Find a friend walking across a safe, well-lit area, or photograph a moving bicycle from a safe distance.
- Set your camera to Shutter Priority mode and begin at 1/125 second.
- Take a photograph while the subject moves across the frame.
- Change the shutter speed to 1/250 second and take another photograph.
- Repeat at 1/500, 1/1000, and, if the light allows, 1/2000 second.
- Use continuous autofocus for each photograph, keeping your framing as consistent as possible.
- Compare the photographs at the same magnification.
If possible, allow Auto ISO to compensate for the changing shutter speeds. This helps you study motion blur without making exposure differences the only thing you notice.
Look for changes in:
- Sharpness of the face and body
- Blur in the hands, legs, wheels, or other moving parts
- Background appearance
- Exposure and visible noise
- The sense of speed or energy
- Whether the photograph communicates what you intended
For an additional challenge, try a slow shutter speed while following the subject with the camera. Begin around 1/60 or 1/125 second and experiment with your panning movement. Expect some unsuccessful frames; the exercise is about learning how timing and movement affect the result.
The goal is not to discover one perfect setting. The goal is to understand how your decisions change the photograph.
If You Remember Only Five Things
1. Choose shutter speed according to the movement you want to capture.
Walking people and fast-moving athletes do not need the same shutter speed. Start with the movement, then adjust according to the sharpness you want.
2. Use continuous autofocus for subjects that change distance.
AF-C, AI Servo, or the equivalent continuous autofocus mode helps the camera update focus as the subject moves. Tracking works best when you choose an appropriate focus area and anticipate the action.
3. Do not sacrifice the photograph just to keep ISO low.
A higher ISO may introduce noise, but it can help you maintain the shutter speed needed for sharp action. A blurred photograph cannot always be rescued in editing.
4. Understand that camera shake and subject motion are different problems.
Image stabilization can help reduce camera shake, but it does not freeze a running person or a bird in flight. Subject movement requires an appropriate shutter speed or a deliberate motion-blur technique.
5. Decide whether you want to freeze motion or communicate it.
A fast shutter speed preserves detail, while a slower shutter speed can create dynamic blur. Both approaches are valid when they support the photograph’s purpose.
The Moment Is Moving, but Your Decisions Can Be Ready
Return to the cricket field from the beginning. The batter strikes the ball, the fielder dives, and the afternoon light changes. You cannot control every part of the scene, but you can prepare for the possibilities.
If you want to freeze the player’s expression and body position, a fast shutter speed, continuous autofocus, and a short burst may give you a better chance of capturing the moment. If you want to show the energy of the dive, a slightly different shutter speed or a wider composition may communicate the action more effectively.
The important difference is that you are no longer choosing settings simply because someone recommended them. You are making decisions based on what you see and what you want the viewer to experience.
With practice, you begin to recognize the movement before it happens. You notice where the subject is going, how the light falls across the scene, and where the background becomes less distracting. You begin to prepare for the photograph rather than reacting only after the moment has passed.
That does not mean every frame will be sharp or every important moment will be captured. Moving-subject photography always involves uncertainty. Even experienced photographers miss moments, and autofocus systems sometimes make mistakes. The goal is to improve the decisions that make a successful photograph more likely.
Think of the process as observation → intention → camera decision → photograph. First, understand what is happening. Then decide what matters in the image. Choose the settings that support that decision and review the result to learn what worked.
The best camera setting is not the one you memorized. It is the one that makes sense for the photograph in front of you.
