Lighting is one of the most crucial aspects of photography. Whether you’re a beginner or an experienced photographer, understanding various lighting conditions can significantly impact your photos. They are chiefly natural light, artificial light and studio light. Let’s explore the various types of lighting conditions and how they affect your shots.
Natural Light
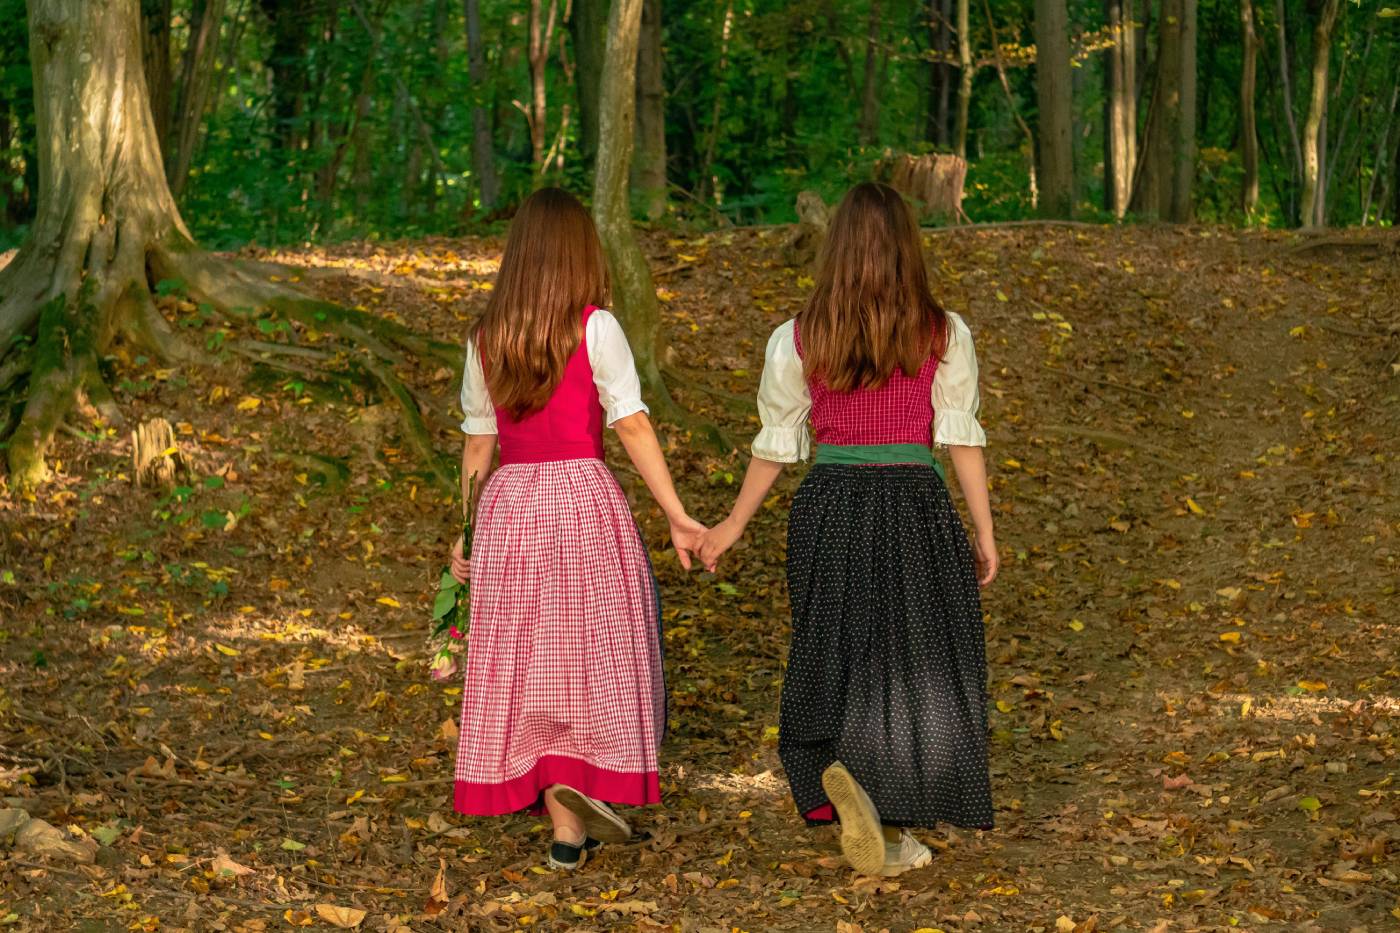
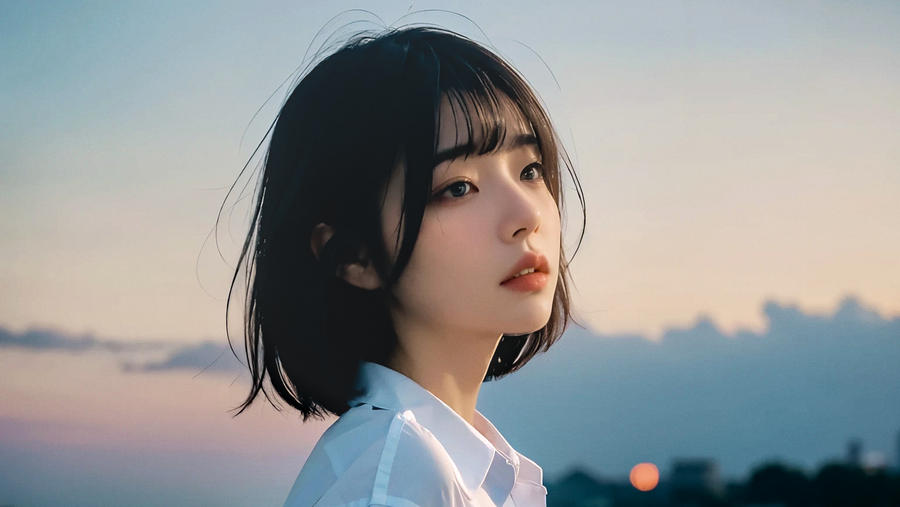
1. Golden Hour
Golden hour refers to the period shortly after sunrise and before sunset. The light is soft, warm, and diffused, creating a magical glow. This time of day is perfect for portrait photography and landscape shots because the light casts long shadows and highlights textures beautifully. The warm tones can make skin look radiant and add depth to your scenes.
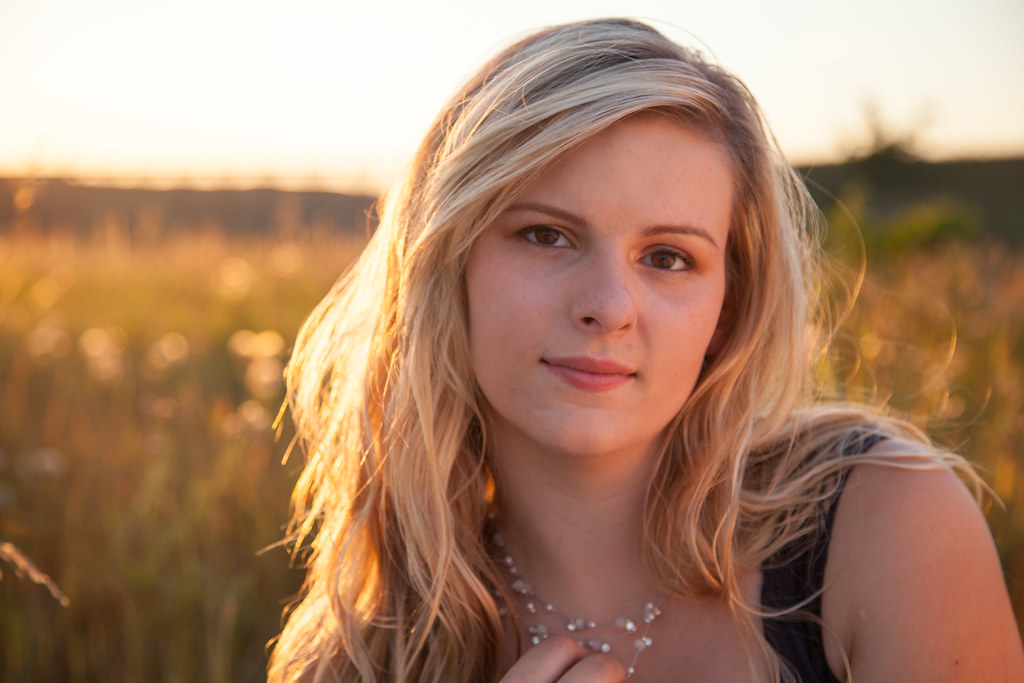
Example: Imagine taking a photo of a person standing in a field just as the sun is rising. The soft, golden light highlights their face beautifully, making their skin look warm and glowing.
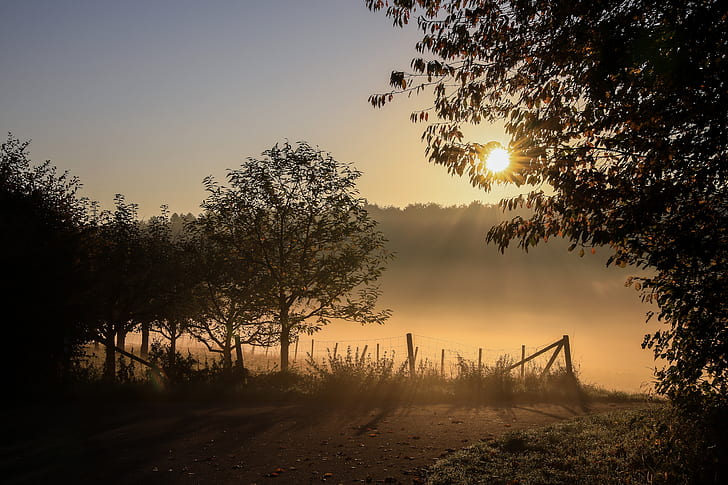
2. Blue Hour
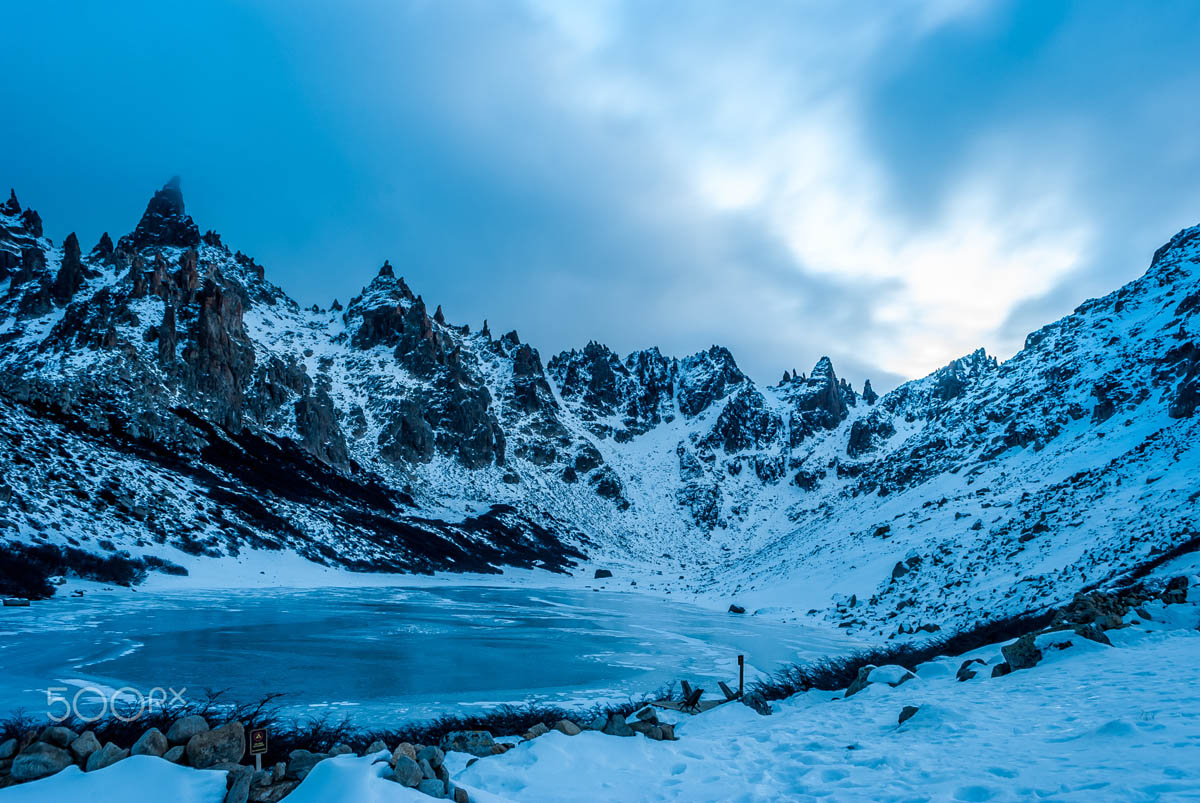
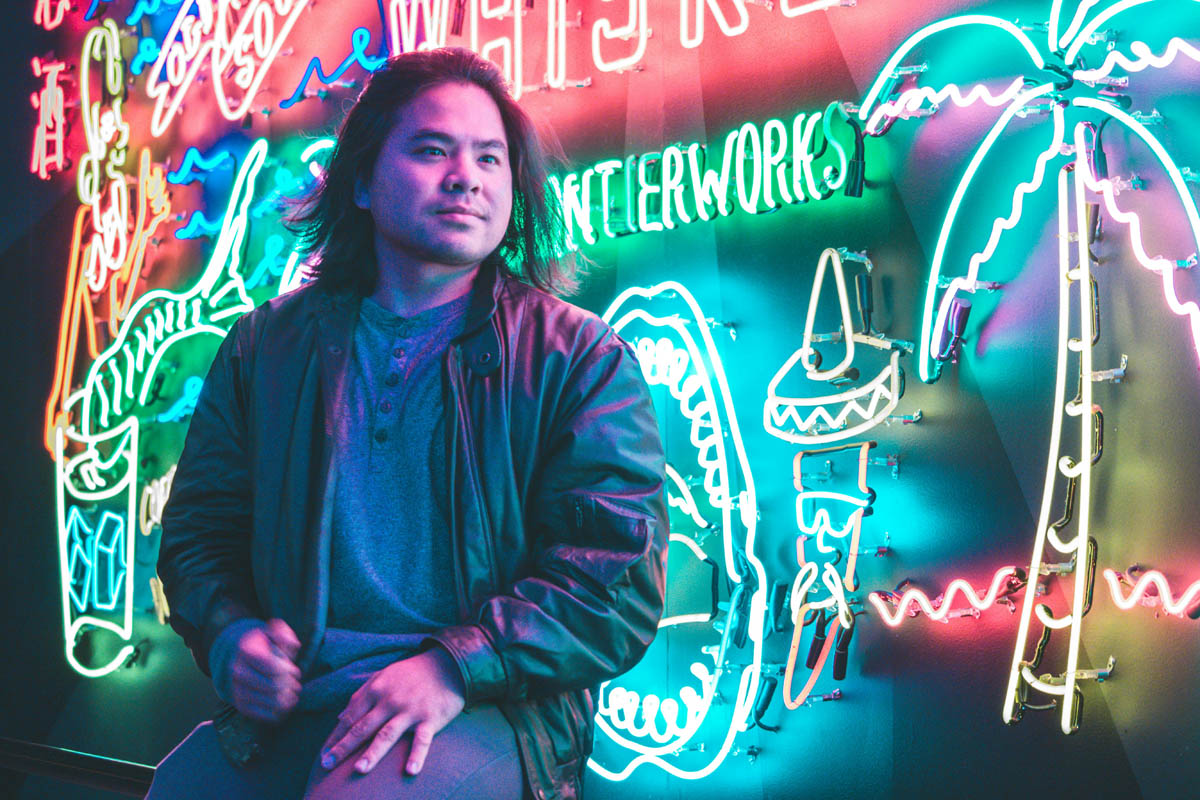
Blue hour occurs just before sunrise and just after sunset. During this time, the sky takes on a deep blue hue, and the light is soft and cool. It’s an ideal time for capturing serene and dramatic photos. The ambient light is low, which can create a moody atmosphere. Blue hour is excellent for cityscapes, as the artificial lights contrast beautifully with the deep blue sky.
Example: Think of a photo of a cityscape right after the sun has set. The sky is a rich blue color, and the streetlights have just come on, creating a beautiful contrast between the cool sky and the warm lights.
3. Midday Sun
The midday sun is harsh and direct, casting strong shadows. While it can be challenging to work with due to the high contrast and potential for blown-out highlights, it can also be used creatively for dramatic images. When shooting in the midday sun, look for shaded areas to soften the light or use a diffuser to minimize harsh shadows. Alternatively, embrace the contrast for bold, graphic compositions.
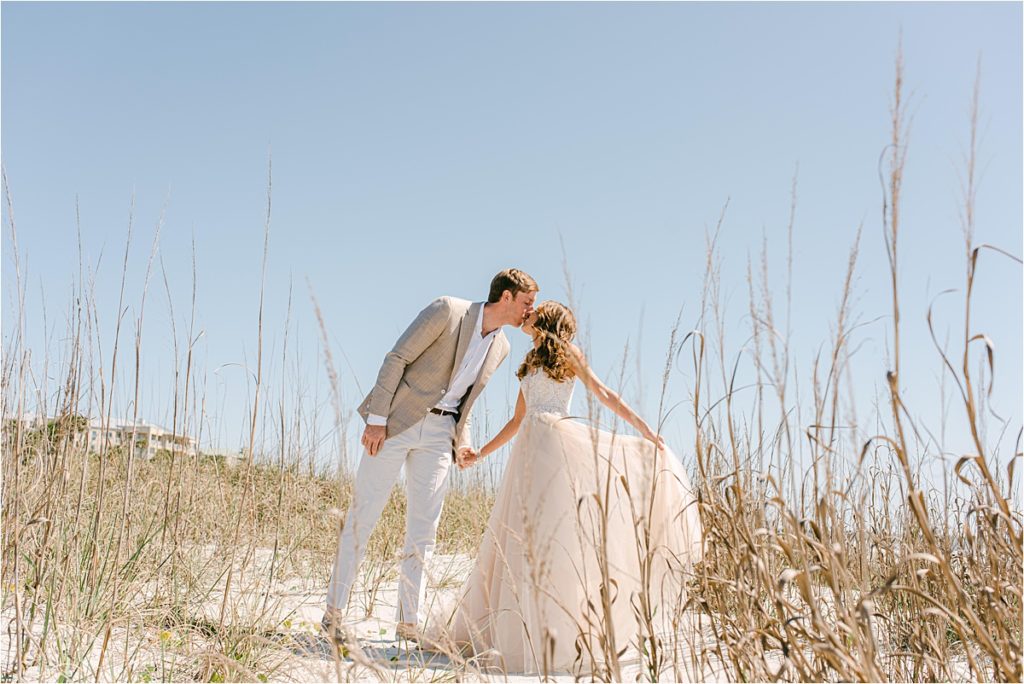
Example: Picture taking a photo of a person at noon on a sunny day. The bright sun creates strong shadows on their face, and the contrast between light and shadow is very pronounced. This can be challenging, but it can also create dramatic effects.
Artificial Light
1. Tungsten Light

Tungsten light, commonly found in household bulbs, emits a warm, yellowish light. It can create a cozy and inviting atmosphere but may require white balance adjustment in your camera settings to avoid an overly warm tint. Tungsten light is often used for indoor photography, creating a homely and intimate feel. When shooting under tungsten light, set your camera’s white balance to the tungsten setting to neutralize the color cast.

Example: Imagine taking a photo in a living room with a regular lamp on. The light from the lamp gives everything a cozy, yellowish tint. You might need to adjust your camera settings to make the colors look natural.
2. Fluorescent Light

Fluorescent lights are often found in offices and public buildings. They emit a cooler, bluish light and can sometimes create an unflattering greenish tint on your photos. This type of lighting can make skin tones appear unnatural, so it’s important to correct the color in post-processing. Fluorescent light is best suited for documentary or street photography, where capturing the environment as it is, including its imperfections, is part of the story.
Example: Think of taking a photo in a school classroom. The fluorescent lights make everything look a bit bluish, and skin tones might appear slightly unnatural. You may need to correct this color cast later when editing your photos.
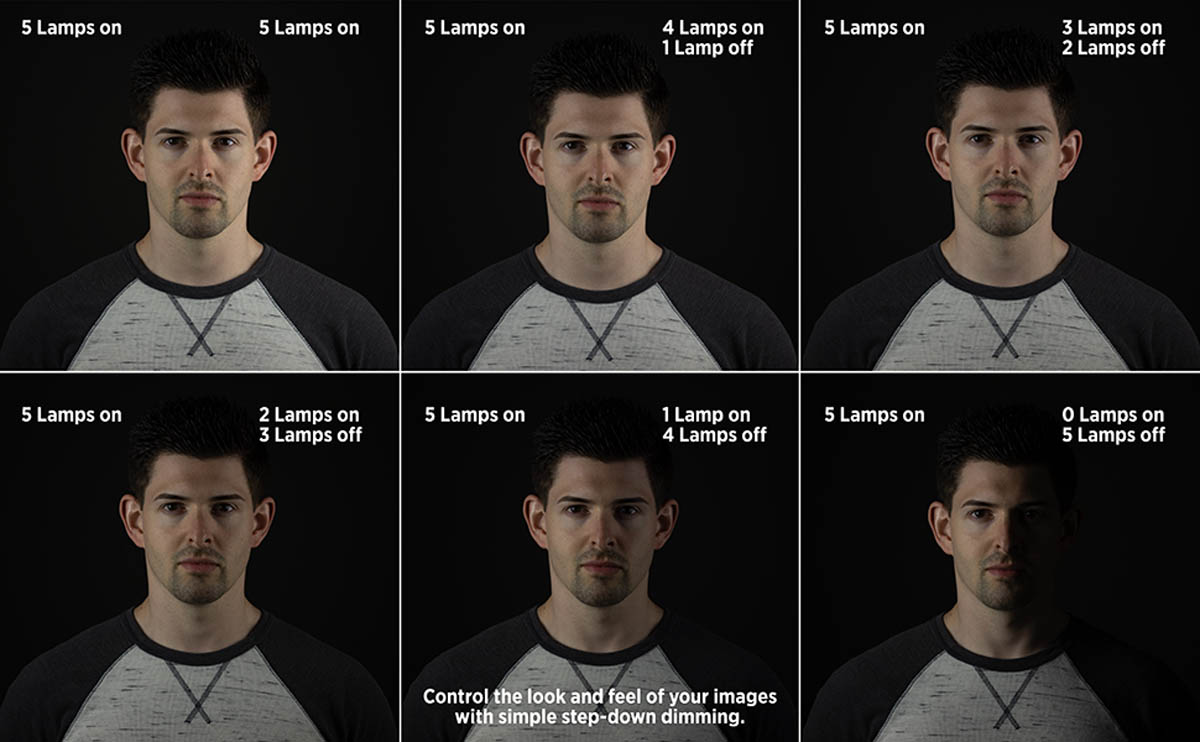
3. LED Light
LED lights are versatile and come in various color temperatures. They are energy-efficient and produce less heat, making them ideal for continuous lighting in photography. LED lights can be adjusted to provide both warm and cool tones, giving you control over the mood of your photos. They are perfect for product photography, video shoots, and any scenario where consistent lighting is required.
Example: Consider taking a photo of a product using LED lights. You can adjust the LED lights to be either warm or cool, depending on the effect you want. This flexibility makes LED lights great for product photography.
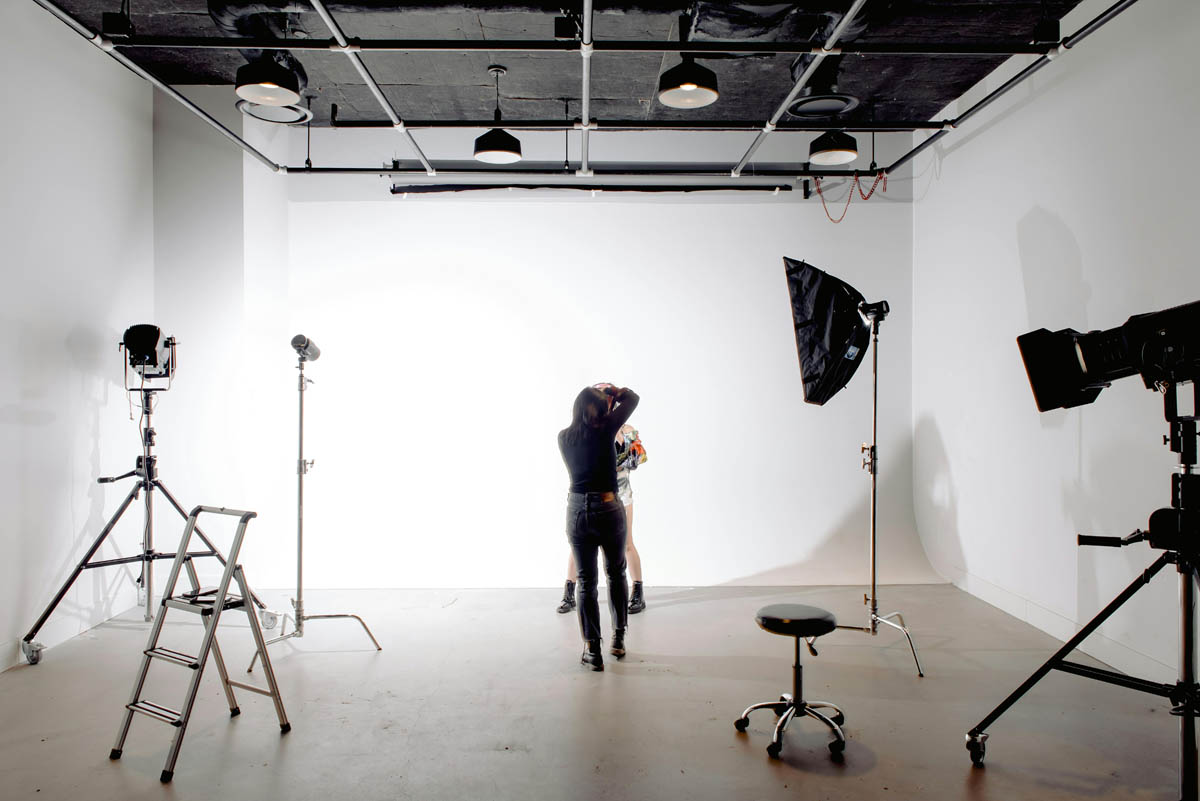
Studio Lighting
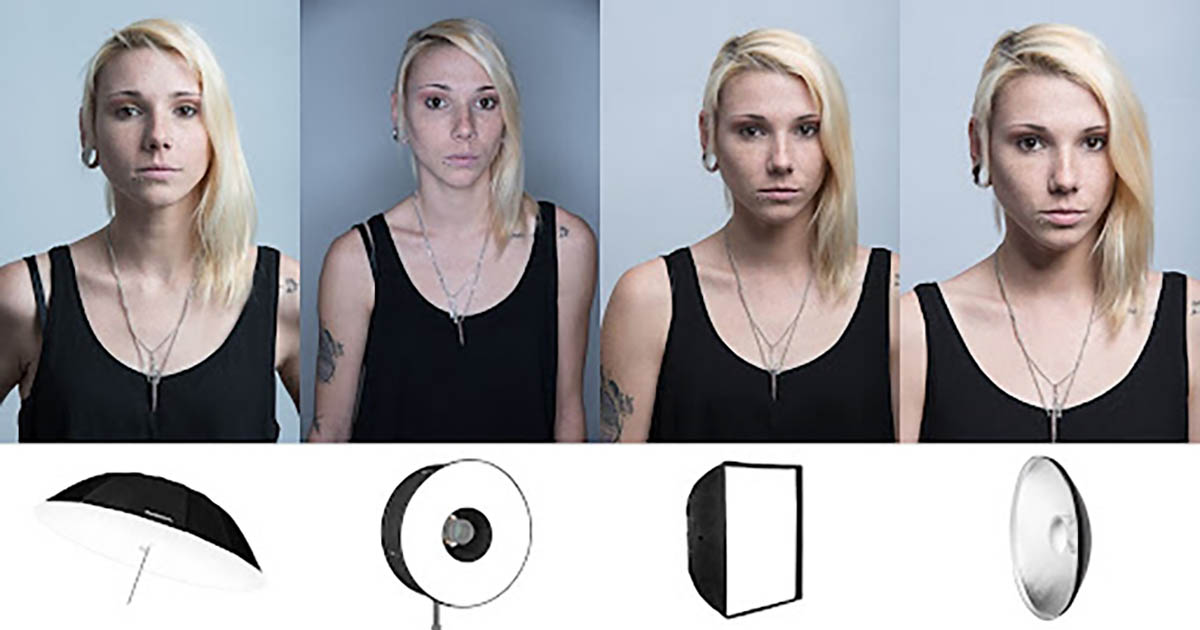
1. Softbox
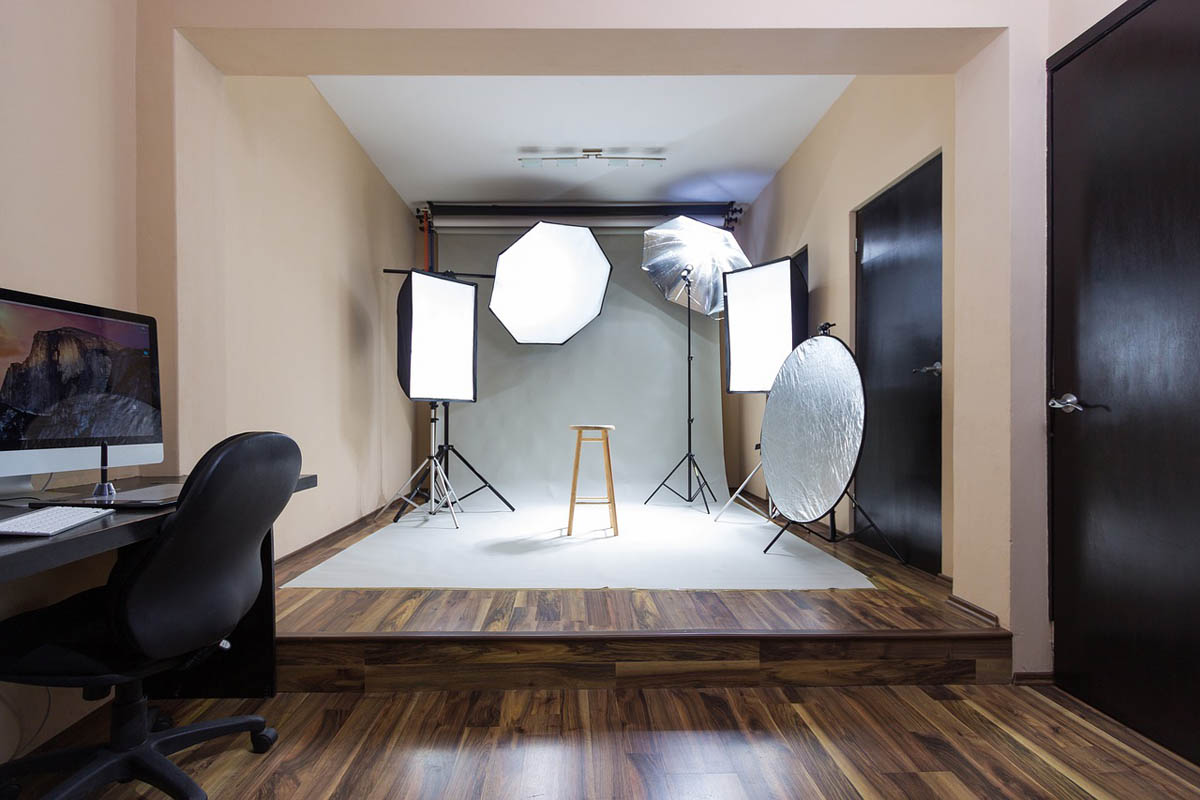
A softbox diffuses the light, creating soft and even illumination. It’s perfect for portrait photography because it reduces harsh shadows and highlights details gently. Softboxes can be used to create a natural light effect indoors, mimicking the quality of window light. They are also useful in product photography to achieve a clean, professional look.
Example: Imagine taking a portrait in a studio with a softbox. The soft light reduces harsh shadows on the person’s face, making their features look smooth and evenly lit.
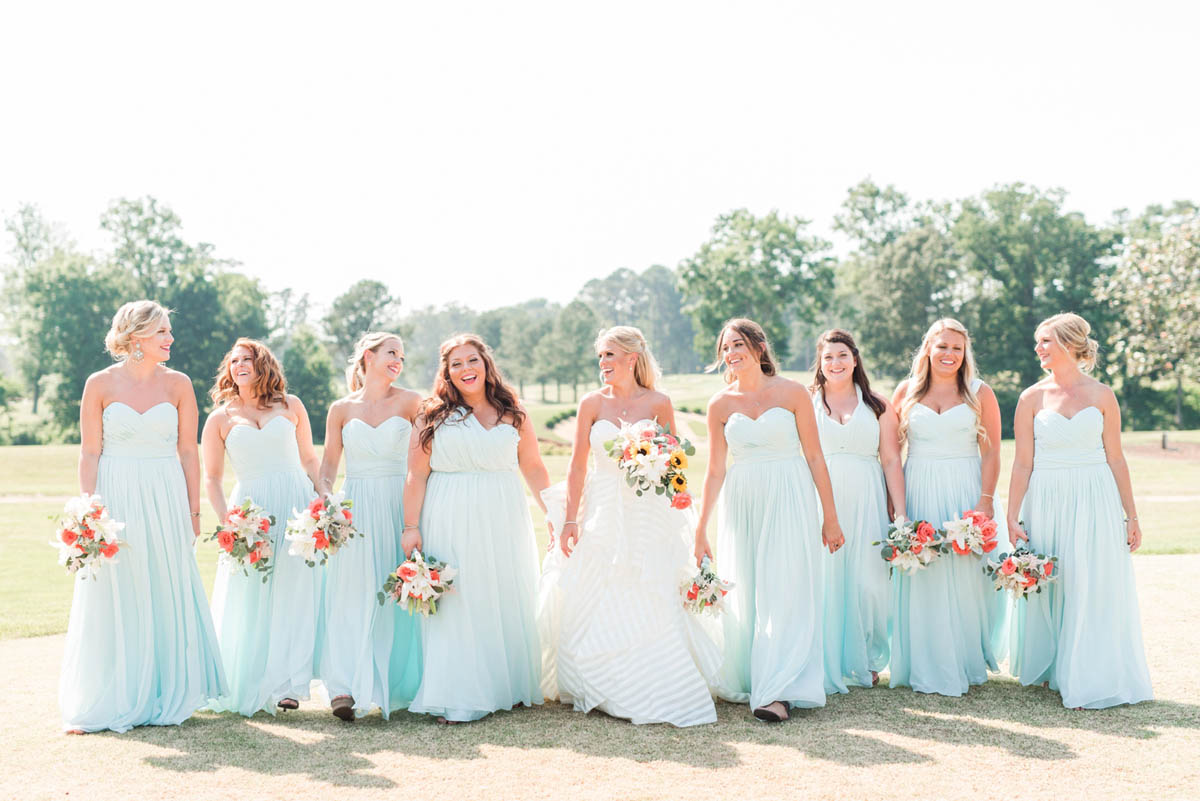
2. Umbrella
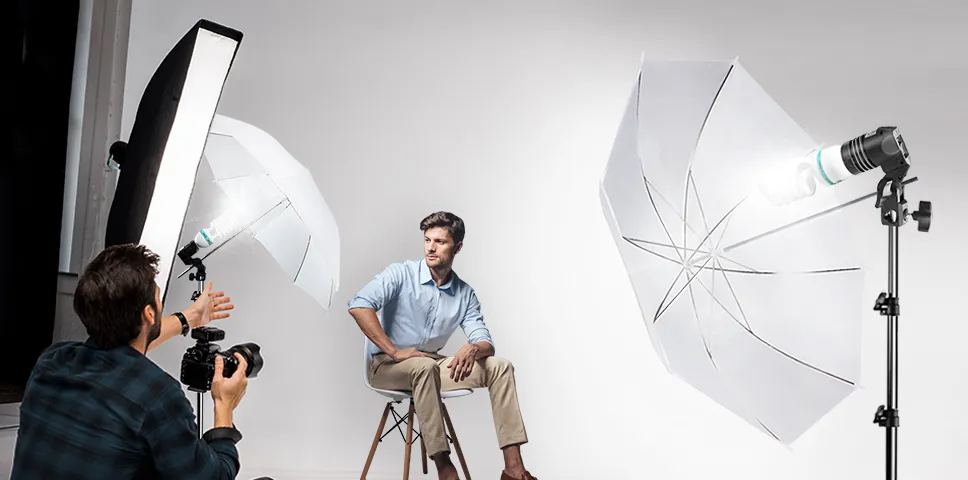
Umbrellas can be reflective or shoot-through. Reflective umbrellas bounce light, creating a broad and soft light source, while shoot-through umbrellas diffuse the light, making it softer and more flattering. Umbrellas are easy to set up and versatile, making them a staple in many photographers’ kits. They are ideal for group portraits, fashion photography, and any situation where you need to spread light evenly.
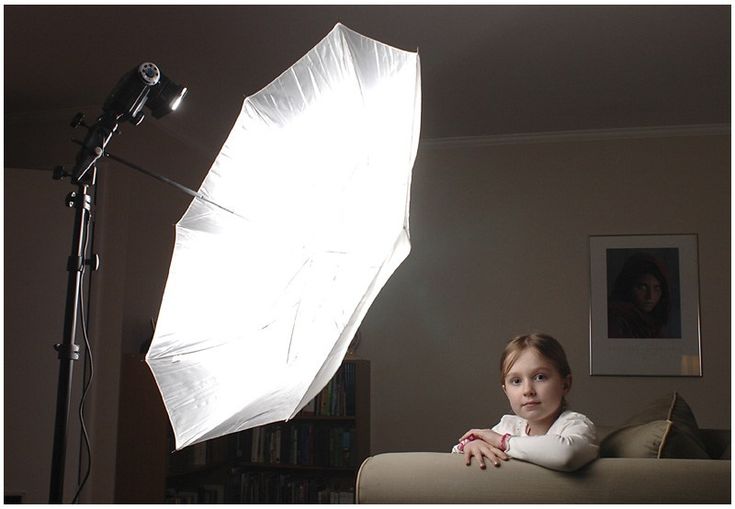
Example: Picture taking a group photo with a reflective umbrella. The umbrella spreads the light evenly over everyone, making sure there are no harsh shadows and that all faces are well lit.
3. Ring Light
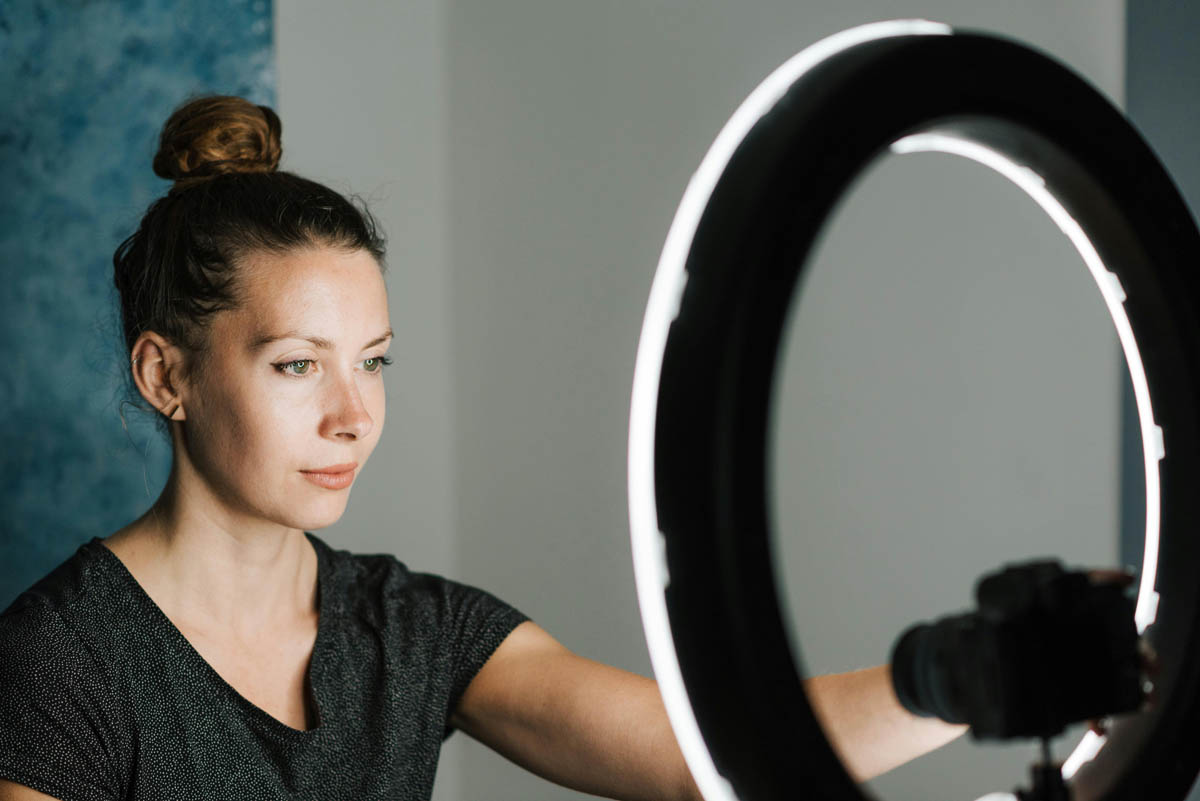
Ring lights are popular for portraits and macro photography. They provide even lighting and reduce shadows, making them ideal for close-up shots. Ring lights create a distinctive catchlight in the eyes, adding a sparkle that enhances portraits. They are also commonly used in beauty and product photography to achieve a polished, professional look.
Example: Think of taking a close-up photo of someone’s face with a ring light. The light is even and reduces shadows, making the person’s skin look smooth. The ring light also creates a circular catchlight in their eyes, adding a nice sparkle.
Tips for Managing Different Lighting Conditions
- Use Reflectors: Reflectors bounce light back onto your subject, filling in shadows and creating a more balanced exposure. They are especially useful in outdoor photography to control natural light without additional equipment. Reflectors come in various colors (white, silver, gold, and black) to modify the light quality and color.
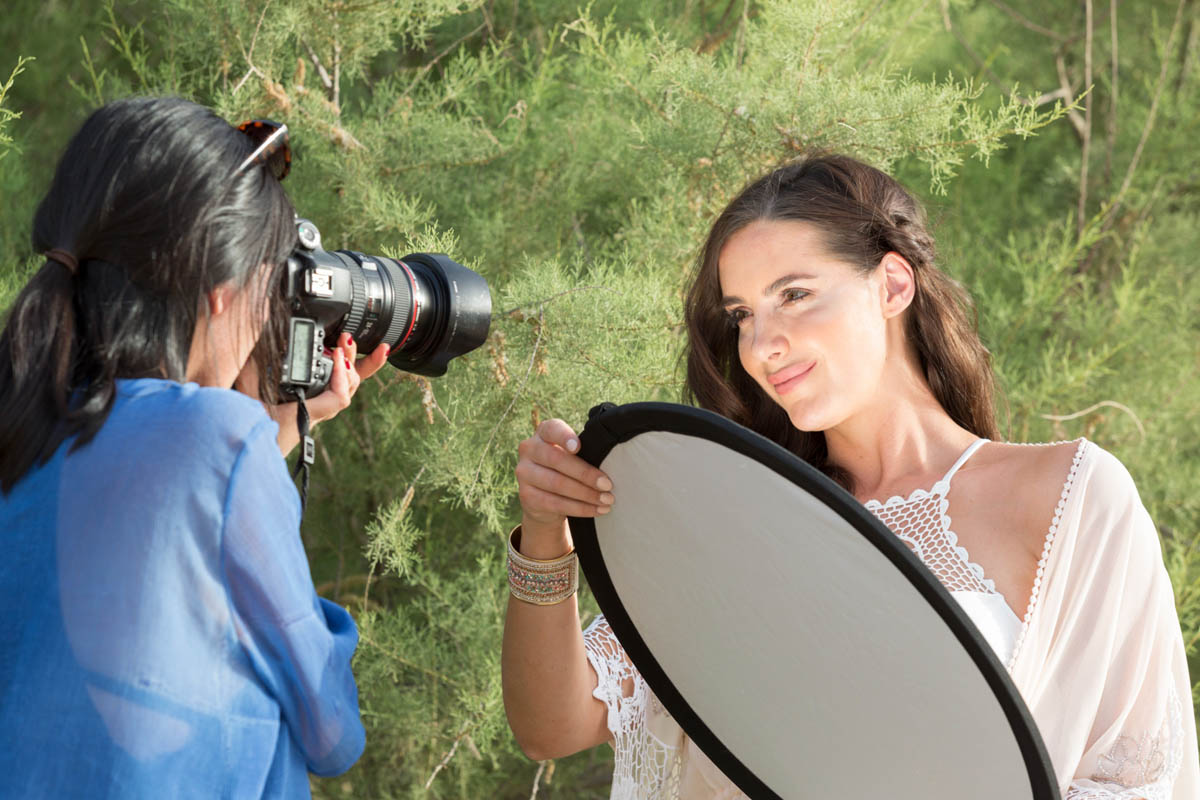
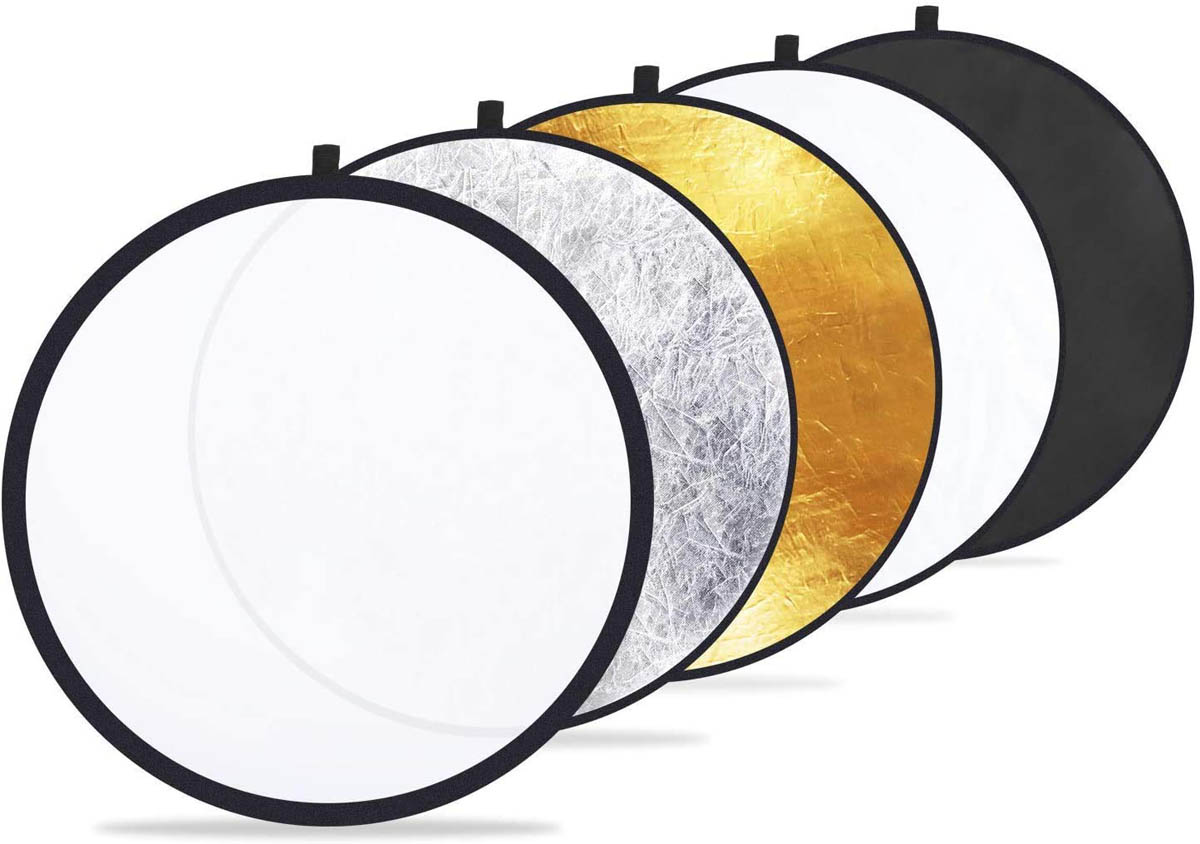
Example: Imagine taking a photo of someone outdoors. By using a silver reflector, you can bounce sunlight onto their face, brightening up the shadows and making the photo look more balanced.
- Adjust White Balance: various lighting conditions have different color temperatures. Adjust your camera’s white balance to match the lighting condition for accurate color reproduction. Proper white balance ensures that the colors in your photos look natural and true to life. Most cameras have preset white balance settings (like daylight, tungsten, and fluorescent) and a custom white balance option.

Example: Think of taking a photo indoors under tungsten light. Setting your camera to the tungsten white balance preset will help neutralize the warm, yellowish tint, making the colors look more natural.
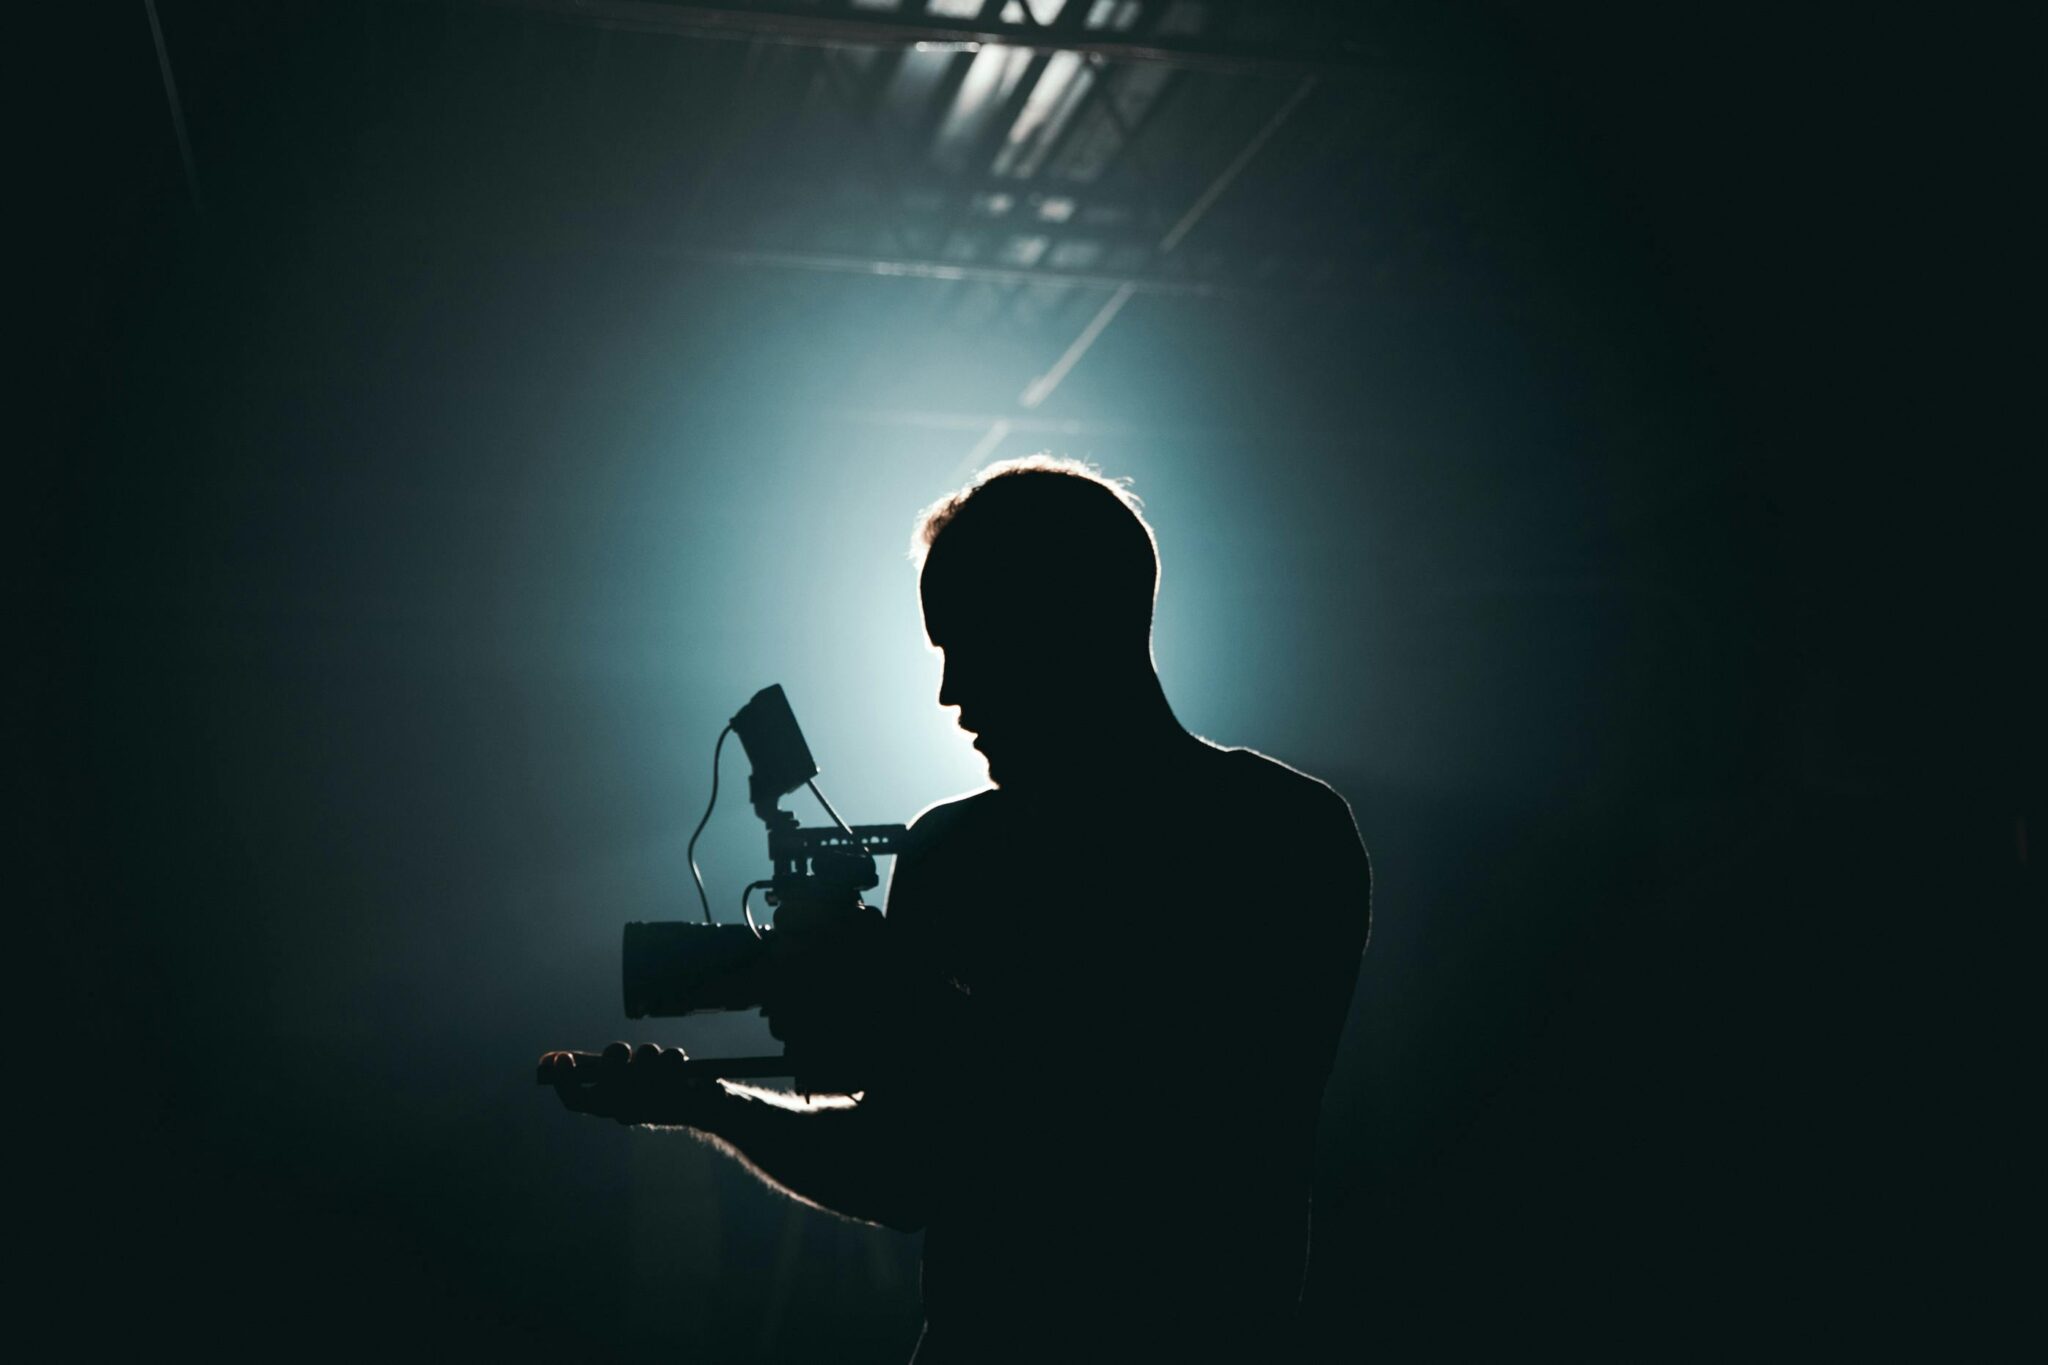
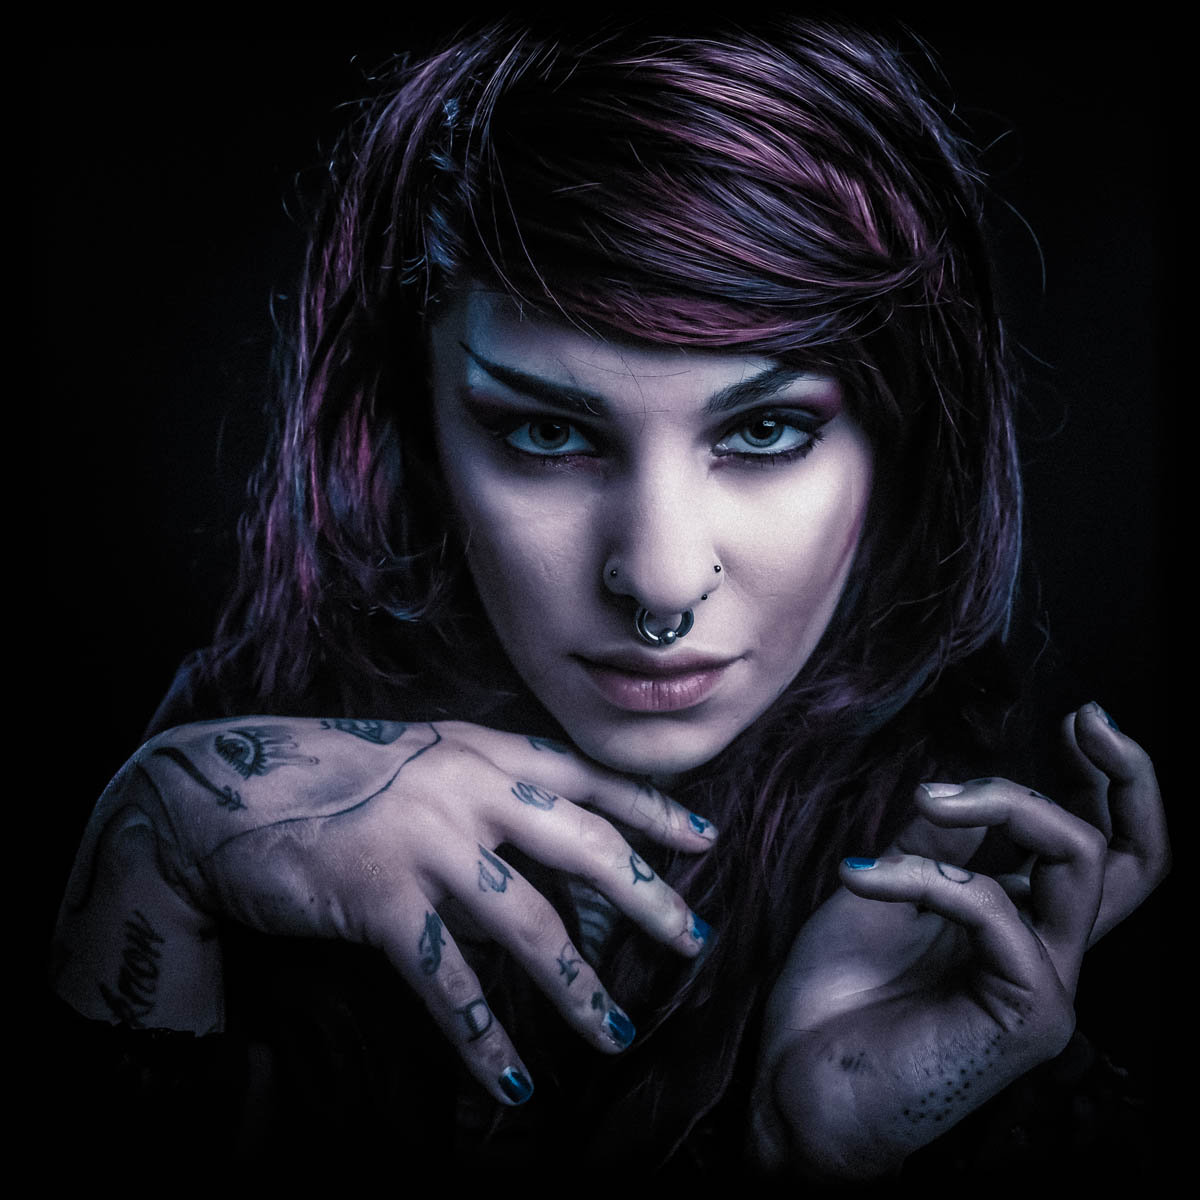
- Experiment with Angles: Changing the angle of light can dramatically affect the mood and appearance of your photos. Experiment with various lighting conditions like side lighting, backlighting, and front lighting to see the differences. Side lighting can add depth and texture, backlighting creates a silhouette effect, and front lighting produces even illumination. Each angle offers unique creative possibilities.
Example: Imagine taking a photo of a person with a light source directly to their side. This side lighting creates shadows on one side of their face, adding depth and texture to the photo.
Conclusion
Understanding various lighting conditions is essential for capturing stunning photos. By recognizing and adapting to different types of light, you can enhance your photography skills and create more compelling images. Remember, practice makes perfect, so keep experimenting with lighting to find what works best for you.