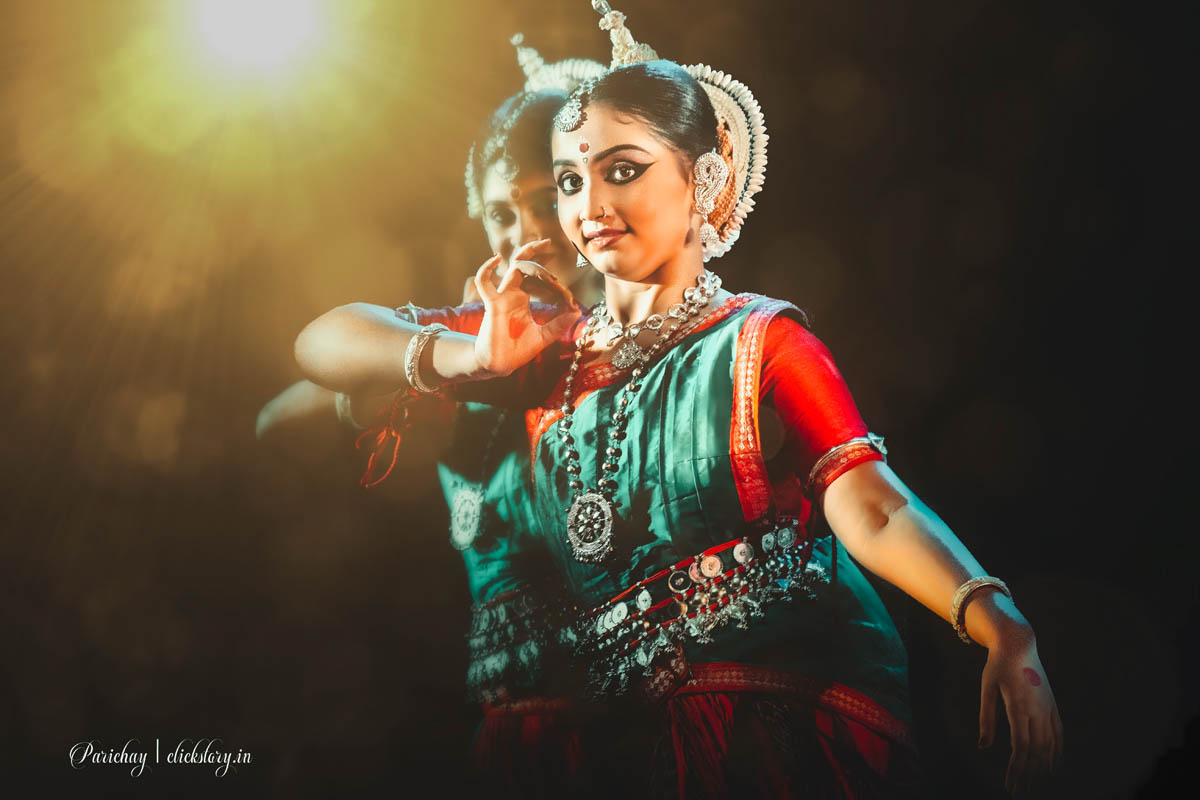
Moody Photography
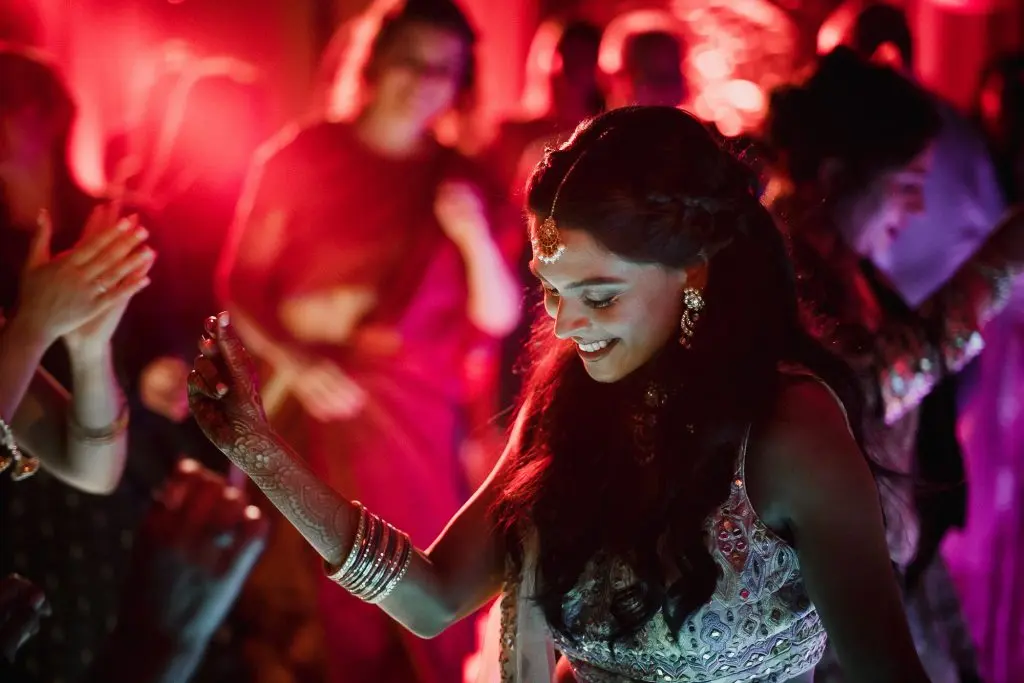
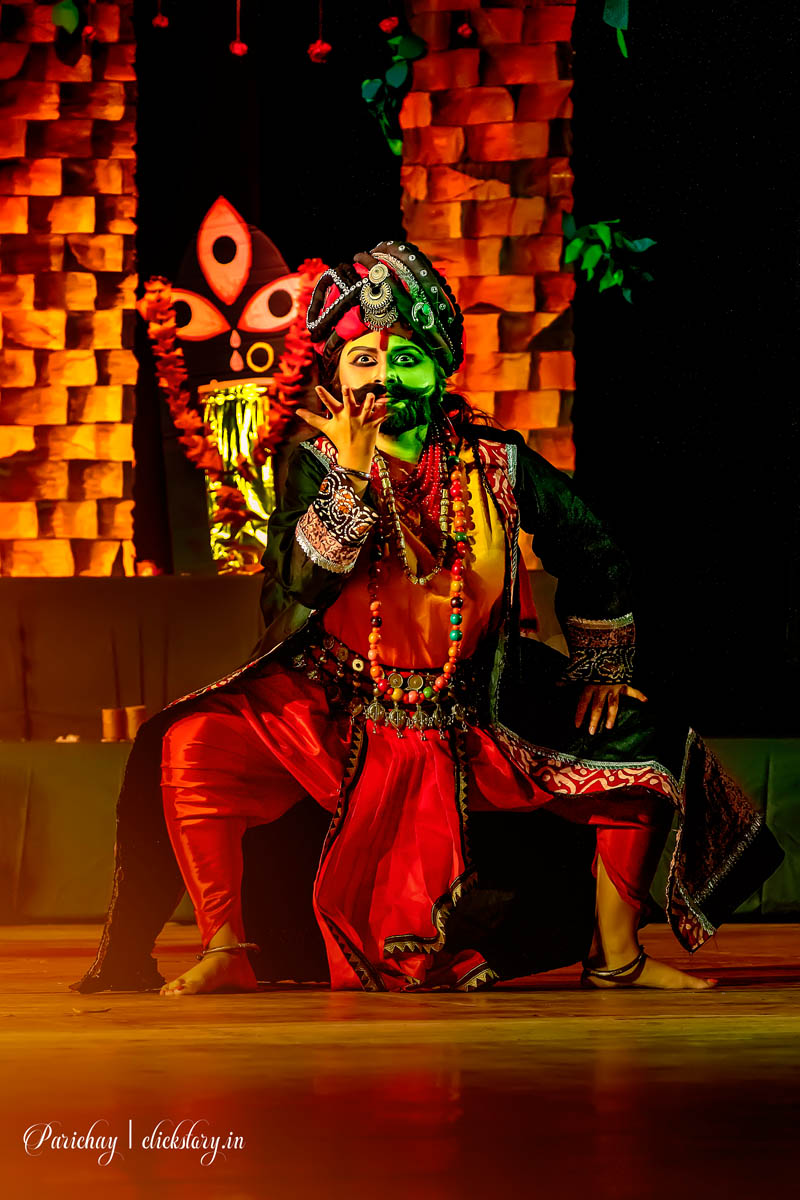
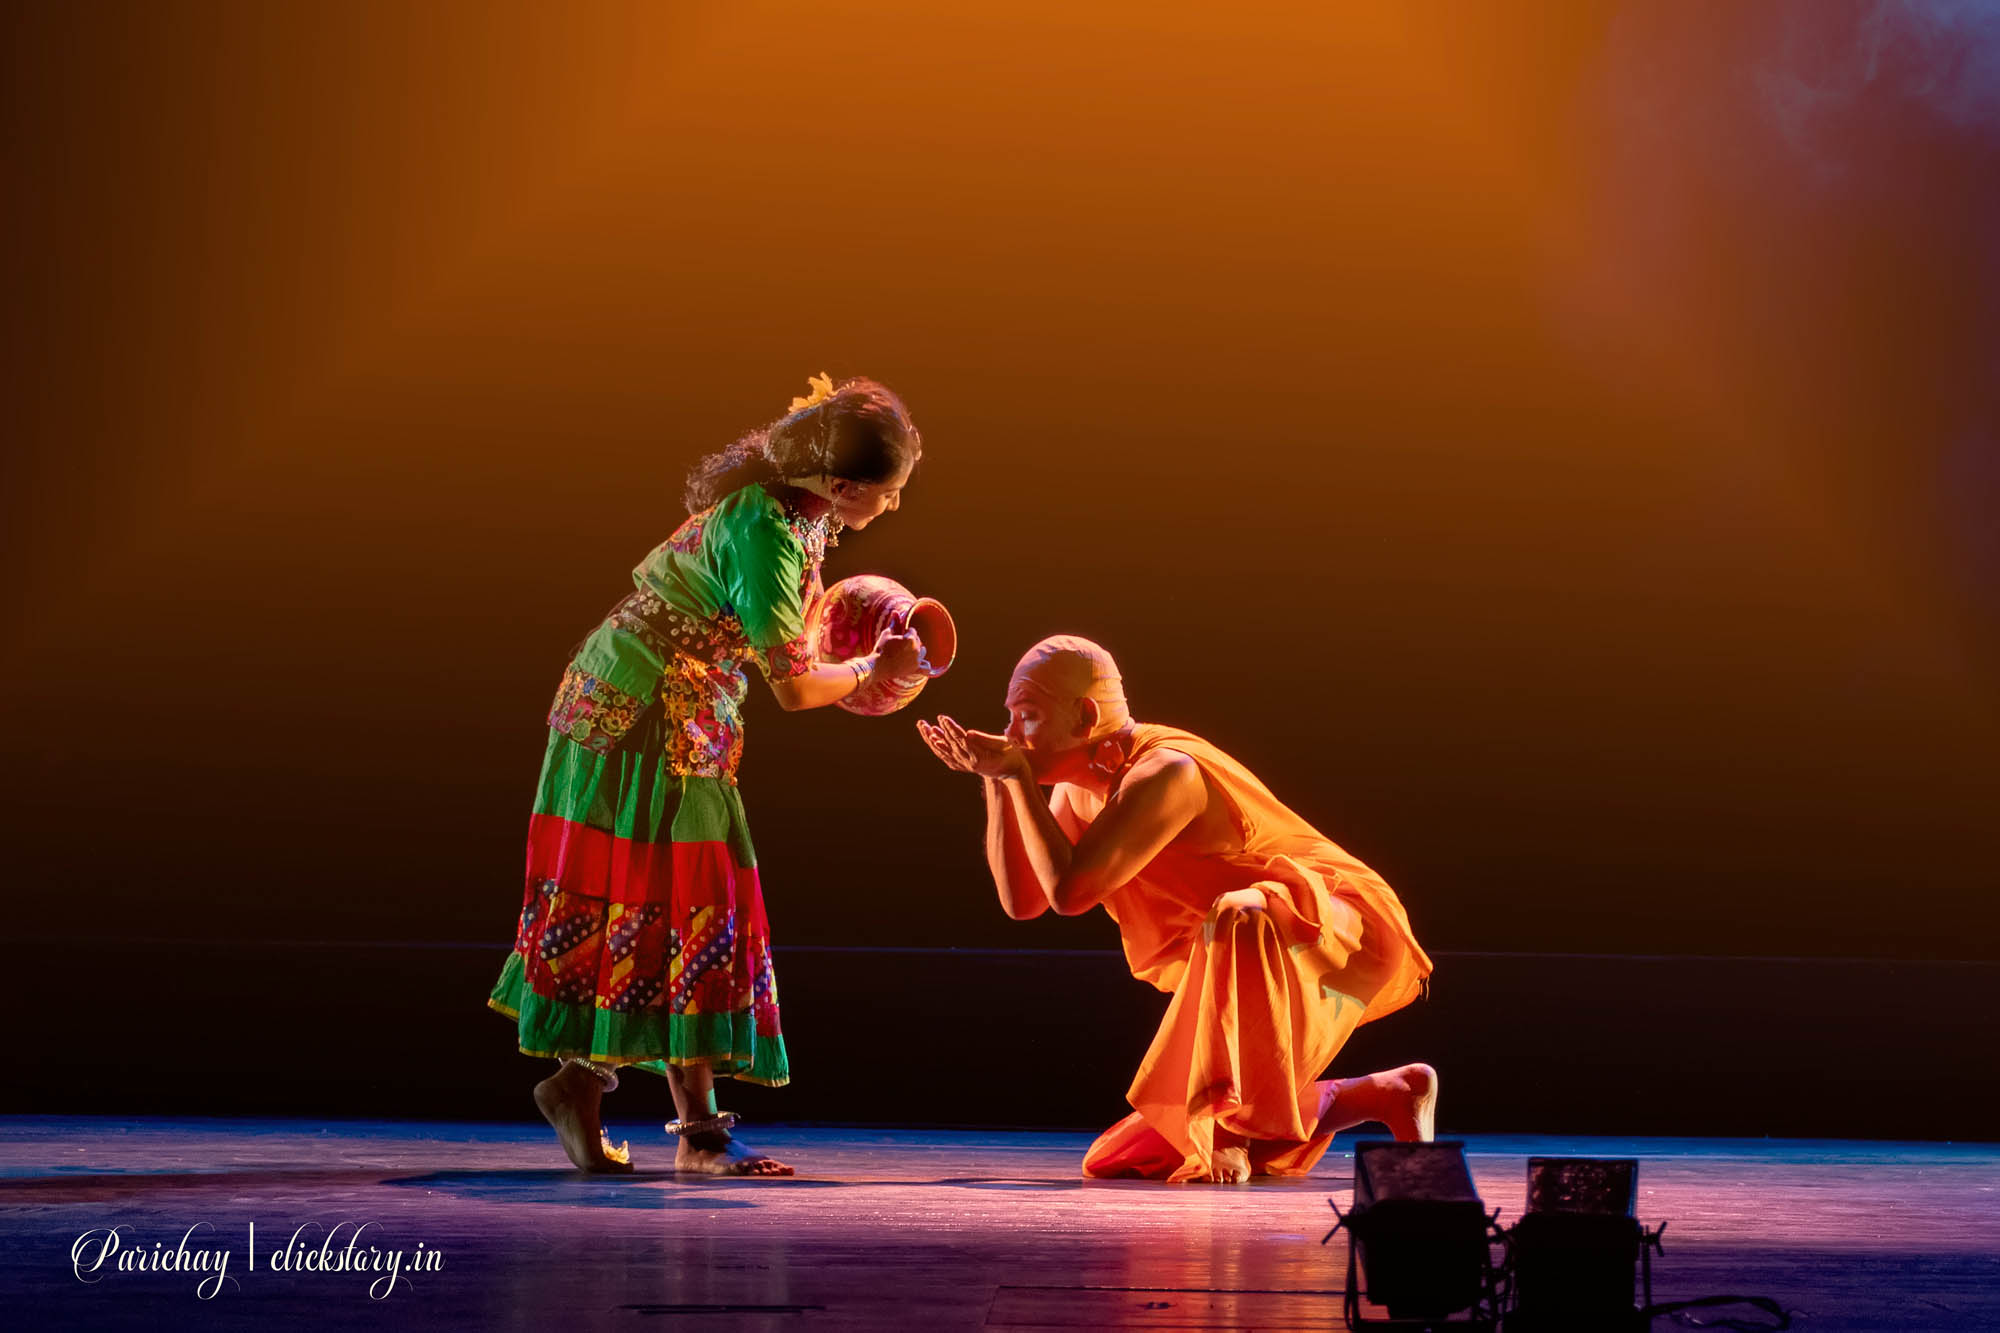
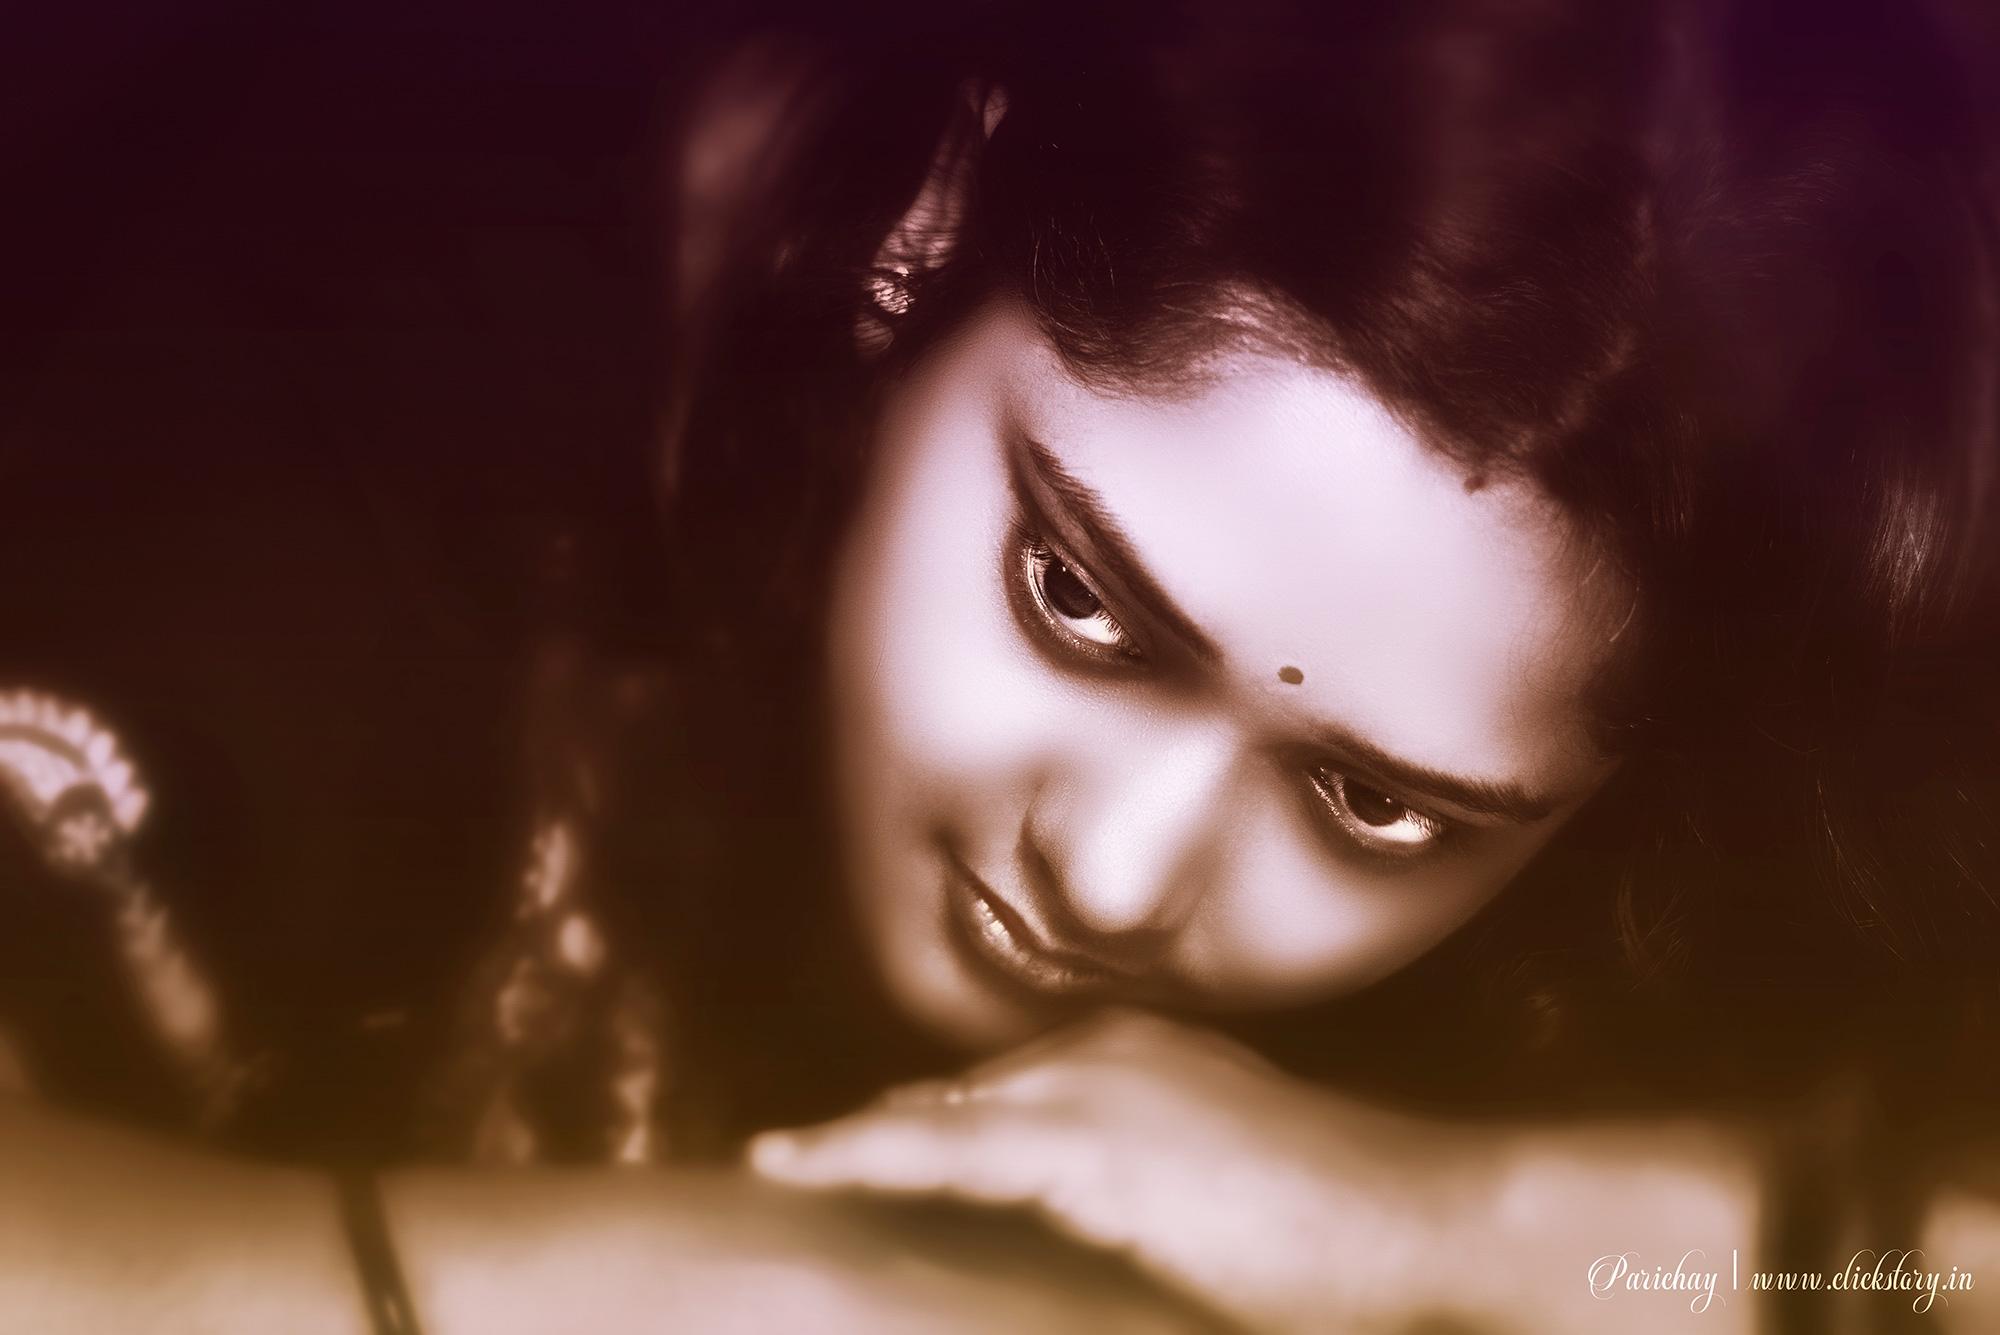
Moody photography is a style of photography that creates strong feelings through dark, dramatic, and emotional images. It often uses low light, deep shadows, and rich colors to tell a story or show a mood like sadness, mystery, calm, or drama. The goal is to connect with the viewer’s emotions.
History of Moody Photography
Moody photography has roots in old painting styles and early black-and-white photography. Photographers like Ansel Adams used strong contrasts to create powerful, emotional images of nature. Later, the style evolved with modern cameras and editing tools to include color and more creative lighting. Today, moody photography is popular in portraits, landscapes, and even fashion.

Features of Moody Photography
- Low light and shadows: Dark areas create drama and mystery.
- Strong contrast: Bright highlights and deep shadows emphasize shapes and emotions.
- Rich, muted colors: Colors are often deep or desaturated.
- Focus on emotion: The image tells a story or feeling.
- Simple composition: Often minimalistic to highlight the mood.
How to Create Moody Photography: Step-by-Step Guide
1. Gather Your Gear
- Camera: A DSLR or mirrorless camera works well, but smartphones can also do it.
- Lens: A prime lens with a wide aperture (f/1.8 or f/2.8) helps in low light.
- Tripod: Useful for steady shots in darker environments.
- Lighting: Use natural window light, low lamps, or LED lights with dimmers.
2. Choose Props and Setting
- Use simple props like candles, fabrics, or old furniture to add atmosphere.
- Shoot in places with interesting shadows, such as near windows or under trees.
3. Plan Your Composition
- Focus on one subject or object to keep the mood clear.
- Use shadows creatively to cover parts of the image or face.
- Experiment with angles and framing to increase drama.
4. Adjust Camera Settings
- Shoot in manual mode if possible.
- Use a low ISO to reduce noise but raise it if light is very low.
- Use a wide aperture for soft background blur.
- Experiment with shutter speed to get the right exposure.
5. Post-Processing Tips
- Lower brightness and increase contrast.
- Use split toning to add color mood (cool blues or warm oranges).
- Desaturate some colors to focus on the emotional tone.
- Add vignettes or grain for a vintage or artistic feel.

Advantages of Moody Photography
- Creates powerful emotional images.
- Allows creative lighting and storytelling.
- Works well for portraits, still life, and landscapes.
- Can be done with minimal equipment and simple props.
Disadvantages of Moody Photography
- Can be challenging in bright or harsh light.
- Requires good control of lighting and editing.
- May not suit all subjects or occasions.
- Risk of over-editing, making photos look unnatural.
The Future of Moody Photography

As camera sensors improve and editing software becomes more advanced, moody photography will keep evolving. Creative photographers use AI and apps to enhance moods automatically. There’s also growing interest in combining moody styles with video and cinematic techniques.
How to Become an Expert in Moody Photography
- Practice lighting: Learn how natural and artificial light affects mood.
- Study emotions: Understand how to express feelings visually.
- Master editing: Develop skills in software like Lightroom and Photoshop.
- Experiment: Try different settings, props, and locations.
- Get feedback: Share work and learn from others in photography communities.
- Be patient: Capturing the right mood takes time and creativity.
Moody photography is a fantastic way to tell stories and create art with strong emotions. With the right tools, techniques, and practice, you can master this expressive style and make photos that truly move people.
Moody Photography Gear List
Moody photography relies heavily on shadows, contrast, and color tones. Here’s the gear that will help you capture that look effectively.
1. Camera (with Manual Settings)
You need a camera that lets you control ISO, shutter speed, and aperture.
Examples:
- Canon EOS Rebel T7 – Affordable DSLR with manual controls.
- Sony Alpha a6100 – Great mirrorless option with excellent autofocus.
- Fujifilm X-T30 II – Known for its cinematic color profiles (great for moody shots).
Why it matters: Moody photography often happens in low light or dramatic lighting scenarios. You’ll need manual control to avoid blown highlights or noisy shadows.
2. Lens
Use fast prime lenses (with wide apertures) to let in more light and isolate subjects with shallow depth of field.
Recommended Lenses:
- Canon 50mm f/1.8 (“nifty fifty”) – Affordable and sharp, great for portraits.
- Sony 35mm f/1.8 – Excellent for both portraits and atmospheric street shots.
- Sigma 24mm f/1.4 – Perfect for wide, moody landscapes or interiors.
Example Shot: A portrait with a soft background and the subject lit from one side by a window, creating deep contrast and emotion.
3. Tripod
Essential for long exposures or shooting in low light without introducing blur.
Examples:
- Manfrotto Compact Action – Lightweight but stable.
- JOBY GorillaPod – Flexible, good for travel or urban environments.
Use Case: Shooting moody landscapes at sunset with a long exposure for dreamy, soft clouds and rich shadows.
4. Lighting (Optional but Helpful)
Moody photography often uses natural light, but artificial lighting can enhance the drama.
Gear Options:
- Godox LEDP260C – Adjustable LED panel.
- Neewer Softbox Kit – Create directional yet soft light.
- Reflectors – Control bounce light to add subtle highlights to a dark scene.
Example: A still life shot with one directional light creating strong shadows across a table, enhancing texture and shape.
5. Filters (for Landscape Mood Shots)
- ND Filters – Let you shoot longer exposures during the day.
- Polarizers – Enhance contrast in clouds and darken skies.
Use Case: Adding motion blur to water under a moody sky in a dramatic landscape shot.
Moody Photography Editing Guide
Editing is crucial to achieving the final moody look. Here’s a step-by-step guide using tools like Lightroom, Photoshop, or mobile apps like Lightroom Mobile.
Step 1: Start with a Dark Base
- Reduce Exposure by -0.30 to -0.70.
- Lower Highlights to bring back sky/cloud details.
- Slightly increase Shadows if your subject is lost in darkness.
Example: A forest photo taken at dusk — darken the scene to emphasize the mist and shadows.
Step 2: Adjust Contrast and Clarity
- Boost Contrast by +10 to +20.
- Use Dehaze to enhance atmosphere (+5 to +15).
- Increase Clarity for texture (+10 for landscapes, +5 for portraits).
Example: A city alley at night — adding clarity brings out the wet pavement and rough walls.
Step 3: Use Tone Curve
Create an S-Curve:
- Lift shadows slightly for a faded black.
- Increase mid-tones for subtle brightness.
- Pull down highlights for a cinematic tone.
Example: A rainy window scene — this softens highlights while keeping contrast.
Step 4: Split Toning / Color Grading
This is where moody photography comes to life!
- Shadows: Add cool tones (blue, green, teal).
- Highlights: Add warm tones (orange, gold).
Lightroom Settings Example:
- Shadows Hue: 210 (blue), Saturation: 20
- Highlights Hue: 45 (orange), Saturation: 15
- Balance: -25 (more emphasis on shadows)
Example: A street portrait at golden hour — cool shadows + warm skin tones = cinematic mood.
Step 5: Final Touches
- Add a Vignette to darken edges and center focus.
- Sharpen (amount 40, radius 1.0, detail 25).
- Crop to reinforce strong composition (use rule of thirds or centered symmetry).
Example: A close-up portrait with the face in the center, shadows falling off around the frame.
Before & After Example (Conceptual)
- Before: Flat, evenly lit portrait with little emotion.
- After: Darkened background, cool shadows, warm skin tones, added vignette — the photo now tells a story.
Bonus Tips:
- Shoot during golden hour or cloudy days: Soft natural light = better mood.
- Look for emotion: Eyes, gestures, or stillness help tell a story.
- Textures and imperfections add character to moody shots — old walls, fog, or grain can be your friends.

Moody Photography Editing Cheat Sheet
Perfect for Lightroom, Photoshop, or Mobile Editing Apps
1. Basic Exposure Settings
| Setting | Recommended Adjustment | Notes |
|---|---|---|
| Exposure | -0.30 to -0.70 | Create a darker, moodier base |
| Contrast | +10 to +25 | Adds drama and depth |
| Highlights | -20 to -50 | Recovers detail in skies and faces |
| Shadows | +10 to +30 | Brings out detail in dark areas |
| Whites | -10 to -20 | Prevents blown-out highlights |
| Blacks | -10 to -30 | Deepens shadows |
2. Presence
| Setting | Recommended Adjustment | Notes |
|---|---|---|
| Clarity | +10 to +25 | Enhances texture and grit |
| Dehaze | +5 to +15 | Adds contrast in foggy or dull scenes |
| Texture | +5 to +15 | Boosts surface detail (great for walls, fabrics) |
| Vibrance | -5 to +5 | Keep natural; don’t oversaturate |
| Saturation | -10 to 0 | Desaturate slightly for moodiness |
3. Tone Curve
Create a Gentle S-Curve:
- Highlights: Slight lift
- Midtones: Slight bump
- Shadows: Pull down
- Blacks: Lift slightly for a matte effect
4. Color Grading / Split Toning
| Tones | Hue Range | Saturation | Example Use |
|---|---|---|---|
| Shadows | 200–240 (Blue/Teal) | 10–30 | Adds cool tones |
| Highlights | 30–60 (Orange/Gold) | 10–25 | Warms up skin or sunlight areas |
| Midtones | Optional | Light warm/cool mix | Balance the mood |
| Balance | -25 to -50 | Emphasize cool shadows |
5. Effects & Final Touches
| Setting | Recommended Adjustment | Notes |
|---|---|---|
| Vignette | -10 to -30 | Darkens edges for focus |
| Grain | +5 to +20 | Adds texture for vintage or film look |
| Sharpening | Amount: 40 / Radius: 1.0 / Detail: 25 | Avoid over-sharpening faces |
| Crop | Use Rule of Thirds or Symmetry | Enhances composition and mood |
Bonus Tips:
- Use radial filters to selectively darken or highlight.
- Add noise reduction if shooting in high ISO/low light.
- Use a color-calibrated monitor for accurate editing.
- Save presets for a consistent mood across your portfolio.