

The Photograph Begins Before the Animal Appears
You have been waiting beside a waterhole for nearly an hour. The morning light is still soft, the background is relatively clean, and your camera is already pointed toward the area where animals have been appearing. Then a deer slowly steps out from behind the vegetation.
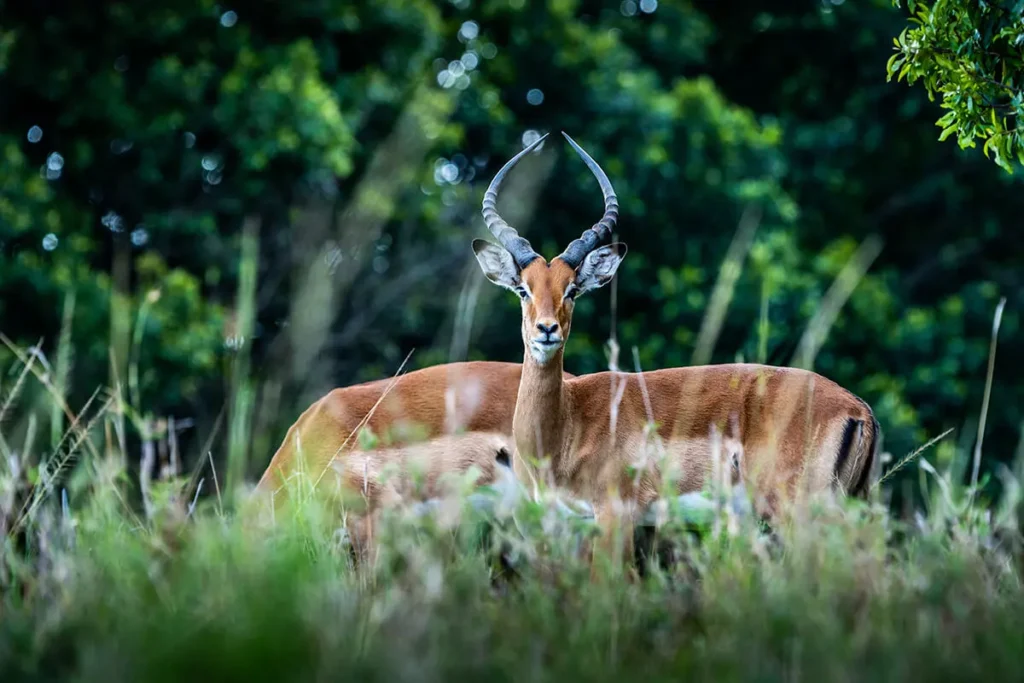
At first, it stands still. You have enough time to compose the frame and check the exposure. A few seconds later, it begins walking toward the water. Then it stops again, looks around, and suddenly moves faster when another animal enters the scene.
The camera settings that worked a moment ago may no longer be ideal.
This is one of the reasons wildlife photography is difficult to reduce to a single set of camera settings. Wildlife does not behave according to your camera menu. An animal can remain still for several seconds and then move unexpectedly. A bird can sit quietly on a branch and then take off without warning. The light can also change while you are waiting.
That is why the question is not simply, “What are the best camera settings for wildlife photography?” A more useful question is: “What does this photo need my camera to do?”
Central idea
The best wildlife photography camera settings are not fixed numbers. They are decisions based on the animal’s movement, the available light, the environment, and the photograph you are trying to create.
The Question Photographers Keep Asking
“What are the best camera settings for wildlife photography?”
It is an understandable question, especially when you are beginning. Wildlife photography involves several technical challenges at once, and having a reliable starting point can make the experience much easier.
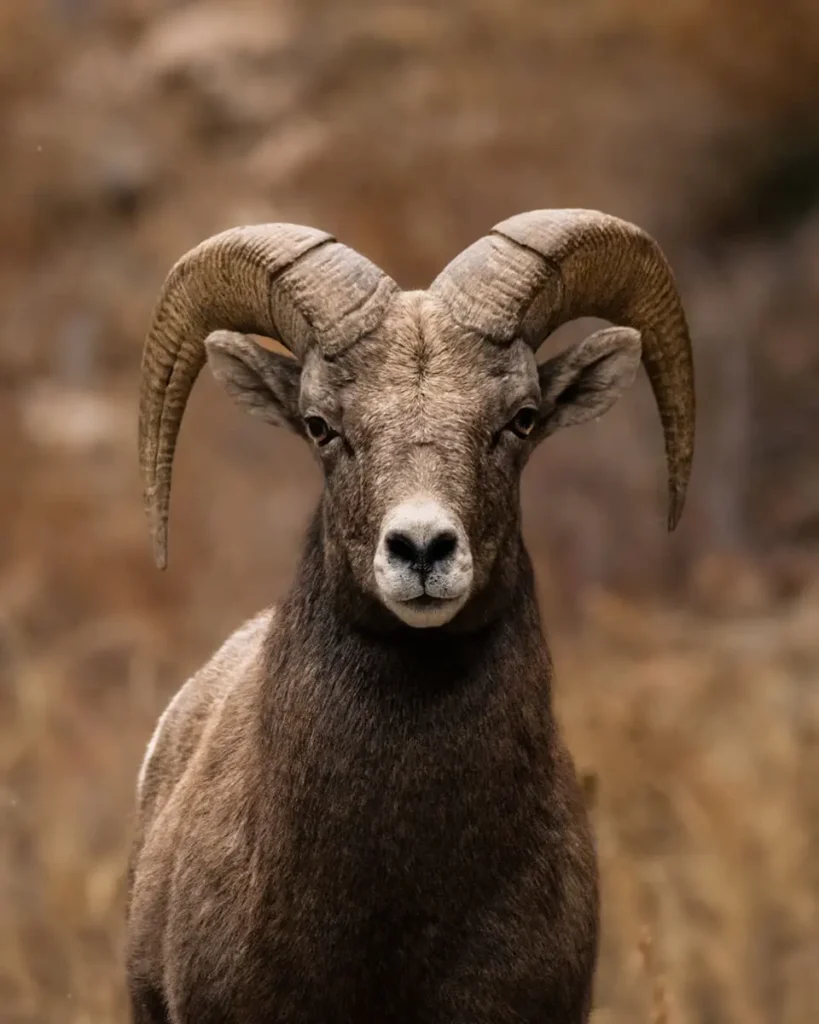
The problem comes when a starting point is treated as a permanent recipe.
A setting that works beautifully for a resting deer may be completely unsuitable for a bird flying across the frame. A shutter speed that freezes a running animal may be unnecessarily high for a subject sitting quietly in soft morning light. Similarly, opening the aperture as wide as possible may isolate an animal beautifully, but it may also leave parts of the subject outside the depth of field.
Wildlife photography can involve different animals, distances, movements, backgrounds, light levels and creative intentions. The better question is therefore not, “Which settings should I memorize?” It will be:
“What camera settings do I need to take a picture like this?”
Once you start thinking this way, camera settings become tools for solving a photographic problem rather than numbers you have to remember.
The First Decision Is Not on Your Camera
Before changing shutter speed, aperture or ISO, look at the animal.
Watch how it behaves. Is it resting? Walking? Feeding? Looking toward something? Preparing to fly? Does it repeatedly move in a particular direction? Is it likely to remain in one place, or could the next moment be much more energetic?
This observation gives you information that the camera cannot provide.
Suppose you are photographing a bird sitting on a branch. You might be able to work comfortably around 1/500 or 1/800 second. But if the bird repeatedly spreads its wings or appears ready to take off, you may want a much faster shutter speed before that moment arrives.
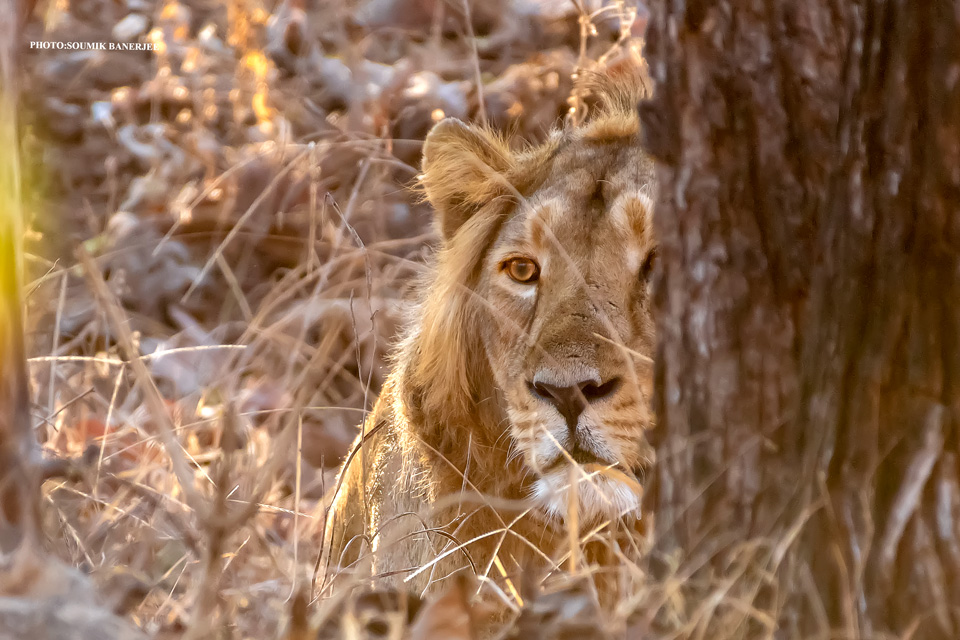
The same principle applies to larger animals. A tiger lying quietly in the shade and a tiger walking through tall grass are the same subject, but they present very different photographic problems. The first situation may give you time to concentrate on composition and detail. The second may require more attention to shutter speed and continuous autofocus.
Before you touch the camera controls, ask yourself what is changing and what needs to remain sharp. That observation should guide the settings.
When You Find Yourself in This Situation
Imagine photographing a deer during the early morning. The animal is standing several meters away, and the light is still relatively soft. You want a detailed portrait showing the eyes, ears and texture of the fur.
Because the deer is relatively still, you do not necessarily need an extremely fast shutter speed. Something around 1/500 to 1/800 second can be a useful starting point, depending on your focal length, camera stability and the animal’s movement. An aperture around f/5.6 to f/8 may give you a useful balance between subject separation and enough depth of field to keep important parts of the animal sharp.
Now imagine the deer starts walking.
The situation has changed. A shutter speed around 1/800 to 1/1000 second may give you a better chance of freezing its movement. If it begins running, you may want 1/1000 to 1/1600 second or faster, depending on the speed and direction of movement.
Notice what changed first: the subject’s behaviour.
You did not change the shutter speed because a wildlife photography guide told you that a certain number was “correct.” You changed it because the photograph now required a different response.
If you keep the shutter speed too slow, movement in the animal’s body or your own camera movement may produce blur. If you make it unnecessarily fast, you may need to raise ISO because the camera receives less light.
That is the balance you are managing.
Understanding the Settings That Matter Most
Wildlife photography becomes easier when you understand what each major setting is solving.
Shutter Speed
Shutter speed is often the first setting wildlife photographers need to think about because animals move unpredictably.
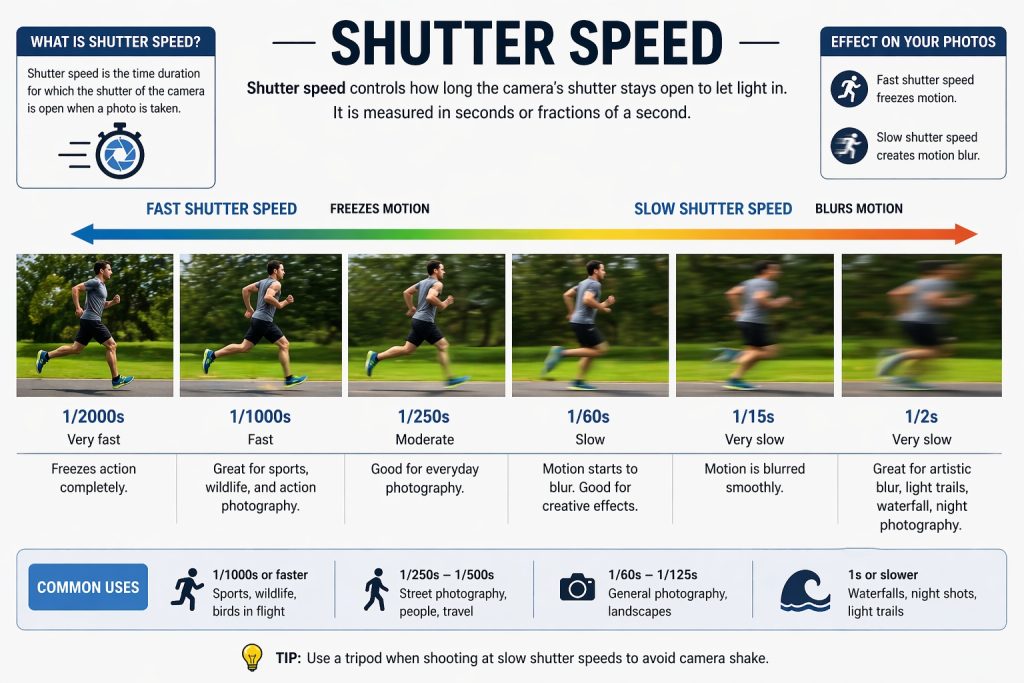
For a relatively still animal, 1/500 to 1/800 second can be a useful starting range. For walking animals, you may find 1/800 to 1/1000 second more appropriate. Running animals often benefit from 1/1000 to 1/1600 second, while birds in flight may require 1/1600 to 1/3200 second or even faster.
These are not rules. A slow-moving animal photographed at a long focal length may require a faster shutter speed than you expect, while a photographer intentionally tracking a moving animal may deliberately use a slower speed to create motion blur.
The important question is whether the shutter speed matches the movement you want to show or eliminate.
Aperture
A wide aperture can help separate an animal from a distracting background, which is particularly useful when vegetation or other objects compete with the subject.
However, the widest possible aperture is not always the best choice. If you photograph an animal from the side and want both eyes and important facial details to remain sharp, stopping down slightly can provide useful depth of field.
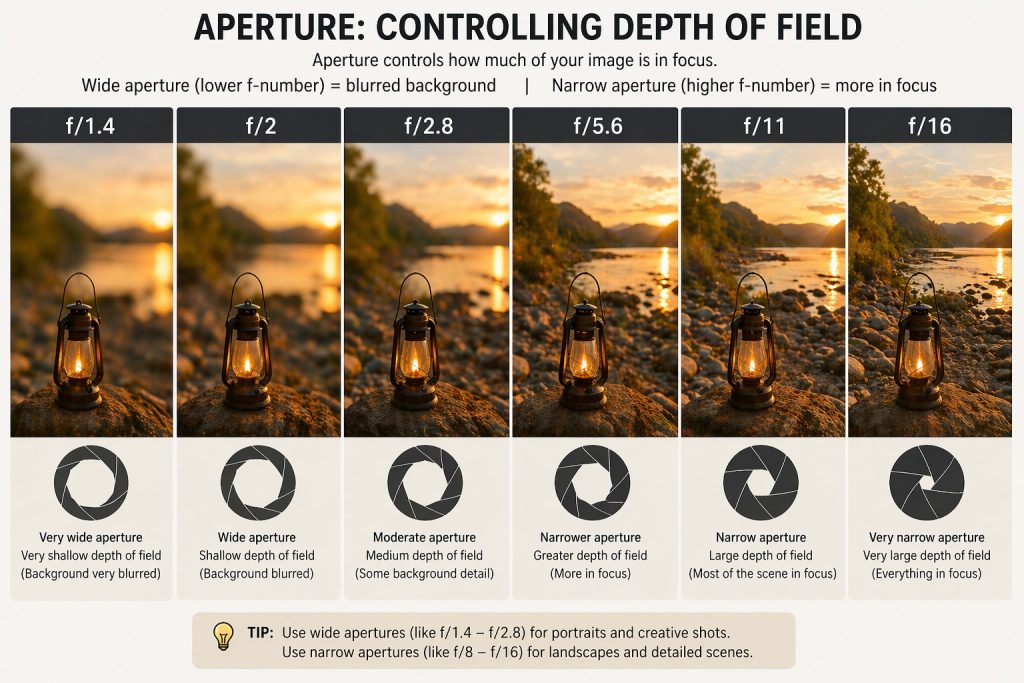
A starting point around f/5.6 to f/8 can work well in many situations. For environmental wildlife photographs where the habitat is an important part of the image, f/8 to f/11 may be more useful.
The trade-off is light. Stopping down reduces the amount of light entering the lens, so you may need to compensate with shutter speed or ISO.
ISO
ISO becomes especially important when you need a fast shutter speed but do not have much light.
Wildlife photographers sometimes become too concerned about keeping ISO low. A technically clean photograph is not very useful if the animal is blurred because the shutter speed was too slow.
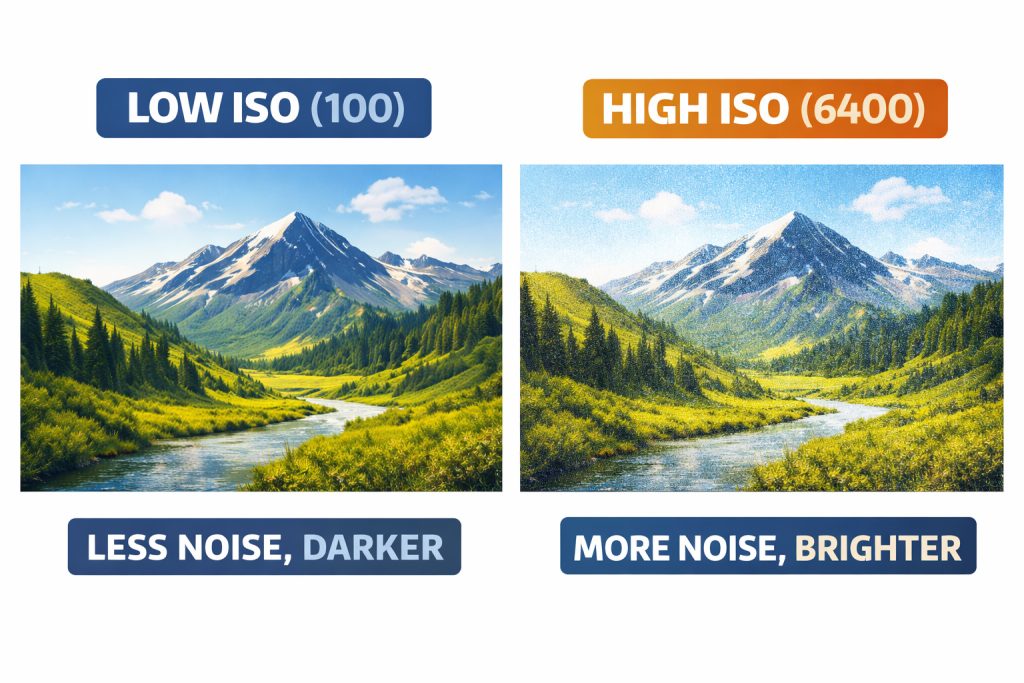
If the choice is between a slightly noisy but sharp photograph and a clean but blurred photograph, the sharp photograph is often the more useful result.
Auto ISO can be particularly practical for wildlife photography because the light may change while you are concentrating on the animal. You can control the shutter speed and aperture while allowing the camera to adjust ISO within a range you are comfortable with.
Focus
Autofocus behaviour is just as important as exposure.
For moving wildlife, continuous autofocus such as AF-C or AI Servo is generally a useful starting point because the camera can continue adjusting focus as the subject changes distance.
Modern cameras with animal or eye detection can make this easier, particularly when the subject is clearly separated from the background. However, autofocus can still be confused by branches, grass and other foreground objects.
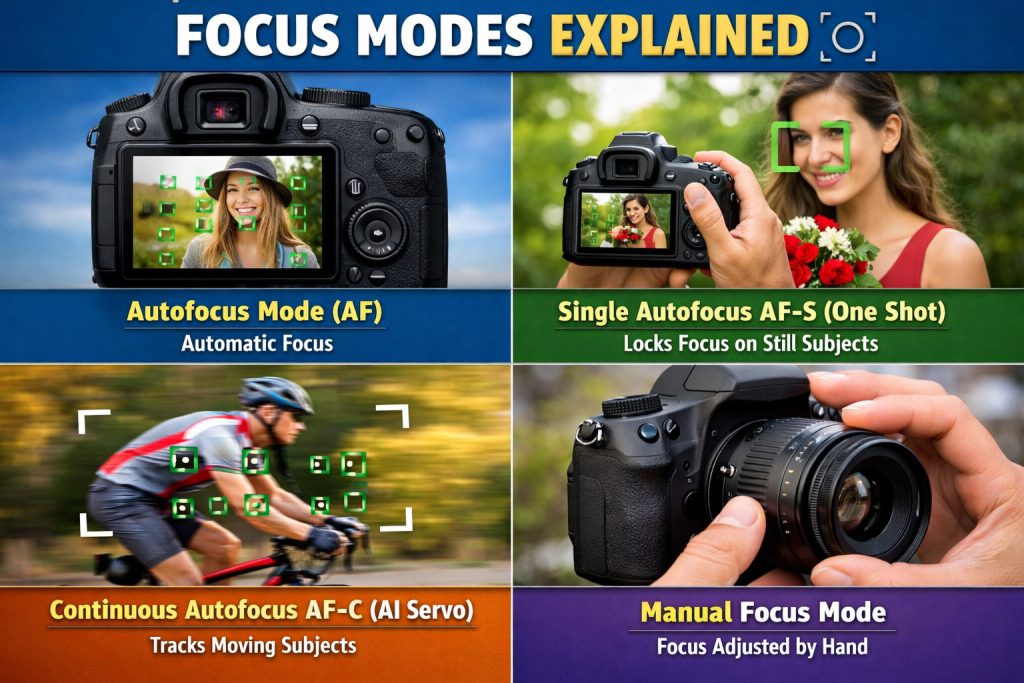
When the environment is visually complicated, pay attention to what the camera is actually focusing on rather than assuming that subject detection will always work.
For a stationary subject, single autofocus or a controlled AF point may sometimes give you more predictable results.
You Don’t Need the Ideal Equipment
Wildlife photography often appears to be a discipline reserved for photographers carrying enormous telephoto lenses and expensive cameras. Those tools certainly provide advantages, particularly when the subject is distant, but they are not the only way to make worthwhile wildlife photographs.
A photographer with an 18–105mm zoom lens can still photograph birds, squirrels, deer, domestic animals and wildlife in situations where the subject comes reasonably close. The wider end can also be useful when the environment is an important part of the photograph.
A 55–250mm, 70–300mm or similar zoom lens can provide more reach without requiring professional-level equipment. An older DSLR can still produce excellent photographs when the photographer understands its limitations.
The equipment changes what is possible, but it does not determine whether a photograph is interesting.
Your goal should not always be to reproduce the photograph made by someone using a 600mm professional lens. Instead, understand what your own equipment allows you to photograph well.
When the Equipment Becomes a Limitation
One of the most common wildlife photography problems is simply being too far away.
If your lens does not provide enough reach, there may be little you can do about the size of the animal in the frame. But buying a longer lens is not always the immediate solution.
You might change your position, wait for the animal to approach, or photograph the subject together with its environment. A smaller animal surrounded by its habitat can sometimes tell a more interesting story than a tightly cropped photograph that simply fills the frame.
A limited maximum aperture creates another common problem. A lens may only reach f/5.6 or f/6.3 at its longer focal length. In low light, maintaining a fast shutter speed may then require a higher ISO.
Again, the answer does not automatically have to be new equipment. You can look for better light, adjust your position, accept a higher ISO, simplify your composition, or wait for the animal to move into a brighter area.
Good wildlife photography often involves accepting what you cannot control and making better decisions about what you can.
Three Photographers, Three Different Photographs
Imagine three photographers watching the same deer near the edge of a forest.
Photographer 1 — The Wildlife Portrait
The first photographer wants a close, detailed portrait. The goal is to emphasize the animal’s face and eyes while allowing the background to become soft and unobtrusive.
A useful starting point might be f/5.6, 1/800 second and Auto ISO, with continuous autofocus if the animal is moving slightly.
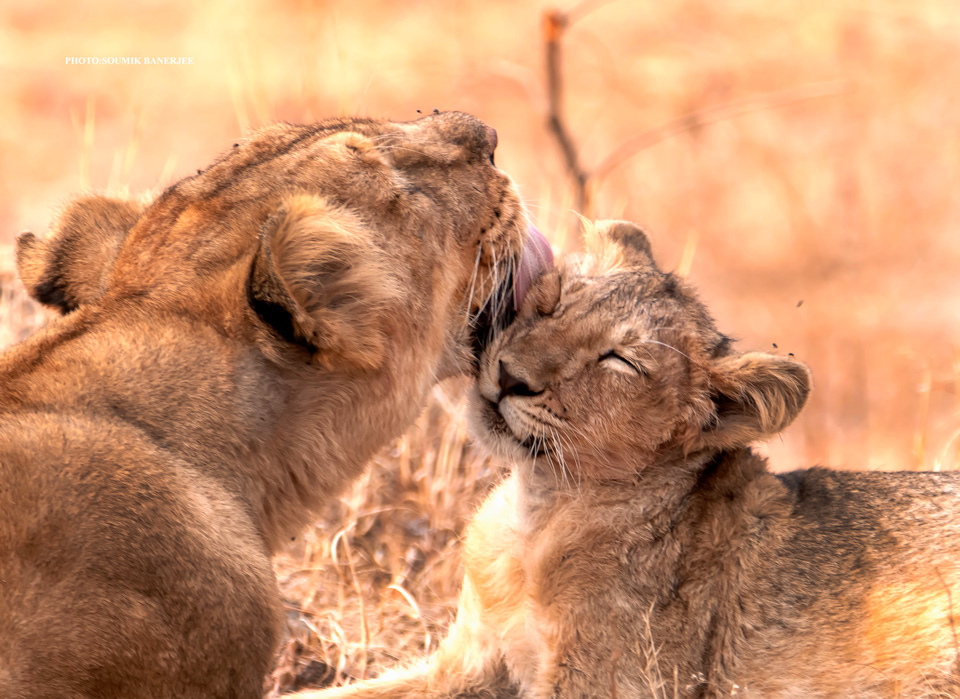
The priority is detail and subject separation.
Photographer 2 — The Environmental Photograph
The second photographer wants to show where the deer lives. Instead of filling the frame with the animal, they include trees, grass and the surrounding landscape.
They might choose f/8 or f/11, around 1/500 to 1/800 second, with ISO adjusted according to the available light.
Here, background detail is not a distraction. It is part of the story.
Photographer 3 — The Action Photograph
The third photographer is waiting for the deer to run.
The settings might move toward 1/1000 to 1/1600 second, with continuous autofocus and a suitable burst mode. The aperture could remain around f/5.6 to f/8 depending on the light and desired depth of field.
The priority is now movement.
The subject has not changed. The photographer’s intention has changed, so the camera settings change too.
The Light Changes Everything
Wildlife photographers often have to work with whatever light happens to be available. You may arrive during beautiful morning light, but clouds can cover the sun. An animal may move from an open area into deep shade. A bird may suddenly appear against a bright sky.
In early morning and late afternoon, softer light can make it easier to maintain a moderate ISO while still using useful shutter speeds. These conditions can also create attractive separation between the animal and the background.
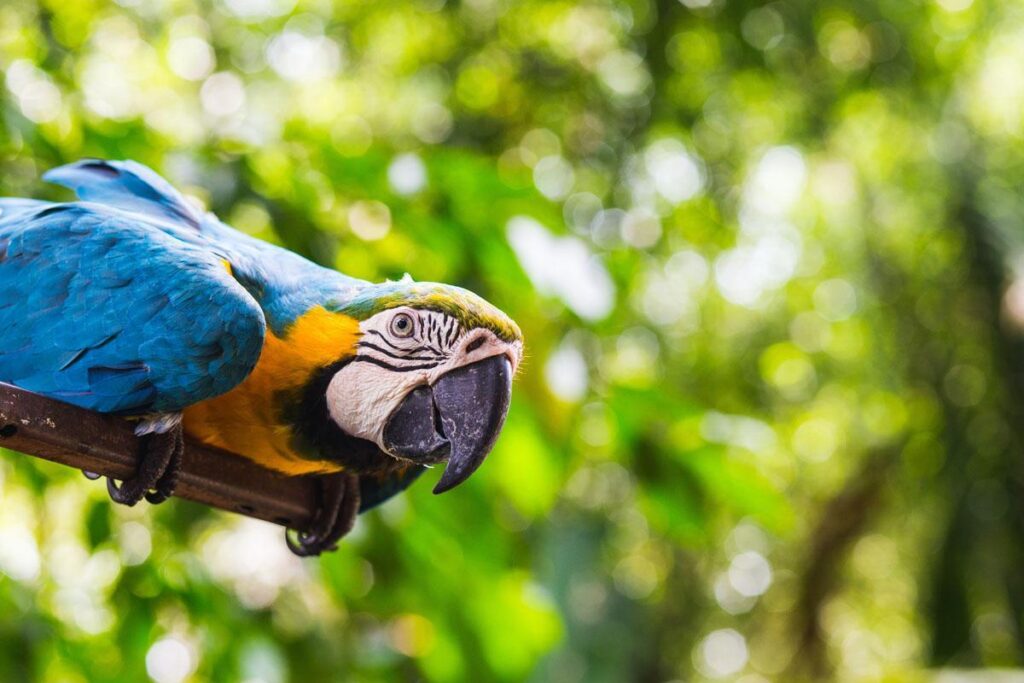
Under overcast skies, the light becomes softer and more even. You may lose some contrast, but this can be helpful for detailed animal portraits because harsh highlights and shadows are reduced.
In bright midday light, shutter speed is rarely the problem. You may have plenty of light, but the contrast can be strong and shadows can become distracting. This is when paying attention to the animal’s position relative to the light becomes more important.
Low light presents a different challenge. You may need to open the aperture, increase ISO and carefully protect your minimum shutter speed.
The important habit is to stop thinking of light as simply “good” or “bad.” Ask what the available light allows you to do.
One Subject Can Give You Four Completely Different Photographs
Consider a tiger resting near the edge of a forest. The animal itself has not changed, but your photograph can change dramatically depending on what you want to communicate.
Photograph 1 — The Portrait
You want the tiger’s face, eyes and fur to dominate the frame.
A setting around f/5.6 to f/8 and 1/800 second could be a useful starting point, with autofocus directed toward the animal’s eye.
The goal is detail and separation from the background.
Photograph 2 — The Environmental Scene
You want to show the tiger within its habitat, so you include trees, grass and some of the surrounding landscape.
You might use f/8 to f/11 to keep more of the scene recognizable, while maintaining a shutter speed around 1/500 to 1/800 second if the animal is relatively still.
The environment becomes part of the story.
Photograph 3 — The Action
The tiger begins walking toward another area.
Now shutter speed becomes more important. A starting point around 1/1000 to 1/1600 second can help freeze movement, while continuous autofocus tracks the subject.
The photograph is no longer primarily about stillness and detail. It is about movement and behaviour.
Photograph 4 — The Atmospheric Photograph
Instead of trying to make the tiger dominate the frame, you photograph it through mist, vegetation or the surrounding landscape.
Here, a wider composition and a more moderate aperture may be useful. The slight obstruction or atmospheric effect may actually contribute to the mood rather than being something to eliminate.
The subject is the same, but the photograph changes because the photographer changes the intention.
The Mistake Photographers Often Notice Too Late
A photograph can be perfectly exposed and reasonably sharp while still being visually weak.
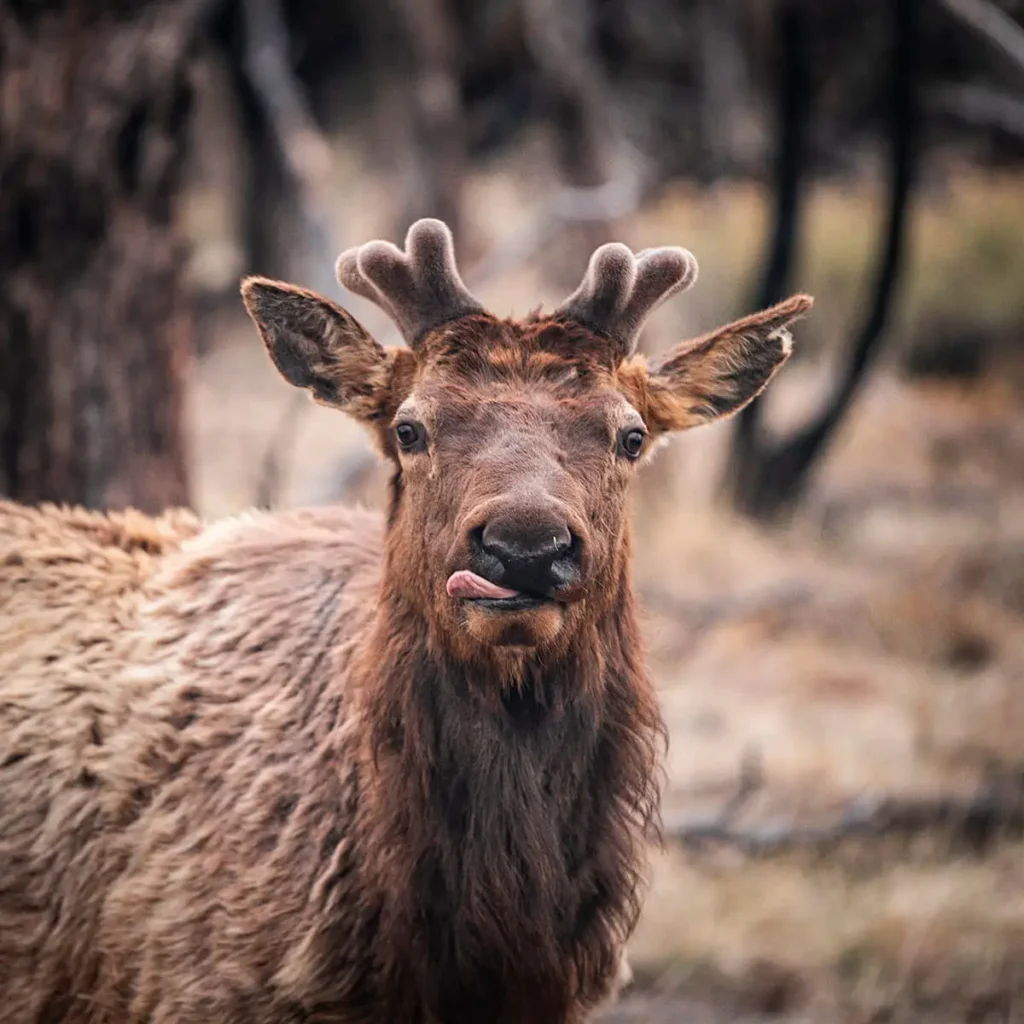
Wildlife photographers sometimes become so focused on getting the animal sharp that they forget to examine everything around it. A bright patch behind the head, a branch crossing the face, a distracting object near the edge of the frame or too little space in the direction the animal is looking can weaken the photograph.
These problems are easy to notice later on a computer but much harder to notice when you are concentrating on the animal. Develop a quick visual check before pressing the shutter.
Ask yourself:
You do not need to stop photographing for several seconds to answer these questions. With practice, they become part of the way you look through the viewfinder.
Technical accuracy gets the photograph recorded. Observation and composition help make it worth looking at.
What Changes When You Change Shutter Speed?
Shutter speed is one of the easiest wildlife settings to understand because its effect can be seen directly.
1/500 Second
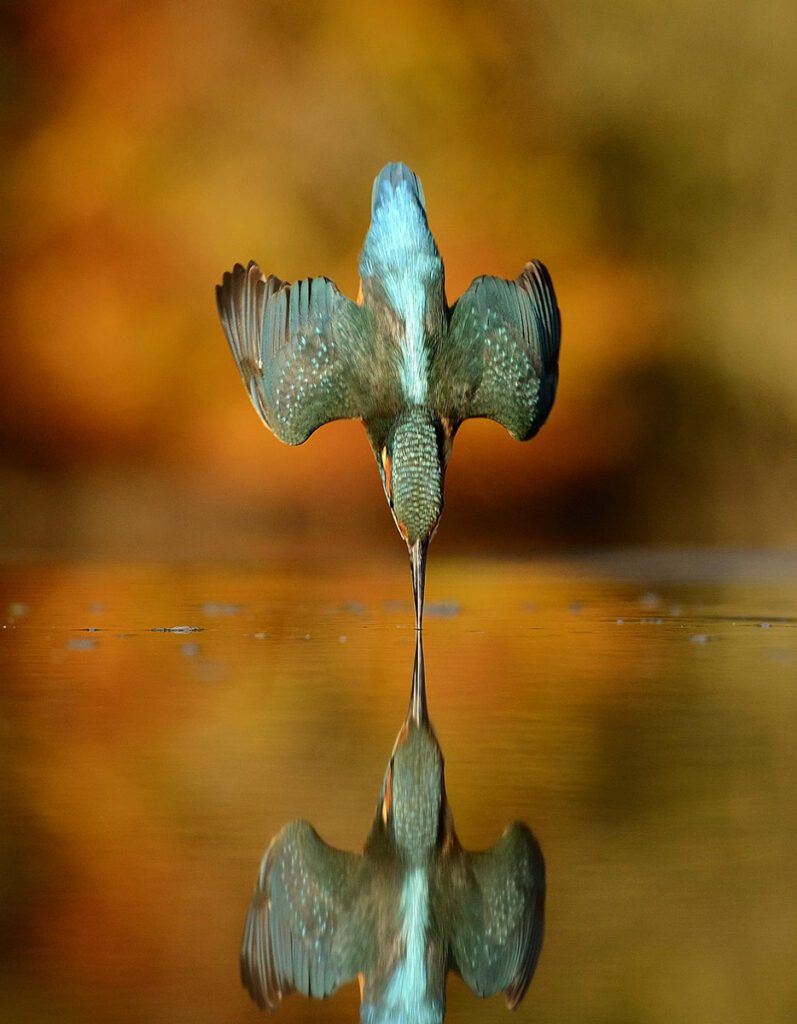
A bird in flight photographed at 1/500 second may show some movement in its wings. Depending on the subject and your intention, this may make the photograph feel more dynamic.
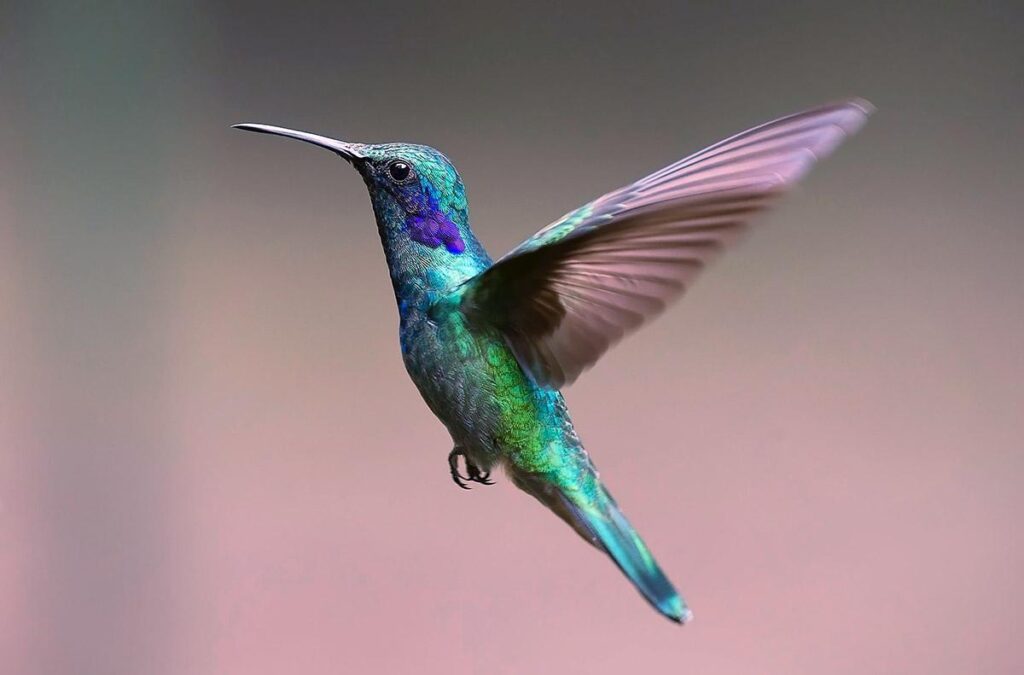
1/1000 Second
At 1/1000 second, you have a better chance of reducing visible movement and producing a sharper representation of the bird.
1/2000 Second
At 1/2000 second, rapid wing movement can be frozen much more effectively. This can reveal a moment that the eye may barely register.
Slower Shutter Speeds
A slower shutter speed can also be used intentionally. If you follow a moving animal while using a slower shutter speed, the subject or background may show motion blur.
The purpose is not to discover one perfect shutter speed. The purpose is to understand what happens when you change the number.
Practical Camera Settings for Wildlife Photography
The following settings are useful starting points for common wildlife situations.
| Situation | Aperture | Shutter Speed | ISO | Focus | Other Setting | Main Purpose |
|---|---|---|---|---|---|---|
| Resting animal | f/5.6–f/8 | 1/500–1/800 sec | Auto/low as light allows | AF-S or AF-C | Single point/animal detection | Detail and portrait |
| Walking animal | f/5.6–f/8 | 1/800–1/1000 sec | Auto ISO | AF-C/Servo | Burst as needed | Freeze moderate movement |
| Running animal | f/5.6–f/8 | 1/1000–1/1600 sec | Auto ISO | AF-C/Servo | Continuous shooting | Freeze action |
| Bird in flight | f/5.6–f/8 | 1/1600–1/3200 sec | Auto ISO | AF-C/Servo | Tracking/burst | Freeze wing movement |
| Low-light wildlife | Widest practical aperture | 1/500–1/1000 sec | Higher Auto ISO | AF-C/Servo | Exposure compensation if needed | Preserve shutter speed |
| Environmental wildlife | f/8–f/11 | 1/500–1/1000 sec | As required | AF-S/AF-C | Wider composition | Show animal and habitat |
These are starting points, not fixed rules.
The correct settings may change with focal length, subject distance, movement, available light, camera capability and the visual result you want. A bird moving directly toward you may require a faster shutter speed than one gliding sideways. A stationary animal photographed at 600mm may need more care with camera movement than one photographed at 200mm.
Think of the table as a place to begin, not a collection of settings to memorize.
If You Have Only One Lens
Suppose your only lens is an 18–105mm zoom with an aperture range of f/4 to f/16.
You may not have the reach of a specialist wildlife lens, but the lens can still be useful in the right situation.
At 18mm, you can create environmental photographs that show the animal within its surroundings. At the longer end, 105mm gives you more opportunity to isolate a relatively close subject. If the animal is far away, you may not be able to fill the frame, but that limitation can encourage a different composition.
The f/4 maximum aperture gives you some flexibility in better light, while the narrower apertures become more useful when you deliberately want greater depth of field. In low light, however, you may need to raise ISO to maintain a useful shutter speed.
The important thing is not to compare your 18–105mm photograph directly with one made using a 600mm lens. The two lenses give you different possibilities.
You can work with those possibilities by getting closer when it is safe and appropriate, choosing subjects that naturally come closer, using the environment as part of the composition, and paying attention to light.
Your equipment gives you a different set of possibilities. Learn what those possibilities are.
What About the Photographer Who Is Just Starting?
A beginner does not need to understand every wildlife photography setting at once.
Start with shutter speed.
Learn what 1/250, 1/500, 1/1000 and 1/2000 second do to a moving subject. Photograph birds, dogs, squirrels or other moving subjects and compare the results.
A useful starting combination is Shutter Priority with Auto ISO, if your camera supports it. This allows you to decide how much movement you want to freeze while the camera handles much of the exposure adjustment.
Once you become comfortable with shutter speed, start paying more attention to aperture and depth of field. Then gradually experiment with autofocus modes, exposure compensation and manual control.
The goal is not to master every camera function before photographing wildlife. The goal is to understand one decision at a time.
A Simple Exercise to Understand Wildlife Photography
You can do this exercise with almost any camera and lens.
Exercise
- Find a moving subject such as a bird, dog, squirrel or other safe-to-photograph animal.
- Start at 1/250 second.
- Photograph the subject several times.
- Change the shutter speed to 1/500 second and repeat.
- Try 1/1000 second, followed by 1/2000 second if the light allows.
- Compare the photographs on your computer or camera screen.
Look for changes in motion blur, sharpness, ISO noise and the overall feeling of movement.
Then try something different. Use a slower shutter speed and follow the moving subject as you take the photograph. You may produce an image with intentional motion blur.
This exercise teaches something that a settings table cannot: the relationship between the number on the camera and the visual result.
The goal is not to discover one perfect setting. The goal is to understand how your decisions change the photograph.
If You Remember Only Five Things
1. Let movement guide your shutter speed.
A stationary animal and a running animal do not require the same approach. Start by considering how much movement you need to freeze.
2. Focus on what matters most.
For many wildlife photographs, the animal’s eye is a natural point of attention. Use appropriate autofocus behaviour, but always check where the camera is actually focusing.
3. Do not be afraid of ISO.
A higher ISO may introduce noise, but protecting shutter speed can be more important when photographing moving wildlife.
4. Work with the equipment you have.
Limited reach or aperture does not mean you cannot make good wildlife photographs. Change your position, timing, composition and expectations before assuming you need new equipment.
5. Watch before you shoot.
Animal behaviour often tells you what is about to happen. The more carefully you observe, the more time you have to prepare the camera for the moment.
The Best Settings Begin With Paying Attention
Return to that deer beside the waterhole.
When it first appeared, the animal was standing quietly, giving you time to make a careful portrait. Then it started walking, and your shutter speed became more important. If it had suddenly started running, you would have needed to respond again.
Nothing about the camera itself had changed. The photographic situation had changed.
This is the part of wildlife photography that settings guides sometimes overlook. Knowing that 1/1000 second can freeze movement is useful, but knowing when you need 1/1000 second is much more valuable.
The same applies to aperture. Opening the lens can separate an animal from a distracting background, but stopping down can sometimes give you more useful depth of field. ISO is not simply something to keep as low as possible; it is one of the tools that allows you to maintain the shutter speed and aperture the photograph requires.
The strongest wildlife photographers are not necessarily the ones who remember the most camera settings. They are often the ones who notice what the animal is doing, understand what the light is doing, and anticipate what might happen next.
That creates a simple chain of decisions:
Observation → Intention → Camera Decision → Photograph
The best camera setting is not the one you memorized. It is the one that makes sense for the photograph in front of you.

100% agreed
I do agree with your point of view. Experience matters.