

The landscape does not ask for one perfect set of camera settings. It asks you to understand what you want the photograph to say.
You arrive before sunrise.
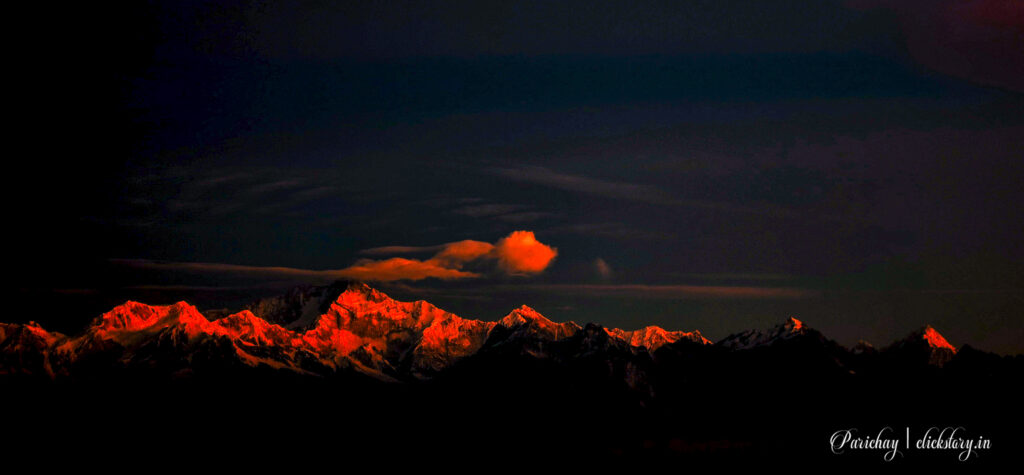
The mountains are still mostly silhouettes. The sky has begun to change colour, but the foreground is dark. There is a narrow path leading into the scene, a few rocks catching the first light, and mist sitting quietly in the valley.
You take out the camera. And almost immediately, the familiar question appears:
What settings should I use for landscape photography?
You could start with the usual advice: low ISO, a small aperture, a relatively slow shutter speed, manual focus, perhaps a tripod. None of that is wrong. But it is incomplete. Because the landscape in front of you has not told you what settings it needs yet.
Perhaps you want every rock in the foreground and every distant mountain to appear sharp. Perhaps the wind is moving through tall grass and you want that movement to remain visible. Perhaps clouds are racing across the sky and you want to turn them into long streaks. Perhaps the light is disappearing and you have no tripod.
- The settings will change.
- The landscape has not.
What changes is your intention.
That is the central idea of landscape photography: camera settings should serve the photograph you are trying to make, not become a recipe you follow before you understand the scene.
The Question Photographers Keep Asking
“What are the best camera settings for landscape photography?” It is one of the most common questions beginners ask. And it is understandable.
Landscape photography seems technically demanding. There may be an enormous difference in brightness between the sky and foreground. You may want everything sharp. You may be working with a tripod, filters, changing light and difficult weather.
So, photographers naturally look for a formula. Perhaps:
- ISO 100
- f/8 or f/11
- 1/125 sec
- Manual focus
- Tripod
- RAW
These can be excellent starting points. But they are not a photograph. They are merely a collection of technical decisions. A photograph begins earlier. It begins when you decide what matters inside the frame.
- Is it the enormous sky?
- The texture of the rocks?
- A person standing in the distance?
- The movement of water?
- The layers of mountains?
- The softness of mist?
- The direction of light?
- Or perhaps the feeling of emptiness?
Once you know that, the settings become much easier to choose. So, instead of asking:
“What are the best settings for landscape photography?”
try asking:
“What does this particular landscape require from my camera?”
That is a much more useful question.
The First Decision Is Not on Your Camera
Before changing aperture, shutter speed or ISO, look. Landscape photographers sometimes become so concerned with technical perfection that they forget to examine the scene.
- Stand still.
- Look at the foreground.
- Then look at the middle distance.
- Then the background.
- Watch the clouds.
- Notice where the light is coming from.
- Look for lines that lead through the frame.
- Look for distractions.
- Ask yourself what attracted you to the scene in the first place.
- Perhaps it was not the mountain.
- Perhaps it was the small tree standing alone against the mountain.
- Perhaps it was the way afternoon light crossed the valley.
- Perhaps it was the reflection in a lake.
- Perhaps the landscape looked ordinary until a patch of sunlight appeared.
That observation should influence your camera settings.
The photographic decision comes before the camera setting.
- If moving water is the important element, shutter speed suddenly becomes important.
- If the entire scene needs to remain sharp, aperture and focus become important.
- If the sky is dramatically brighter than the land, exposure and dynamic range become important.
- If you are photographing stars above a landscape, shutter speed and ISO become very different concerns.
The camera is not deciding what the photograph should be. You are.
When You Find Yourself in This Situation
Imagine you are standing beside a mountain lake just before sunrise. The foreground contains large rocks. Beyond them is still water. A mountain rises behind the lake, and the sky is beginning to brighten.
You compose the photograph. At first, everything looks beautiful. Then you notice the problem. The foreground is dark. If you expose for the foreground, the sky becomes too bright. If you protect the sky, the foreground loses detail. And now you are tempted to start changing settings randomly.
Don’t.
First decide what you want the photograph to contain. If the scene has a very wide brightness range, changing aperture alone will not solve the problem. The issue is not depth of field. It is dynamic range.
- You might expose carefully to protect the brighter areas and recover shadow detail from a RAW file.
- You might use exposure bracketing and combine exposures later.
- You might use a graduated neutral-density filter.
- Or you might deliberately allow the foreground to become a silhouette.
Each produces a different photograph. There is no rule saying that the foreground must always be bright. The question is not:
“How do I make everything visible?”
The better question is:
“What should remain visible, and what can disappear?”
That is a photographic decision. Only after making it should you reach for the camera controls.
What Your Camera Needs From You
Landscape photography does not require you to constantly change every setting. A few controls matter repeatedly.
Aperture: How Much of the Scene Should Be Sharp?
For traditional landscape photography, photographers often choose apertures around f/8 to f/11. These settings can provide a useful balance between depth of field and image quality on many lenses. But smaller is not automatically better.
Going all the way to f/16 or f/22 can increase depth of field, but diffraction can also reduce fine detail on many cameras.
So don’t think:
Landscape = smallest aperture.
Think:
Landscape = enough depth of field for the photograph.
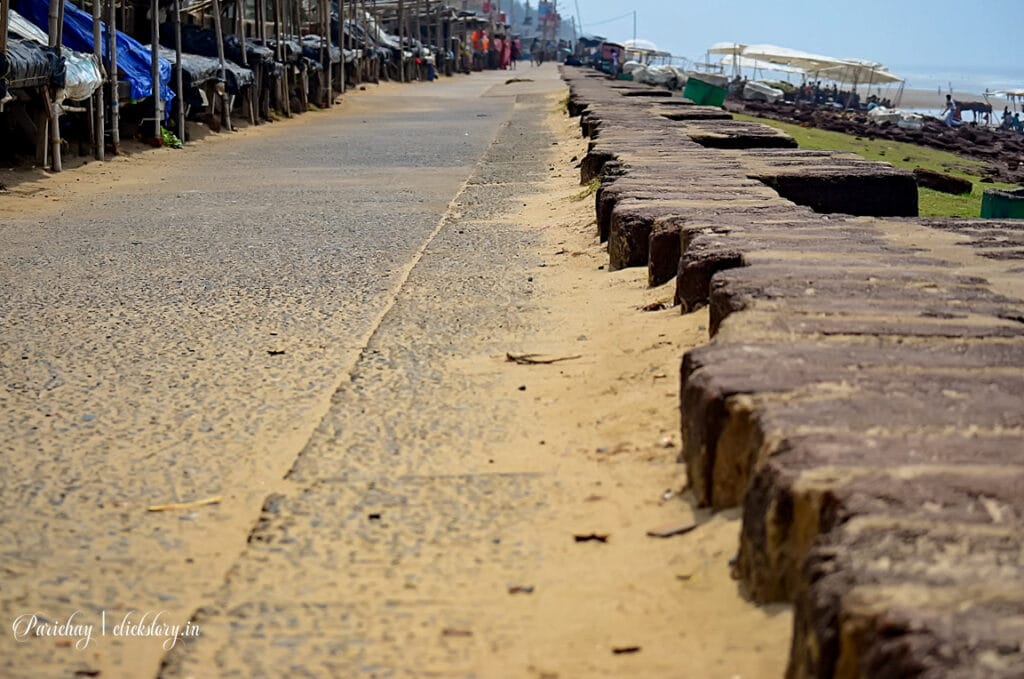
If the foreground is extremely close and the background is distant, you may need careful focusing or focus stacking rather than simply selecting the smallest aperture available. And sometimes you don’t need enormous depth of field at all.
If the distant mountain is the subject and the foreground is deliberately soft, f/4 or f/5.6 may be exactly what the photograph needs.
Shutter Speed: What Should Happen to Movement?
Shutter speed becomes especially interesting in landscape photography because landscapes are not always still.
- Water moves.
- Clouds move.
- Grass moves.
- Leaves move.
- Mist moves.
- People move through the scene.
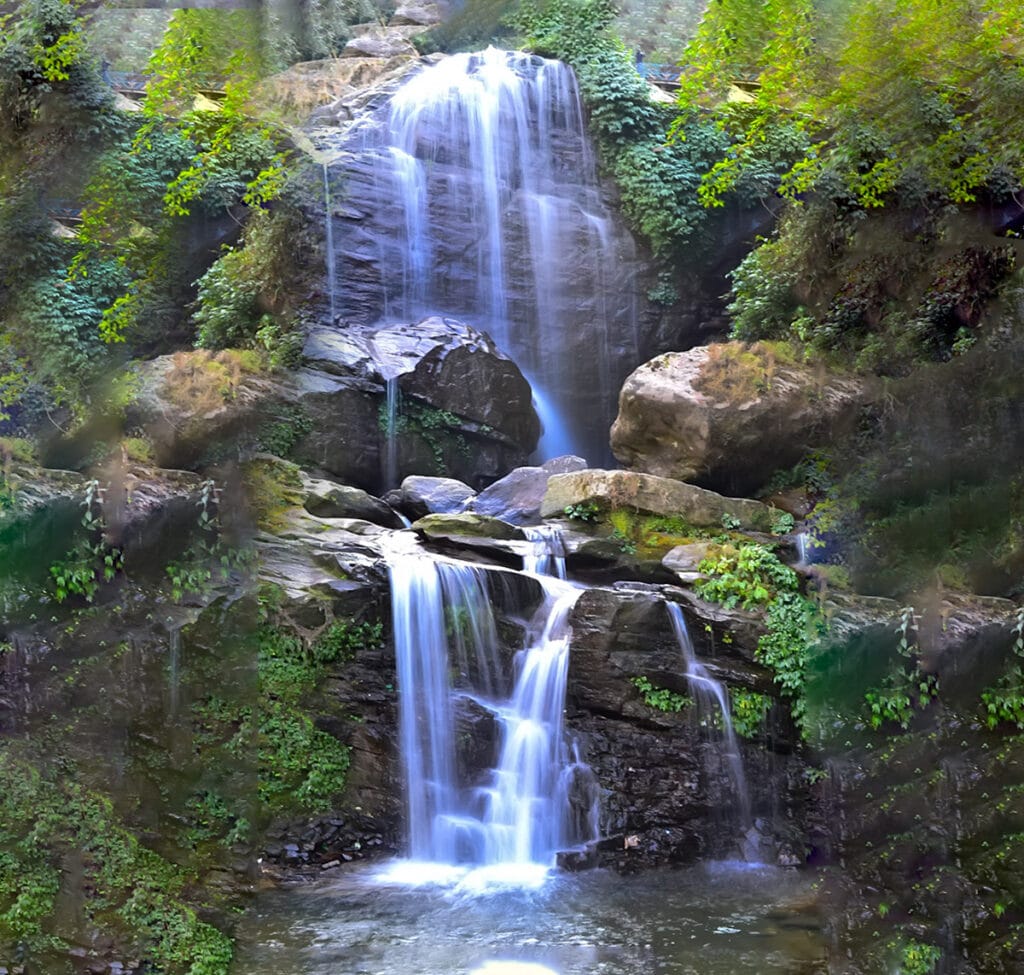
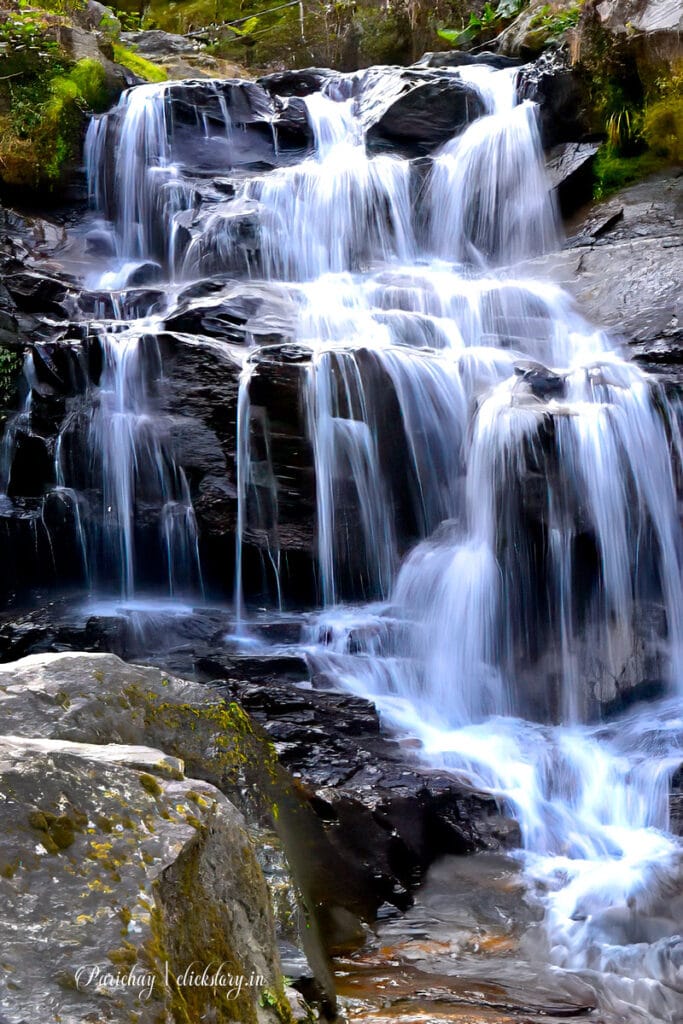
At 1/500 sec, a waterfall can look energetic and frozen. At 1/30 sec, it may begin to soften. At 1 second, the water can become visibly smooth. At several seconds, the movement can become almost abstract. None is automatically correct.
You are choosing how time should appear in the photograph.
A tripod can make slower shutter speeds possible, but the tripod itself does not create a better image. It simply gives you another option.
ISO: How Much Sensitivity Do You Need?
Landscape photographers often prefer the lowest practical ISO. That makes sense when the camera is mounted on a tripod and the scene is bright enough. ISO 100 or the camera’s native low ISO can provide excellent image quality. But there is no award for keeping ISO 100 at all costs.
Suppose the sun has disappeared and you are photographing a mountain landscape at dusk.
- You are already at your desired aperture.
- You want the foreground sharp.
- Your shutter speed has become too slow for the moving vegetation.
- You don’t have a tripod.
In that situation, increasing ISO may be the correct decision. A slightly noisier photograph that is sharp can be more successful than a technically clean photograph ruined by camera movement.
Use ISO as a tool, not as a moral rule.
Focus: Where Should Sharpness Begin?
Landscape photography often requires more thought about focus than simply selecting autofocus and pressing the shutter.
If you have an obvious foreground subject, focusing somewhere on the scene that provides sufficient depth of field can help keep both foreground and background acceptably sharp. This is where the idea of hyperfocal distance can become useful. But beginners do not need to calculate hyperfocal distance for every photograph.
A simpler approach is to understand the relationship between:
- focal length
- aperture
- subject distance
- sensor size
- depth of field
For very close foregrounds, magnified live view can help you check focus. For scenes with extreme depth, focus stacking may sometimes produce a sharper result than forcing one exposure to do everything. Again, the technical method follows the visual problem.
You Don’t Need the Ideal Lens
Landscape photography has developed a reputation for requiring expensive wide-angle lenses. A 14–24mm lens can certainly be useful. But it is not a requirement for photographing landscapes. A photographer with one versatile zoom lens can make an enormous variety of landscape photographs.
Consider an 18–105mm lens.
- At 18mm, you can capture a broad view of a valley, coastline, forest or mountain scene.
- At 35–50mm, you can begin simplifying the landscape.
- At 70–105mm, you can isolate distant mountain layers, compress visual relationships and photograph details that a wide-angle lens might make insignificant.
This is an important lesson:
A wider lens does not automatically make a landscape photograph better. Sometimes it simply gives you more empty space. If the interesting part of the landscape occupies only a small portion of the scene, moving closer or using a longer focal length may create a stronger composition.
When the Equipment Becomes a Limitation
Imagine your lens only opens to f/4. Is that a problem?
Not necessarily.
For much of landscape photography, f/4 is perfectly usable. You may simply need to work differently. Or perhaps you don’t have a tripod. Again, that changes your options, but it does not end the photograph.
Change Your Position
If the foreground is not working, move.
- Step closer.
- Step sideways.
- Change your height.
- Look for a natural support.
Sometimes a change of 30 centimeters creates a bigger compositional difference than changing lenses.
Change the Timing
If the light is flat at noon, wait. The same mountain can look completely different ten minutes before sunset. Clouds can change the balance of the frame. A brief opening in the clouds can transform an ordinary scene.
Change the Composition
If you cannot create the huge sweeping landscape you imagined, stop trying to force it.
- Photograph a smaller section.
- Use layers.
- Look for patterns.
- Find a single tree.
- Photograph the reflection.
- Compress the mountains with a longer focal length.
Change the Way You Use the Light
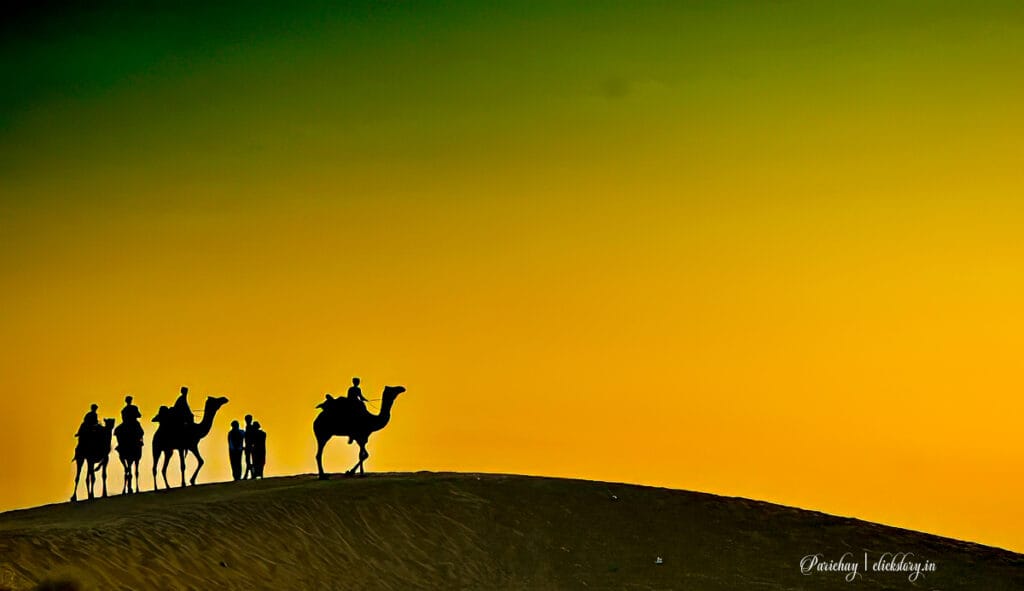
You may not be able to control the weather, but you can control where you stand and how you respond to the light. Backlight can turn a mountain or tree into a striking silhouette, while side light can reveal the texture of rocks, vegetation and the landscape itself. Soft, overcast light can simplify a forest by reducing harsh shadows, while low evening light can separate distant mountain layers and give the scene a stronger sense of depth.
The weather may not give you the conditions you expected, but it can reveal possibilities you might otherwise have overlooked. Sometimes a limitation simply changes the photograph you make—and that does not mean it will be a lesser photograph.
Three Photographers, Three Different Photographs
Imagine three photographers standing at the same mountain lake. The landscape is identical. Their photographs are not.
Photographer One: The Classic Landscape
Intention: Show the scale and depth of the entire landscape.
Equipment: Wide-angle zoom.
Settings: Around f/8–f/11, low ISO, shutter speed chosen according to available light.
Approach: The photographer includes a strong foreground, the lake in the middle distance and the mountains behind it.
- The photograph communicates space.
- The viewer feels as though they could step into the scene.
Photographer Two: The Mountain Layers
Intention: Reduce the landscape to shapes and layers.
Equipment: Telephoto end of a zoom lens.
Settings: Around f/5.6–f/8, low ISO when possible, shutter speed adjusted for handheld stability.
Approach: Instead of photographing the entire valley, the photographer isolates three distant mountain ridges.
- The foreground disappears.
- The sky becomes minimal.
The photograph becomes about relationships between shapes and tones.
Photographer Three: The Moving Landscape
Intention: Show the movement of water and clouds.
Equipment: Wide or standard zoom, tripod.
Settings: Low ISO, appropriate aperture, and a shutter speed of several seconds depending on the movement.
Approach: The photographer deliberately allows the water to blur while keeping the mountain stable.
The photograph communicates time rather than simply location.
All three photographers photographed the same landscape. None necessarily made the “correct” photograph. They were solving different photographic problems. And therefore, they needed different settings.
The Light Changes Everything
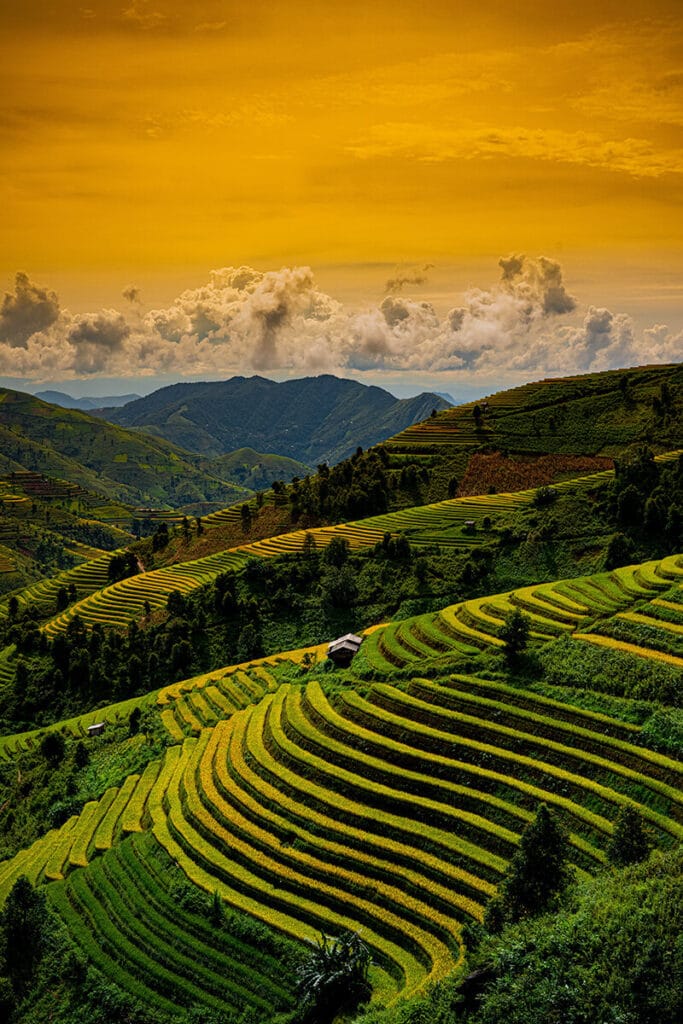
Landscape photographers often talk about the golden hour.
It is beautiful.
But good landscape photography does not begin and end with golden hour.
Soft Light
Cloudy or overcast conditions can produce gentle, low-contrast light.
This can be excellent for:
- forests
- waterfalls
- rocks
- muted landscapes
- intimate scenes
- colour-rich environments
You may not need extreme dynamic-range management because the difference between highlights and shadows is often smaller.
Instead of complaining that the dramatic light has disappeared, look for subjects that benefit from soft light.
Hard Light
Strong midday sunlight creates deeper shadows and stronger highlights.
This can make traditional scenic landscapes difficult.
But hard light can also create:
- dramatic shadows
- graphic shapes
- strong patterns
- silhouettes
- contrast
- texture
The problem is often not the light itself. It is trying to photograph the wrong subject in that light.
Golden Hour and Evening
- Low-angle sunlight can reveal texture across mountains, rocks and fields.
- Warm light can separate layers of landscape.
- Long shadows can create depth.
- This is when many photographers naturally reach for familiar settings such as low ISO and f/8 or f/11.
But watch the shutter speed. As the light disappears, the camera may require longer exposures. If the landscape contains moving vegetation, that movement becomes part of the technical decision.
Low Light
As darkness approaches, the old rules become less useful. You may need:
- a tripod
- higher ISO
- wider aperture
- slower shutter speed
- careful focus
- exposure compensation or manual exposure
For a static landscape on a tripod, a slow shutter speed can be perfectly acceptable. For trees moving in wind, it may not be. For stars, the requirements change again.
The important lesson is simple:
Do not memorise settings for light. Learn to read the light and then choose the settings.
One Landscape, Four Different Photographs
Imagine the same mountain valley at sunset. You could photograph it in at least four very different ways.
1. Show the Entire Scene
- What you want to show: The scale of the valley.
- Possible settings: f/8–f/11, ISO 100, shutter speed adjusted for exposure.
- Why: You want enough depth of field while maintaining good image quality.
A foreground element helps create depth.
2. Isolate the Mountains
- What you want to show: Layers and atmospheric perspective.
- Possible settings: Around f/5.6–f/8, ISO 100–400 depending on light, faster shutter speed if handheld.
- Why: You are no longer interested in everything.
A longer focal length can remove distractions and make distant mountains more prominent.
3. Photograph Moving Water
- What you want to show: The softness and movement of the river.
- Possible settings: Low ISO, f/8–f/11, shutter speed from roughly 1/2 second to several seconds.
- Why: The shutter speed is now doing most of the creative work. Tripod becomes particularly useful.
4. Turn the Landscape Into a Silhouette
- What you want to show: The shape of the mountains against a bright sky.
- Possible settings: Low ISO, an appropriate aperture, shutter speed selected to retain highlight detail.
- Why: You don’t need to preserve shadow detail.
The Mistake Photographers Often Notice Too Late
One of the biggest problems in landscape photography is not incorrect aperture or ISO. It is photographing a beautiful place without creating visual structure. A spectacular location does not automatically create a spectacular photograph.
You can stand in front of an enormous mountain range and make a photograph that feels flat.
Why?
- Because the viewer does not know where to look.
- There may be no foreground.
- No leading line.
- No clear subject.
- No relationship between elements.
- No sense of scale.
- Everything is simply there.
Before pressing the shutter, ask:
What is the main reason I want to make this photograph?
If you cannot answer that, changing your aperture probably will not save the image.
What Changes When You Change Focal Length?
Focal length is one of the most powerful landscape controls because it changes how the landscape is organised.
Imagine photographing a mountain with a small tree in the foreground.
- At 18mm, the tree may appear relatively small while the surrounding landscape dominates.
- At 35mm, the relationship becomes tighter.
- At 70mm, the tree may become a significant subject.
- At 105mm, you might eliminate most of the surrounding landscape entirely.
Nothing about the mountain changed. But your relationship with it did. This is why landscape photographers should not automatically reach for their widest focal length.
Try this instead:
Make one photograph at the widest useful focal length. Then zoom in and make another. Then zoom in again.
Look at the three photographs later.
You will often discover that the most powerful photograph is not the widest one.
Practical Camera Settings for Landscape Photography
These settings are starting points rather than fixed recipes.
| Situation | Aperture | Shutter Speed | ISO | Focus | Main Purpose |
|---|---|---|---|---|---|
| Daylight landscape on tripod | f/8–f/11 | As required | 100 | Single point/manual | Maximum overall detail |
| Handheld landscape | f/5.6–f/8 | 1/125 sec or faster | 100–800 | AF-S/Single AF | Avoid camera shake |
| Waterfall with motion | f/8–f/11 | 1/2–5 sec | 100 | Single/manual | Blur water movement |
| Windy landscape | f/5.6–f/8 | 1/250 sec or faster | 100–800+ | Single AF | Freeze vegetation |
| Sunset landscape | f/8–f/11 | As required | 100–800 | Single/manual | Preserve detail and depth |
| Blue-hour landscape | f/8–f/11 | Several seconds possible | 100–800 | Manual/Live View | Capture low light |
| Starry landscape | f/2.8–f/4 | Roughly 5–20 sec* | 1600–6400+ | Manual | Capture stars and foreground |
| Intentional silhouette | f/8–f/11 | As required | 100 | Single/manual | Preserve sky and shapes |
*The appropriate exposure for stars depends heavily on focal length, camera resolution, desired star rendering and conditions.
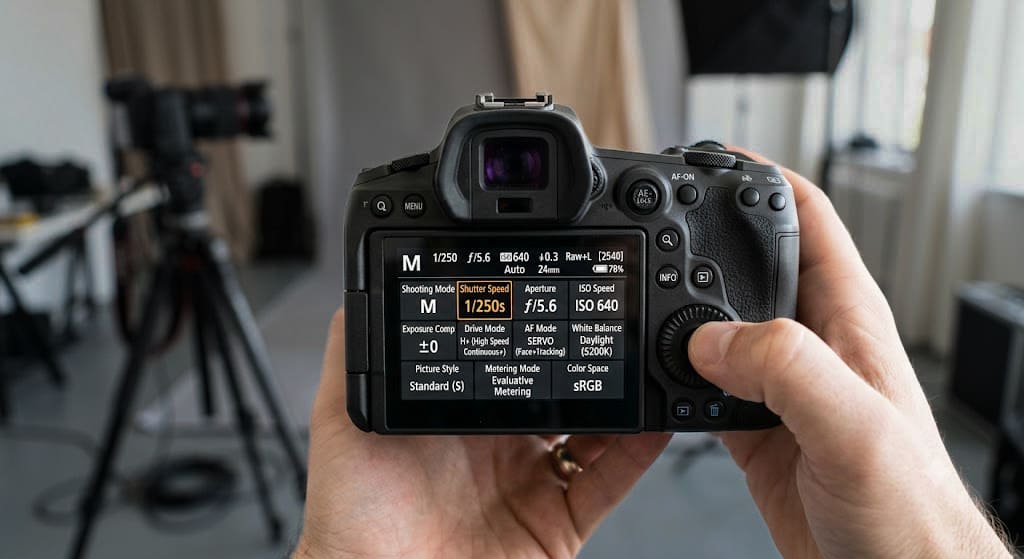
These are starting points, not rules.
The most important adjustments are usually:
First: Change shutter speed when movement matters.
Second: Change aperture when depth of field matters.
Third: Change ISO when shutter speed or aperture cannot give you the result you need.
And remember that exposure is a relationship. Changing one setting often requires adjusting another.
If You Have Only One Lens
If you own one versatile lens, don’t stop photographing landscapes because you don’t have the lens you see in professional tutorials.
Suppose your only lens is an 18–105mm f/4–f/16 zoom. You actually have considerable creative flexibility.
- At 18mm, you can work with broad scenes and strong foregrounds.
- At 24–35mm, you can reduce the amount of empty space and create a more natural-looking relationship between foreground and background.
- At 50–70mm, you can begin isolating important sections of the landscape.
- At 105mm, you can compress distant mountain layers, isolate patterns and photograph details.
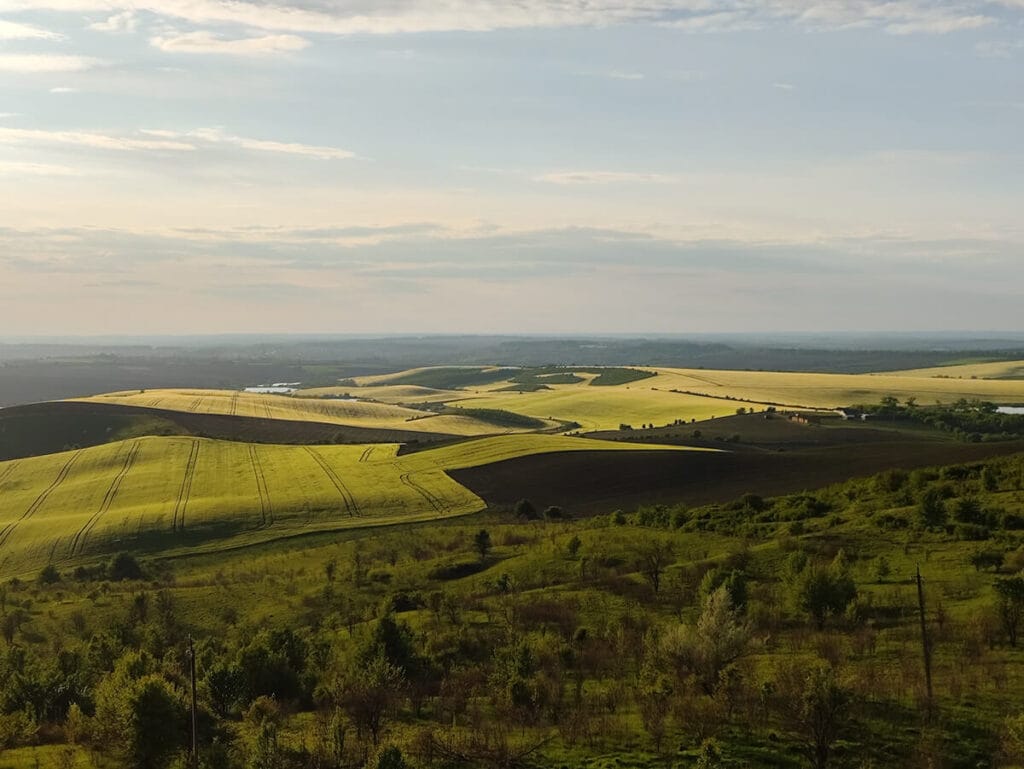
The f/4 maximum aperture is not a serious disadvantage for most daytime landscape photography. Landscape photography rarely depends on extremely shallow depth of field. And when you need more depth of field, you can stop down.
When the light begins to fade, a tripod can help you continue working with a slower shutter speed while keeping the image sharp. If you don’t have one, look for a stable surface to support the camera, or increase the ISO when necessary rather than allowing camera shake to ruin the photograph.
More importantly, learn to understand what your lens can actually do across its focal-length and aperture range. Instead of spending your landscape trip wishing for a lens you don’t own, explore the possibilities of the one already in your hands. You may discover that changing your position, focal length or composition can achieve far more than you expected.
- Use the lens in your hand.
- Move.
- Change focal length.
- Change height.
- Change your distance.
- Look for a different photograph.
The limitation may change the photograph you make. It does not prevent you from making one.
What About the Photographer Who Is Just Starting?
You do not need a complicated setup. A camera and a versatile lens are enough to begin. Start around f/8, keep ISO low when the light permits, and let the shutter speed fall wherever necessary. If the shutter becomes too slow for handheld shooting, use a tripod or increase ISO.
More importantly, pay attention to composition. For your first few outings, don’t try to master everything at once.
Look for:
- a strong foreground
- a clear subject
- leading lines
- layers
- interesting light
And take fewer photographs. Spend more time looking.
A Simple Exercise to Understand Landscape Photography
Here is an exercise that costs nothing and requires no new equipment.
Find one landscape that you can photograph safely. It could be a field, river, lake, hill, coastline, park or even an ordinary road surrounded by trees. Make four photographs.
Photograph One
Use your widest useful focal length. Try to include the entire scene.
Photograph Two
Zoom in.
Remove some of the surroundings.
Photograph Three
Move your position. Change your height or move sideways. Look for a stronger foreground or relationship between objects.
Photograph Four
Wait. Let the light change. Then photograph the same scene again. When you return home, place the four photographs beside each other. Don’t immediately ask which one is technically best.
Ask:
Which photograph says the most?
Then ask:
What changed?
- Perhaps it was focal length.
- Perhaps position.
- Perhaps light.
- Perhaps timing.
You will begin to notice something important. The camera settings were only part of the process. The larger difference came from how you saw the landscape.
If You Remember Only Five Things
1. There Is No Universal Landscape Setting
f/8, ISO 100 and a tripod are useful starting points, not commandments.
2. Decide What the Photograph Is About
The mountain, water, clouds, foreground, light and atmosphere may all compete for attention. Choose what matters.
3. Use Shutter Speed Creatively
Landscape photography contains movement. Decide whether you want to freeze it, reveal it or blur it.
4. Don’t Confuse Wide With Better
A wider frame shows more landscape, but a longer focal length can sometimes create a stronger photograph by removing unnecessary information.
5. Use the Equipment You Have
A specialist lens can expand your options, but understanding light, composition, distance and timing expands your ability to use any lens.
The Landscape Was Already There
This is why the search for perfect camera settings can become a distraction. Settings matter enormously, but they are not the beginning of the photograph.
The beginning is observation.
You see the small tree standing alone against the enormous mountain. You notice the reflection that lasts only for a few seconds. You realise that the foreground is not helping, so you take three steps forward. You wait for the cloud shadow to cross the valley.
Only then does the camera become important.
- Perhaps you choose f/11.
- Perhaps f/5.6.
- Perhaps ISO 100.
- Perhaps ISO 1600.
- Perhaps a one-second exposure.
- Perhaps 1/500 sec.
The settings are different because the photographs are different. And that is perhaps the most useful thing to remember about landscape photography:
Don’t go into the landscape looking for the settings that will make a good photograph. Go looking for the photograph first. The camera can help you capture it. But it cannot tell you what is worth seeing.
