In photography, camera lens filters are essential tools that help improve the quality and creativity of your photos. Whether you’re a beginner or a hobbyist, understanding different types of lens filters can help you take stunning pictures in various situations.
Lens filters are small, usually round accessories made of glass or plastic. You attach them to the front of your camera lens. Some filters protect your lens, while others change how light enters the camera, helping you create special effects or fix tricky lighting conditions.
In this guide, we’ll explore the most popular types of camera lens filters, what they do, and how to use them with real-life examples. Let’s dive in!
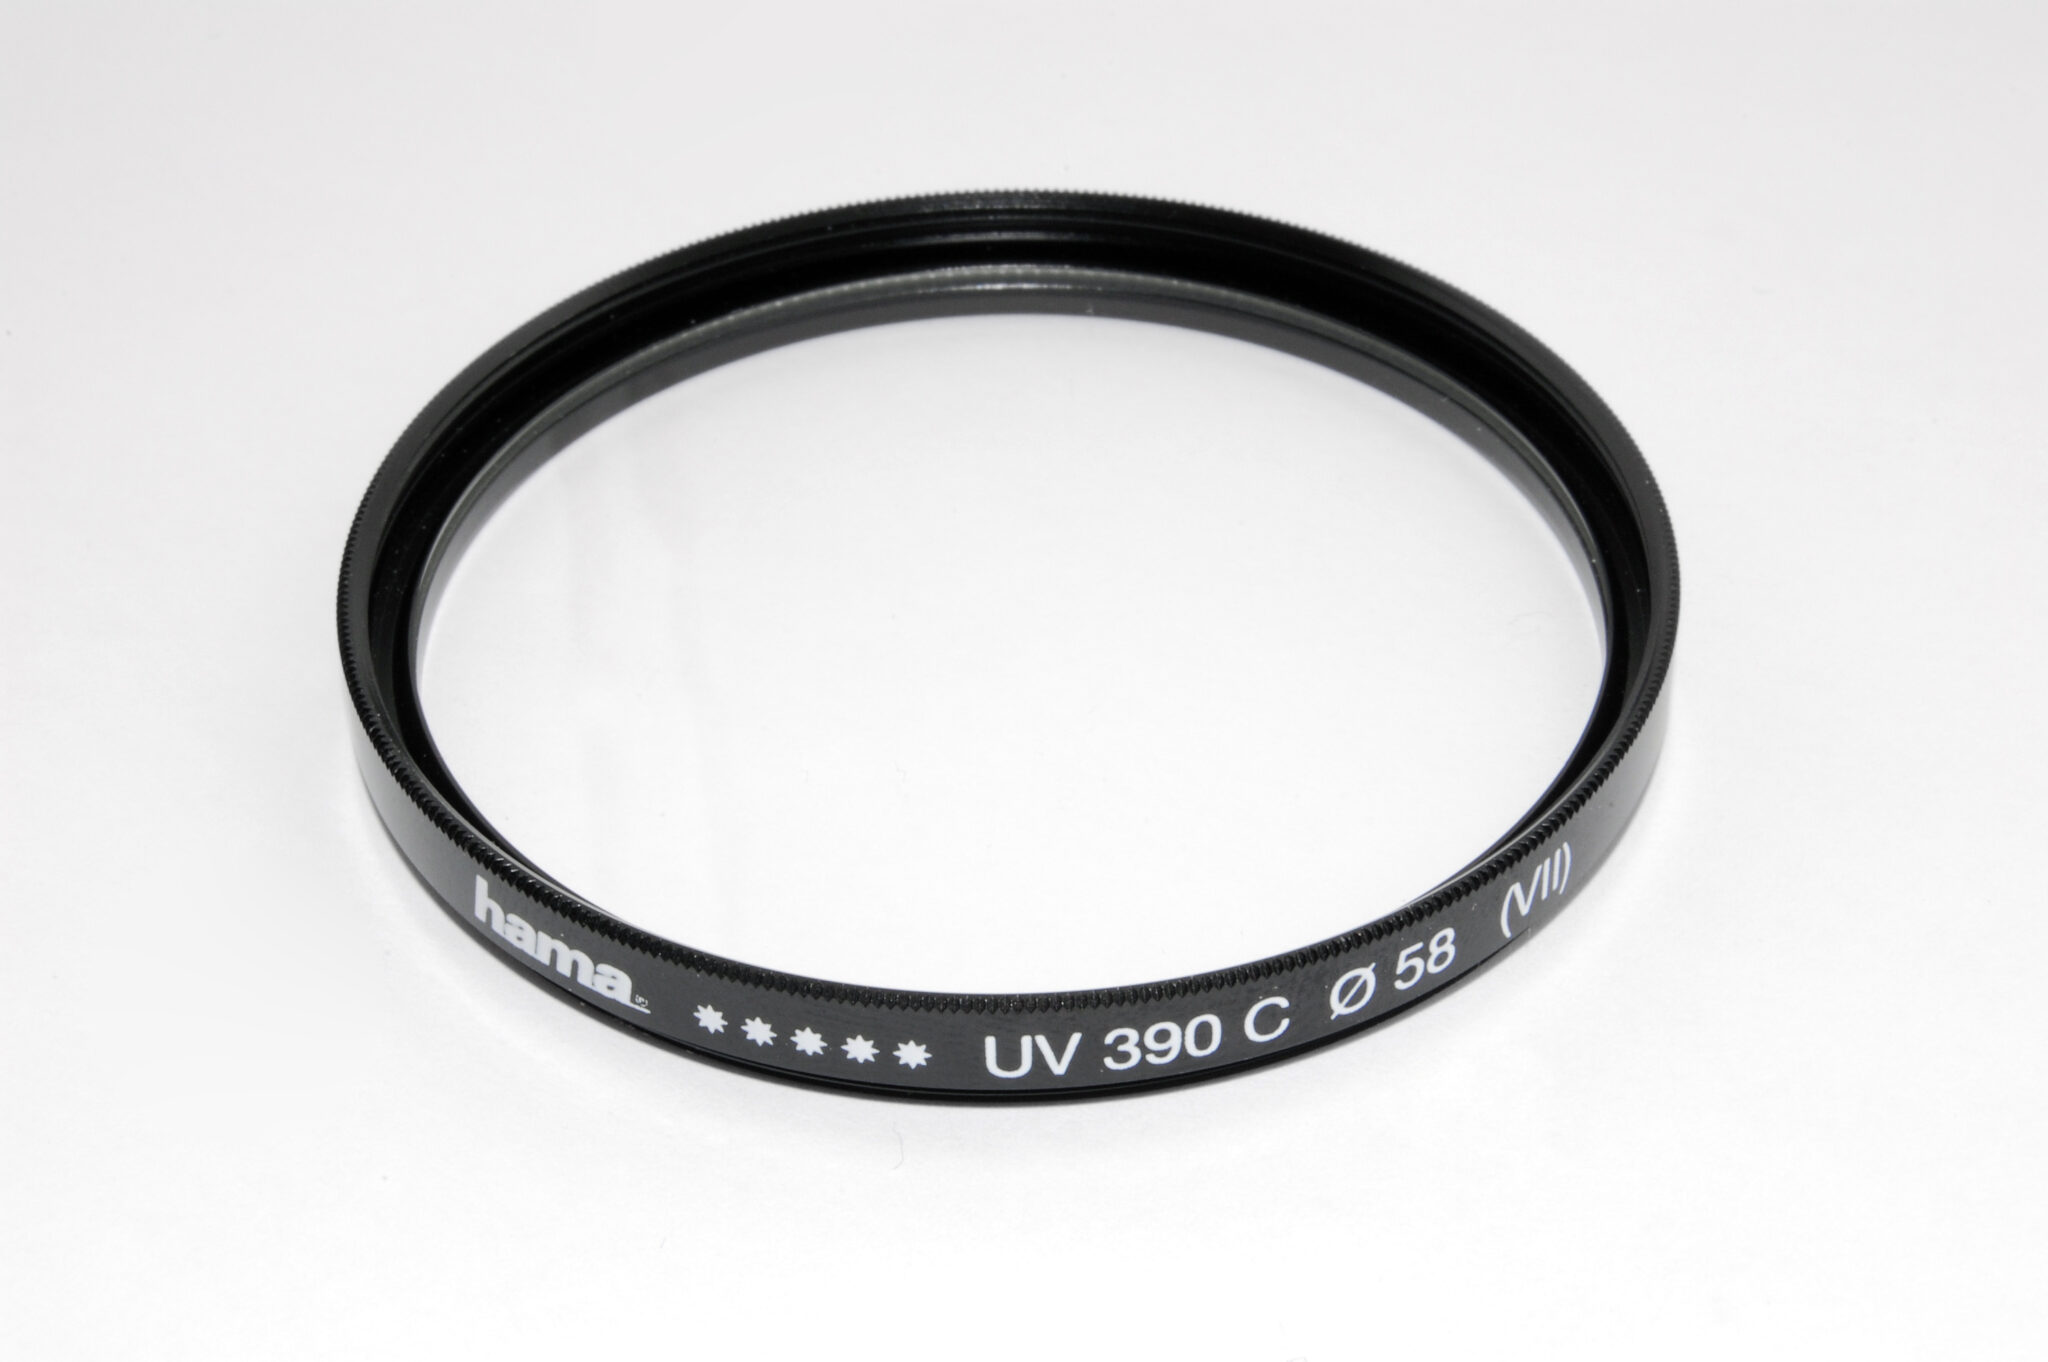
1. UV Filter (Ultraviolet Filter)
What It Does:
A UV filter blocks ultraviolet light from entering your camera lens. In the past, UV light used to cause hazy or blurry images, especially when shooting outdoors. Today’s digital sensors aren’t as sensitive to UV, so this filter is mostly used for lens protection.
Main Benefits:
- Protects your lens from scratches, dust, fingerprints, and water.
- Reduces haze in outdoor scenes (mostly with film cameras).
- Can be left on your lens all the time.
Real-Life Example:
You’re hiking through a dusty trail or standing near ocean waves. A UV filter protects your lens from getting dirty or damaged, and you don’t need to remove it.
Best for: All-around protection, outdoor photography
Pro Tip: Buy a multi-coated UV filter for better image quality and less lens flare.
2. Polarizing Filter (CPL – Circular Polarizer)
What It Does:
A polarizing filter reduces reflections and glare from non-metallic surfaces like water, glass, and wet roads. It also improves color contrast, especially in the sky, making the blue deeper and clouds more defined. You rotate the front of the filter to change the intensity of the effect.

Main Benefits:
- Removes reflections from glass, water, or cars.
- Makes the sky bluer and colors richer.
- Helps reduce glare in bright sunlight.
Real-Life Example:
You’re taking a photo of a mountain lake. Without a polarizer, the water reflects the sky. With a polarizer, the reflection disappears, and you can see the rocks under the water.
Best for: Landscape photography, cityscapes, outdoor scenes
Pro Tip: The polarizing effect works best when the sun is at a 90° angle from your camera (not directly in front or behind you).
3. ND Filter (Neutral Density Filter)
What It Does:
An ND filter darkens the image without changing colors. This allows you to use slow shutter speeds or wide apertures in bright light without overexposing your photo. Think of it like sunglasses for your camera.

Main Benefits:
- Suppose you use slow shutter speeds to blur motion (e.g., waterfalls, clouds, traffic).
- Allows wide aperture (f/1.8, f/2.8) in bright daylight for a shallow depth of field.
- Helps control exposure in video shooting.
Real-Life Example:
You’re shooting a waterfall during the day and want a smooth, silky water effect. Without an ND filter, the photo is too bright. With a 6-stop ND filter, you can use a slow shutter speed (like 1 second) and get the perfect effect.
Best for: Long exposure photography, video work, portraits in daylight
Pro Tip: ND filters come in different strengths, like ND2, ND8, ND1000. Higher numbers mean darker filters.
4. Graduated ND Filter (GND Filter)
What It Does:
A GND filter is half dark and half clear. It balances the exposure between a bright sky and a darker ground — ideal for sunrise or sunset shots.
There are hard-edge and soft-edge versions:
- Hard-edge: Sudden transition (good for flat horizons)
- Soft-edge: Smooth transition (good for mountains or trees)

Main Benefits:
- Prevents sky from being overexposed.
- Maintains detail in both sky and foreground.
Real-Life Example:
You’re photographing a sunset over the ocean. The sky is very bright, but the beach is dark. A GND filter darkens the sky while keeping the beach properly exposed.
Best for: Landscape photography, sunrises, and sunsets
Pro Tip: You can also use digital GND effects in editing, but using a real filter gives more control on location.
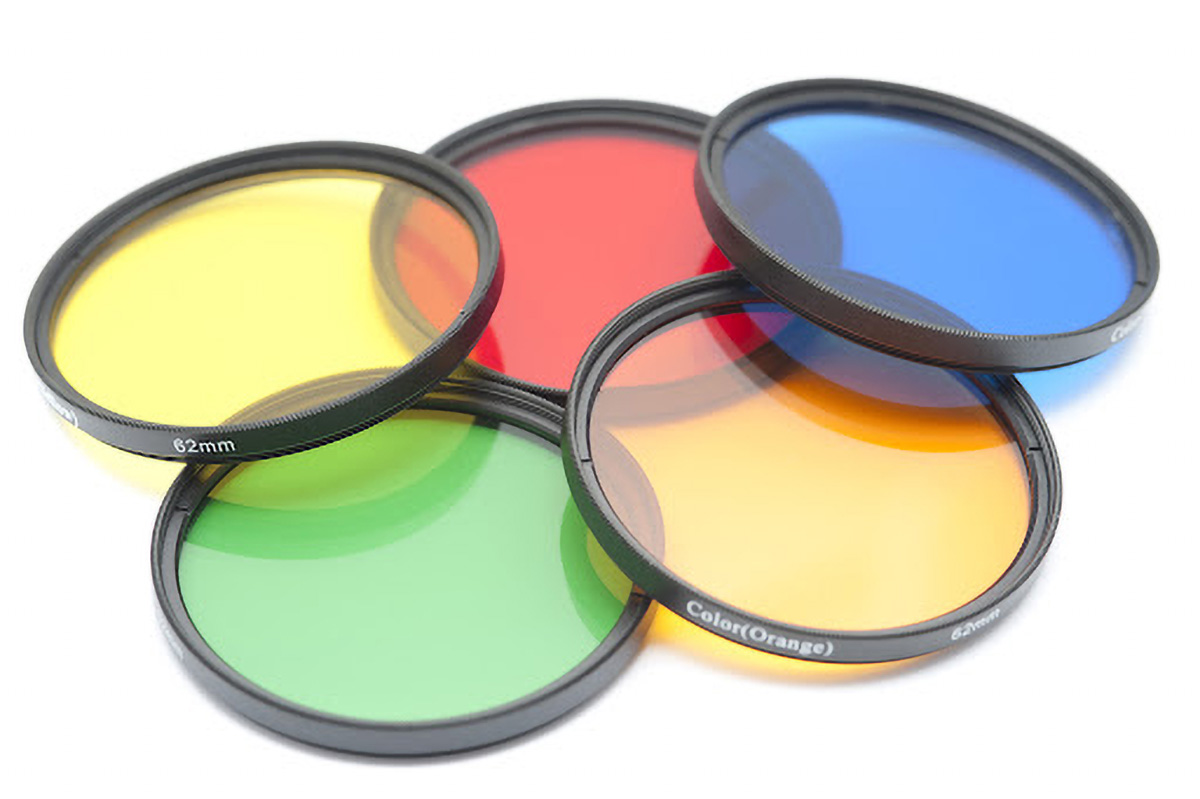
5. Color Filters
What They Do:
Color filters add specific color tones to your photos or change the way colors appear in black and white photography.
They come in red, blue, yellow, green, and many other shades.
Main Benefits:
- Add mood or artistic effects.
- Change contrast in black-and-white photography.
- Useful in film photography or creative portrait work.
Real Life Examples
- Enhancing dramatic skies: Use a red or orange filter in black-and-white photography to darken the sky and make clouds more dramatic and defined.
- Improving nature contrast: A green filter helps separate different shades of foliage, making forests and landscapes look more detailed and natural.
- Flattering portraits: Yellow or warm filters soften skin tones and reduce harsh contrast, creating more pleasing outdoor portraits.
- Creating cool moods: A blue filter adds a calm, cold tone to scenes like beaches or mountains, enhancing mood and storytelling.
- Night street photography: Colored filters can turn streetlights and reflections into vibrant, stylized highlights for a cinematic look.
- Vintage film look: Subtle color filters, like yellow, can recreate warm, nostalgic tones similar to classic film photography.
Pro Tip: Use colored filters carefully — too strong, and your image may look unnatural.
6. Close-Up Filters (Macro Filters)
What They Do:
Close-up filters, also called macro filters or diopters, act like magnifying glasses for your lens. They let you focus very close to small objects without a dedicated macro lens.
They come in strengths like +1, +2, +4, and +10.

Main Benefits:
- Lets you take macro shots with any lens.
- Cheaper than buying a macro lens.
- Easy to carry and use.
Real-Life Example:
You want to photograph a bee on a flower. A +4 close-up filter lets you focus only a few inches away, capturing amazing detail.
Best for: Flower photography, insects, textures
Pro Tip: For best results, use a tripod and good lighting, as close-up filters reduce depth of field.
7. Infrared Filter
What It Does:
An infrared (IR) filter blocks visible light and only allows infrared light to pass through. This creates otherworldly images with glowing skies and white foliage.
Note: Your camera must be modified or sensitive to IR light.

Main Benefits:
- Unique artistic style
- Great for experimental or surreal photography

Real-Life Example:
Trees appear snowy white, and skies turn dark in an infrared landscape photo.
Best for: Artistic photography, infrared landscapes
Pro Tip: Infrared photography requires special setup and post-processing.
8. Star Filter (Cross Screen Filter)
What It Does:
A star filter adds sparkling light effects to bright points of light, like streetlights or reflections. The effect makes lights appear as stars with lines.
You can find 4-point, 6-point, or 8-point star filters.

Main Benefits:
- Adds a magical or dreamy look to night scenes
- Popular for night cityscapes or holiday lights
Real-Life Example:
You photograph a city street at night. With a star filter, each streetlight turns into a glowing starburst.
Best for: Night photography, weddings, concerts
Pro Tip: Use with a small aperture (like f/11 or f/16) to increase the effect.
9. Variable ND Filter
What It Does:
A variable ND filter lets you adjust the darkness by rotating it — from ND2 to ND400 or more. It’s like having several ND filters in one.
Main Benefits:
- Easy to use in changing light
- Great for video work or travel

Real-Life Example:
You’re filming a video outdoors. As the light changes, you rotate the filter to keep the exposure steady without changing your settings.
Best for: Filmmakers, run-and-gun photography
Pro Tip: Low-quality variable ND filters can cause dark X-patterns at wide angles. Buy good quality!
Final Thoughts
Camera lens filters are powerful tools for both beginners and pros. They help you:
- Protect your gear
- Control light and exposure
- Enhance colors
- Create beautiful effects
While editing software can fix many issues, using real filters gives you better results straight out of the camera — and saves time!
So next time you head out to shoot, consider which filter fits your scene. Start with a UV or CPL filter and then try ND or close-up filters for creative effects.
Camera lens filters are accessories attached to the front of your lens to modify how light enters the camera. They can enhance colors, reduce reflections, control exposure, or protect your lens from damage. Filters are widely used in both photography and videography to improve image quality and create creative effects directly in-camera.
Lens filters help improve image quality and give photographers more control over lighting conditions. They can reduce glare, enhance colors, and allow creative techniques like long exposure photography. Some filters also act as a protective layer for your lens, preventing scratches, dust, and moisture damage during outdoor or travel photography.
A UV filter blocks ultraviolet light, which was useful in film photography to reduce haze. In digital photography, it mainly serves as a protective layer for your lens. While not essential, many photographers keep a UV filter on their lens to guard against scratches, dust, and accidental damage without affecting image quality.
A polarizing filter reduces reflections and glare from surfaces like water and glass. It also enhances colors, making skies appear deeper blue and improving contrast in landscapes. By rotating the filter, you can control the intensity of the effect, making it a popular choice for outdoor and travel photography.
An ND (Neutral Density) filter reduces the amount of light entering your lens without changing colors. This allows you to use slower shutter speeds or wider apertures in bright conditions. It is ideal for capturing motion blur in waterfalls, clouds, or traffic, and for achieving shallow depth of field in daylight.
An ND filter darkens the entire image evenly, while a GND (Graduated Neutral Density) filter only darkens part of the frame, usually the sky. GND filters are useful for balancing exposure between a bright sky and a darker foreground, especially in landscape photography during sunrise or sunset.
Variable ND filters allow you to adjust the level of light reduction by rotating the filter. This makes them versatile for changing lighting conditions without swapping filters. They are especially useful for videographers and travel photographers, though high-quality filters are recommended to avoid image artifacts like unwanted patterns.
Yes, low-quality filters can reduce sharpness, introduce glare, or cause color casts. High-quality, multi-coated filters minimize these issues and maintain image clarity. Investing in a good filter ensures better performance and prevents unwanted effects, especially when shooting in bright or high-contrast conditions.
Beginners should start with a UV filter for protection and a polarizing filter for enhancing colors and reducing reflections. These two filters are easy to use and provide immediate improvements in image quality. As skills grow, adding ND or close-up filters can expand creative possibilities.
Lens filters and editing software serve different purposes. Filters allow you to capture better images in-camera by controlling light and reflections, which cannot always be fixed later. Editing software enhances and refines images, but starting with a well-captured photo using filters saves time and improves final results.


