

What is Digital Photo Mounting Technique?
Digital photo mounting techniques help turn your digital images into beautiful displays, whether physically printed or shown on digital devices. With most photos now taken using smartphones and digital cameras, finding creative and practical ways to display them has become more important than ever.
In this article, we’ll explore popular digital photo mounting techniques that are easy to understand and use. We’ll also give examples to help you decide the best method for your needs.
1. Canvas Print Mounting
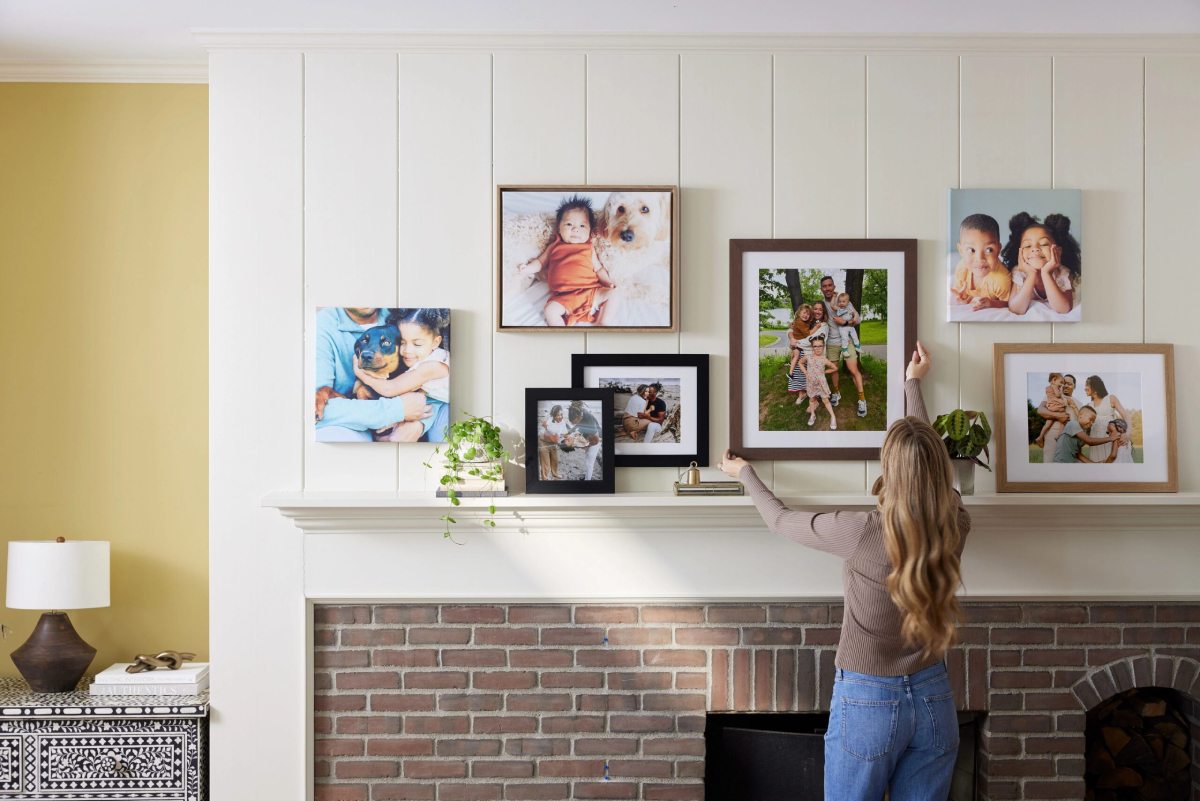
Canvas prints are a popular way to turn digital photos into artwork.
How it works:
- Your digital photo is printed onto canvas fabric using a special printer.
- The canvas is stretched over a wooden frame.
- The photo is ready to hang, just like a painting.
Example: A large canvas of a couple’s wedding photo displayed above their bed.
Pros:
- Looks like art
- Durable and stylish
Cons:
- More expensive than paper prints
2. Foam Board Mounting
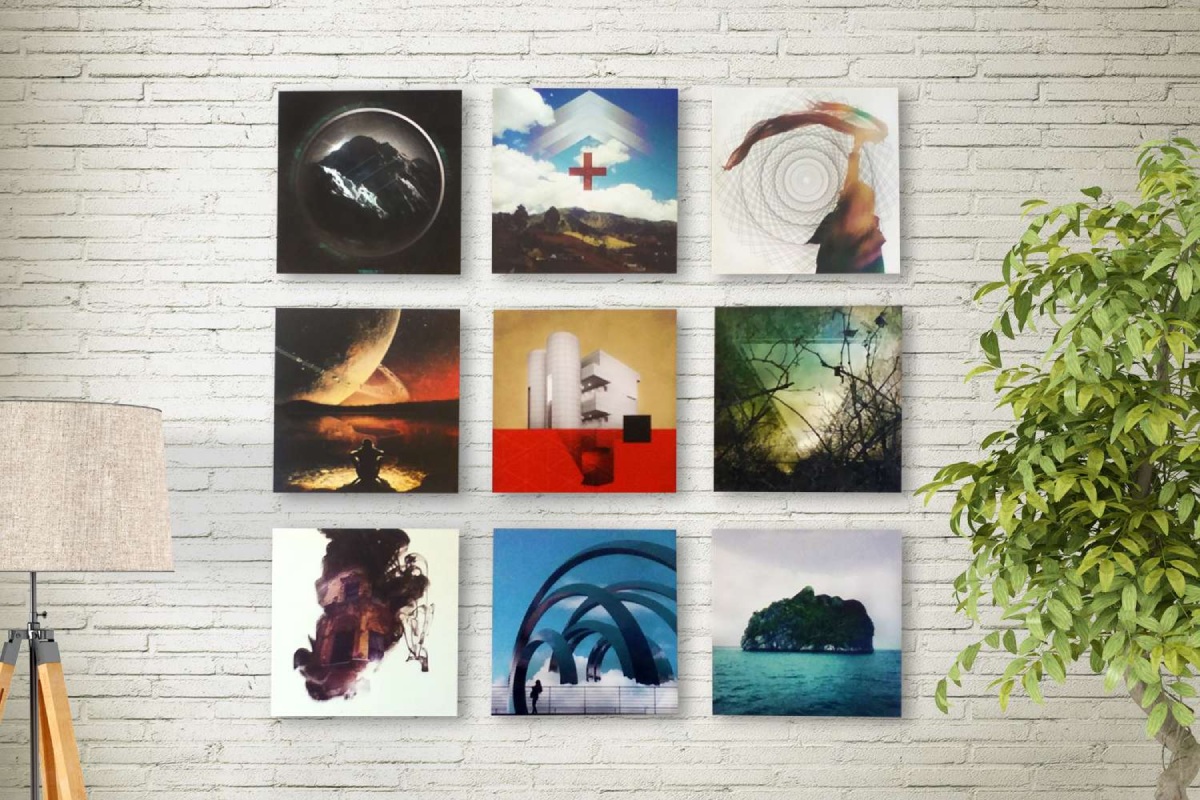
This is a lightweight and affordable way to display printed digital photos.
How it works:
- The photo is printed on photo paper.
- It is glued or mounted onto a foam board (a lightweight backing).
Example: A collection of travel photos displayed in a home office.
Pros:
- Inexpensive
- Lightweight and easy to hang
Cons:
- Can bend or dent over time
3. Acrylic and Metal Photo Mounting
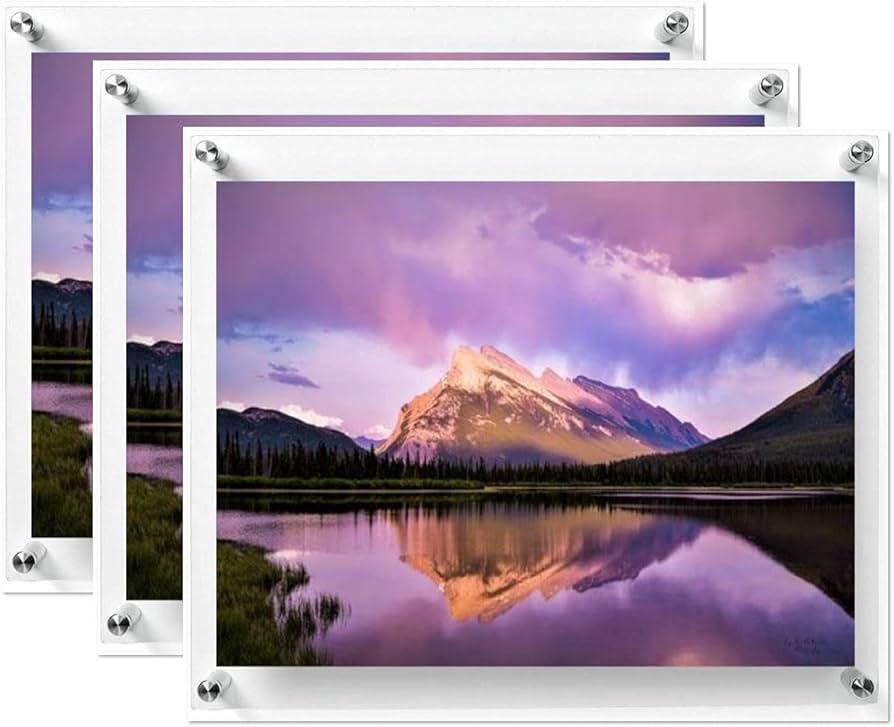
For a modern, glossy finish, digital photos can be printed on acrylic or metal surfaces.
How it works:
- The image is printed directly onto the surface or printed and then mounted behind acrylic.
- Metal prints often use aluminum for a sleek and shiny look.
Example: A cityscape photo displayed in a modern living room.
Pros:
- Vivid colors and shine
- Water and scratch-resistant
Cons:
- Heavier and more expensive
4. Digital Photo Frames
Digital photo frames are screens that display your digital pictures in a slideshow format.

How it works:
- Photos are uploaded to the frame using a USB drive, memory card, or Wi-Fi.
- The frame displays photos automatically and often allows transitions or music.
Example: A digital frame in the living room cycling through family photos.
Pros:
- Stores hundreds of photos
- Easy to update with new images
Cons:
- Needs electricity
- May be more expensive than traditional frames
5. Online Slideshows and Digital Albums
Sometimes, digital photo mounting doesn’t involve printing at all. You can “mount” your photos digitally by creating slideshows or online albums.

How it works:
- Use software or websites like Canva, Google Photos, or PowerPoint.
- Add images to albums, slideshows, or digital scrapbooks.
Example: A birthday slideshow made with music and text to share on social media.
Pros:
- Free or low-cost
- Easy to share with others
Cons:
- No physical display
- Needs a device to view
6. Digital Lamination Mount
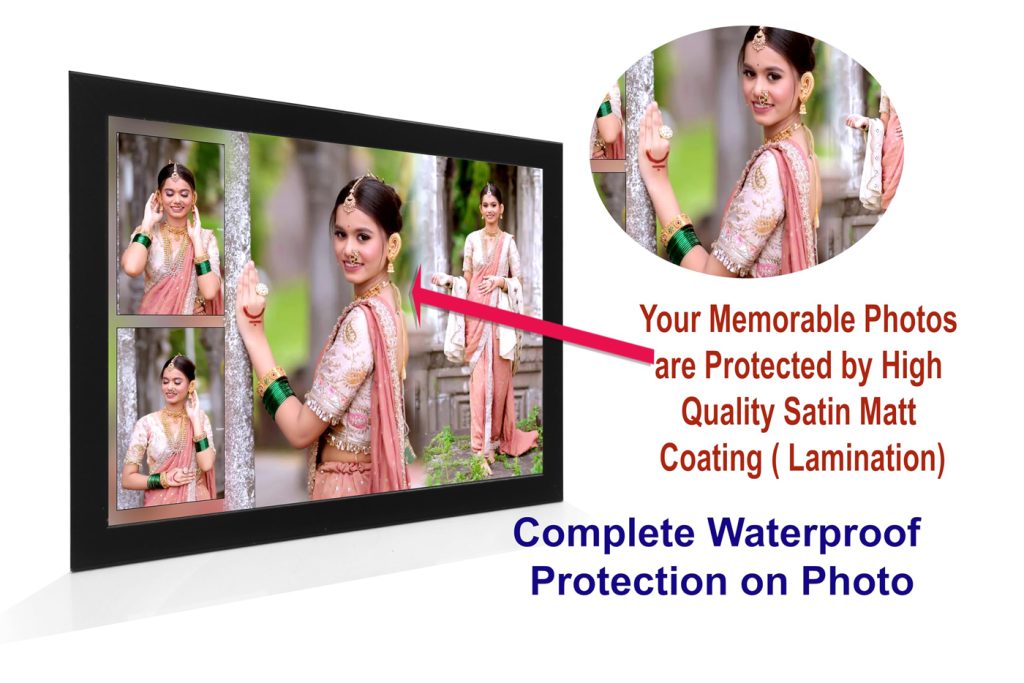
Digital Lamination Mount is a photo finishing and mounting technique where a printed photograph is covered with a protective lamination film and then mounted on a solid backing board such as foam board, MDF, or PVC board.
The lamination layer protects the image from dust, moisture, fingerprints, and scratches, while the backing board keeps the photo flat and rigid. This technique is widely used for photo exhibitions, posters, studio displays, and portfolio prints.
How It Works
The process usually follows these steps:
- High-resolution photo printing
The image is printed on photo paper or vinyl using digital printers. - Lamination application
A transparent protective film is applied using a hot or cold lamination machine. - Mounting on board
The laminated print is attached to a rigid surface like:- Foam board
- MDF board
- PVC sheet
- Edge finishing
Edges are trimmed neatly for a professional look.
Types of Lamination
- Gloss Lamination – shiny surface, bright colors
- Matte Lamination – non-reflective, soft look
- Texture Lamination – canvas or leather texture
Examples
- Photo studio display prints
- Exhibition panels in art galleries
- Advertising posters in malls
- Educational display boards in schools
Pros
- Protects photos from scratches and dust
- Improves durability and lifespan
- Makes colors appear richer and clearer
- Affordable compared to premium mounts
- Easy to clean
Cons
- Gloss lamination can cause light reflection
- If lamination is poor quality, bubbles may appear
- Difficult to repair once damaged
- Less premium look than acrylic mounting
7. Float Mount (Gallery Mount)
Float Mount (or Gallery Mount) is a modern display technique where a mounted photograph appears to float slightly away from the wall. A hidden frame or spacer is attached to the back of the photo panel, creating a small gap between the wall and the artwork. This produces a shadow effect, giving the display a sophisticated gallery-style appearance.
It is commonly used in art galleries, exhibitions, museums, and modern home décor.
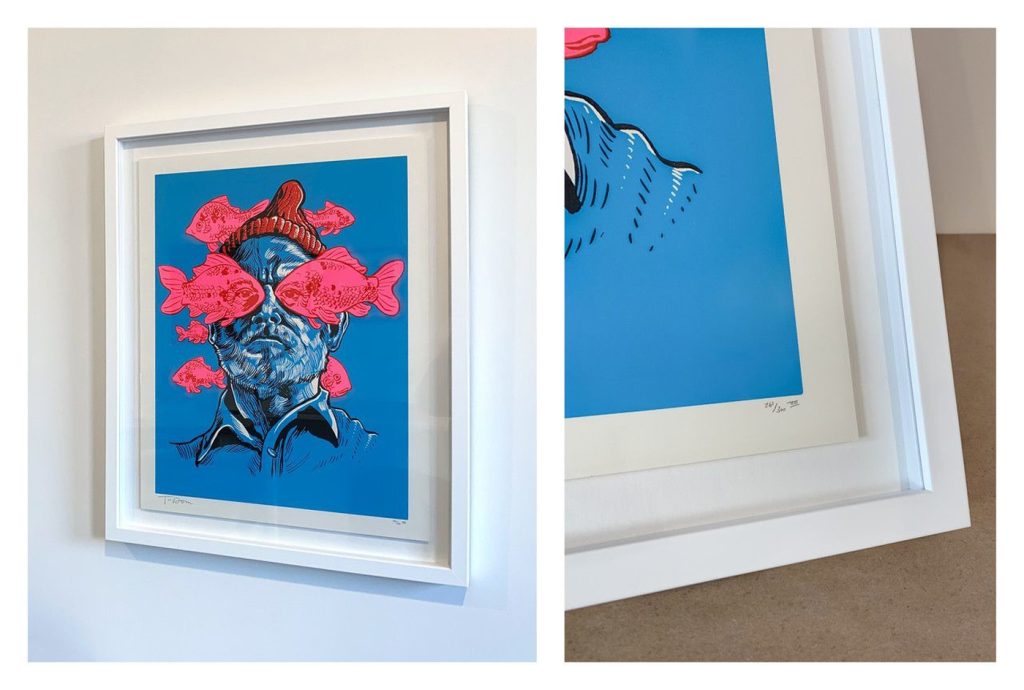
How It Works
The float mount process involves:
- Photo printing
The photograph is printed on high-quality paper or material. - Mounting on a rigid panel
The print is mounted on:- Foam board
- MDF
- Aluminium panel
- Acrylic sheet
- Adding a hidden frame
A wooden or metal frame (called a subframe or spacer frame) is attached behind the panel. - Wall installation
The hidden frame holds the artwork slightly away from the wall, creating the floating illusion.
Examples
- Contemporary art gallery exhibitions
- Professional photography displays
- Museum photo installations
- Interior decoration in modern homes or offices
Advantages
- Creates a premium gallery look
- Adds depth and shadow effect
- No visible frame around the photo
- Works well with large prints
- Enhances visual impact of artwork
Disadvantages
- More expensive than basic mounting
- Requires careful wall installation
- Slightly heavier due to backing frame
- Not ideal for very thin mounting boards
Common Mount Board Sizes
Photographers often print photos smaller than the mount board to create a border or mat.
Example combinations:
| Photo Size | Mount Board Size |
|---|---|
| 8 × 10 | 11 × 14 |
| 11 × 14 | 16 × 20 |
| 12 × 18 | 16 × 24 |
The border gives the photograph a gallery-style presentation.
Mounted Layout in Photography Exhibition
In photography exhibitions, the layout of mounted photographs is very important because it affects how viewers experience the images. Professional photographers often use specific portfolio mounting layouts to create visual balance, storytelling, and aesthetic appeal.
Below are 10 professional portfolio mounting layouts commonly used in exhibitions.
1. Single Centerpiece Layout
Description
One large photograph is mounted at the center of the display wall.
Example
- One 24×36 inch print placed in the center
- Large empty space around it
Purpose
- Creates a strong focal point
- Ideal for fine art photography
2. Linear Row Layout
Description
Photos are arranged in a straight horizontal line at eye level.
Example
5–7 photos of the same size mounted side by side.
Purpose
- Clean and minimal look
- Easy viewing for audiences
3. Grid Layout
Description
Photographs are arranged in rows and columns forming a grid.
Example
3 × 3 arrangement of 9 photographs.
Purpose
- Organized and balanced presentation
- Works well for photo series or thematic collections
4. Triptych Layout
Description
Three related photographs are displayed side by side.
Example
Three 12×18 prints telling one story.
Purpose
- Creates visual storytelling
- Often used in documentary or conceptual photography
5. Diptych Layout
Description
Two photographs are paired together.
Example
- Before and after images
- Two contrasting scenes
Purpose
- Highlights comparison or connection
6. Salon Style Layout
Description
Photos of different sizes are arranged closely together covering most of the wall.
Example
A mix of small and large prints in an artistic arrangement.
Purpose
- Energetic and dramatic presentation
- Inspired by classic art salon exhibitions
7. Vertical Column Layout
Description
Images are arranged vertically in a column.
Example
4–6 photographs stacked one above another.
Purpose
- Good for portrait series
- Works well in narrow wall spaces
8. Narrative Sequence Layout
Description
Photographs are displayed in story order from left to right.
Example
A documentary series showing:
- Beginning
- Action
- Result
Purpose
- Guides viewers through a visual story
9. Floating Cluster Layout
Description
Photos are arranged in a loose cluster, not aligned in strict rows.
Example
Different sized prints placed around a central theme image.
Purpose
- Modern and artistic presentation
- Adds movement to the display
10. Large–Small Combination Layout
Description
One large photograph is surrounded by several smaller images.
Example
- One 24×36 centerpiece
- Four 8×10 supporting images
Purpose
- Emphasizes the main photograph
- Provides supporting visual details
>>> Professional Exhibition Tip:
Most galleries place photographs at eye level (about 145–155 cm from the floor to the center of the image) so viewers can comfortably observe the work.
Conclusion
Whether you want to display your photos in your home or share them online, there are many digital photo mounting techniques to choose from. From stylish canvas and acrylic prints to modern digital photo frames and slideshows, you can turn your digital memories into lasting presentations that match your taste and budget.
