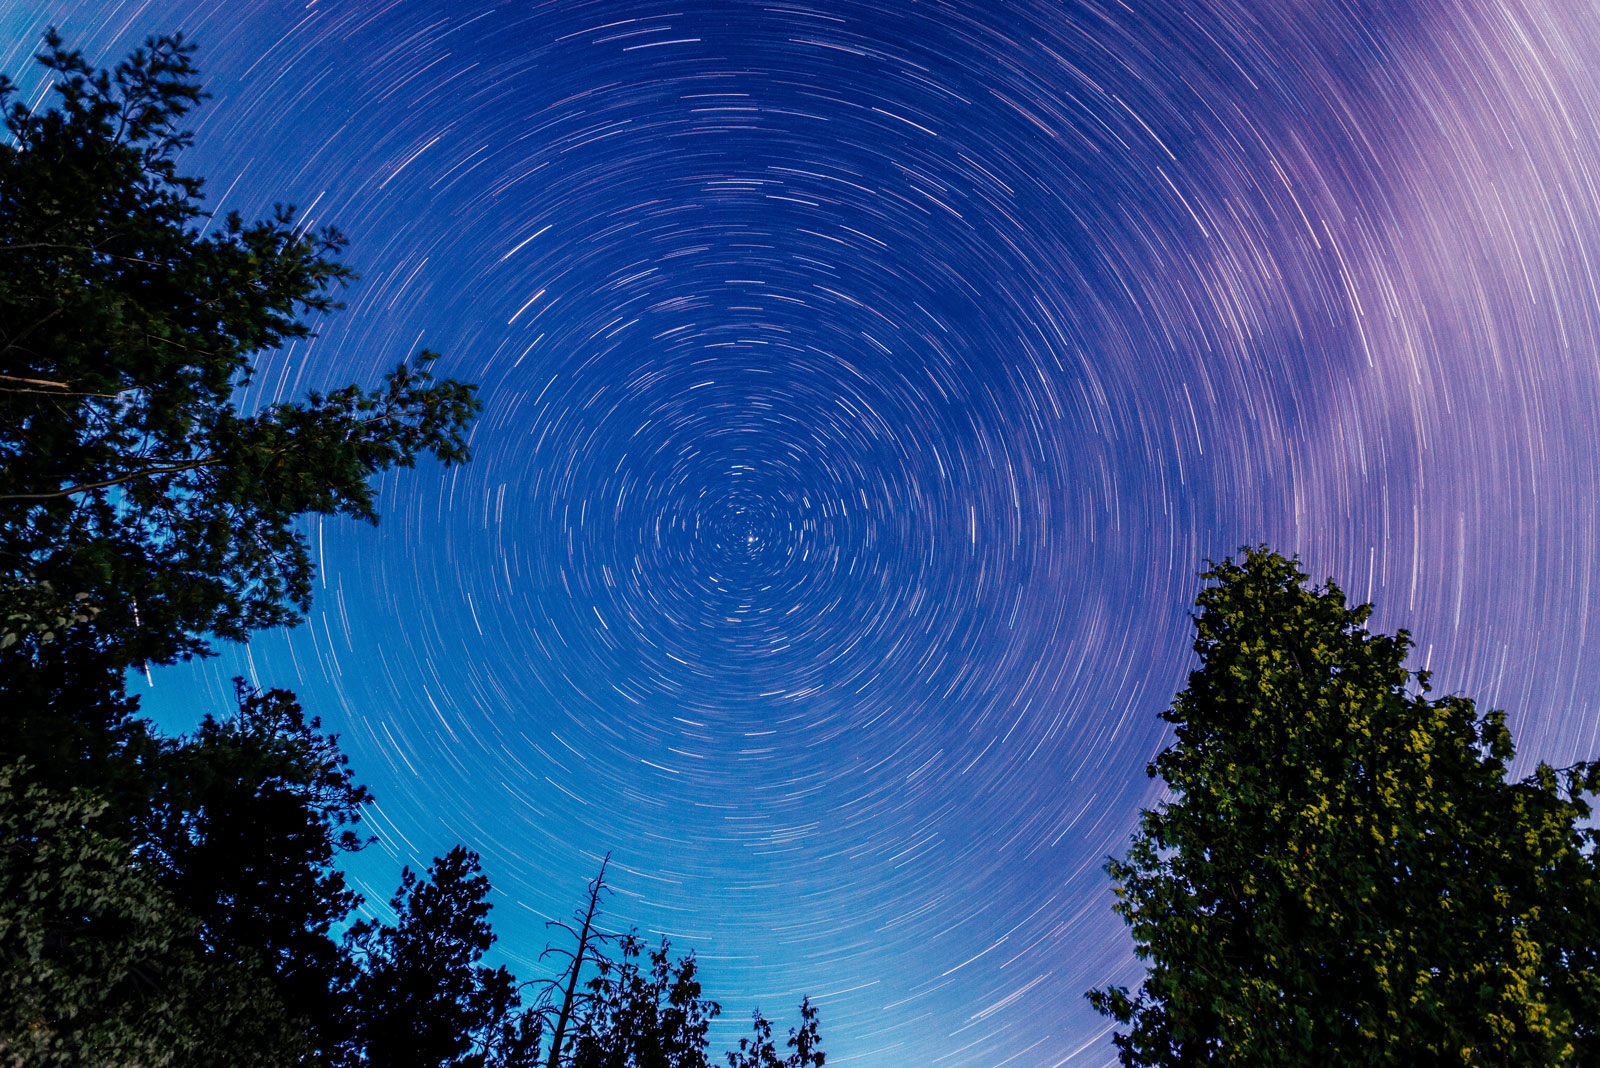
Post-processing is an essential step in star trail photography to enhance and create stunning final images. To post-process star trail photography in Adobe Photoshop, you can follow these steps:

- Import and Organize: Transfer your star trail images to your computer and organize them in a dedicated folder for easy access.
- Select Your Base Image: Choose one well-exposed image from the series to serve as the base or background for your star trails.
- Stack the Star Trail Images: Open all the star trail images in Adobe Photoshop. Select all the images and go to “File” > “Scripts” > “Load Files into Stack.” Ensure the “Attempt to Automatically Align Source Images” option is checked. Click “OK” to stack the images.
- Create a Smart Object: With all the layers selected, right-click and choose “Convert to Smart Object.” This step allows you to apply adjustments non-destructively.
- Blend the Layers: Double-click on the Smart Object layer thumbnail to open it as a separate document. Use the blending mode “Lighten” for each layer above the base image. This will reveal only the brighter areas of the star trails, creating a cumulative effect.
- Align Layers (optional): Due to the Earth’s rotation if the stars are slightly misaligned, align the layers manually. Select all the layers, go to “Edit” > “Auto-Align Layers,” and choose the “Auto” option. This step can help create smoother and more uniform trails.
- Noise Reduction: Apply noise reduction techniques to reduce noise in the dark areas of the image. Use the “Camera Raw Filter” (Filter > Camera Raw Filter) or other noise reduction tools available in Photoshop. Be cautious not to over-smooth the stars.
- Adjustments: Common adjustments include exposure, contrast, saturation, and white balance. Adjust these settings to achieve the desired look and maintain the natural appearance of the stars.
- Enhance the Star Trails: Create a new layer and use the Dodge and Burn tools to selectively brighten or darken areas of the star trails. This step helps emphasize the movement and patterns created by the stars. Use a soft brush with low opacity for a subtle effect.
- Sharpening: Apply selective sharpening to enhance the details in the stars and foreground elements. Use the “Unsharp Mask” filter (Filter > Sharpen > Unsharp Mask) or the “Smart Sharpen” filter (Filter > Sharpen > Smart Sharpen). Apply the sharpening carefully to avoid amplifying noise.
- Final Touches: Make any final adjustments or creative edits to achieve the desired mood or style. This may include adding a vignette, adjusting color tones, or applying a slight gradient filter. Experiment with different effects and adjustments to refine your image.
- Save the Image: Once you’re satisfied with the results, save your edited image in a suitable format, such as TIFF or JPEG, depending on your intended use.
Remember to work non-destructively by using adjustment layers and smart objects, as it allows you to go back and fine-tune your edits at any time. Feel free to explore different techniques and experiment with various adjustments to develop your unique post-processing style.
