How to Use Natural Light Properly
1. Avoid Direct Sunlight on the Face
Direct sunlight can create dark shadows under the eyes and nose.
Better option:
Use shade, clouds, or curtains to soften the light.
2. Change Position to Improve Light
Moving the subject slightly can change the entire look of the photo.
Example:
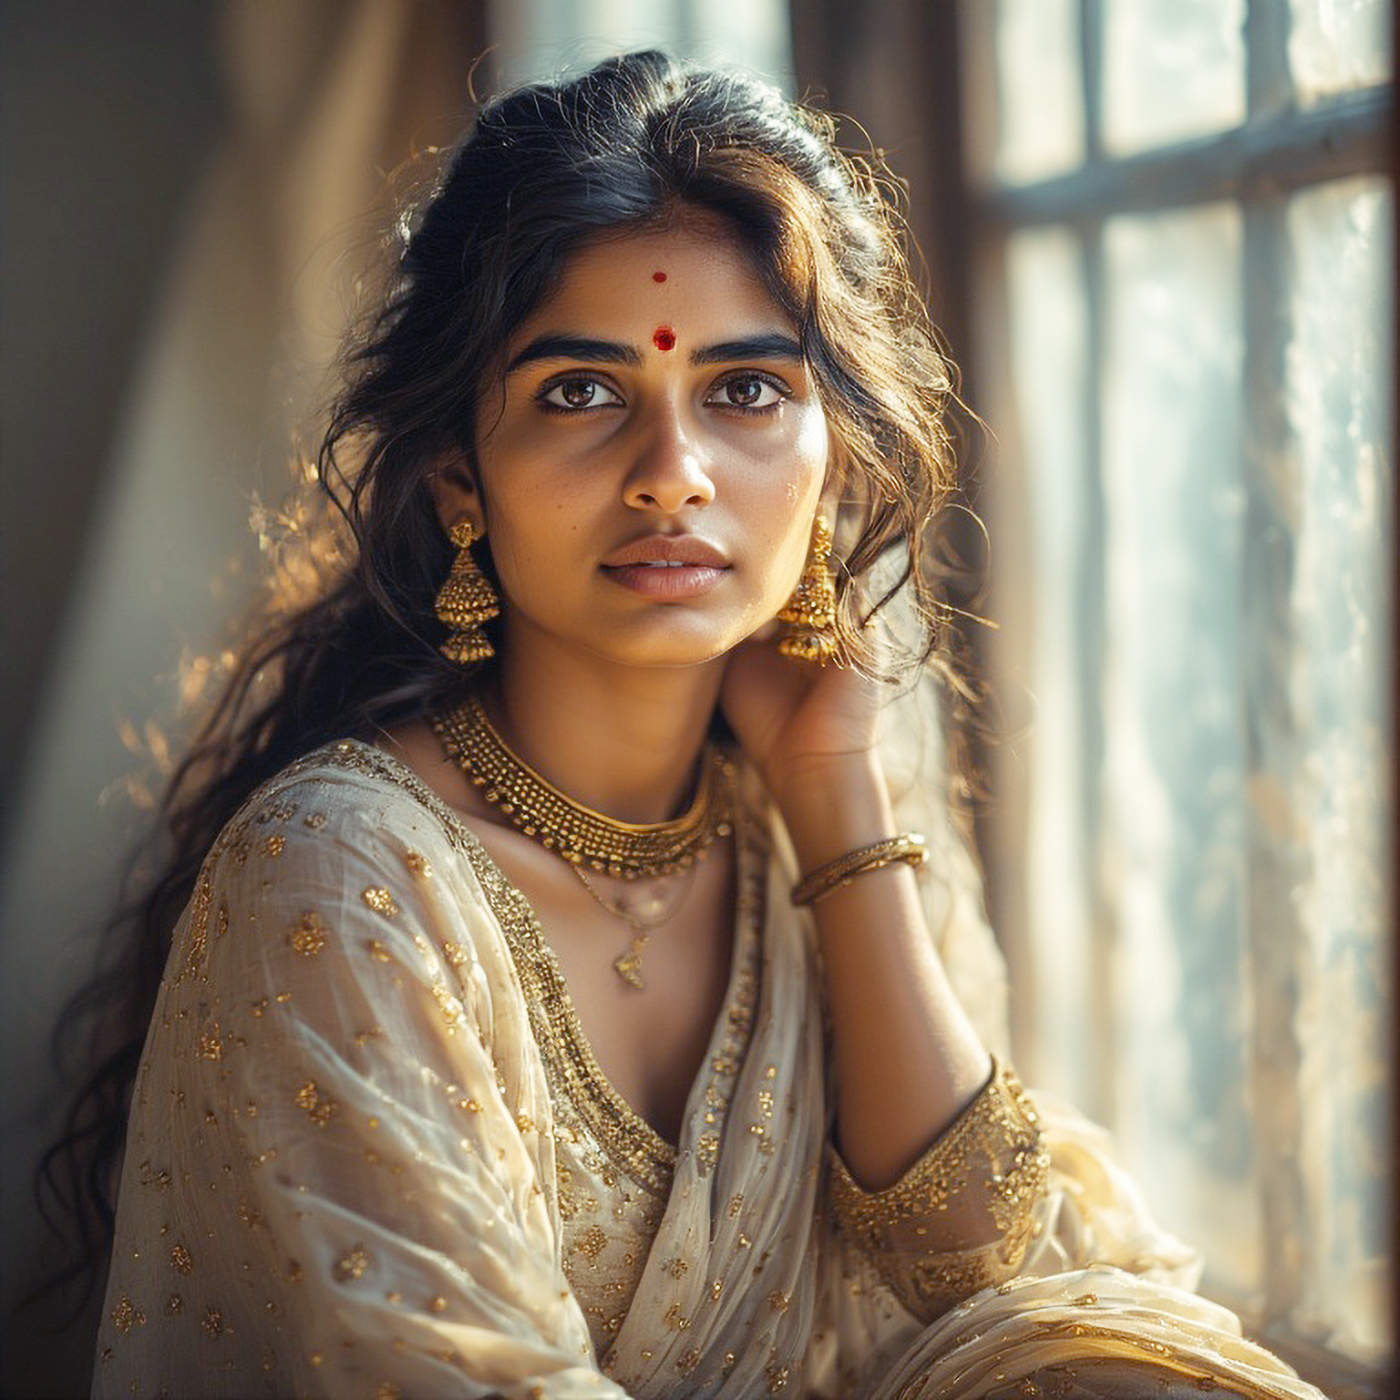
Turning the face toward the window makes eyes brighter and more attractive.
3. Use Simple Reflectors
Reflectors help bounce light back to the face.
You can use:
- White paper
- White wall
- White cloth
Example:
A white wall opposite a window can reduce shadows on the face.
Natural Light Portrait Ideas for Practice
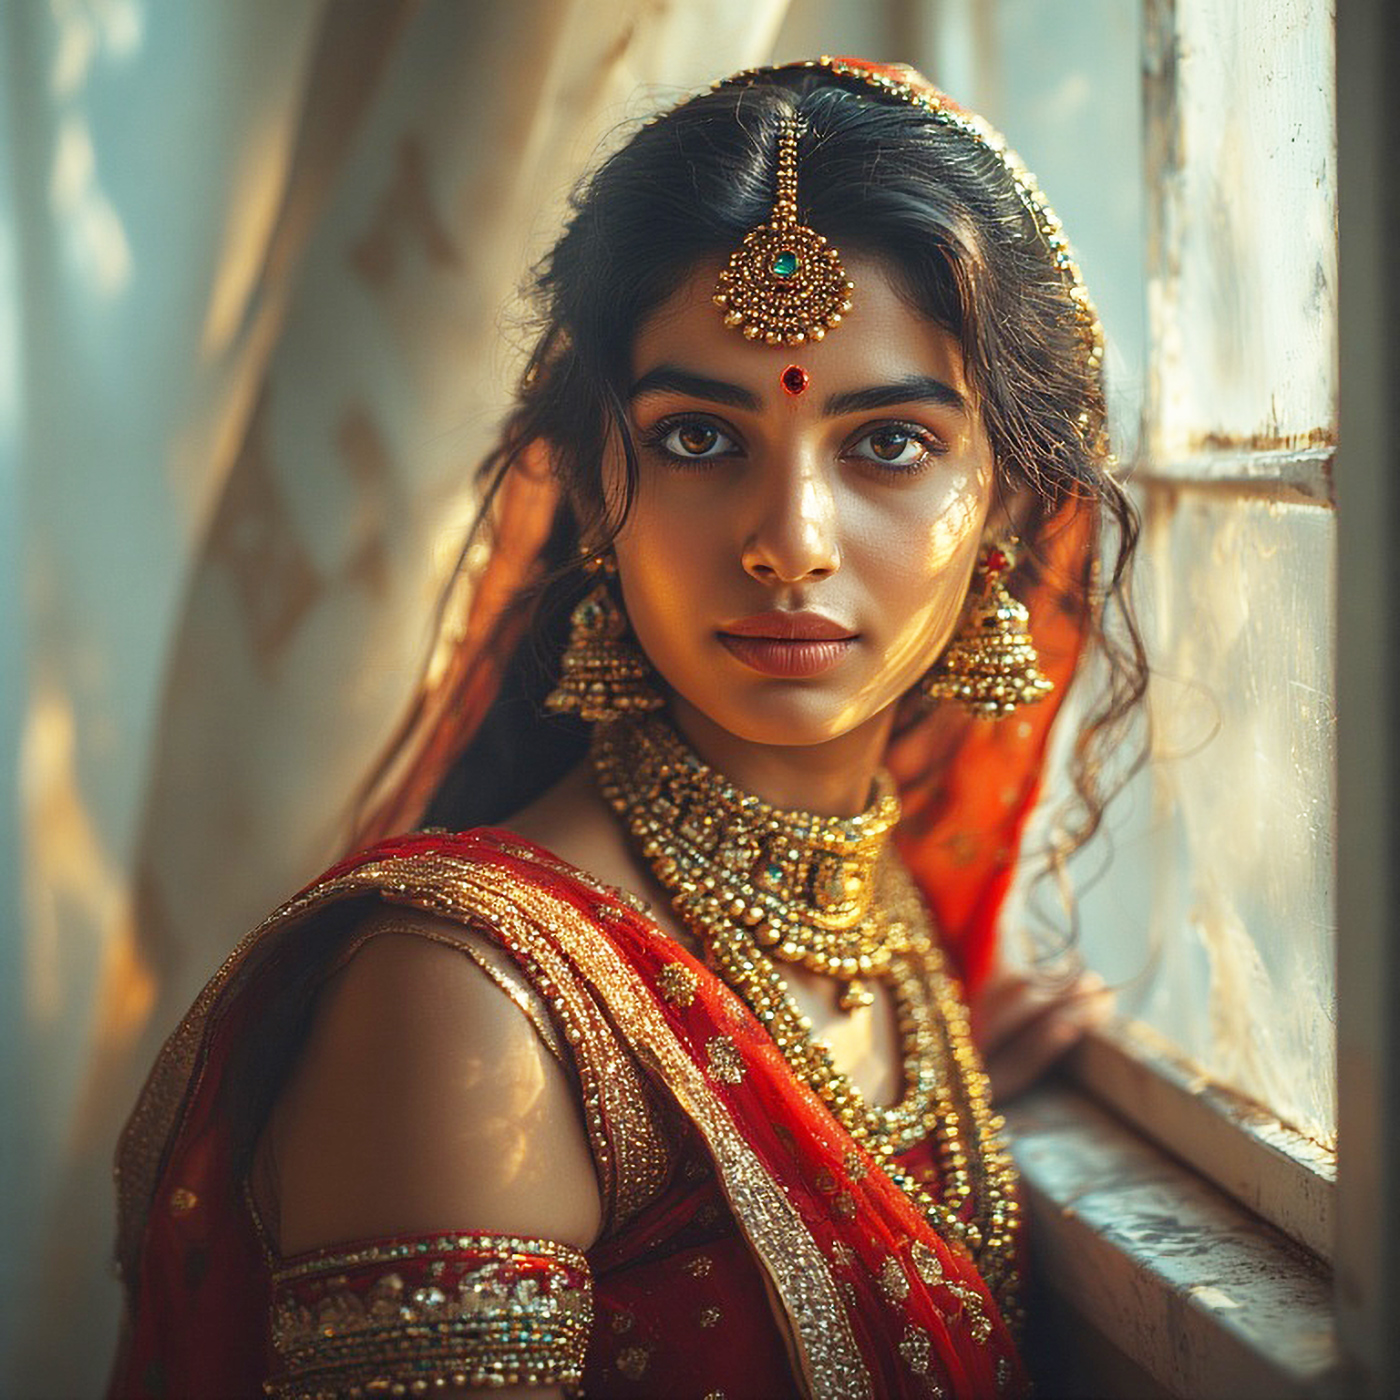
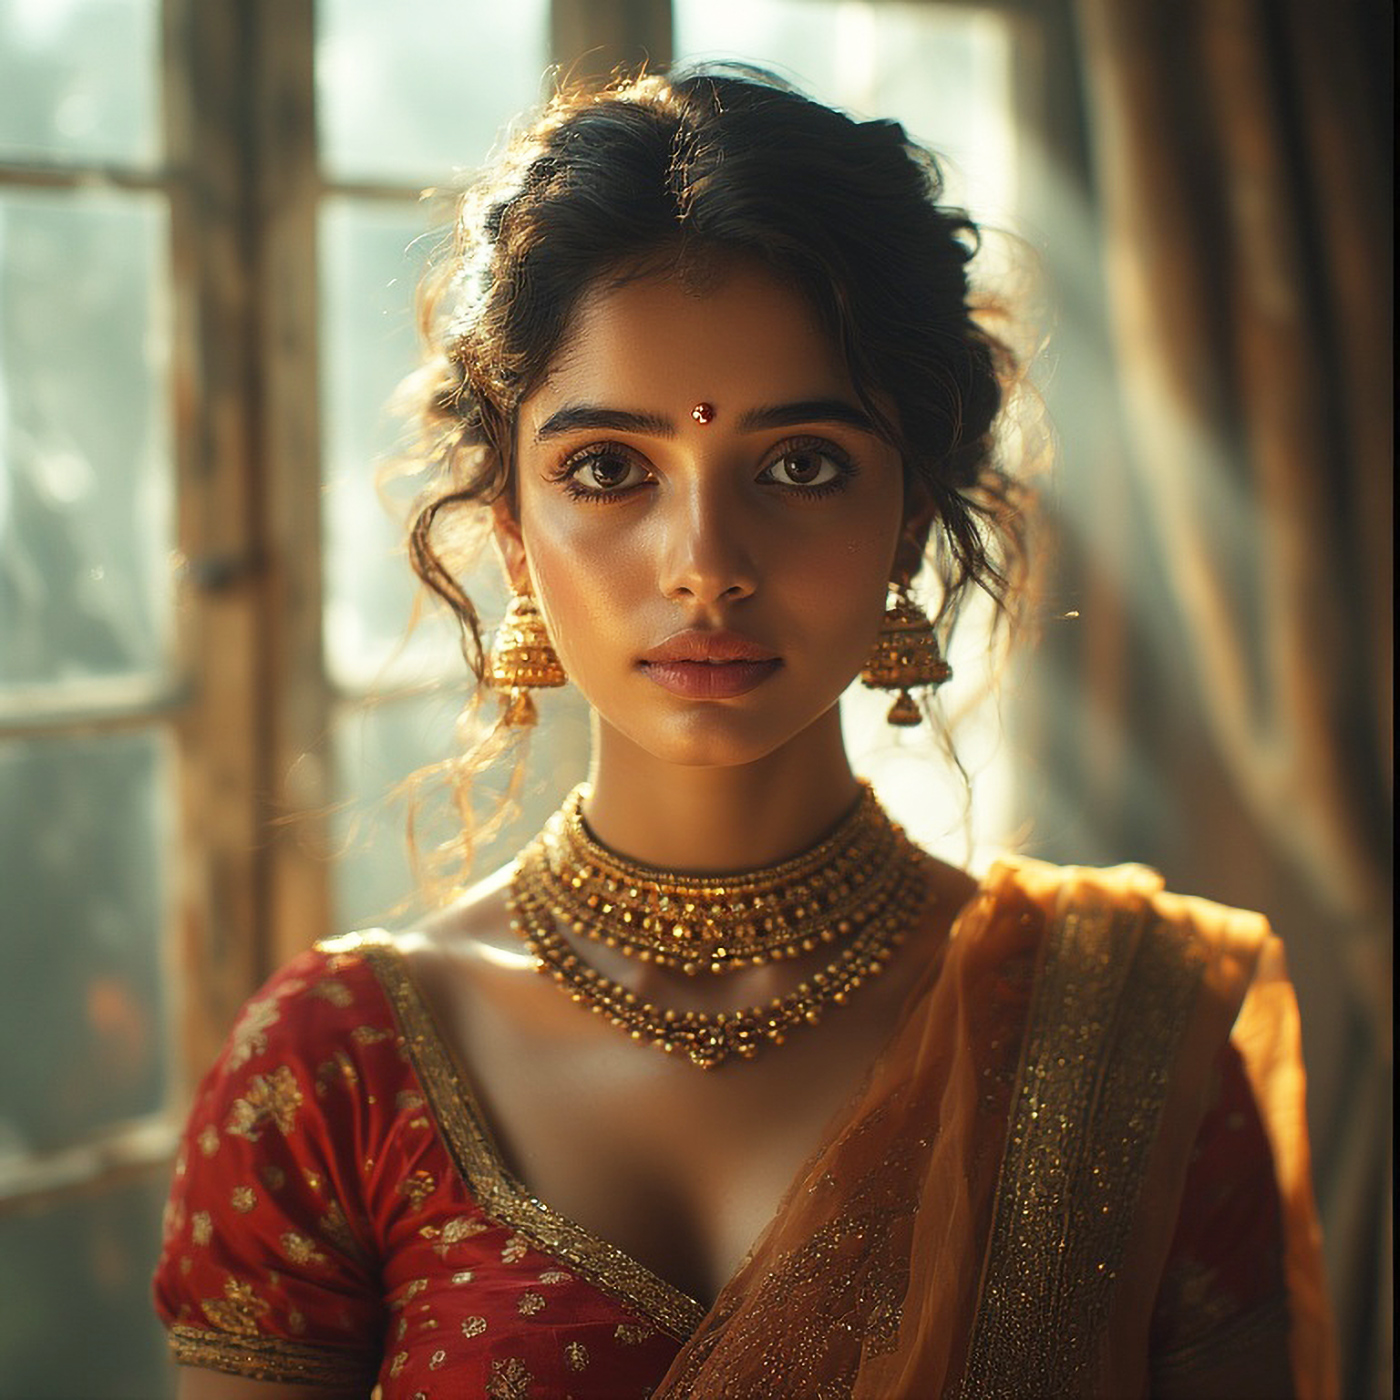
- Portraits near windows
- Outdoor lifestyle photos
- Family portraits
- Children photography
- Street portraits
- Cafe or home portraits
Natural light works very well for everyday and lifestyle photos.
Common Mistakes Beginners Should Avoid
- Shooting in strong noon sunlight
- Standing too far from light
- Using flash with natural light
- Ignoring light direction
Best Camera Settings (Professional Settings)
When you’re shooting portraits under natural light as a professional, you want to make sure your camera settings are perfectly balanced to capture stunning, well-exposed, and sharp photos. The beauty of natural light is that it’s softer, more flattering, and feels more organic than artificial lighting. However, to get the most out of it, you need to make the right adjustments.
1. Aperture (f-stop)
The aperture controls how much light enters the camera and also influences the depth of field, which affects how much of your image is in focus versus blurred (bokeh effect). For portraits, you generally want a shallow depth of field to make your subject stand out.
Recommended Settings:
- f/1.4 – f/2.8 for a blurry background (ideal for tight portraits with a beautiful bokeh effect)
- f/3.2 – f/5.6 for a balanced depth of field, keeping both the subject’s face and the background relatively in focus (great for group portraits)
Why It Works:
- Wide aperture (f/1.4 – f/2.8) gives you a shallow depth of field, which allows your subject to pop against a beautifully blurred background. This is perfect for isolating your subject and emphasizing facial features.
- narrower apertures (f/3.2 – f/5.6) are good for group portraits where you want everyone to stay sharp.
Example:
For a headshot with a soft, blurred background, use f/2.0. If you’re shooting a full-body portrait and need more focus on both the subject and the surroundings, use f/4.0.
2. Shutter Speed
Shutter speed determines how long your camera’s sensor is exposed to light, affecting how motion is captured. For portraits, shutter speed should be fast enough to prevent motion blur, but slow enough to let in enough light.
Recommended Settings:
- 1/125 – 1/250 for a steady subject (portrait of a still subject like a model or sitter)
- 1/500 or faster if the subject is moving (portrait of a person walking, laughing, etc.)
Why It Works:
- You want a fast enough shutter speed to avoid motion blur, especially if the subject is moving or if you’re shooting handheld.
- Anything slower than 1/125 can result in soft, blurry images unless you’re using a tripod.
Example:
If you’re photographing a person standing still in natural light, use 1/200 to keep the image sharp. If the subject is walking, go for 1/500 to freeze the motion.
3. ISO (Light Sensitivity)
ISO controls how sensitive the camera is to light. The key is to use the lowest ISO possible to reduce noise while ensuring that the image is properly exposed. Natural light often provides plenty of light, but if it’s a cloudy day or you’re shooting at dawn/dusk, you may need to increase ISO to compensate.
Recommended Settings:
- ISO 100 (outdoor bright sunlight)
- ISO 200-400 (cloudy or overcast days)
- ISO 800-1600 (indoor or low-light conditions)
Why It Works:
- ISO 100-400 is perfect for shooting in bright conditions, where there’s plenty of sunlight or you’re near a large light source (like a window).
- As light decreases (like in the evening or indoors), you’ll need to increase the ISO to maintain proper exposure. However, keep it as low as possible to avoid grain.
Example:
In bright sunlight, use ISO 100 for clean, sharp photos. On a cloudy day, ISO 400 will work to keep the image bright but still free of noise.
4. White Balance
The white balance setting helps correct color temperature and ensures that whites appear neutral in the image, no matter what kind of light you’re shooting in. Natural light can vary depending on the time of day or weather conditions.
Recommended Settings:
- Daylight (or 5200K-6000K) for shooting in natural sunlight.
- Cloudy for shooting on overcast days or during golden hour.
- Auto White Balance (AWB) can work well in most cases, but it may need tweaking based on lighting conditions.
Why It Works:
- Daylight gives you natural, clean colors under the sun.
- Cloudy settings warm up the image on gray or cloudy days, giving a cozy, soft feel to portraits.
- Auto White Balance can usually handle most situations, but for more creative control, adjusting it manually helps you match the warmth or coolness of the scene.
Example:
Shooting a portrait in the middle of the day under clear skies? Set the white balance to Daylight. For a warm, golden portrait near sunset? Use the Cloudy setting to enhance the golden tones.
5. Focus Mode and Autofocus
For portraits, eye autofocus is key. Ensuring your subject’s eyes are sharp and in focus will bring the whole image to life. Many cameras offer features like single-point autofocus or eye autofocus (especially in newer models).
Recommended Settings:
- Single-point autofocus (for precision in focusing on the subject’s eyes)
- Eye autofocus (if available, for perfect focus on the eyes)
Why It Works:
- Portraits without sharp eyes often feel lifeless. With single-point autofocus, you can focus specifically on your subject’s eyes, ensuring crisp, clear portraits.
- Eye autofocus is a professional feature that automatically focuses on your subject’s eyes, giving you perfect, sharp portraits without needing to manually adjust the focus point.
Example:
When shooting a close-up portrait, make sure the focus point is on the eyes. This ensures that the most important feature in a portrait—your subject’s eyes—remains sharp.
6. Exposure Compensation (Optional)
Sometimes, natural light can fool the camera’s metering system, especially during sunrise or sunset, when light is much warmer or softer than usual. Exposure compensation allows you to adjust the exposure to avoid overexposure (blown-out highlights) or underexposure (loss of detail in shadows).
Recommended Settings:
- +0.3 to +1.0 EV (in golden hour or low-light conditions) to brighten up the image
- -0.3 to -0.7 EV (during bright daylight) to avoid overexposed areas
Why It Works:
- Golden hour can trick your camera into underexposing, so +1.0 EV can help brighten shadows.
- In midday sunlight, slightly reducing exposure can keep the image balanced.
Example:
In bright daylight, if the image is overexposed, reduce exposure compensation to -0.3 EV. During golden hour, you may need to increase exposure by +0.3 EV to get more detail in the shadows.
Quick Reference Settings for Natural Light Portraits:
| Setting | Recommended Values | When to Use |
|---|---|---|
| Aperture | f/1.4 – f/2.8 (shallow) | To blur the background and make the subject pop |
| Shutter Speed | 1/125 – 1/250 | For still subjects; faster if subject is moving |
| ISO | 100 – 400 | Adjust based on lighting conditions |
| White Balance | Daylight or Cloudy | To match the natural light temperature |
| Focus Mode | Single-point or Eye AF | Focus on the eyes for sharp, engaging portraits |
| Exposure Compensation | +0.3 to +1.0 EV (low light) or -0.3 to -0.7 EV (bright light) | Adjust when lighting is tricky (golden hour, midday sun) |


