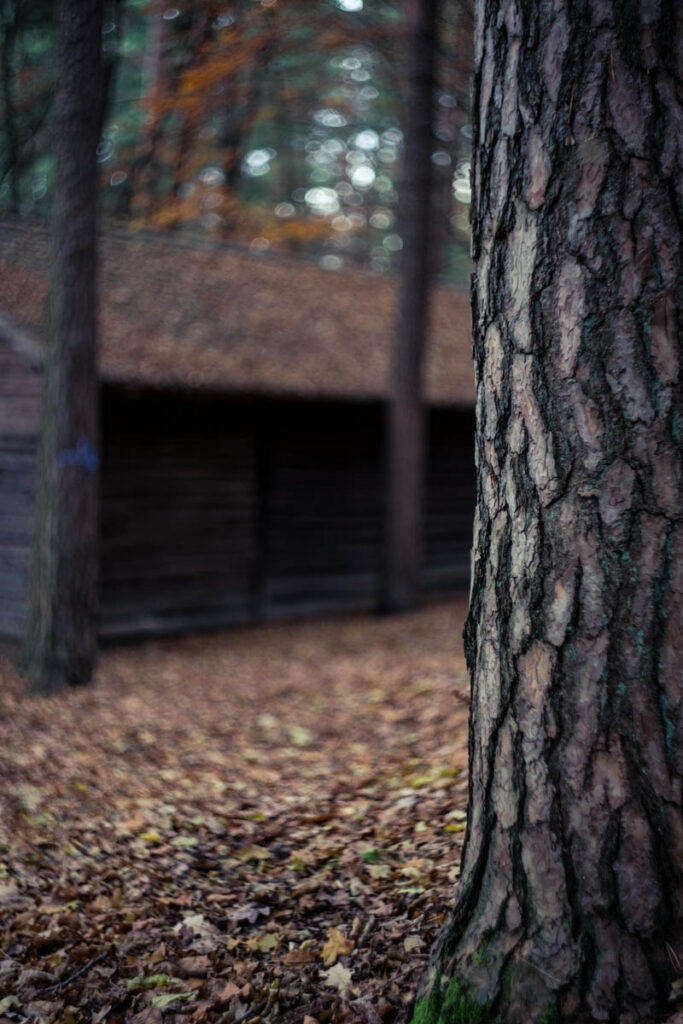
Bokeh photography is a captivating technique that allows you to isolate your subject by creating beautiful, blurry backgrounds. The term “bokeh” is derived from the Japanese word “boke“, which refers to the quality of the out-of-focus areas in an image. Whether you’re a beginner or an experienced photographer, understanding the art of bokeh can elevate your images. In this guide, we’ll walk you through the basics, techniques, and tricks to make your bokeh shots truly special.
What Exactly is Bokeh in Photography?
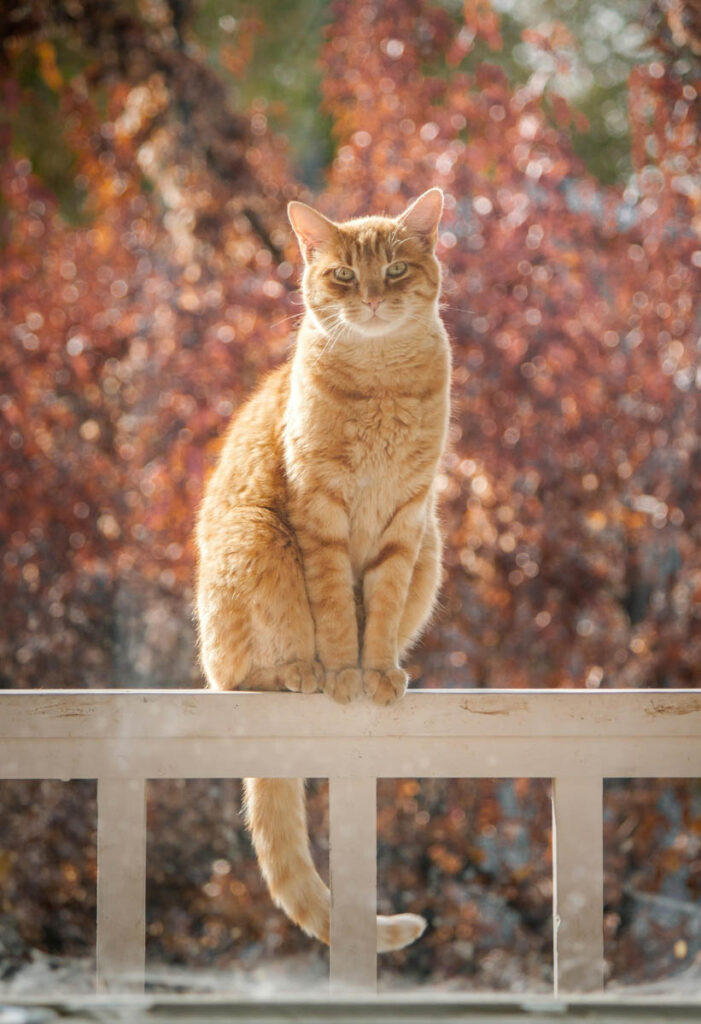
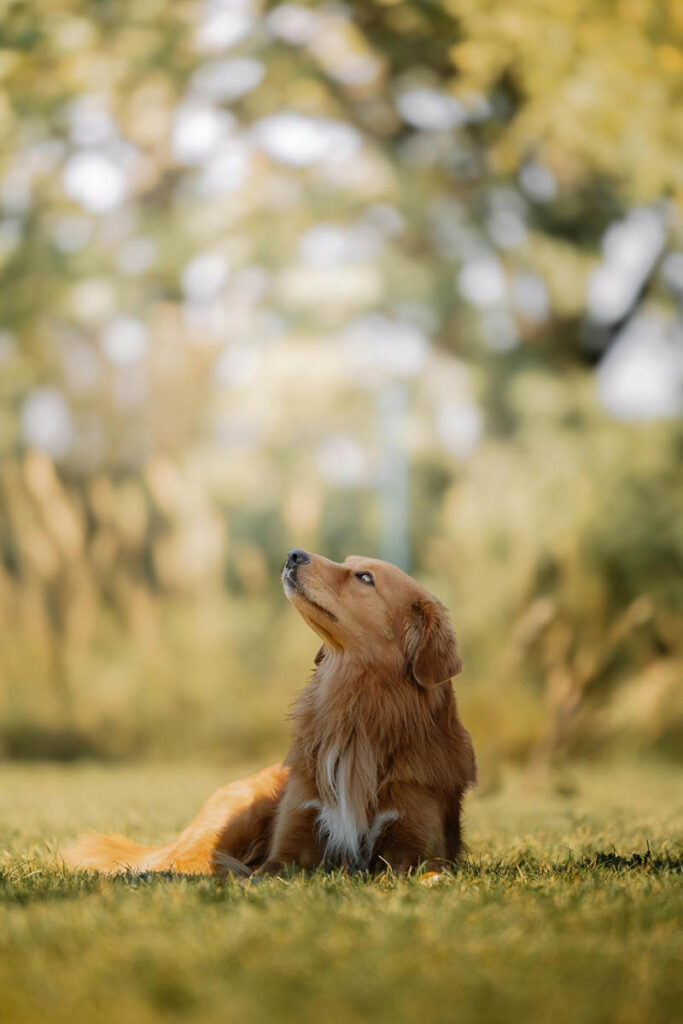
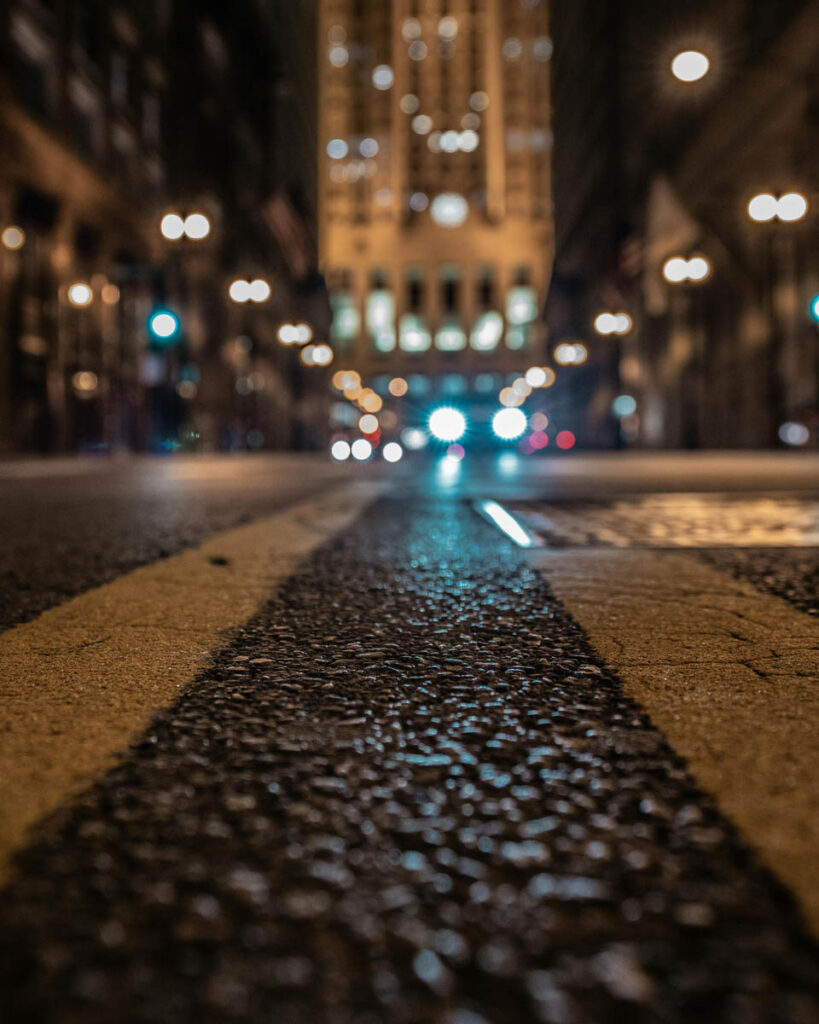
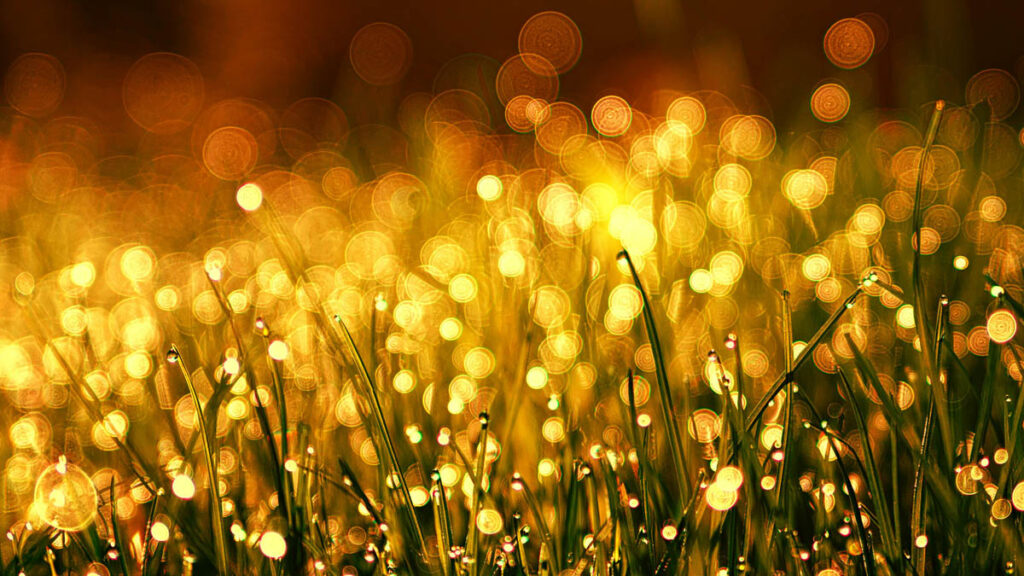
Before we dive into how to create bokeh, it’s essential to understand what it is. Bokeh refers to the quality of the blurry, out-of-focus areas in an image. The blurred background makes the subject stand out sharply, adding a touch of artistry and depth. Bokeh is most visible in areas where there is light, such as street lights or reflections, which can turn into beautiful orbs or geometric shapes.
The Science Behind Bokeh Photography
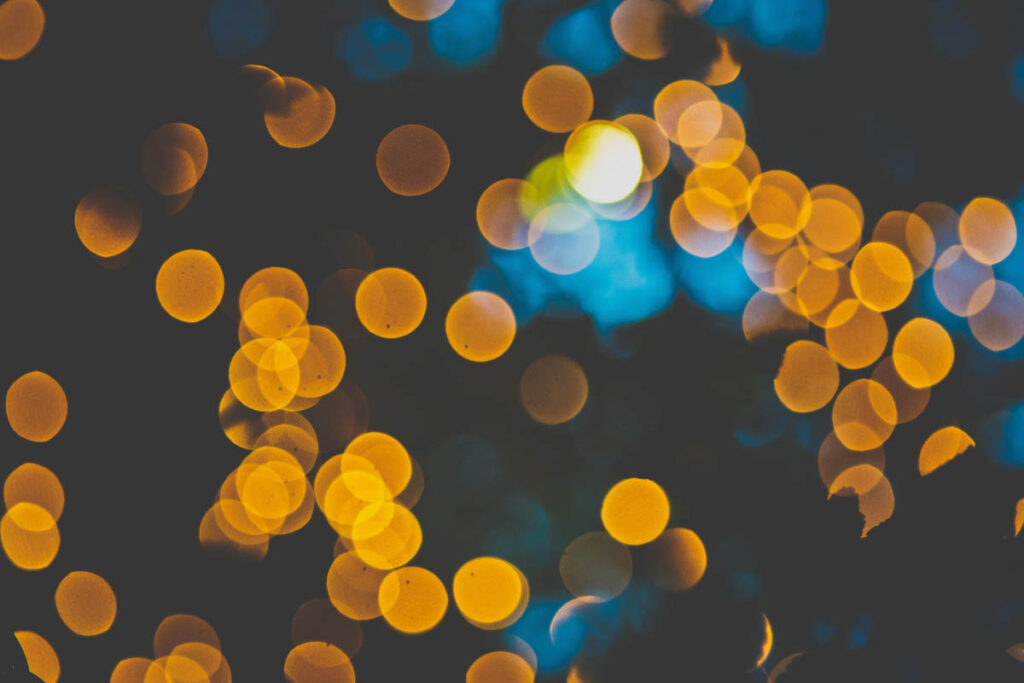
Bokeh is achieved through a shallow depth of field, where only a small portion of the image is in sharp focus. This is typically controlled by adjusting the aperture size. A wider aperture (lower f-stop number) creates a smaller depth of field, making the background blur and adding bokeh. The shape and smoothness of the bokeh are affected by your lens’s aperture blades and the distance between the subject and the background.
How to Create Bokeh in Photography: Step-by-Step
Creating bokeh isn’t difficult once you understand the core principles. Here’s a step-by-step guide to help you create the perfect bokeh:
1. Use a Wide Aperture (f/1.8 or f/2.8)
A wider aperture allows more light and reduces the depth of field, making the background blur more effectively.
2. Get Close to Your Subject
The closer you are to the subject, the more pronounced the bokeh effect will be. Position yourself near the subject while keeping a distant background.
3. Increase the Background Distance
The farther away your background is from the subject, the more blurred it will appear.
4. Play with Focus Points
To create unique bokeh shapes, try focusing on different parts of the scene and see how the background transforms.
Advanced Bokeh Photography Techniques
To take your bokeh photography to the next level, try these advanced techniques:
Tilt-Shift Bokeh
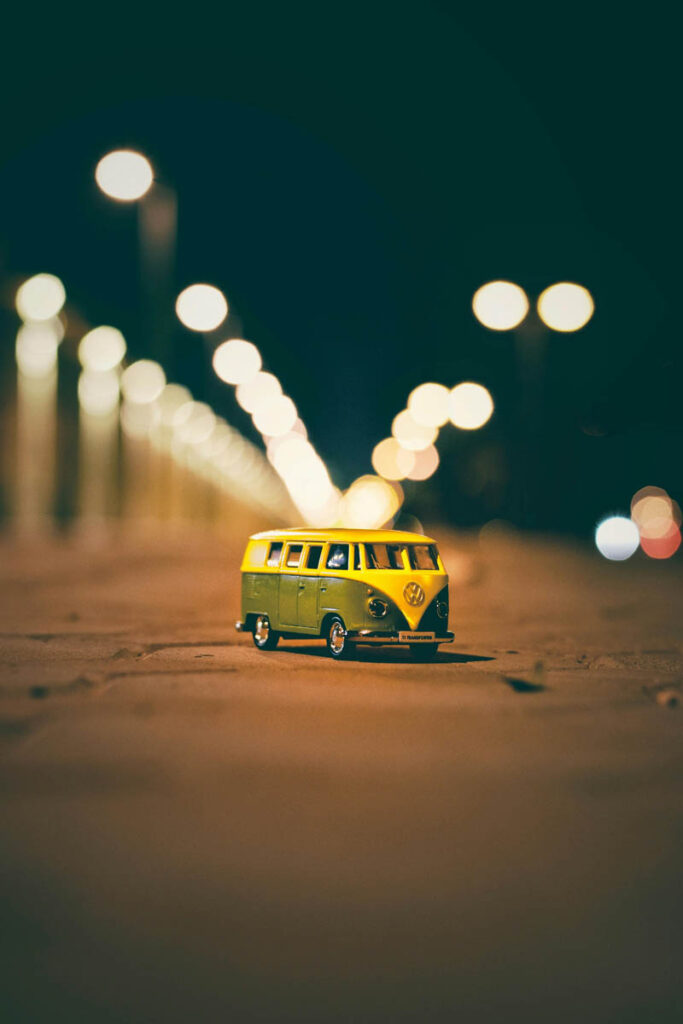
This technique involves using a tilt-shift lens or manipulating your focus to create selective focus. The result is a “miniature” look, where the subject appears like a toy due to the sharpness of the main object and the surrounding blurred background.
Bokeh Overlay
You can create an artistic bokeh effect by intentionally placing objects like Christmas lights or paper cutouts in front of your camera lens. This adds a magical, creative layer to your images.
Wide-Angle Bokeh
While bokeh is often associated with portrait photography, it can be used creatively in wide-angle shots. Capture bokeh elements such as flowers or foliage in the foreground, creating a soft, layered effect in your landscapes.
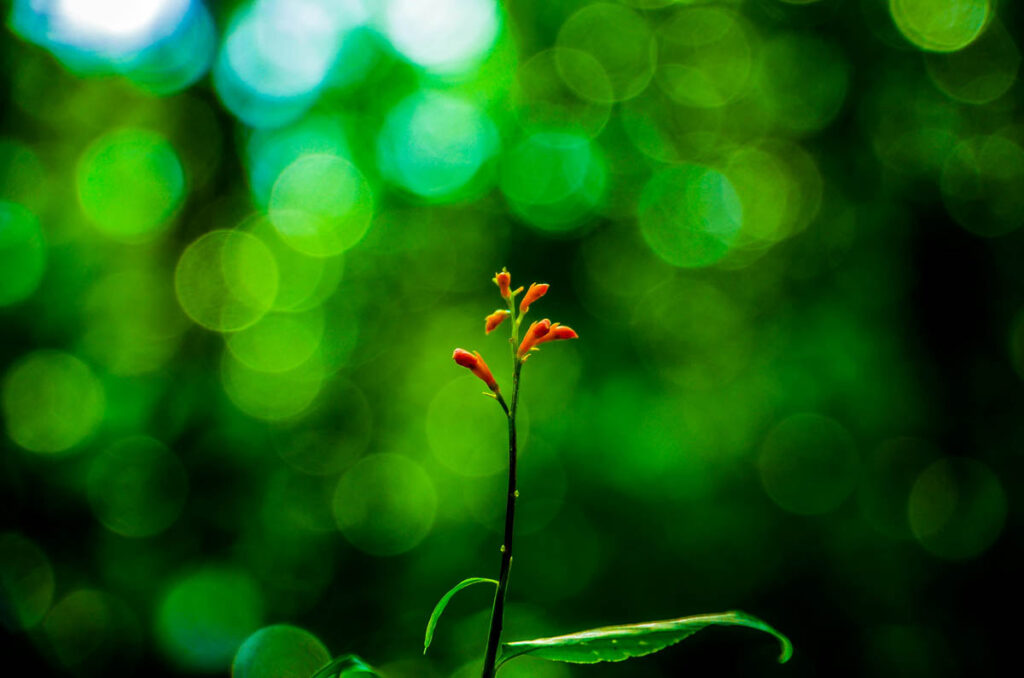
The Art of Shaping Bokeh: Customizing Background Blur
Bokeh isn’t always about smooth, round orbs. You can experiment with shaping the bokeh to make it more artistic and personal. There are several ways to do this:
Bokeh Shapes with a DIY Lens Hood
Create custom bokeh shapes by cutting out shapes (hearts, stars, etc.) from black paper and placing them over your lens. This DIY “bokeh filter” shapes the light spots in the background into interesting forms.
Using Bokeh Filters
Commercially available bokeh filters come in various shapes. These filters fit over your lens and alter the shape of the bokeh in your photos. Perfect for photographers looking for a whimsical or artistic touch.
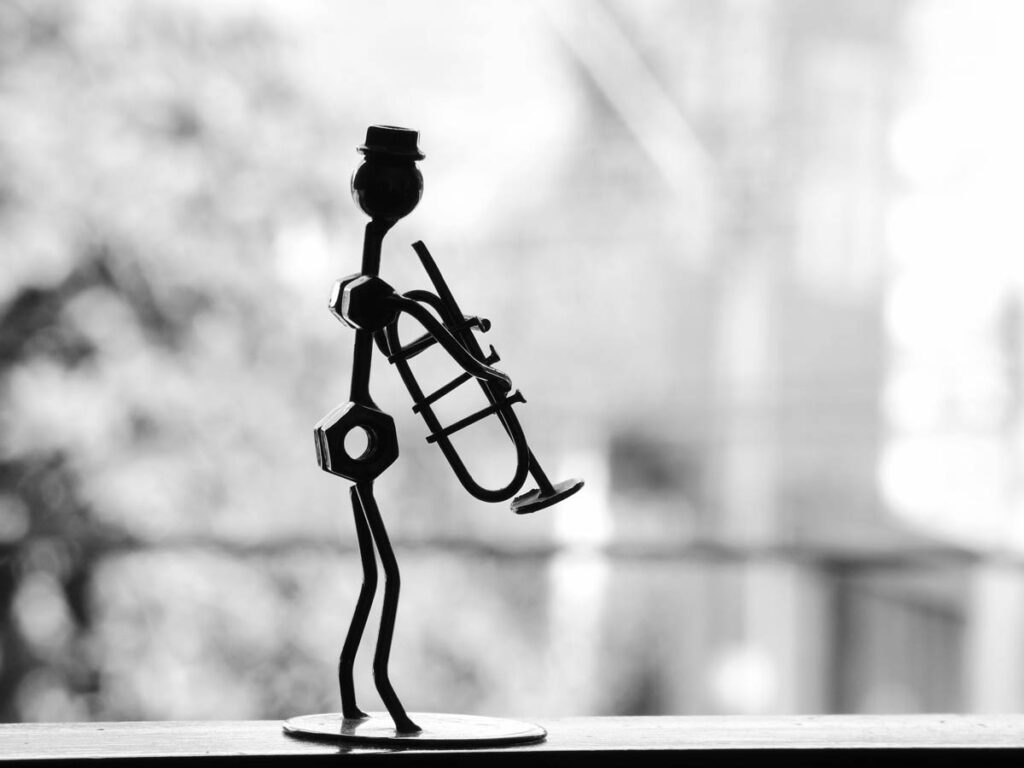
Bokeh Photography with Artificial Lights: A Nighttime Delight
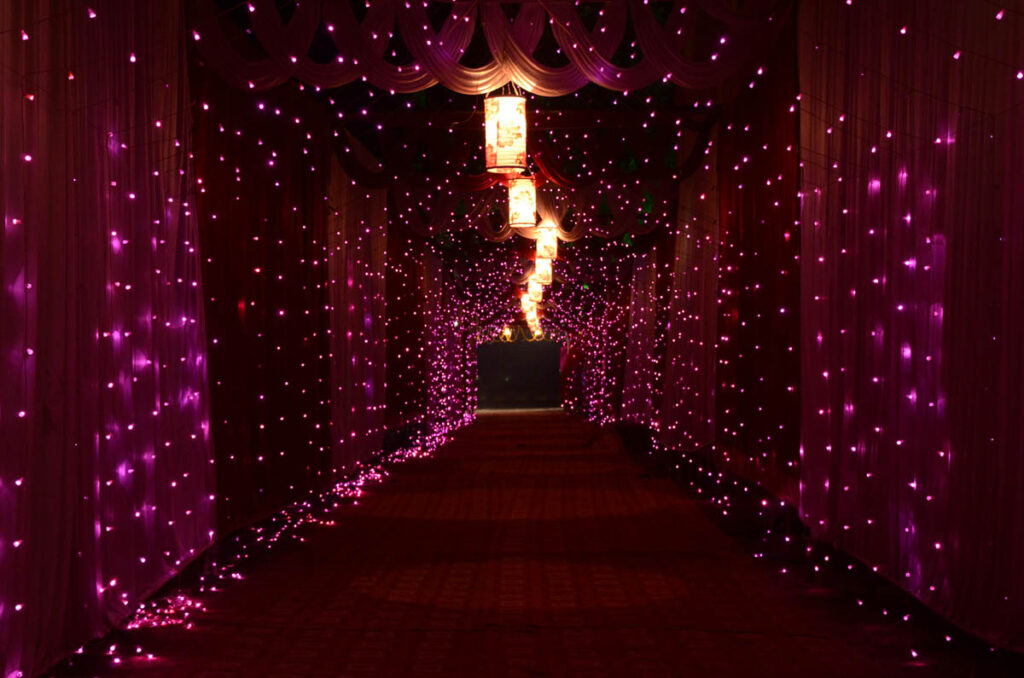
One of the best times to experiment with bokeh is at night, or in low-light settings. Artificial light sources, such as streetlights, Christmas lights, or even traffic, can create stunning bokeh effects. Here’s how you can take advantage of lights in your shots:
Shoot with Streetlights
Streetlights in the background often create beautiful orbs of light when shot with a wide aperture. These orbs are perfect for adding a dreamy, magical look to your photos.
Bokeh from Reflections
Light reflected in windows, mirrors, or even water can also create bokeh. Use reflections to enhance the visual appeal of your photos, especially during nighttime shoots.
Using Bokeh for Portrait Photography: Making Subjects Pop
Bokeh is especially effective in portrait photography. By isolating the subject with a blurry background, you can focus more attention on your subject’s expression and details. Here are some tips for portrait bokeh:
Use a Prime Lens for Sharp Focus
Prime lenses (like the 50mm f/1.8 or 85mm f/1.4) are ideal for portraits with bokeh. These lenses allow you to focus sharply on your subject while blurring the background effectively.
Incorporate Natural Bokeh
If you’re shooting outdoors, look for natural sources of light like the sun peeking through trees or other elements that can create bokeh naturally.
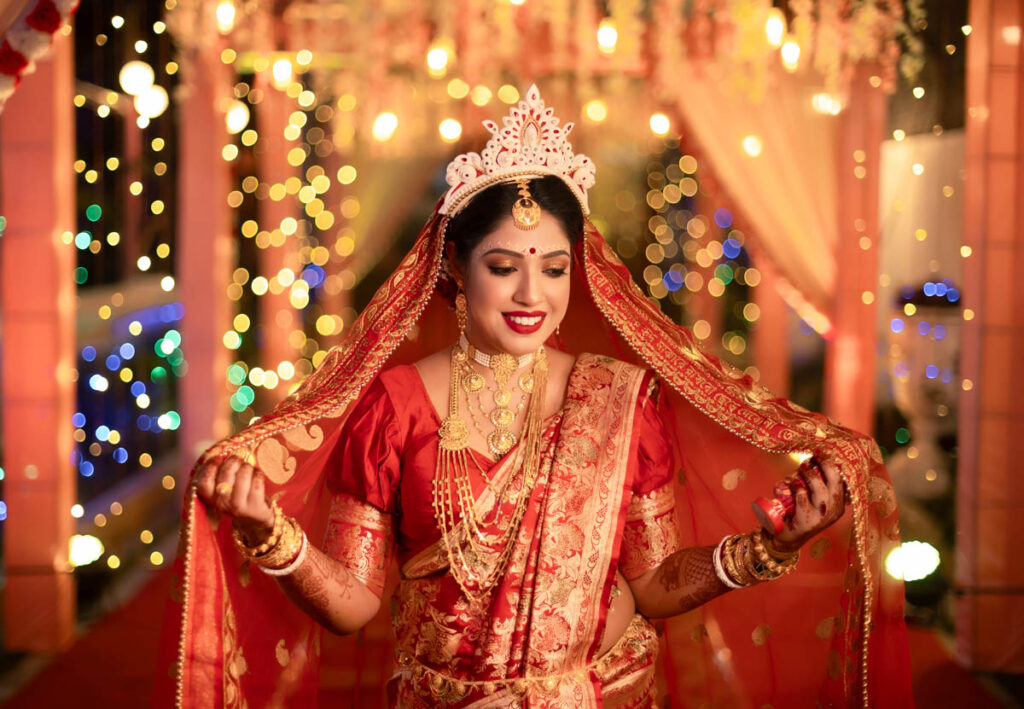
Bokeh Myths and Misconceptions: Debunking Common Beliefs
There are several myths surrounding bokeh photography that can confuse beginners. Let’s debunk some of them:
1. Bokeh Only Works with Portraits
While bokeh is commonly used in portraits, it can be equally beautiful in macro shots, landscapes, and even architectural photography. Any photo with a clear subject and a blurred background can benefit from the bokeh effect.
2. The Bigger the Aperture, the Better the Bokeh
It’s true that a wide aperture helps create bokeh, but it’s not the only factor. The lens design, focal length, and distance from the background all influence how bokeh turns out.
3. All Lenses Create the Same Bokeh
Not all lenses produce the same type of bokeh. Lenses with rounded aperture blades tend to create smoother bokeh, while lenses with fewer blades may produce more geometric shapes in the blur.
Experimenting with Bokeh Photography
Want to push your bokeh skills even further? Challenge yourself to explore new styles and techniques:
1. Shoot Through Objects
Try shooting through items like glass, rain droplets, or even fabric to create unique bokeh patterns. This adds layers of interest and complexity to your photos.
2. Mix Bokeh with Motion
Combine moving elements (like people walking or cars driving) with a beautiful bokeh background. This creates a dynamic contrast between sharp motion and soft blur.
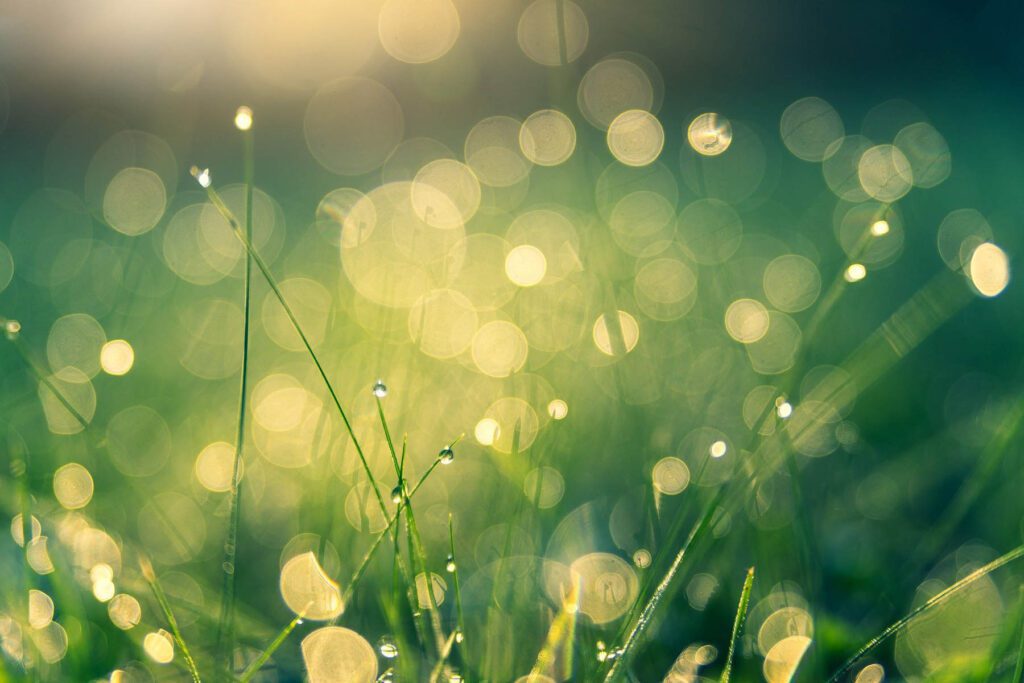
Conclusion: Harnessing the Full Potential of Bokeh Photography
Bokeh photography can elevate your images, adding a dreamy, professional touch. With the right lens, aperture settings, and creative techniques, you can create stunning, blur-filled backgrounds that make your subjects stand out. Whether you’re capturing portraits, landscapes, or abstract compositions, experimenting with bokeh opens up a world of creative possibilities.
So, grab your camera, choose your aperture, and start experimenting with the mesmerizing world of bokeh photography. With practice and a bit of creativity, you’ll be creating unforgettable shots in no time!

