Macro photography enables us to take pictures of the minute things with more details and clarity. There are many approaches to macro photography, not only just insects and flowers but product photographs like jewelry. Jewelry macro shots are normally stalked and super imposed to form one single photograph with a lot of detail along the length and breadth of the subject. We will cover basic concepts of macro photography or macro instructions.
Macro photography similar to show large way of a tiny picture is an original concept says that it is a 1:1 ratio image reproduction, which means that the size of the image captured in the camera sensor is same as the actual dimension of the subject. This is made possible by using macro lenses which will allow us to move close to the subject and capture the images. These macro lenses are priced from anywhere about INR 14,000 onwards to 85000 INR depending on the build quality, the brand etc…
As a continuing series on learning photography on budget, I would like to share my experience with the macro adapters and extension tubes. Those who wish to follow macro photography can have a firsthand experience of the macro techniques before investing in an expensive macro lens. Whether you use a dedicated macro lens or adapter, the process is very tough than other types of photography. The depth of field is very narrow and most of the times we will bump into the subject and may damage the elements of the lens in the process. So here are some cheaper alternatives:
- Even without any external adapters or spacers, we can use the kit lens to get near 1:1 images
- Some of the cheaper telephoto lenses or older types allows for a macro range of zoom which can be unlocked by way of a slider switch. Tamron 70-300, non VC version is an example. But the image formed with such lenses will be not true 1:1 images but may be 1: 2.5 or so.
- Extension tubes which act as spacers between the lens and the camera body. There are auto focus + metering enabled ones which are almost as priced as cheaper lenses. But the samples provided here are taken with manual extension tubes ( which do not meter or focus, as there are no electrical contacts)
- Macro dioptres which will screw into the front element of our normal lenses
Macro photography techniques
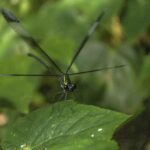
1. Using Kit lens: The kit lens available with the crop sensor bodies zooms from 18 to 55 mm which is roughly equivalent to 27 to 77 mm equivalent field of view in a full frame. At 35 mm (50 mm equivalent field of view of full frame), roughly we get a magnification of 1:1. Keep the zoom ring at 35mm and switch to manual focus, rotate the focus ring all the way to infinity and using our body try to close as much as possible to the subject till you get the subject in focus and not blurred. This may be good enough to get pictures of flowers and considerably bigger object like insects. Here is an example of a damsel fly (it’s almost 4 times bigger that its Indian cousins, hence kit lens worked to some extent to get a subject filled in the frame. But honestly, it’s not a good macro photo. But I may be able to crop more of the photograph but that will deteriorate the quality of the image. So, I did not prefer this option much as the later options gave good images.
2. Telephoto lenses: telephoto lenses bring the subject closer to the sensor and in a way, they are same as the macro lenses functionally. Compared the kit lens strategy these are the most convenient to use as they focus automatically. But longer telephoto focal lengths have a tendency to compress the depth of field and we lose the details of the minute subjects. The images appear to be softer and may work well for some subjects like the flowers. Here are some examples of the images captured.
But I did not prefer this method due to lack of details and narrow depth of field.
3. Manual extension tubes: Though these provide the best of images, as there are no additional
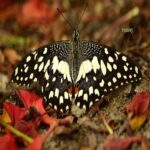
glass elements added to the existing optics of the lens. How it works? The extension tubes act as spacers and advance the image to the front of the sensor thereby physically allowing us to move the camera closer to the subject. These tubes are available in combinations of three which when stalked together will give more closer and sharp images. The auto extension tubes are costlier option and a good one cost about a cheap macro lens. You can find cheaper manual focus extension tubes which cost about 600 to 800 INR online or from a good bargain from an accessory store.
Things to consider while using the manual extension tubes
a) Bear in mind that there are no electrical contacts for the lens to communicate with the camera. So, switch of the metering and the auto focus of the mechanism. This can be done by changing the settings on your camera body. Along with the manual extension tubes, you require a lens preferably slightly longer than the kit lens with the option to change the aperture manually. That said, the Nikkor 50 mm 1.8 D is still available in the market which has a DOF scale as well as the aperture ring. I am not sure about the other manufacturers who still manufacture the lenses with the aperture ring.
b) Focusing: it’s as real pain because the aperture is locked at the minimum value and virtually there will not be any light to aid the focus. Hence use it as much as possible in the direct sunlight or use a source like a torch to focus and lock the same. I have tried both the options, and it works well for the stationary objects and
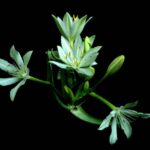
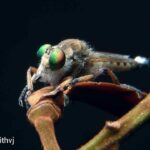
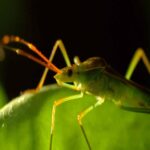
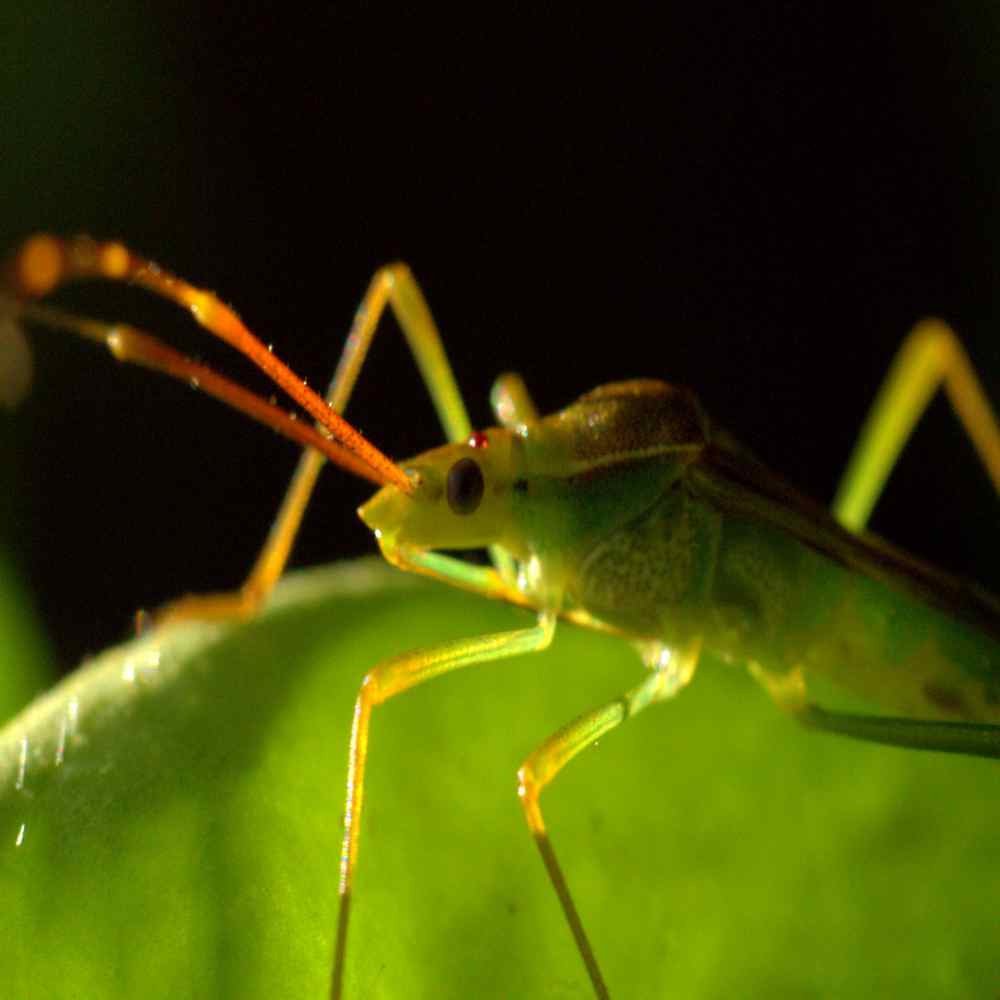
also on insects and spiders. Insects are less active during the early morning hours. I could snap a rice bug warming up in the sun against the light. Another example furnished here is a moth which was stationary on our house floor for a few minutes and I used a portable flash light to light paint (like the buildings) of course we may not be lucky always. Wear your spectacles if you are having prescription glasses and make sure that the diopter adjustments are calibrated to match your eye, as there is not much room for error. The colour rendition was the best compared to other options.
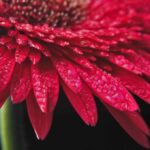
4. Diopters: these are very cheap and can be found online at about 400 INR onwards. They are screw mounted to the front of the lens. Diopters are basically a magnifier screwed into the filter thread of the regular lenses available with filter thread of 52 mm thread size which matches the kit lenses and the 50 mm cheaper alternatives. It’s better to start with the lower diopters to have a feel and control of the depth of field. The quality is unpredictable as these are not coming out of the production line of a MNC optical production unit with mandatory quality checks. Hence test them at the shop before you get the delivery. However, I have considered as an allowable risk and bought my diopters online. The results are good, though not outstanding. But they are more convenient than the extension tube. Though the auto focus may still work, make sure to switch the focusing to manual as these heavy attachments to the front of the lenses gives additional stress and friction to the focus motor and may damage it.
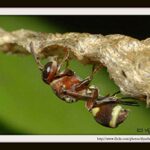
Here are some sample images taken with the diopters
More than the equipment, there are few crucial factors that gives good pictures in macro photography.
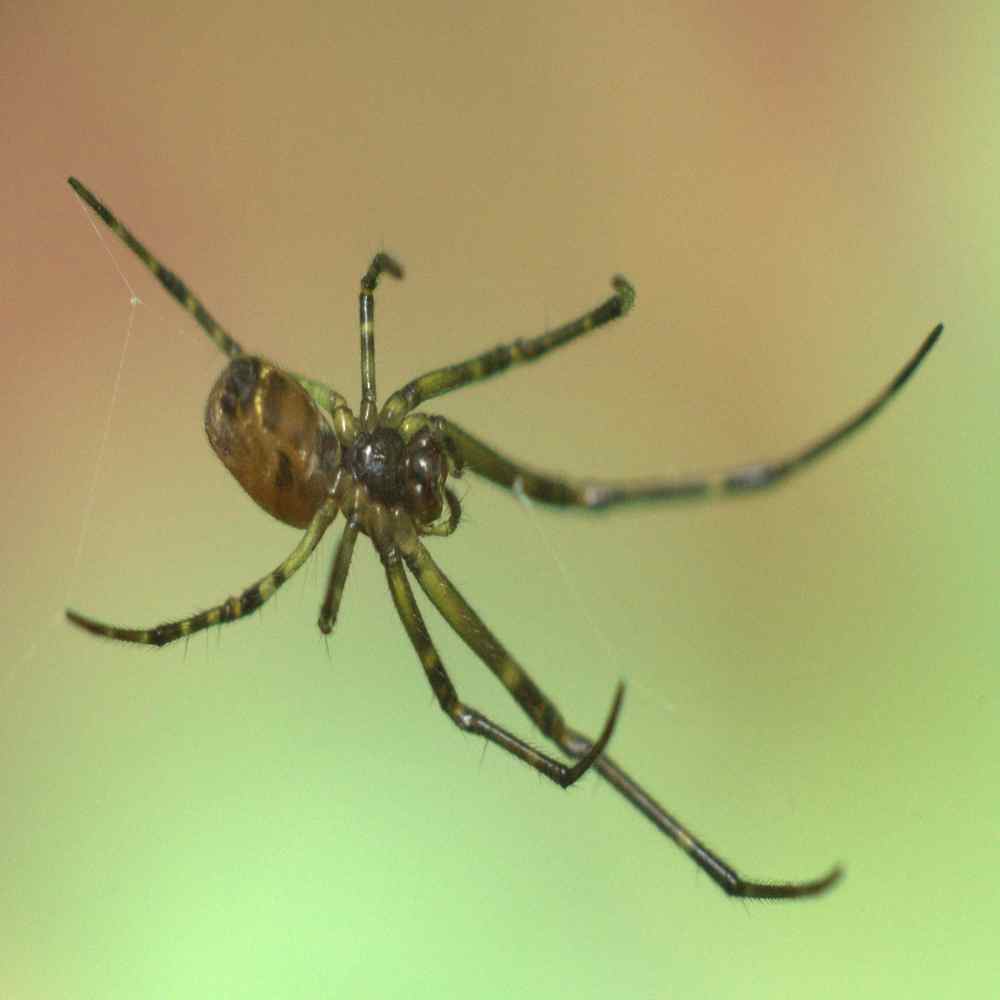
1. Depth of field: The thumb rule of less is more is applicable to macro photography. Instead of packing everything into the frame, selectively focus on the most attractive feature and compose well. This is more of a personal choice and taste. Sometimes an abstract image may find more viewers than a crisp tack sharp image. Compare the following images and I got more positive reviews of the abstract image.
Bear in mind that most of the images appear in the online image sharing platforms which depict the minute details of flowers from the anthers and pollens are composite images stalked in post production and are not a single photograph. So decide and plan your shot accordingly. Even with the dedicated macro lens, it is difficult to focus macro objects.
2. Light- even with the wide aperture lenses like f/2.8 the actual aperture narrows once you move close to the subjects. The lens itself will also cast a shadow on the subject. Lighting is must and
bumping up the ISO will affect the colour rendition. Better to use the flash or else if you have budget, buy a macro ring flash which can be also used creatively for portraits in fashion photography. I used a very simple mechanism by taking off the
flash from the camera and connecting it by wire or using remote triggers. These flashes are also used for the portraits and product photography and hence everything is a question of re-usability. When flash is used try to get a cheap diffuser bag which will reduce the harshness of the shadows. Also the angle of incidence of the light is a critical factor, experiment and find out how shadows are formed by varying the angle of the incidence. There are a lot to play around with and the more you experiment the better your creative side develops. There are no hard and fast rules, experiment and satisfy you than expecting the online response and peer approval.
Also please take precautions while photographing insects and poisonous creatures like snakes, make sure you have a good scientific understanding of the behavior and keep anti-venom at hand. Snakes venom and wasp stings are very deadly please avoid such subjects as much as possible. World is much wider open and there are chances for everyone.
Wishing you all young readers good luck, please do share your experiences and there will be lessons to learn for us as well…
Cheers
Any queries or explanations required please send in your queries @ vjvijith@gmail.com

Please share your experiences, lets all share and learn together..