Jewelry and product photography is the art of showing products in the best possible way. Since customers cannot touch or try jewelry online, photos play the most important role in building trust and increasing sales. Clear, bright, and detailed images make jewelry look valuable and professional.
The good news is—you do not need a big studio or expensive equipment. With the right setup, lighting, and practice, you can do beautiful jewelry and product photography at home.

Why Jewelry & Product Photography Matters
Jewelry is small, shiny, and detailed. Even a tiny scratch or shadow can change how it looks in photos.
Good photography helps to:
- Show real shine, color, and finish
- Highlight stones, cuts, and craftsmanship
- Make products look premium
- Increase clicks, trust, and sales
Poor-quality images can make even high-quality jewelry look cheap.
Basic Equipment for Jewelry Photography
You can start with simple tools.
1. Camera
- DSLR or mirrorless camera (best quality)
- Smartphone with a good camera (great for beginners)
Make sure the camera can focus well on small objects.
2. Tripod
Jewelry photography needs sharp images. A tripod keeps the camera steady and avoids blur, especially in close-up shots.
3. Lighting
- Natural light from a window (recommended)
- LED lights or softboxes (optional)
Soft light is always better than harsh light.
4. Background
Choose clean and simple backgrounds like:
- White paper or cloth
- Marble or stone sheets
- Wooden boards
- Acrylic or glass sheets
5. Reflectors
White cardboard, expanded polystyrene foam (thermocol) sheets, or aluminum foil help reflect light and reduce shadows.

Lighting: The Heart of Jewelry Photography
Lighting is the most important part of jewelry and product photography. Jewelry reflects light, so you must control it carefully.
Best Lighting Setup (Simple Method)
- Place a table near a window with soft daylight
- Put the jewelry on the table
- Light should come from the side, not directly from the front
- Place a white paper or reflector on the opposite side
This setup spreads light evenly and make jewelry shine naturally.
Example
For a diamond ring:
- Window light from the left side
- White paper on the right side
- This setup reduces dark shadows and adds sparkle to the stone
Avoid using direct flash—it creates harsh reflections and bright spots.
How to Do Jewelry Photography (Detailed Step-by-Step)
- Step 1: Clean the Jewelry Properly
>> Before shooting, clean the jewelry using:
>> A soft microfiber cloth
>> Jewelry cleaning solution (if needed)
>> Dust, fingerprints, and stains are clearly visible in close-up photos. - Step 2: Choose the Right Background
The background should support the jewelry, not distract from it.
>> White background – Best for ecommerce websites
>> Black or dark background – Creates a luxury look
>> Neutral colors – Soft and elegant
>> Make sure the background is wrinkle-free and clean. - Step 3: Set Up the Lighting
>> Use one main light source from the side
>> Add a reflector on the opposite side
>> Use butter paper or a thin cloth to soften harsh light
>> Soft lighting brings outshine without strong reflections. - Step 4: Place the Jewelry Carefully
Position the jewelry to show its best features:
>> Rings slightly tilted to show stone and band
>> Necklaces shaped neatly without twists
>> Earrings placed symmetrically
>> Small changes in angle can make a big difference. - Step 5: Use a Tripod and Adjust Camera Settings
>> Fix the camera on a tripod
>> Use macro mode or close focus
>> Keep ISO low (100–200) for clear images
>> Use a timer to avoid camera shake
This ensures sharp and professional photos. - Step 6: Focus on Details
>> Zoom in or move closer to capture:
>> Stone cuts
>> Engravings
>> Texture and finish
>> Close-up shots help customers understand quality. - Step 7: Take Multiple Angles
Always click more than one photo:
>> Front view
>> Side view
>> Close-up
>> Back view
>> On-hand or on-model shot (optional)
These builds trust and reduce customer doubts.

Product Photography Tips (For All Products)
These tips apply to jewelry, watches, cosmetics, and accessories.
Keep Composition Simple
The product should be the main focus. Avoid clutter.
Show Product Size Clearly
Examples:
- Ring worn on a finger
- Necklace on a bust or model
- Bracelet on a wrist
This helps customers understand scale.
Use Props Wisely
Props should match the product theme.
- Flowers for bridal jewelry
- Fabric or wood for handmade items
Never let props overpower the product.
Editing Jewelry & Product Photos
Editing improves quality but should look natural.
Basic Editing Steps
- Adjust brightness and contrast
- Correct color balance
- Increase sharpness slightly
- Remove dust or small marks
Editing Tools
- Adobe Lightroom
- Photoshop
- Canva
- Snapseed (mobile)
Avoid heavy filters. Jewelry should look real and accurate.

Popular Jewelry Photography Styles
1. White Background Photography
Clean and professional. Best for online stores.
2. Lifestyle Photography
Jewelry worn by a model in real-life situations.
3. Flat Lay Photography
Jewelry placed flat and shot from above.
4. Luxury & Dramatic Style
Dark background with controlled lighting for premium brands.
Common Mistakes to Avoid
- Using direct flash
- Busy or colorful backgrounds
- Blurry images
- Incorrect colors
- Over-editing photos

Here are easy, creative, and practical photo ideas you can use for jewelry and product photography. These work well for ecommerce, social media, and branding.
Classic Jewelry Photo Ideas (Must-Have)
1. White Background Shot
- Idea: Jewelry centered on a clean white background
- Best for: Amazon, Etsy, Shopify
- Tip: Use soft side light and a reflector
- Example: Gold ring placed slightly tilted to show stone
2. Close-Up Detail Shot
- Idea: Zoom in on stones, texture, or engraving
- Best for: Showing quality and craftsmanship
- Tip: Use macro mode and tripod
- Example: Diamond prongs or engraved initials
3. Side Angle Shot
- Idea: Shoot jewelry from a 45-degree angle
- Best for: Showing depth and design
- Example: Ring band thickness or earring shape
Lifestyle & Creative Photo Ideas
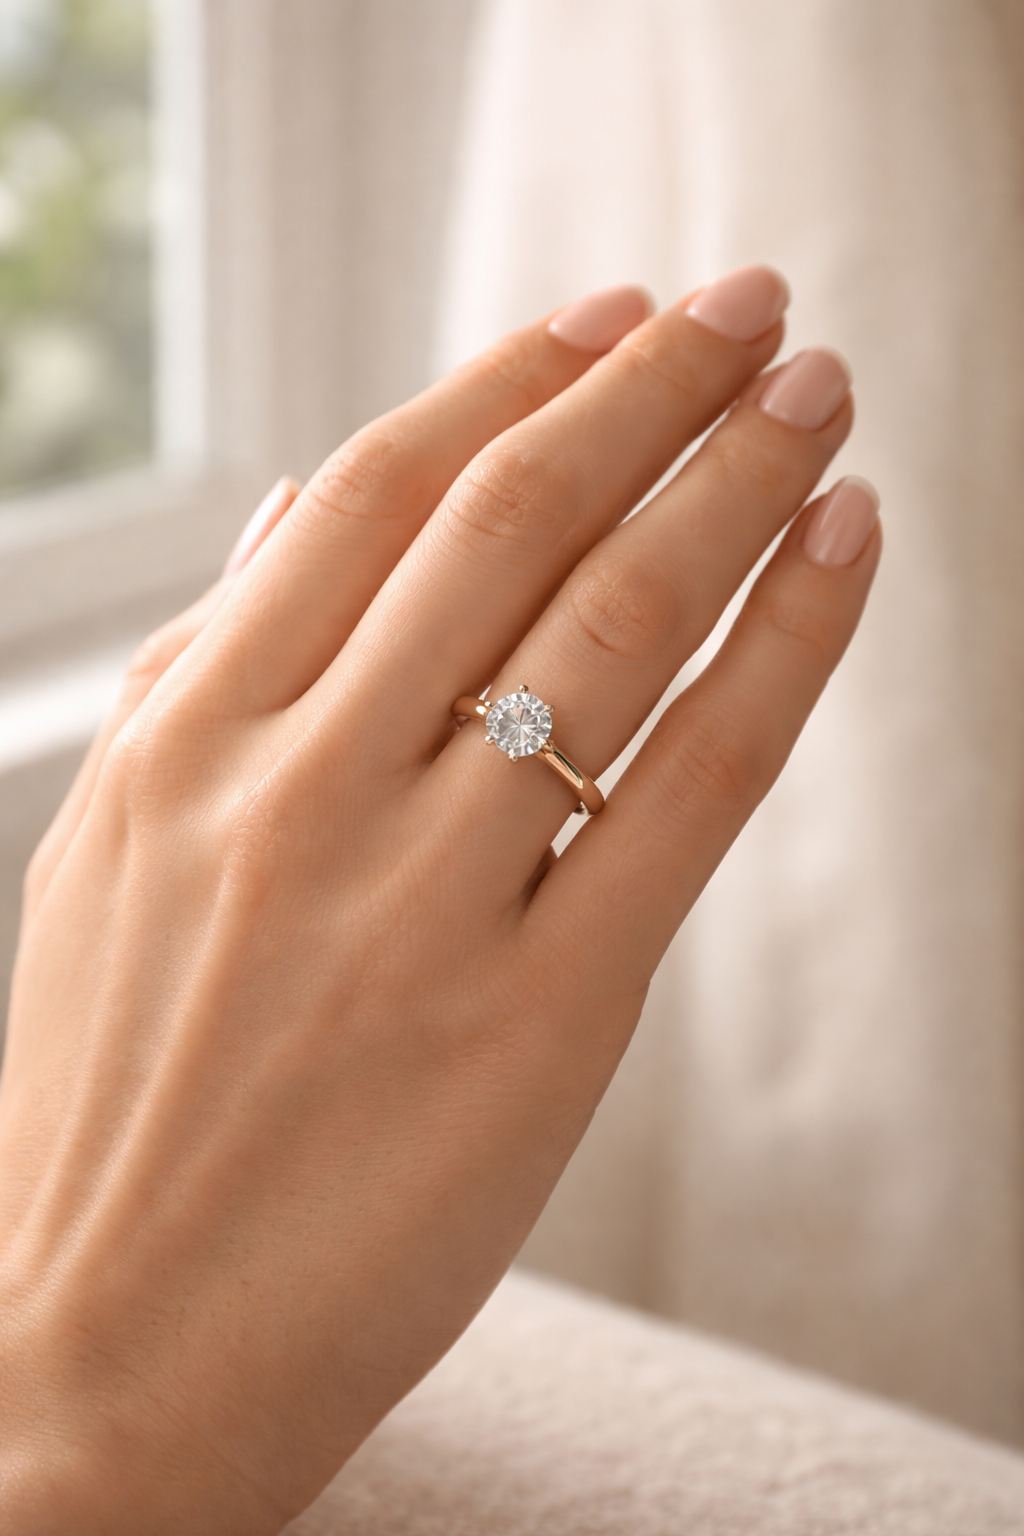
4. On-Hand Shot
- Idea: Jewelry worn on hand, wrist, or neck
- Best for: Showing size and real use
- Tip: Keep background soft and neutral
- Example: Ring on finger near window light
5. Flat Lay Photography
- Idea: Jewelry laid flat, shot from top
- Best for: Instagram and catalogs
- Tip: Arrange symmetrically
- Example: Necklace with matching earrings
6. Minimal Prop Shot
- Idea: Use 1–2 simple props
- Best for: Brand storytelling
- Props: Flowers, fabric, stone, wood
- Example: Pearl necklace with white flowers

Luxury & Premium Look Ideas
7. Dark Background Shot
- Idea: Jewelry on black or dark surface
- Best for: Luxury branding
- Tip: Use controlled side lighting
- Example: Gold bracelet on black velvet
8. Reflection Shot
- Idea: Jewelry placed on glass or acrylic
- Best for: Premium product look
- Tip: Clean surface carefully
- Example: Earrings with soft reflection below
9. Spotlight Effect
- Idea: Focus light only on jewelry
- Best for: Hero images
- Tip: Block extra light using cardboard
- Example: Ring glowing in center darkness
Creative & Social Media Photo Ideas
10. Story-Based Shot
- Idea: Show jewelry in a lifestyle moment
- Best for: Instagram & ads
- Example: Bridal jewelry on silk fabric
11. Color Theme Shot
- Idea: Match background and props with gemstone color
- Best for: Visual branding
- Example: Emerald ring with green leaves
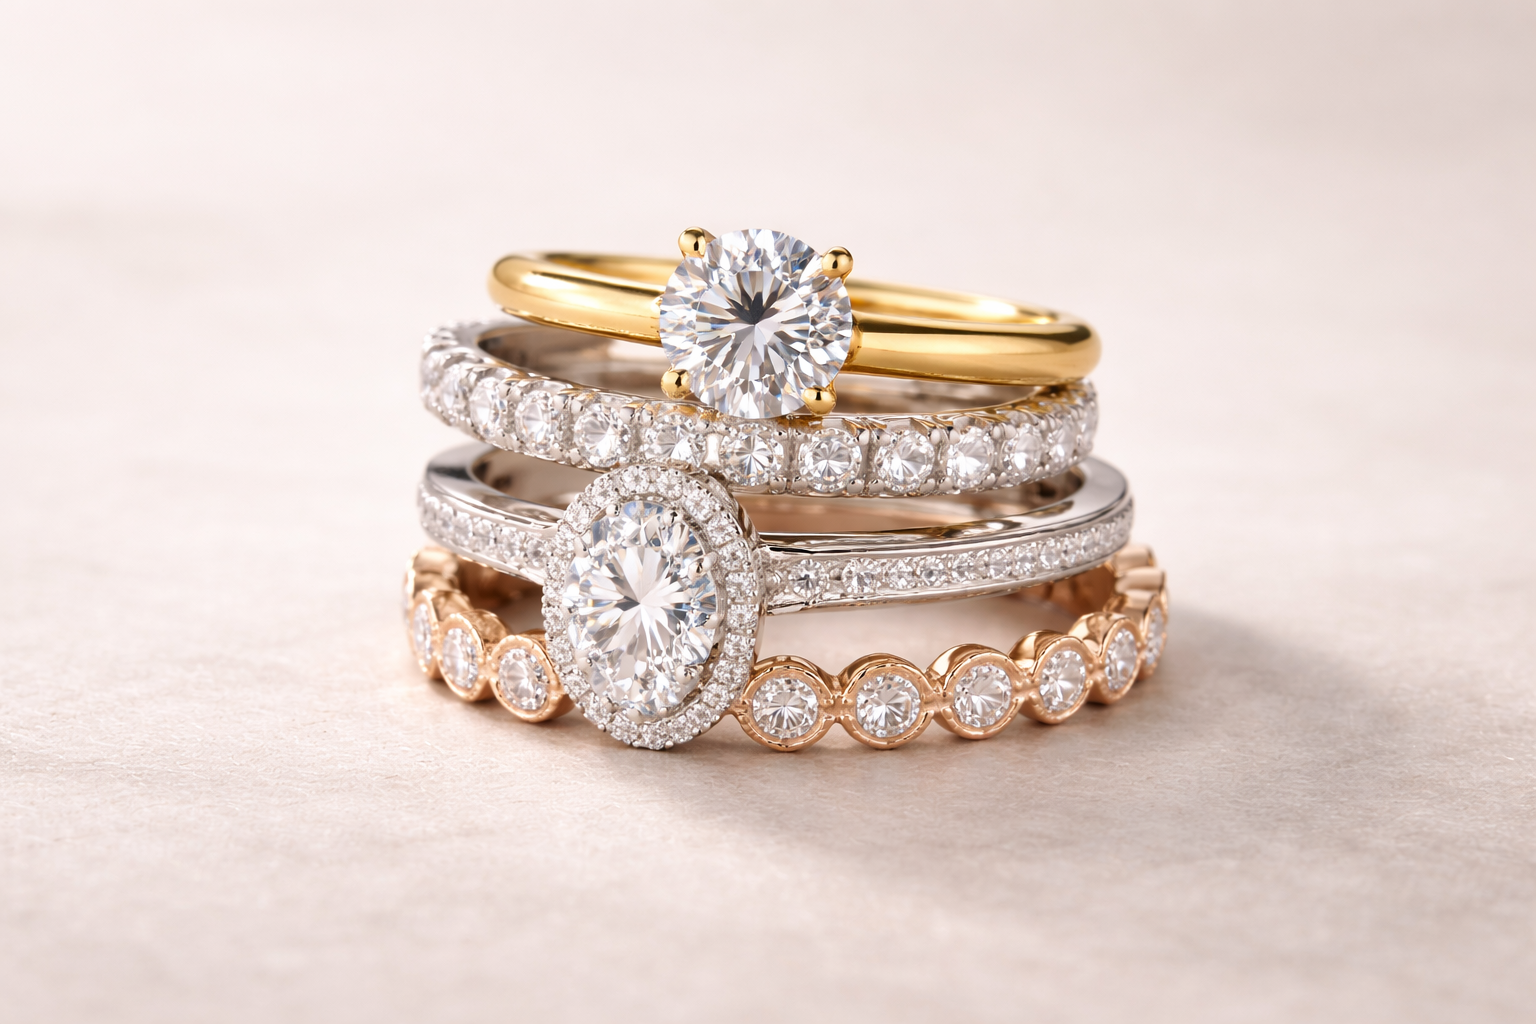
12. Stacked Jewelry Shot
- Idea: Layer multiple items together
- Best for: Showing collections
- Example: Multiple rings stacked neatly
Behind-the-Scenes & Trust-Building Ideas
13. Making or Packaging Shot
- Idea: Jewelry being packed or crafted
- Best for: Brand trust
- Example: Ring box, ribbon, thank-you card
14. Scale Comparison Shot
- Idea: Show product size clearly
- Best for: Reducing customer confusion
- Example: Earrings next to coin or on ear
Quick Pro Tips
- Shoot both horizontal & vertical
- Take extra close-ups
- Keep brand style consistent
- Use natural light whenever possible
Jewelry & Product Photography – Beginner Checklist
Use this simple checklist before every photoshoot to get clean, professional-looking results.
Before Shooting
- Clean jewelry or product (remove dust & fingerprints)
- Choose a simple, clean background
- Set up table near a window for natural light
- Turn off direct flash
- Keep props minimal (if using any)
Lighting Setup
- Use soft daylight from one side
- Place white paper/reflector on opposite side
- Avoid harsh shadows and reflections
- Adjust product angle for best shine
Camera Setup
- Use tripod or stable surface
- Use macro/close focus mode
- Keep ISO low (100–200)
- Use timer to avoid camera shake
- Check focus carefully
During Shooting
- Take multiple angles (front, side, close-up)
- Capture details (stones, texture, engraving)
- Shoot both wide and close shots
- Check photos for blur or dust
After Shooting
- Select the sharpest images
- Adjust brightness and color lightly
- Remove small dust spots
- Keep colors natural (no heavy filters)
- Save images in high quality for web
>>> Pro Tip: Take more photos than needed. You’ll always find better options during editing.
STUDIO RULE
Clean product + Soft light + Sharp focus = Perfect photo
Conclusion
Jewelry and product photography is not about expensive equipment—it is about light, cleanliness, and attention to detail. Start simple, practice regularly, and improve step by step. Good photos make your products stand out, attract customers, and increase sales.
Frequently Asked Questions (FAQs)
Q1: Can beginners do jewelry photography at home?
Yes. Natural light, a phone camera, and practice are enough to start.
Q2: What is the best background color?
White is best for selling online. Dark colors are good for luxury branding.
Q3: How do I reduce reflections on jewelry?
Use soft light, diffusers, and reflectors instead of direct light.
Q4: Do I need models for jewelry photography?
Not necessary, but models help customers understand size and usage.
Q5: How many images should one product have?
Ideally 5–7 images showing different angles and details.


Lovely article
It is really useful for me. Thanks.
Very beautiful.