Image compression is the process of making image files smaller, so they take up less space and load faster. Whether you’re uploading photos to your website, sharing pictures on social media, or saving storage on your phone, compressed images help everything run more smoothly.
By reducing file size, image compression improves website performance, saves digital space, and makes sharing quicker—all without a big loss in image quality (if done right!).
📷 What Is Image Compression?
Image compression is the process of reducing the file size of an image. This can be done in two main ways:
Understanding Lossless vs. Lossy Image Compression
Image compression comes in two main types: lossless and lossy. The type you choose depends on what you are using the image for—whether you need perfect quality or you are confident with a small trade-off for a much smaller file size.
Let’s look at each type in more detail:
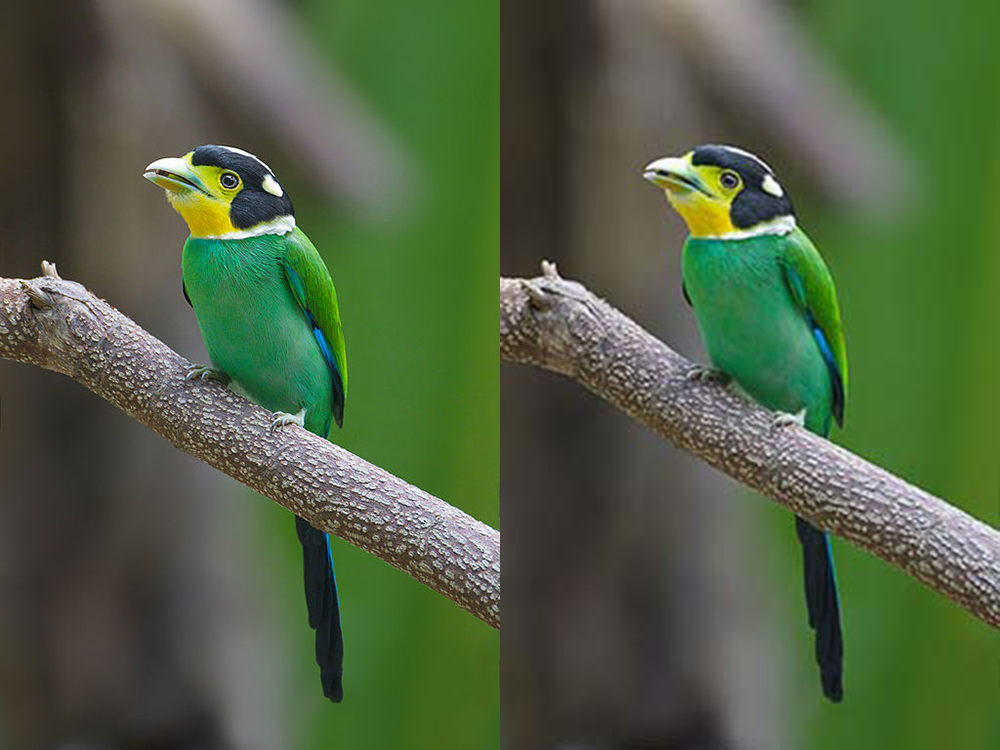
Lossless Image Compression
Lossless compression reduces file size without losing any image data. The image looks exactly the same before and after compression. Every pixel stays untouched.
How it works:
- It finds patterns in the image data and rewrites them in a more efficient way.
- When you open or use the image again, it’s fully restored to its original state.
Best for:
- Archiving original image files.
- Editing and re-editing the same image without quality loss.
- Graphics, line art, or text-based images.
Common lossless formats:
- PNG (Portable Network Graphics)
- GIF (Graphics Interchange Format)
- BMP (Bitmap Image)
- TIFF (Tagged Image File Format – if saved uncompressed or lossless)
- RAW (used in professional photography)
Pros:
- No quality loss
- Ideal for high-quality printing or editing
Cons:
- File sizes are larger compared to lossy formats
- Not always ideal for web use due to slower loading times
Lossy Image Compression
Lossy compression permanently removes some image data to make the file smaller. The image may lose a bit of quality, especially after repeated saves, but it’s much smaller in size.
How it works:
- It removes unnecessary or less noticeable information (like slight color differences).
- It sacrifices a bit of visual detail in exchange for a big reduction in file size.
Best for:
- Sharing images on the web or social media
- Emailing photos
- Websites where speed matters more than perfect image quality
Common lossy formats:
- JPEG / JPG (most popular for photos)
- WebP (can use both lossy and lossless)
- HEIF / HEIC (used on iPhones and newer devices)
Pros:
- Much smaller file sizes
- Faster to upload, download, and load on websites
Cons:
- Some quality is lost, especially after multiple edits and re-saves
- Not suitable for images that need perfect clarity or transparency
Which One Should You Use?
| Situation | Use Lossless | Use Lossy |
|---|---|---|
| Editing multiple times | ✅ Yes | ❌ No |
| Uploading to a website | ❌ Not ideal | ✅ Yes |
| Keeping original quality | ✅ Yes | ❌ No |
| Fast loading on mobile | ❌ No | ✅ Yes |
| Archiving photos | ✅ Yes | ✅ (if storage is limited) |
Bonus Tip:
If you’re unsure, export your image in JPEG for online use and PNG for print or detailed graphics. Always keep a backup of your original file before compressing.
Why Do We Compress Images?
Here’s why image compression is useful:
- ✅ Faster website loading – Smaller images help your website load quickly.
- ✅ Saves storage space – You can keep more pictures on your device or cloud.
- ✅ Easier sharing – Compressed images are faster to send by email or on social media.
- ✅ Improves SEO – Google prefers websites that load fast, and smaller images help.
How to Compress Images
You don’t need to be a tech expert. Here are some simple tools you can use:
Online Tools (Free & Easy)
- TinyPNG (https://tinypng.com)
- Compress JPEG (https://compressjpeg.com)
- ImageOptim (Mac users)
Software
- Adobe Photoshop (Save for Web option)
- GIMP (Free image editor)
- Lightroom
Mobile Apps
- Photo Compress (Android)
- Compress Photos (iOS)
Best Practices for Image Compression
- Use JPEG for photos (good balance of quality and size).
- Use PNG for graphics or images with transparency.
- Avoid over-compression—too much can make your image blurry or pixelated.
- Always keep a backup of the original image.
Final Thoughts
While image compression may sound like a technical term, it’s actually a very practical and useful process for anyone who works with digital photos. Simply put, it’s a method of reducing the size of your image files so they’re easier to handle—whether that means uploading them to a website, sending them via email, or saving space on your device.


