Water drop photography is totally based on the indoor photography. During this lockdown period against Covid-19 epidemic, I develop my photographic skill, mainly indoor-based photography. One of them is WDP or water drop photography.
I think it may help my viewers to click some fascinating water droplet pictures using their DSLR camera.
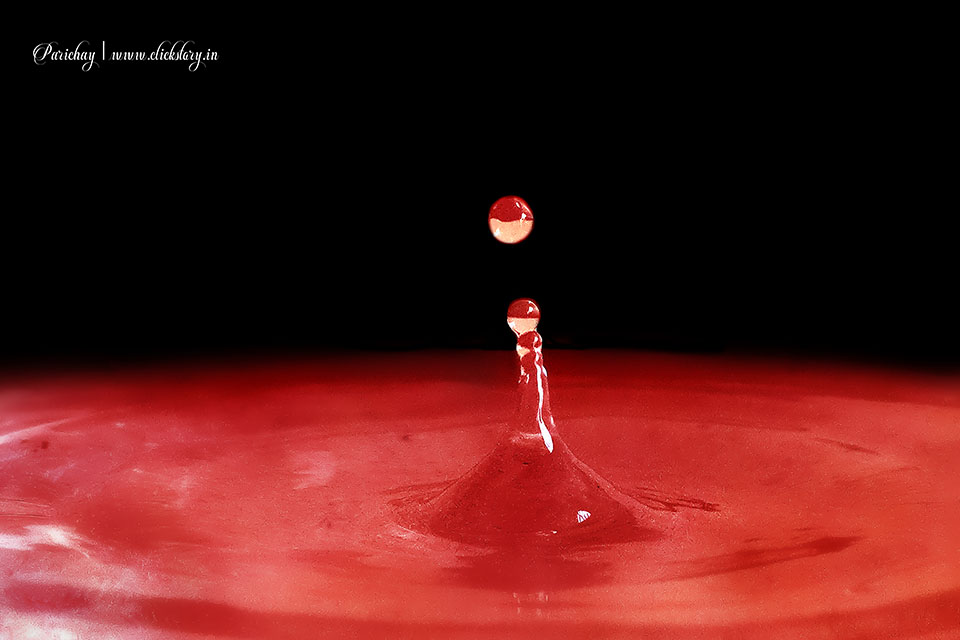
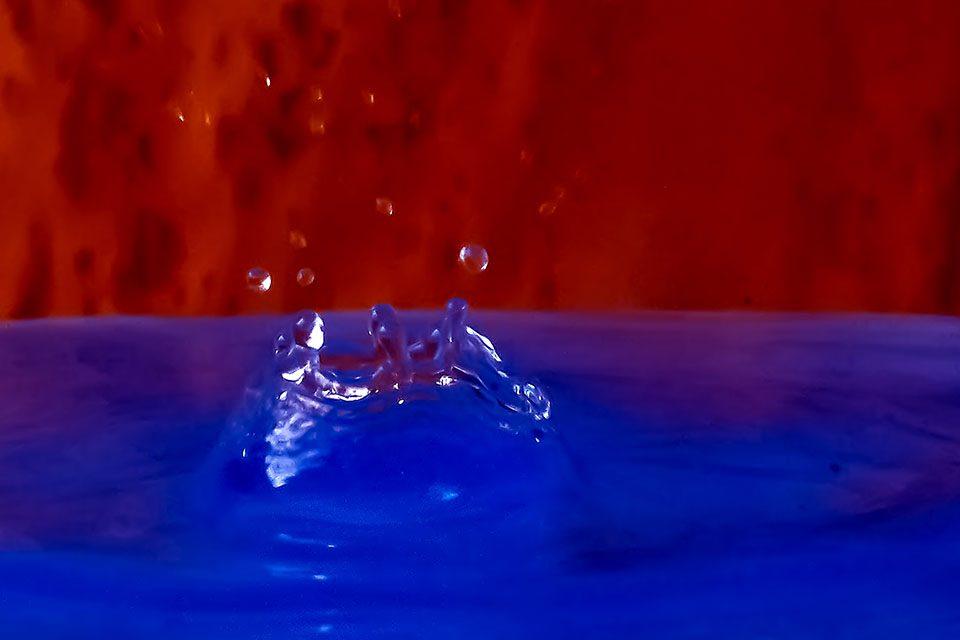
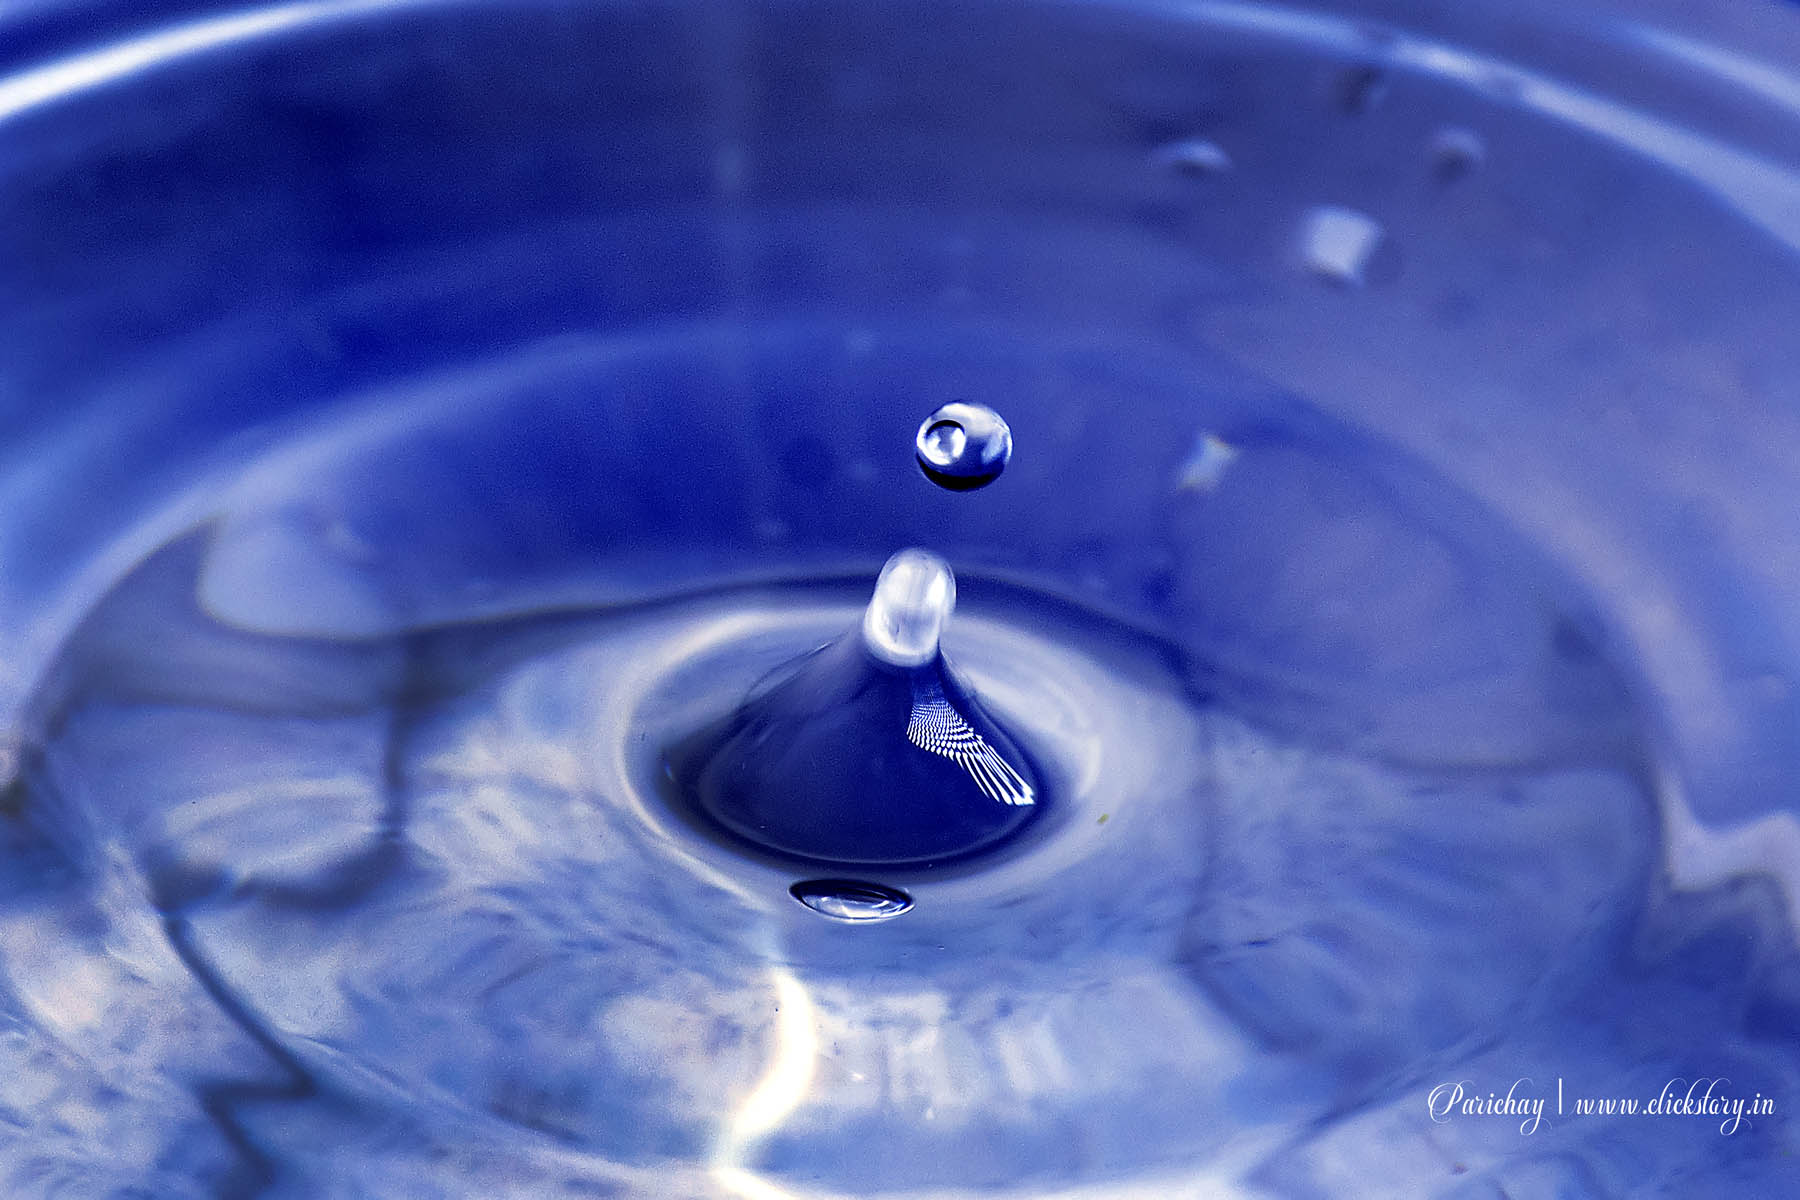
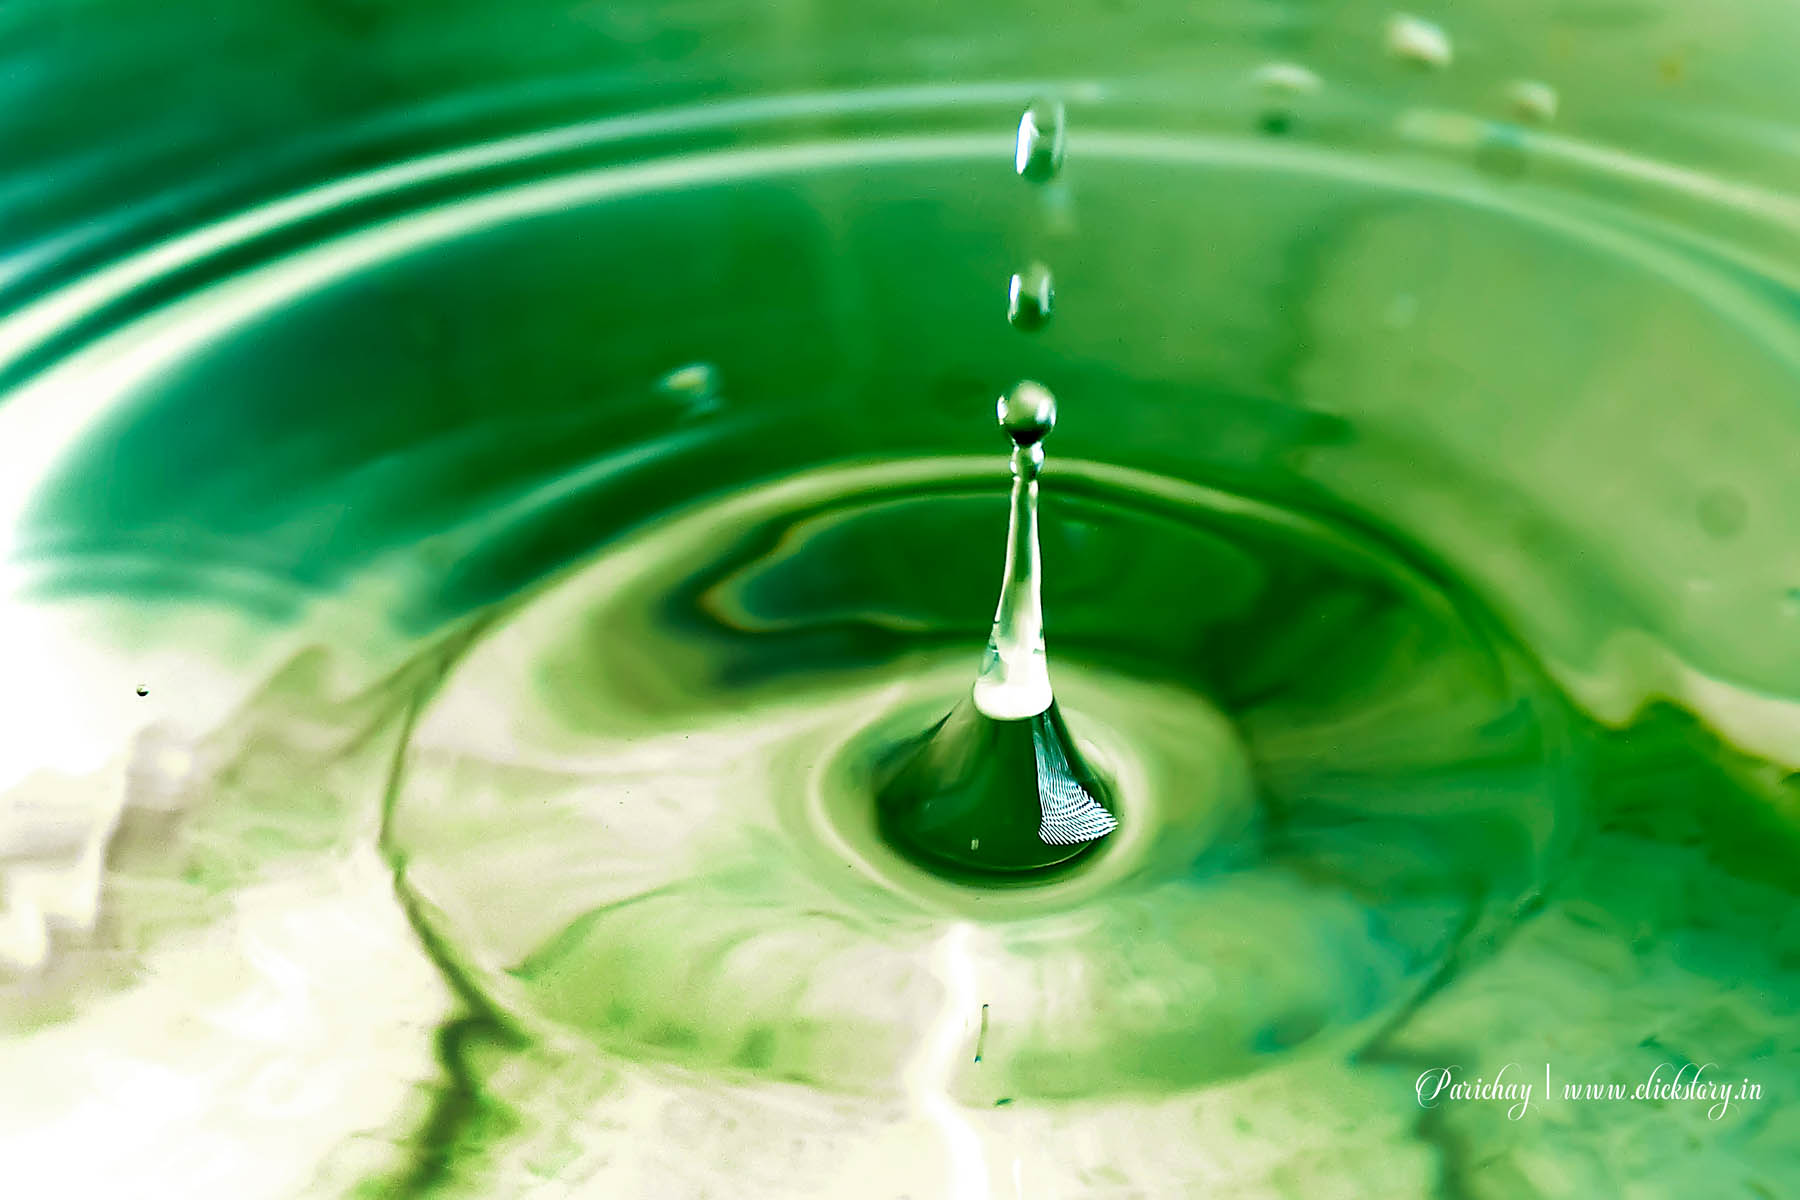
When a drop of water falls into a tumbler or pot, which is full of water, it creates some beautiful design. However, the fall down of a water drop into the pot and merge into t is so fast that we simply ignore the issue. Believe me it creates so beautiful moments that you will be mesmerized when you edit it in your computer.
Let us start WDP with “Where” word. Where you put the tumbler or pot, camera etc.?
I click the pictures without flash, so adequate light is required. Choose a place like Verandah, passage full of light and so on. Wall behind the pot is a good idea.
Now WDP comes with “What” word.
Requirements for water drop photography
Here is the checklist for your ready help to capture the moments of water drop.
- A tumbler or pot with 6-8 inches diameter. But be careful about the edge. Do not choose folded edge pot. It should be sharp one. The sharp edge holds the water firmly rather than folded one.
- A mug
- Water
- Milk [optional]
- 2 table spoon full flour
- Water color [optional]
- A plastic carry bag or dropper
- A stool
- A light color A4 sheet like sky, blue, cyan, light green etc.
- Both side tape
- A tripod
- A pen or pencil
- A DSLR camera
Now the word “How” is very much important to click WDP.
An assistant like Biyas (my daughter) is very much helpful for your WDP.
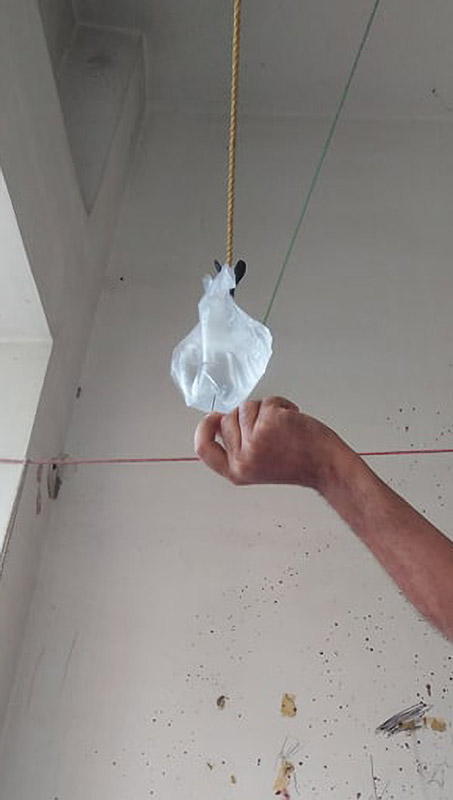
Pour color water or normal water in the plastic carry bag. Hand the carry bag against a rope. For Indian environment, you can find so many ropes or nylon wires are available in veranda or roof top for drying the clothes. (Important note: take the permission from your mother, sister, daughter, or wife that you use the rope. Otherwise, if any accident occurs, I am not responsible. :)
Place the carry bag in angular way so that it drops the water perfectly. Place the pot just below the carry bag. Now take a pin (safety pin-small one) and push it in the carry bag. Do not pinch it on the angular section of the carry bag. Push the pin just beside the angle. So the water come out and touch the outer part of the carry bag and finish its journey at the angular point of the carry bag. Now as per gravitational force, the water drop ready to fall into the pot.
Arrange two table spoon full of flour (take permission from your mother, sister, daughter or wife. I am not responsible for home front war :) and mix it into the water. It will not mix. Just stir vigorously in the water and then filter flour mixed water using a cloth. Now add 400-500ml. (optional) in the water.
Place the pot in a stool in such a position so that the water drop will be falling at the centre of it.
Ask your assistant to place a ballpoint pen on the pot where the water is dropping and you focus manually.
Technical part of the D-SLR camera for water drop photography:
a) Focus: manual
b) Aperture: f/8 or f/11 based on light condition.
c) Shutter speed: 1/250 or 1/310 or 1/400 based on light condition.
d) ISO: start with ISO 200 or 400. Check the histogram after clicking some trial shots.
You can go for hand held shot or use a tripod. As per my observation, use kit lens like 15-55mm or like that and tilt upside down (as if a tall man is seeing a child). Set the focal length in such a way that lens cover the minimum diameter of the pot. Leave more head space so that you can easily capture the dancing water drops.
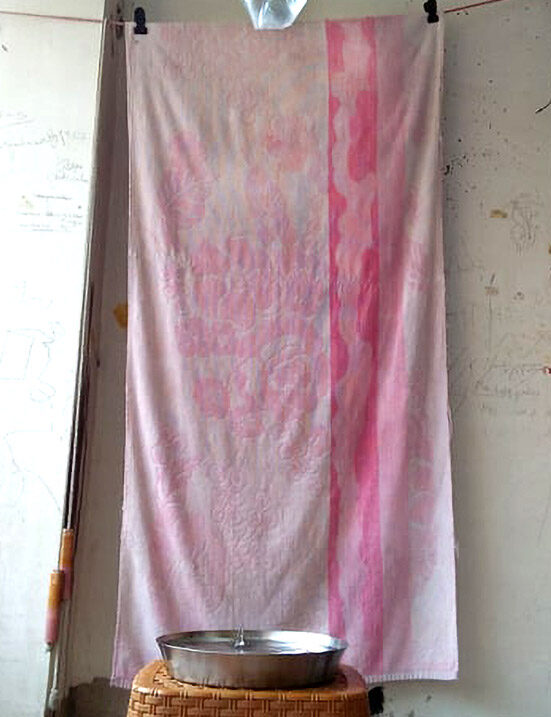
Put the A4 sheet just behind the pot affixing with both side tape. But create a distance between pot and A4 sheet which is treated as background. Measure it properly before placing the A4 sheet. If the sprinkle of water touches the A4 sheet, it will create some spots in the background. Try to refrain it and maintain a safe distance between pot and the A4 sheet. [I put some clicks where you can find the sprinkle of water’s spot in the background.] Otherwise, you have to work hard to remove the sprinkles of water from background in Photoshop or other editing software.
So, you are ready for some awesome clicks and capture the most fascinating water droplet moments.
Tips:
a) Click single shot mode
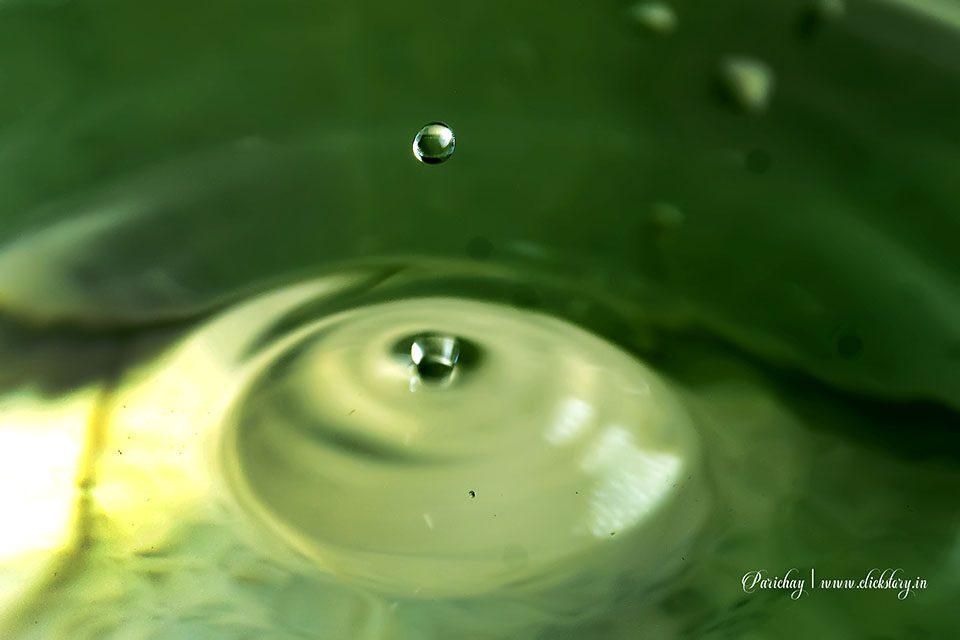
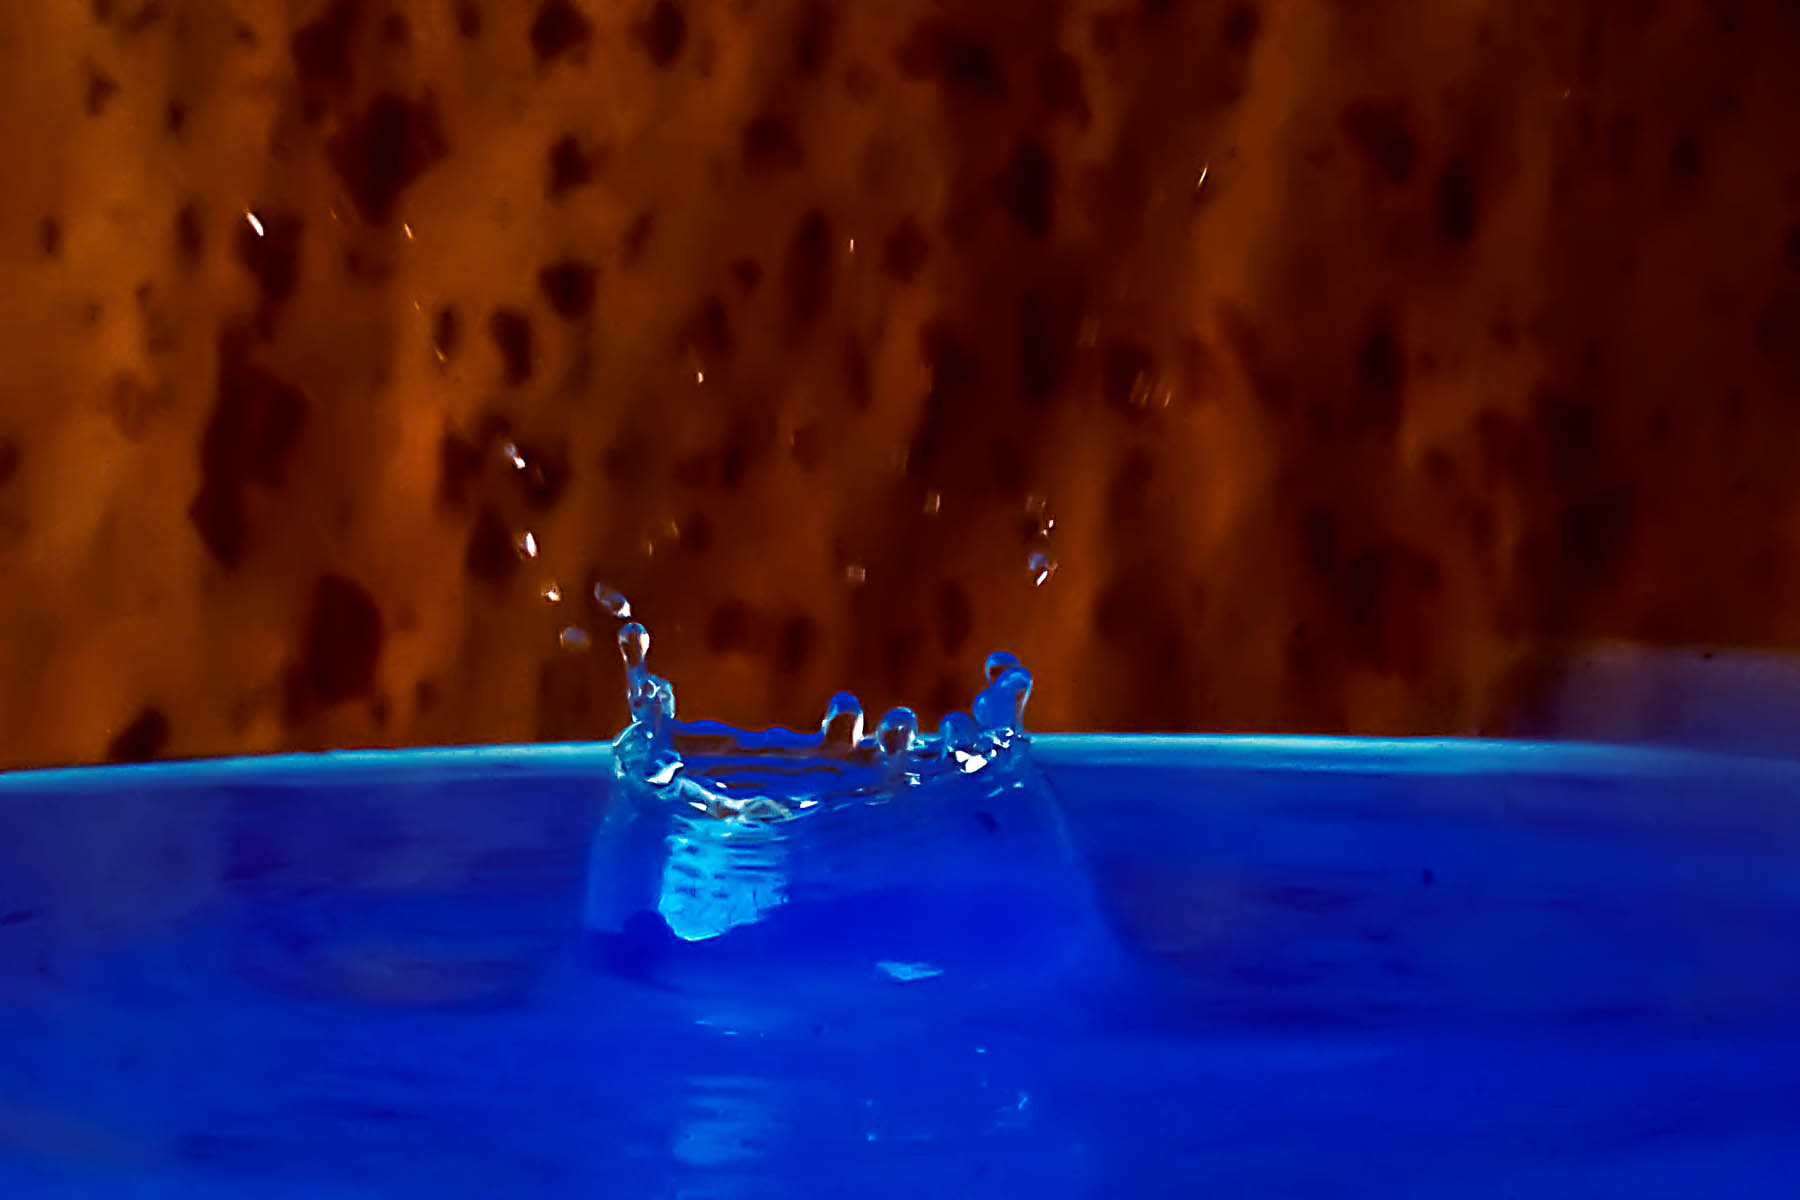
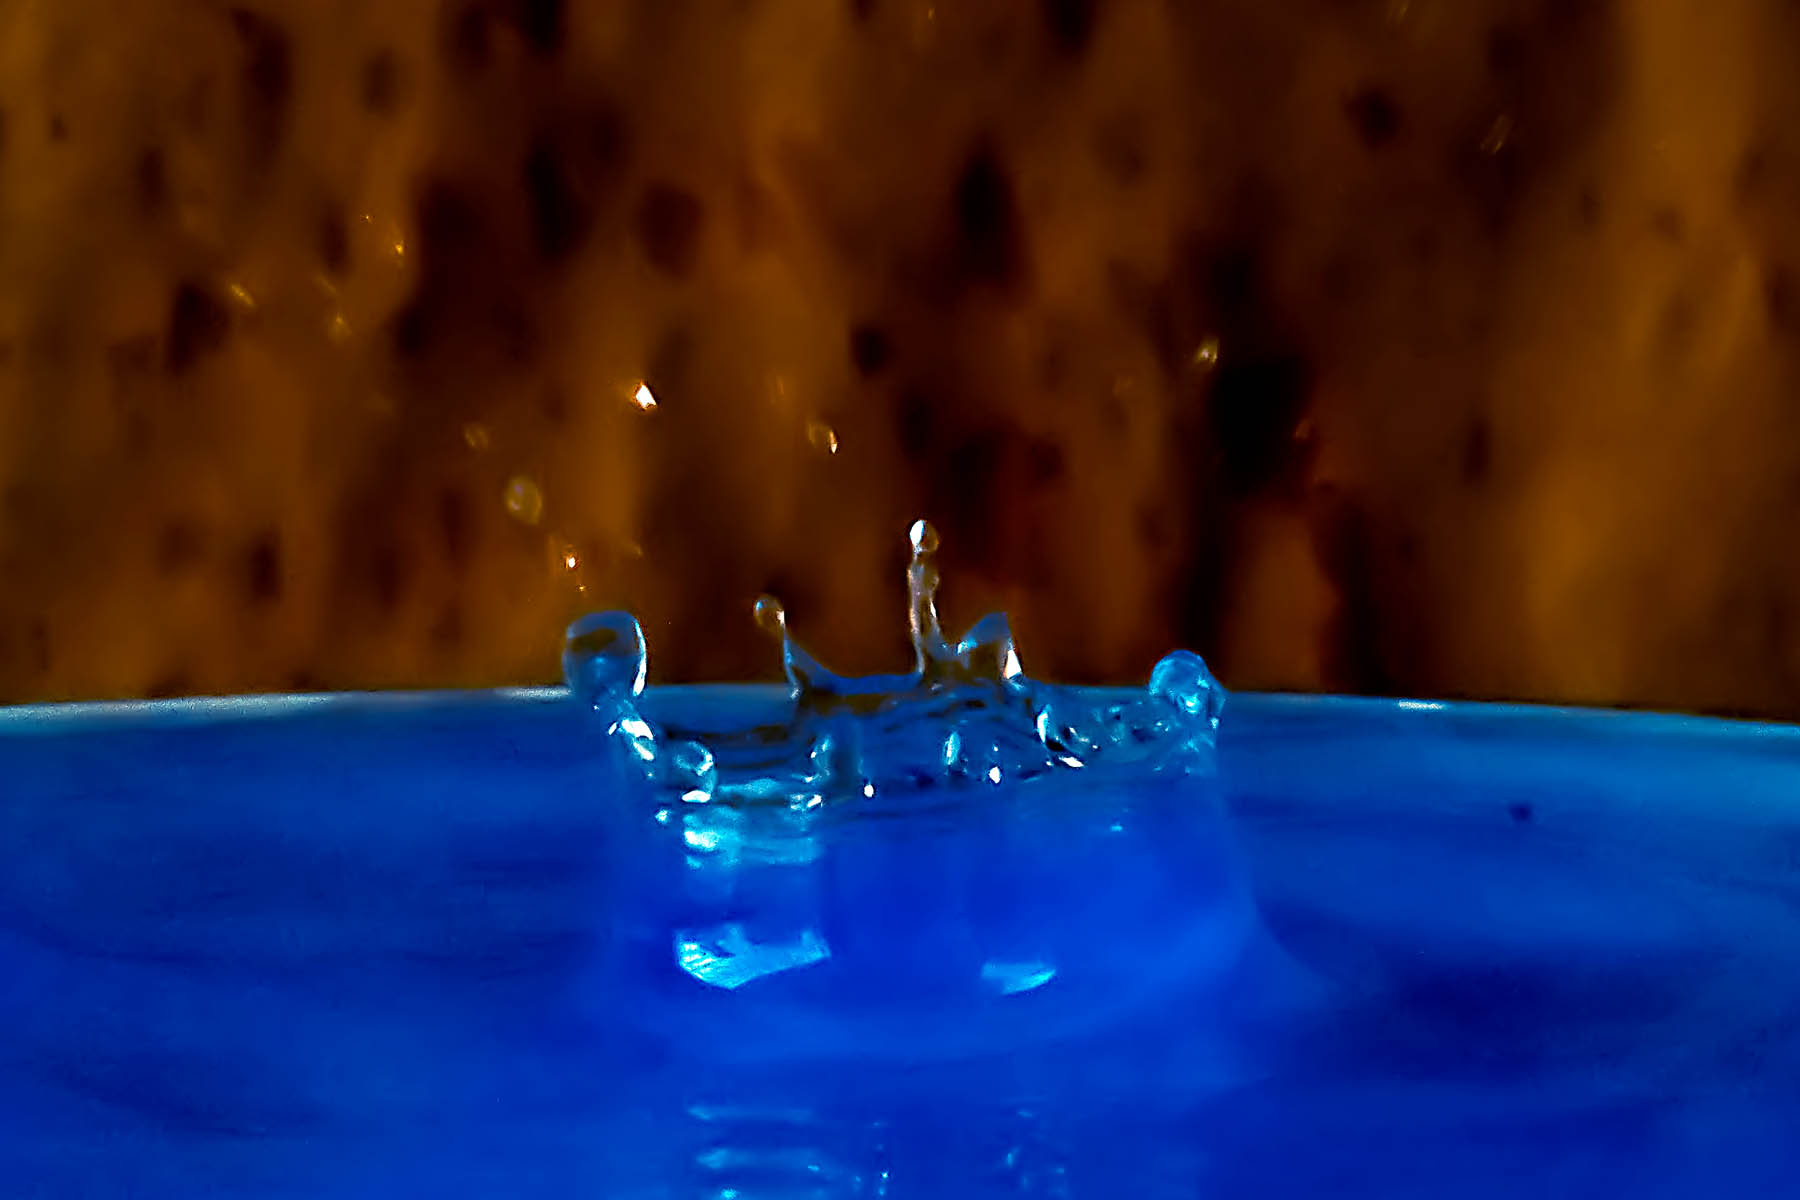
b) Click when the water drop touch the pot water.
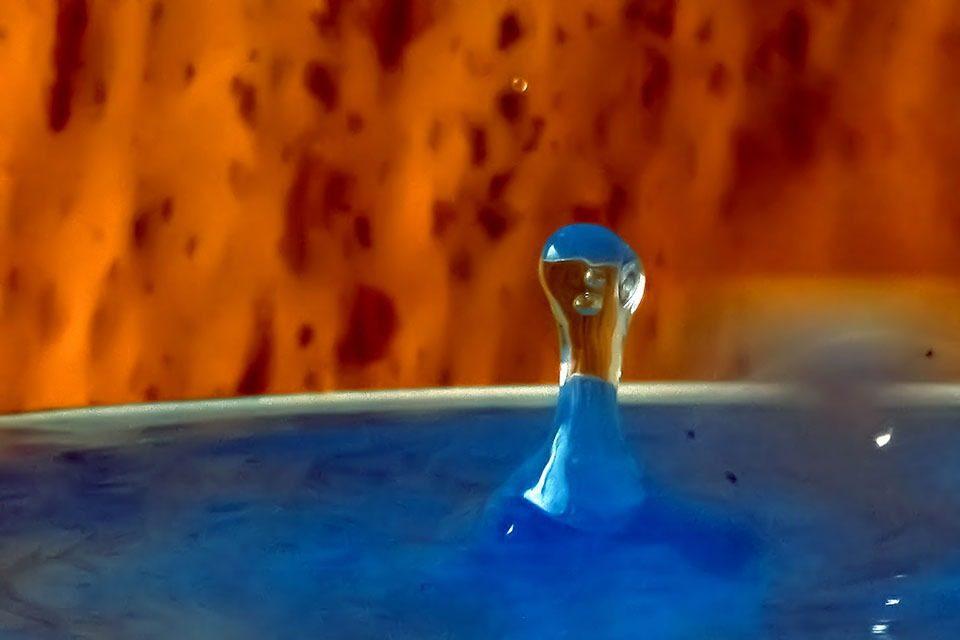
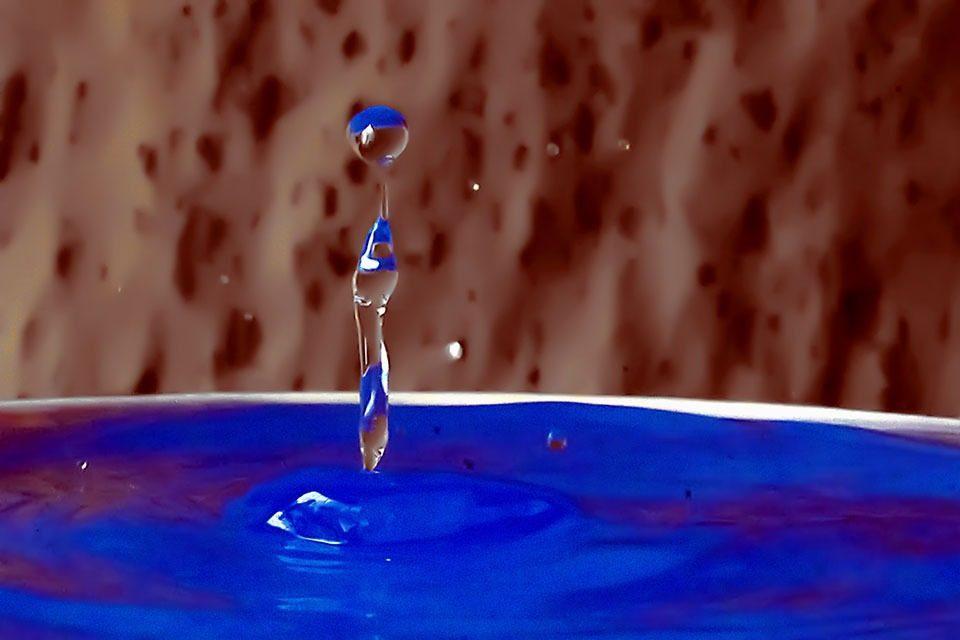
c) Click when it revert back from the pot
d) Click when it goes maximum length after revert.
Click as much as you can until and unless you are satisfied. Store your picture files in your computer and choose the best shots for editing in Photoshop or other editing software.
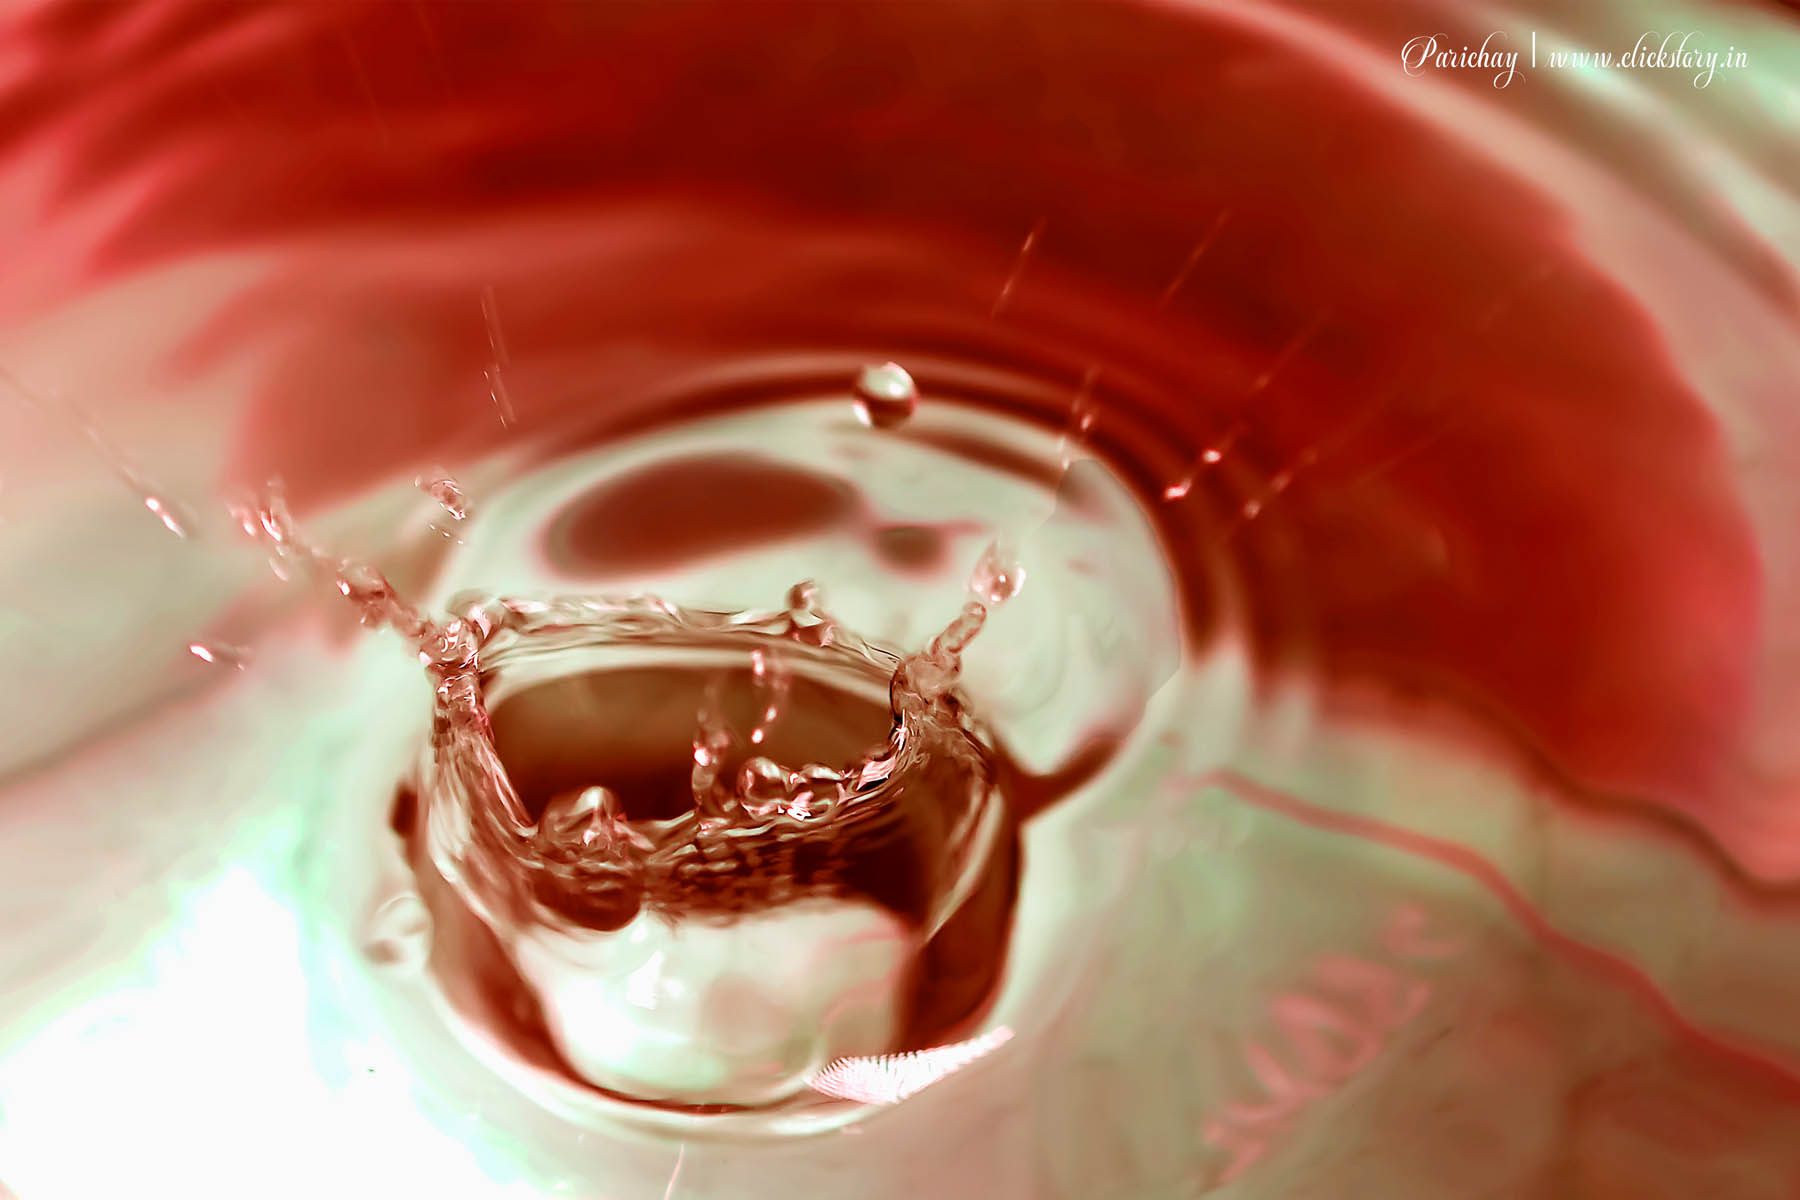
If you do not use any color in the pot or water in the carry bag, use color adjustment tool in your photo editor.


All the very best for your water droplet photography journey. Clickstory is waiting to see your awesome captures.


khub darkari ekti tutorial
Sir thank you for this awesome tutorial.
it helps me a lot. thank you
Thanks for the tutorial
Overwhelmed. Good initiative
This tutorial helps me a lot.
Great tutorial
Baba daruuuun hoyeche. ami katto assist korechi bolo.
lovely tutorial