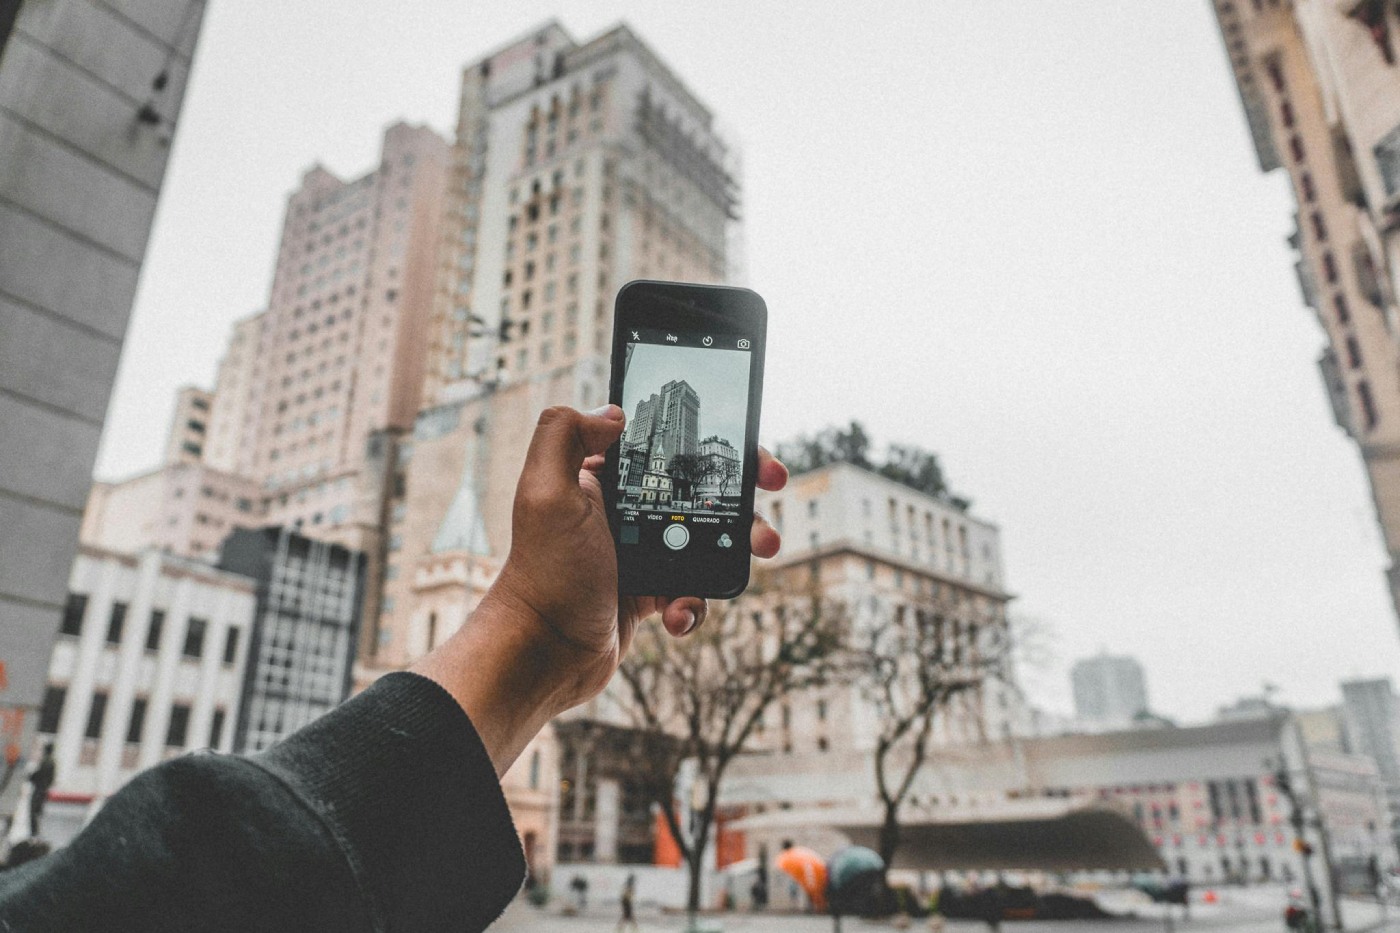
Vertical photography is now one of the most important skills for social media success. Most people use platforms like Instagram, Facebook and Pinterest on their mobile phones, and phones are naturally held in a vertical position. Because of this, photos that are shot vertically look bigger, clearer, and more engaging on screens.
Whether you are a beginner using a smartphone or a professional using a DSLR, understanding vertical photography helps your images get more views, likes, saves, and shares. Here we will learn vertical photography with clear examples, so it is easy to apply in real life.
What Is Vertical Photography?
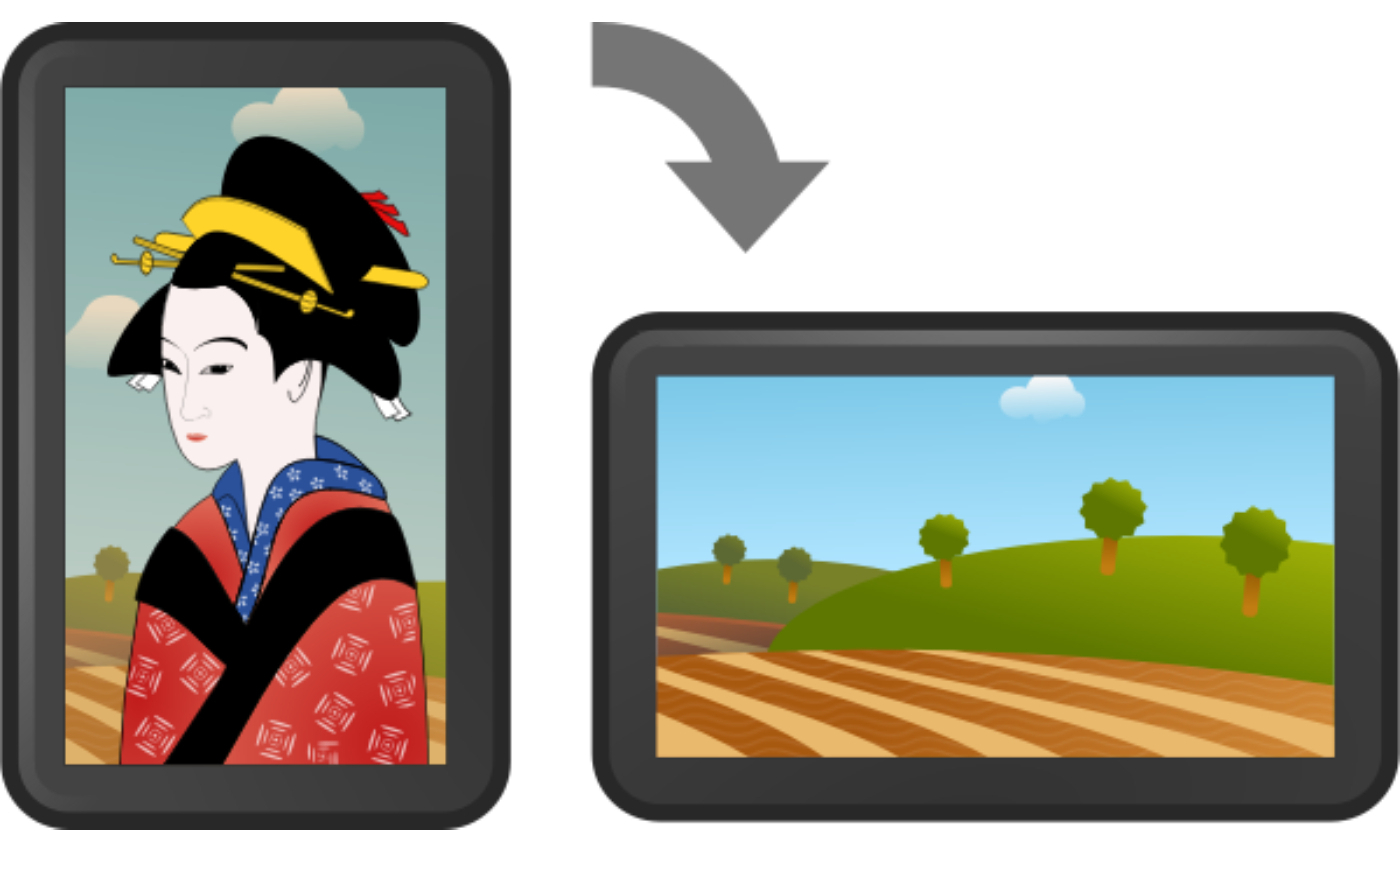
Vertical photography means taking photos in portrait orientation, where the image is taller than it is wide. This format matches how people naturally view content on their phones.
Common Vertical Ratios
- 4:5 – Best for Instagram feed posts
- 9:16 – Stories, Reels, and Shorts
- 2:3 – Standard portrait photos from cameras
Example
If you post a horizontal photo on Instagram, it appears smaller and leaves empty space. A vertical photo fills more of the screen, making your subject stand out instantly.
Why Vertical Photography Is Important for Social Media
1. Vertical Photos Get More Attention
Vertical photos take up more screen space, which makes them harder to ignore while scrolling. When a photo looks bigger, people naturally stop and look longer.
Example:
A restaurant posts two food photos:
- Horizontal photo → Looks small, fewer likes
- Vertical close-up photo → Looks rich and detailed, more saves and comments
2. Mobile-Friendly Design Boosts Engagement
Social media platforms are designed for mobile users. Vertical photography fits perfectly into this design, making your content feel natural and professional.
Example:
Instagram feed images in a 4:5 ratio appear larger than square images, which often leads to higher engagement without changing the content itself.
3. Better Visual Storytelling
Vertical photography guides the viewer’s eyes from top to bottom, which is ideal for storytelling and emotional connection.
Example:
A travel photographer captures:
- Sky at the top
- Mountains in the middle
- A person standing at the bottom
This layout creates depth and helps viewers feel like they are inside the scene.
Vertical Photography Tips for Beginners
1. Leave Extra Space While Shooting
When shooting vertically, beginners often stand too close and cut off important parts of the subject. Stepping back slightly gives you more flexibility.
Example:
For portraits:
- Leave space above the head
- Include hands or body movement
- Avoid cutting at joints like elbows or knees
2. Keep Backgrounds Simple
In vertical photography, backgrounds become more visible. A clean background keeps the focus on your subject.
Example:
- Plain wall or sky → Clean and professional
- Crowded street or messy room → Distracting
3. Use Natural Vertical Lines
Vertical lines strengthen the composition and naturally fit the portrait format.
Examples:
- Tall buildings
- Trees
- Staircases
- Roads or pathways
These lines help guide the viewer’s eyes through the image.
Vertical Photography for Instagram and Pinterest
Instagram Vertical Photography
- Feed posts perform best at 4:5
- Stories and Reels perform best at 9:16
Example:
A fashion creator shares an outfit:
- Vertical image shows the full outfit clearly
- Horizontal image cuts off shoes or styling details
Vertical photos help showcase details that matter.

Pinterest Vertical Photography
Pinterest strongly favors tall images because they occupy more feed space and attract more clicks.
Example:
A wedding photographer posts:
- Vertical image → More saves and inquiries
- Horizontal image → Less visibility
Vertical Photography Tips for Professional Photographers
1. Plan for Vertical Cropping
Even when shooting with professional cameras, plan your framing so images can be cropped vertically later.
Example:
An event photographer shoots wide but keeps the main subject centered, making it easy to reuse the image for social media without losing important details.
2. Think About the Platform Before Shooting
Before clicking the shutter, ask:
- Where will this photo be posted?
- Is it for feed posts or stories?
- Is it for a brand campaign or personal content?
Planning saves editing time and improves results.
3. Combine Vertical Photos With Motion
Vertical photography works well alongside short vertical videos, creating a consistent visual style.
Example:
A brand shoot includes:
- Vertical photos for Instagram posts
- Short vertical clips for Stories
This approach increases content value without extra shoots.
Common Vertical Photography Mistakes to Avoid
- Shooting only horizontal photos → X
- Cropping too tightly → X
- Ignoring background details → X
- Using the wrong aspect ratio → X
Avoiding these mistakes instantly improves photo quality.
Conclusion
Vertical photography is no longer optional — it is essential for modern social media photography.
- Beginners can improve engagement with simple phone techniques
- Professionals can increase reach, visibility, and client interest
- Social platforms reward content designed for mobile viewing
If you want your photos to perform better online, start thinking vertically before you press the shutter.
Frequently Asked Questions (FAQs)
1. What is vertical photography?
Vertical photography is a style of photography where images are taken in portrait orientation (height is greater than width). It is commonly used for vertical photography for social media, especially on mobile devices like smartphones.
5. Can beginners use vertical photography with smartphones?
Yes, vertical photography for beginners is easy with smartphones. Phone cameras are designed for vertical shooting, making them perfect for creating mobile photography for social media.
6. Is vertical photography useful for professional photographers?
Absolutely. Professional photographers using DSLR or mirrorless cameras often shoot vertical images for social media marketing photography and brand promotion.
7. What are the benefits of vertical photography for mobile users?
Vertical photography offers better visibility, improved clarity, and a more immersive experience for mobile-first audiences, making it ideal for modern content consumption.


Very useful & informative. Thank you so much for your tips.