Silhouette photography is one of the most powerful visual tools. It strips an image down to its essentials—shape, form, and emotion—allowing the subject to speak without details, colors, or textures.
Unlike many photographic techniques that depend on gear or settings, silhouette photography is about seeing light differently. It applies to every genre of photography, from portraits and street photography to wildlife, landscapes, and even product photography.

What Is a Silhouette in Photography?
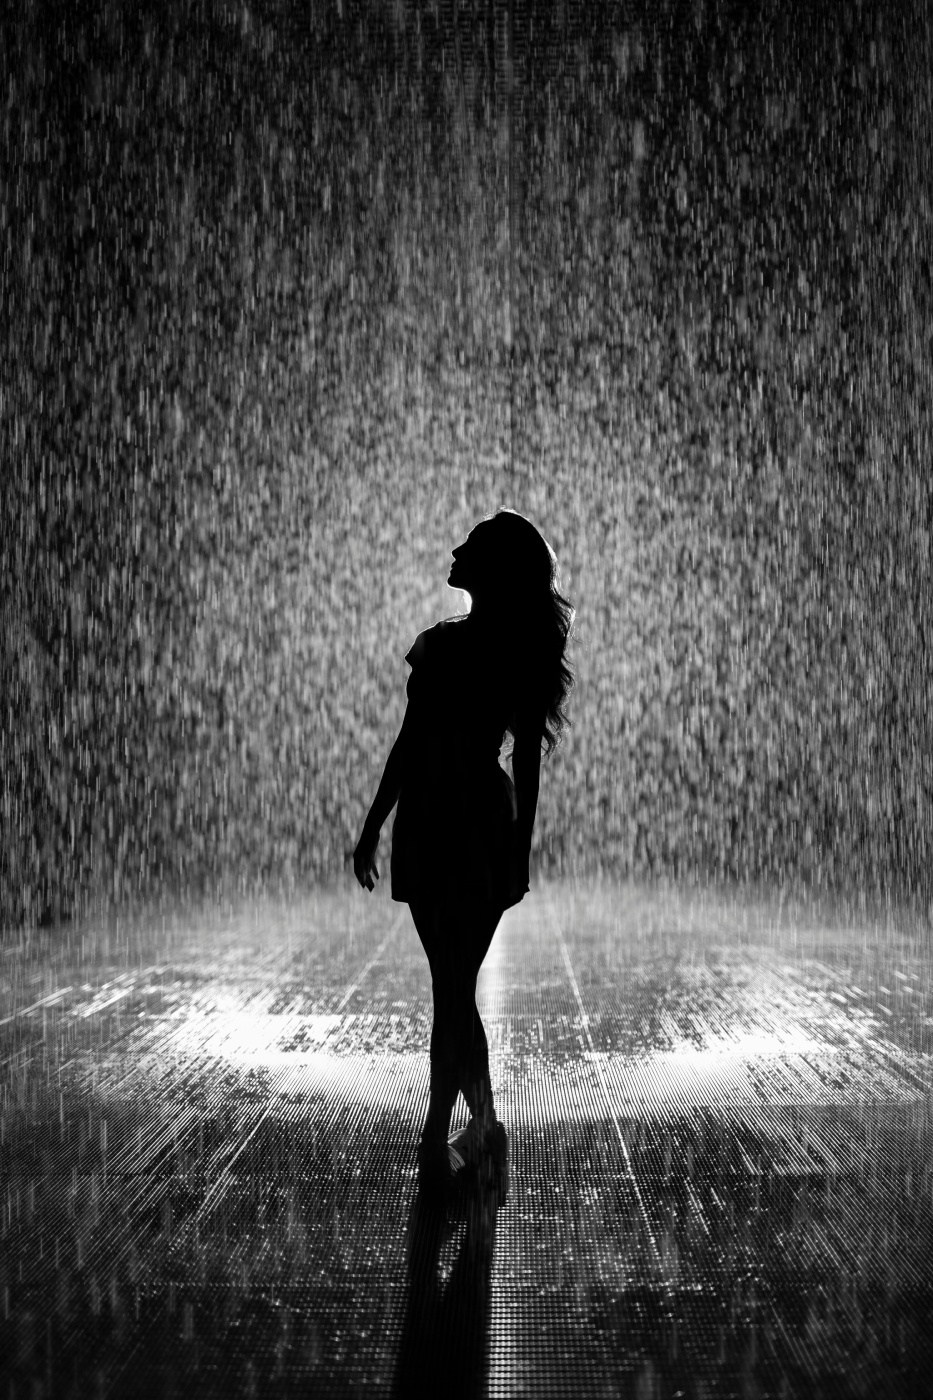
A silhouette occurs when the subject appears as a dark shape against a brighter background, with little or no visible detail.
In silhouette photography:
- The subject is underexposed
- The background is correctly or overexposed
- The focus is on shape and outline, not texture
A successful silhouette is instantly recognizable—even without details.
Why Silhouette Photography Is So Powerful
Silhouettes work because they:
- Create strong visual contrast
- Simplify complex scenes
- Emphasize emotion and storytelling
- Encourage viewer interpretation
- Work across cultures and contexts
By removing details, silhouettes invite the viewer to focus on form, gesture, and mood rather than surface-level information.
Core Principles of Silhouette Photography
1. Light Direction Is Everything
Silhouettes rely on backlighting.
Common light sources:
- Sun (sunrise or sunset)
- Windows
- Artificial lights
- Streetlights
- Studio backlights
If light hits the subject from the front, a silhouette will not form.
2. Exposure Control
To create a silhouette:
- Expose for the background, not the subject
- Use spot metering on the brightest area
- Let the subject fall into shadow
Manual mode gives the most control, but silhouettes can also be achieved in aperture or shutter priority modes.
3. Strong, Clear Shapes
Silhouettes depend on shape clarity.
Good silhouette subjects:
- Human figures with distinct poses
- Trees with recognizable forms
- Animals in profile
- Architectural structures
- Everyday objects with unique outlines
If the outline is confusing, the silhouette will fail.

How to Create Silhouettes: Step-by-Step
Step 1: Find or Create Backlight
Position yourself so the light source is behind the subject.
Examples:
- Person standing in front of a sunset
- Bird flying against a bright sky
- Object placed near a window
Step 2: Simplify the Background
Clutter ruins silhouettes.
Look for:
- Clean skies
- Plain walls
- Even light gradients
Move your position slightly to remove distractions.
Step 3: Adjust Exposure
- Lower exposure until subject turns dark
- Watch the histogram to avoid blowing highlights too much
- Slight underexposure often works best
Step 4: Focus on Edges
Sharp edges matter more than textures.
Ensure:
- Clear separation between subject and background
- No overlapping shapes unless intentional
Silhouette Across Different Photography Genres
Portrait Photography
Silhouettes emphasize:
- Body language
- Emotion
- Connection
Example:
A person standing near a window with light pouring in from behind.
Street Photography
Silhouettes add:
- Mystery
- Graphic composition
- Timeless quality
Example:
A passerby crossing a sunlit alleyway.
Wildlife Photography
Silhouettes highlight:
- Animal behavior
- Movement
- Natural form
Example:
Birds flying against a colorful evening sky.
Landscape Photography
Silhouettes create:
- Scale
- Depth
- Drama
Example:
Mountains or trees against sunrise light.
Architectural Photography
Silhouettes emphasize:
- Geometry
- Lines
- Symmetry
Example:
Buildings or bridges against the sky.
Conceptual & Fine Art Photography
Silhouettes allow:
- Symbolism
- Abstract storytelling
- Emotional interpretation
Example:
A single figure standing in fog or strong backlight.
Product & Still Life Photography
Silhouettes focus on:
- Shape recognition
- Brand identity
- Minimalism
Example:
A bottle or gadget photographed against a light background.

Do’s of Silhouette Photography
✔ Do use strong, recognizable subjects
✔ Do shoot during golden hour or backlit conditions
✔ Do simplify the frame
✔ Do experiment with angles and poses
✔ Do use negative space intentionally
Don’ts of Silhouette Photography
✖ Don’t rely on color or texture
✖ Don’t clutter the background
✖ Don’t underexpose everything indiscriminately
✖ Don’t let subjects merge into each other
✖ Don’t over-edit shadows unless stylistically intended
Common Silhouette Photography Mistakes
- Choosing subjects with weak outlines
- Poor separation from background
- Overexposing highlights excessively
- Forgetting storytelling and intent
- Treating silhouette as a technical trick instead of a visual language
Advanced Silhouette Techniques
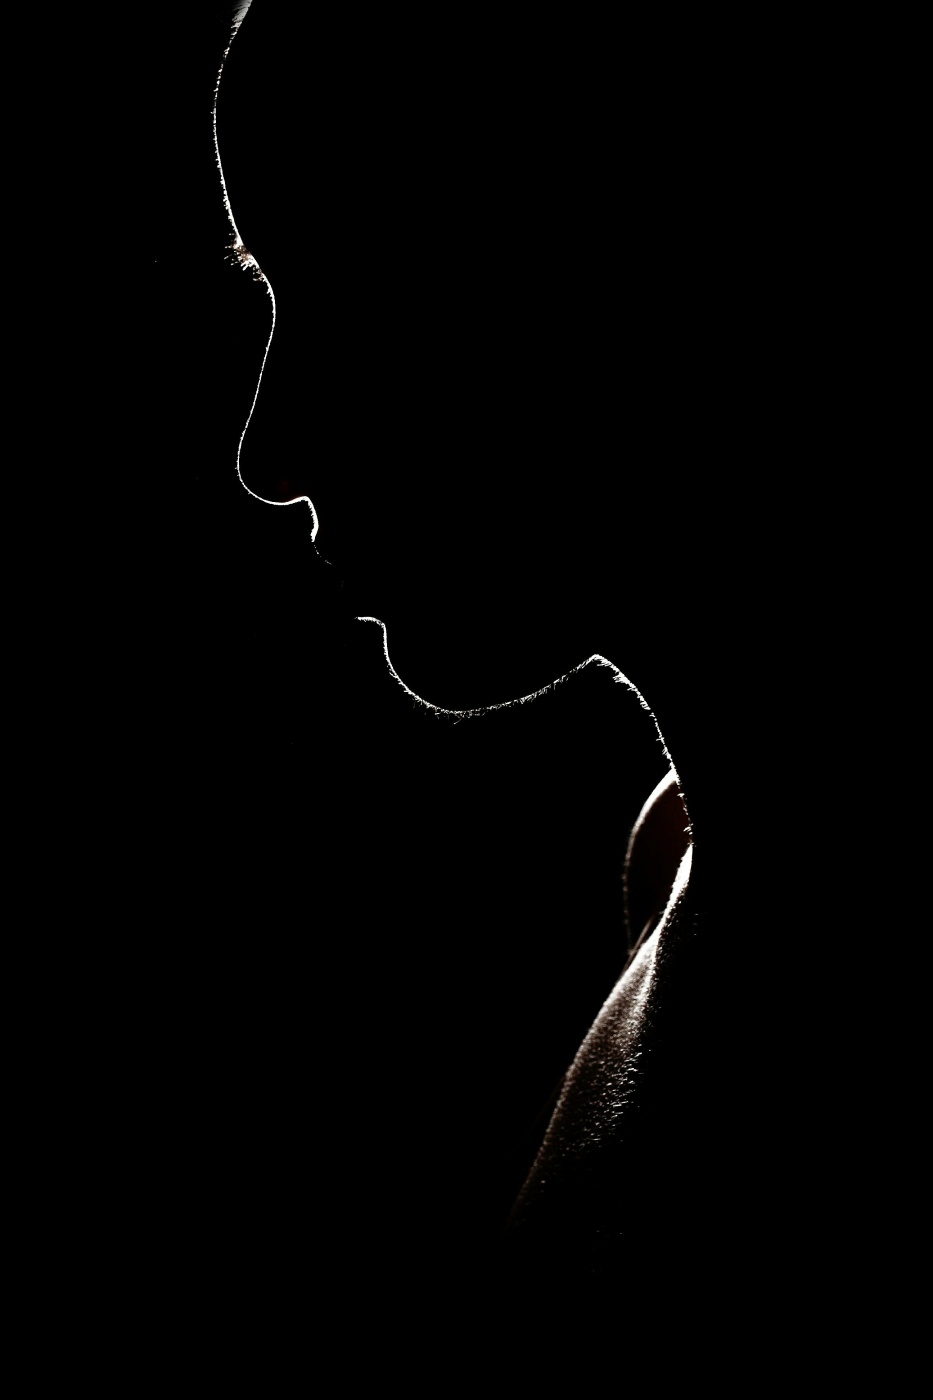
Partial Silhouettes
Let some details remain visible for depth and context.
Layered Silhouettes
Multiple subjects at different distances create visual interest.
Motion Silhouettes
Use movement to add energy, especially in street or wildlife photography.
When Silhouette Photography Works Best
Silhouettes are most effective when:
- Emotion matters more than detail
- The shape tells a story on its own
- Simplicity strengthens the message
They are not ideal when:
- Detail is the main subject
- Texture or color is critical
Final Thoughts: Silhouette as a Universal Visual Language
Silhouette photography is not limited to any single genre. It is a foundational visual concept that works wherever light, form, and storytelling intersect.
Once you learn to see silhouettes, you start seeing photographic opportunities everywhere—from everyday objects to dramatic natural scenes.
In photography, sometimes what you hide speaks louder than what you show.

