What Is Soft Focus Photography?
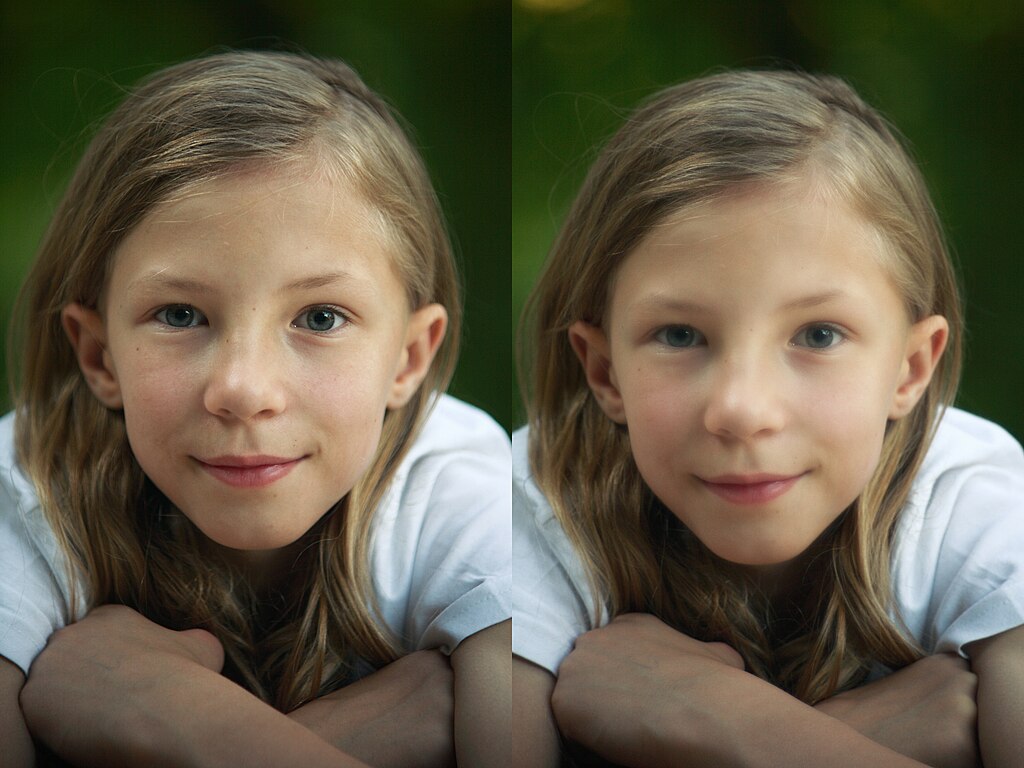
Soft focus photography is a style where photos look slightly blurry or dreamy. It’s not the same as an out-of-focus photo. In soft focus, the image still has clear shapes, but with a gentle blur that makes it look smooth and romantic. This effect is often used in portraits, weddings, and fine art photography.
Photographers use soft focus to create a magical or nostalgic feeling. It softens harsh lines and reduces skin imperfections, making people look more flattering in pictures.
How Is Soft Focus Achieved?
There are many ways to create a soft focus effect in photography. Here are the most common methods:
1. Using a Soft Focus Lens
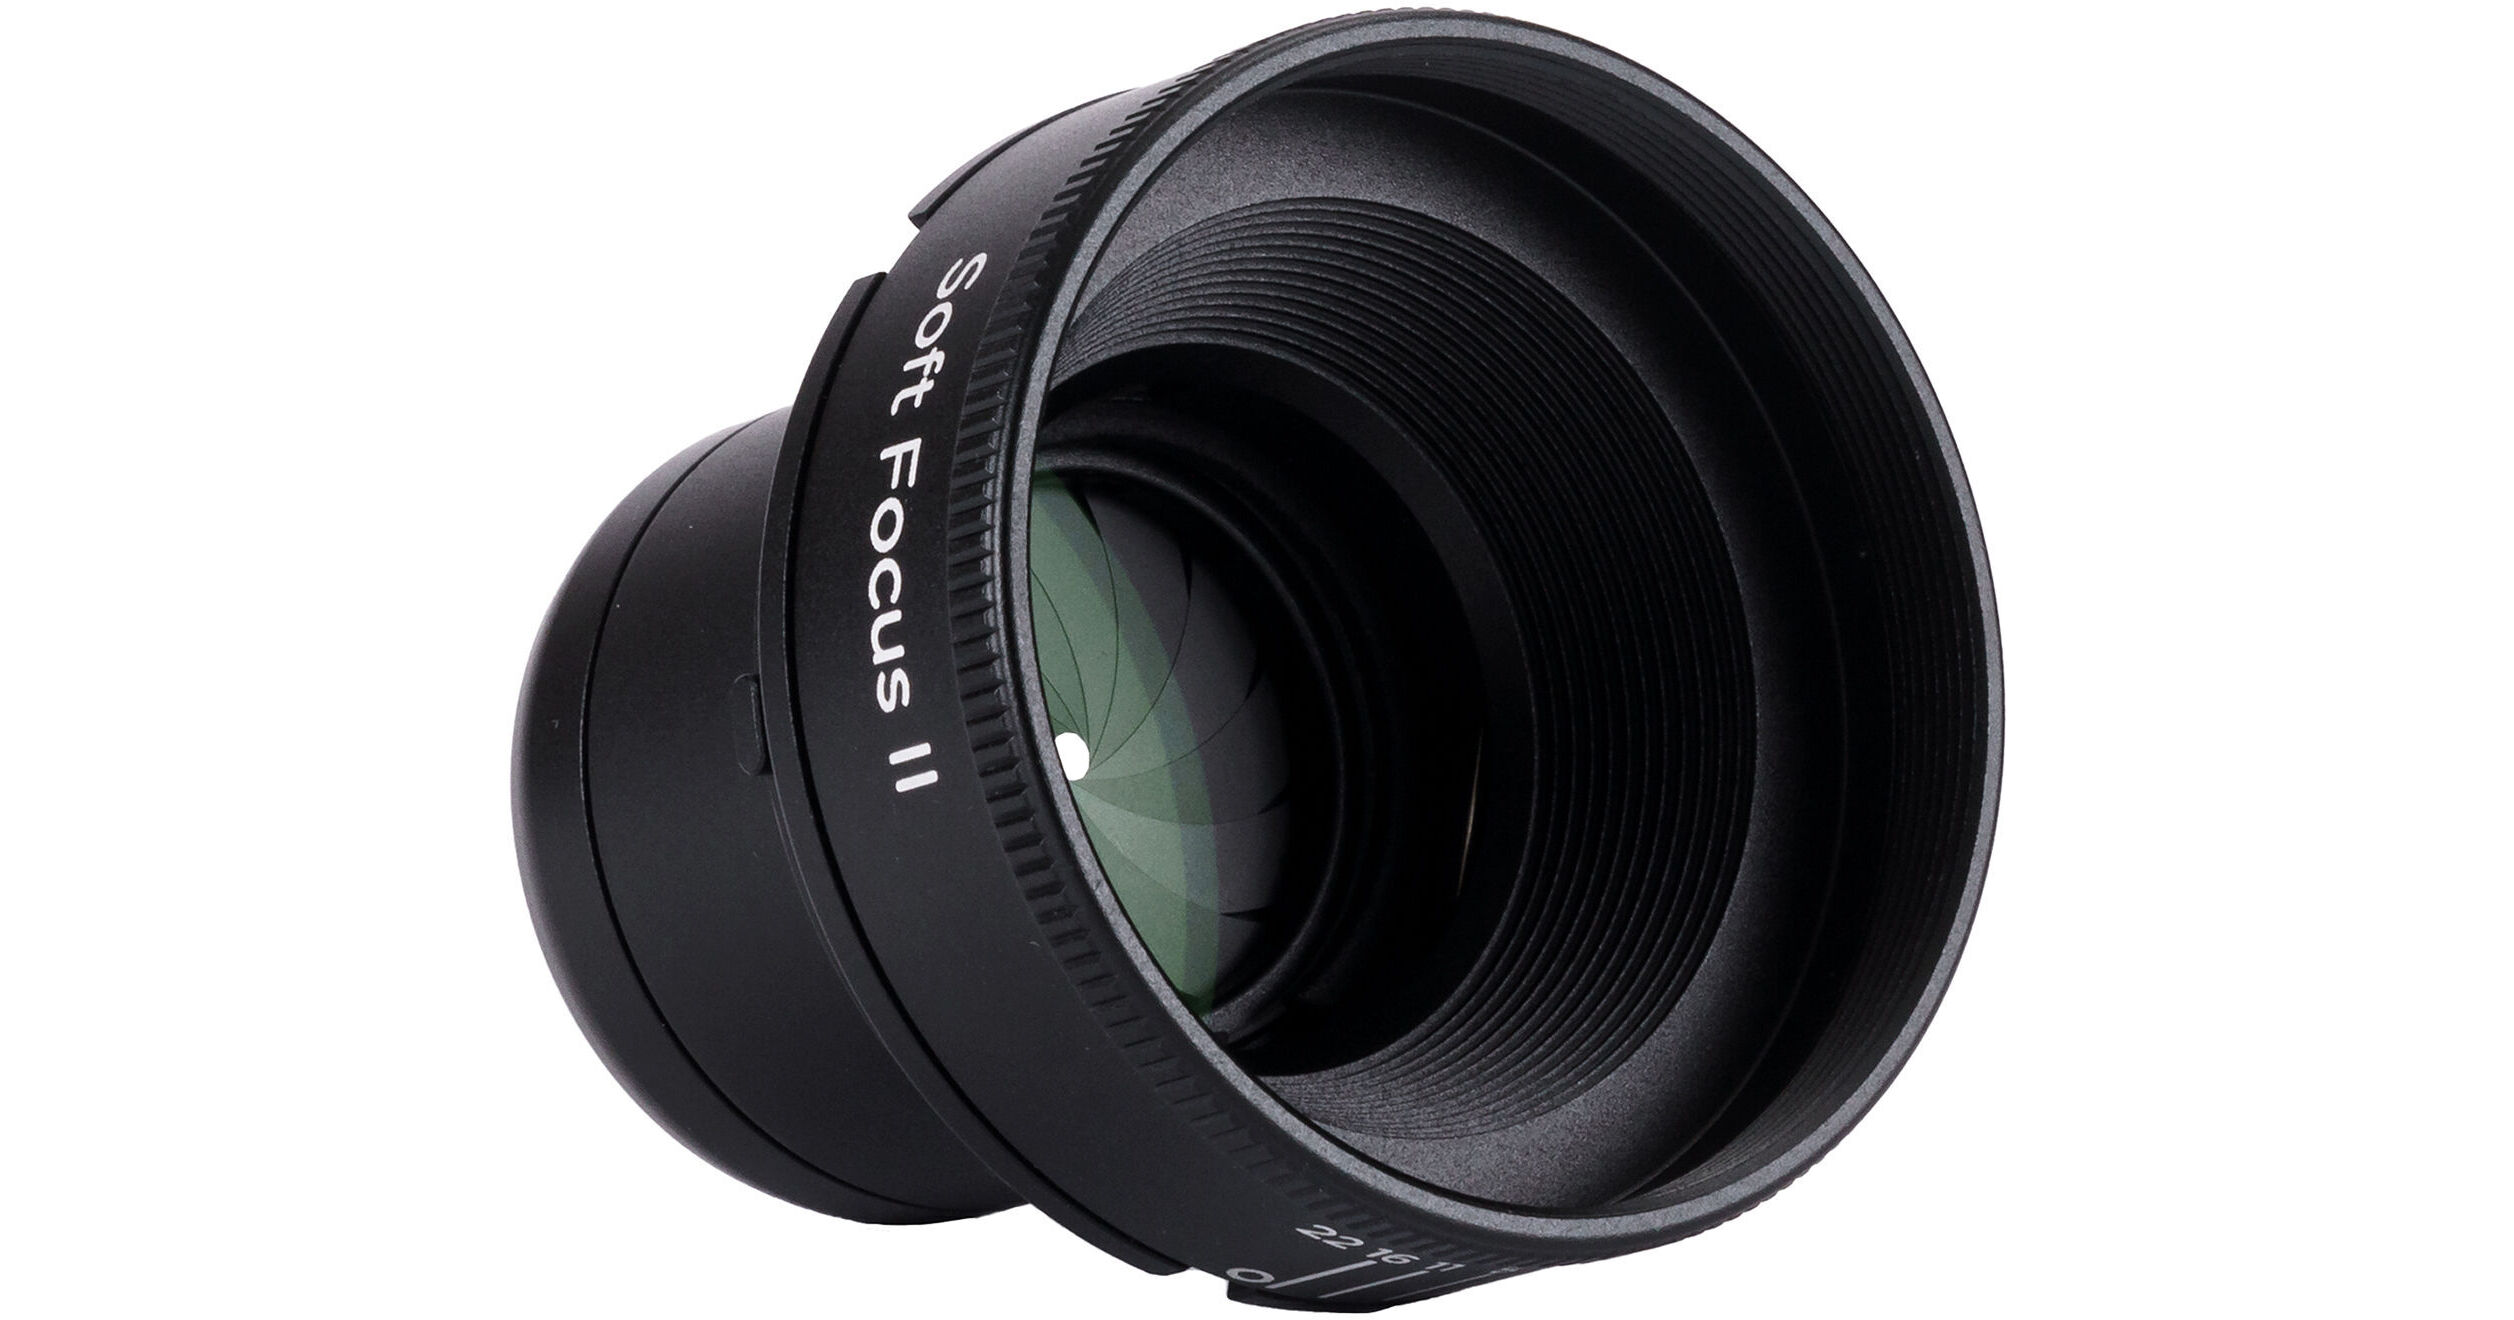
Some camera lenses are made especially for soft focus photography. These lenses are designed to slightly blur the image while keeping the subject visible and dreamy.
2. Using Filters
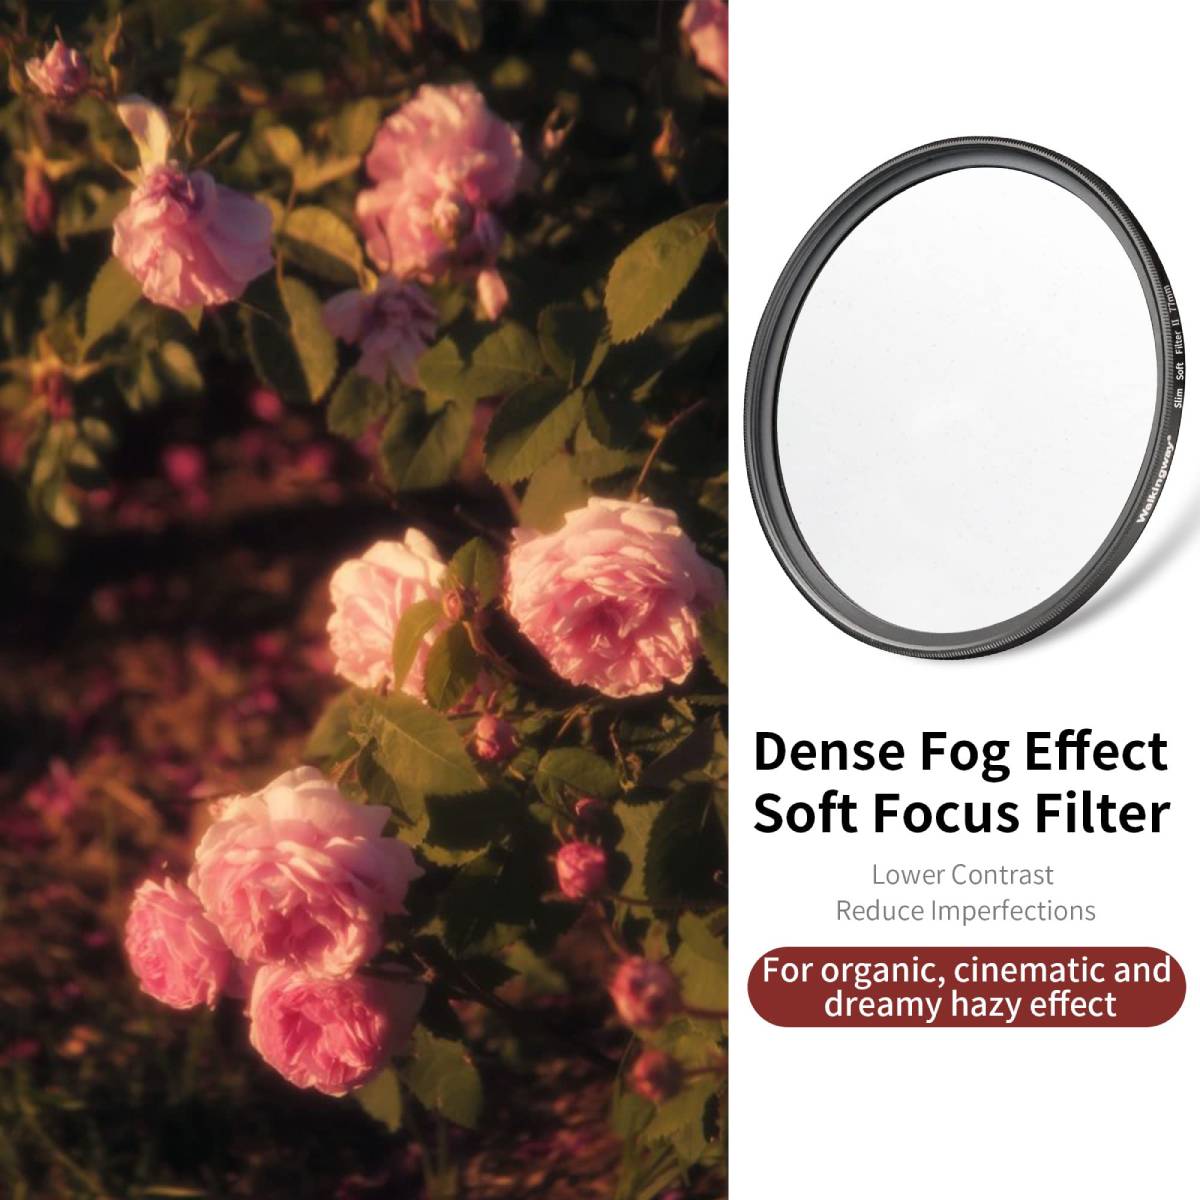
You can use a soft focus filter on your camera lens. These filters gently scatter light and create a glow around highlights. They are easy to use and work on most cameras.
3. DIY Techniques
You can also make your own soft focus effect at home! For example:
- Stretch a thin stocking over the lens.
- Rub a little petroleum jelly on a clear filter (not directly on your lens).
- Use clear plastic or cling wrap.
4. Editing Software
Programs like Adobe Photoshop or Lightroom can help you add a soft focus effect. You can blur certain parts of the image or lower the contrast to create that soft, dreamy look.
Why Use Soft Focus?
Soft focus is more than just a blur. It helps tell a story or create a mood. Here’s why photographers love it:
- Romantic Feel: Perfect for weddings and couple portraits.
- Timeless Look: Great for vintage or classic photography styles.
- Flattering for Portraits: Makes skin look smooth and hides small flaws.
- Artistic Style: Adds emotion and mood to creative photography.

When to Use Soft Focus
You can use soft focus in many types of photography, including:
- Portraits: To make faces look gentle and smooth.
- Nature and Flowers: To create a dreamy and peaceful scene.
- Weddings: To add romance and warmth to wedding photos.
- Fashion: To give a vintage or high-end feel.
Tips for Great Soft Focus Photos
- Use natural light: Soft light from windows or during golden hour works best.
- Avoid strong contrast: Too much contrast can ruin the soft effect.
- Focus on the eyes: In portraits, make sure the eyes are still sharp to keep attention.
- Keep it subtle: Don’t overdo the blur, or the photo might look out of focus.
Creating a soft focus effect can be done either in-camera using standard lenses or in post-production using software like Adobe Photoshop or Lightroom. Below is a detailed step-by-step guide for both approaches:

Part 1: Soft Focus with a Standard Lens (In-Camera)
Even without specialty lenses, you can create a soft focus look using creative techniques:
Step-by-Step (Camera Side)
- Use a Wide Aperture (Low f-number)
- Set your lens to a wide aperture (e.g., f/1.8 to f/2.8).
- This reduces depth of field, naturally blurring backgrounds and softening edges.
- Slightly Defocus the Image
- Manually turn the focus ring just a tiny bit off perfect focus.
- This adds subtle blur, but be gentle — too much will ruin the shot.
- Place a Diffusion Material on the Lens
- Use materials like:
- A sheer stocking or thin cloth over the lens (secured with a rubber band).
- A clear plastic wrap with petroleum jelly around the edges.
- Center of the lens should remain relatively clean for subject clarity.
- Use materials like:
- Shoot in Soft Light
- Use natural overcast light, or diffused studio light.
- Avoid harsh midday sun — soft focus thrives in gentle lighting.
- Use a Lens Filter (Optional)
- Try a soft focus or diffusion filter if you have one (like Tiffen Pro-Mist).
- These help bloom highlights and reduce sharpness slightly.
Part 2: Soft Focus in Post-Production (Photoshop)
Step-by-Step (Photoshop)
- Open Your Image
- Launch Adobe Photoshop.
- Load the high-res version of your photo.
- Duplicate the Background Layer
- Press Ctrl+J (Windows) or Cmd+J (Mac).
- You’ll now work on this duplicate to preserve the original.
- Apply Gaussian Blur
- Go to Filter > Blur > Gaussian Blur.
- Use a radius of 5–20 pixels, depending on resolution and softness desired.
- Click OK.
- Change the Blending Mode
- In the Layers panel, change the blurred layer’s blending mode to Soft Light or Overlay.
- This gives a glowing soft focus while keeping contrast.
- Adjust Layer Opacity
- Bring the opacity down to around 30–70% depending on how strong you want the effect.
- (Optional) Add Layer Mask
- Click the Layer Mask icon at the bottom of the Layers panel.
- Use a soft black brush to paint away blur on eyes, lips, or fine details to keep them sharp.
- Flatten and Export
- Once satisfied, go to Layer > Flatten Image.
- Save as JPEG or TIFF.
Lightroom Quick Alternative
- Import the image into Lightroom.
- Reduce Clarity and Texture sliders to soften fine details.
- Use a Radial Filter or Brush Tool to selectively soften areas.
- Add Glow via Dehaze (-) or Highlights (+) for dreamy bloom.
- Export when satisfied.
Tips for Best Results
- Keep skin tones natural — don’t over-blur.
- Preserve detail in eyes for portraits (sharp eyes = emotional impact).
- Use non-destructive editing (layers or virtual copies).
Conclusion
Soft focus photography is a beautiful way to add emotion, style, and softness to your photos. Whether you use a special lens, filter, or photo editing software, you can create stunning images that feel dreamy and timeless. It’s a simple technique, but when done well, it can turn an ordinary photo into something magical.