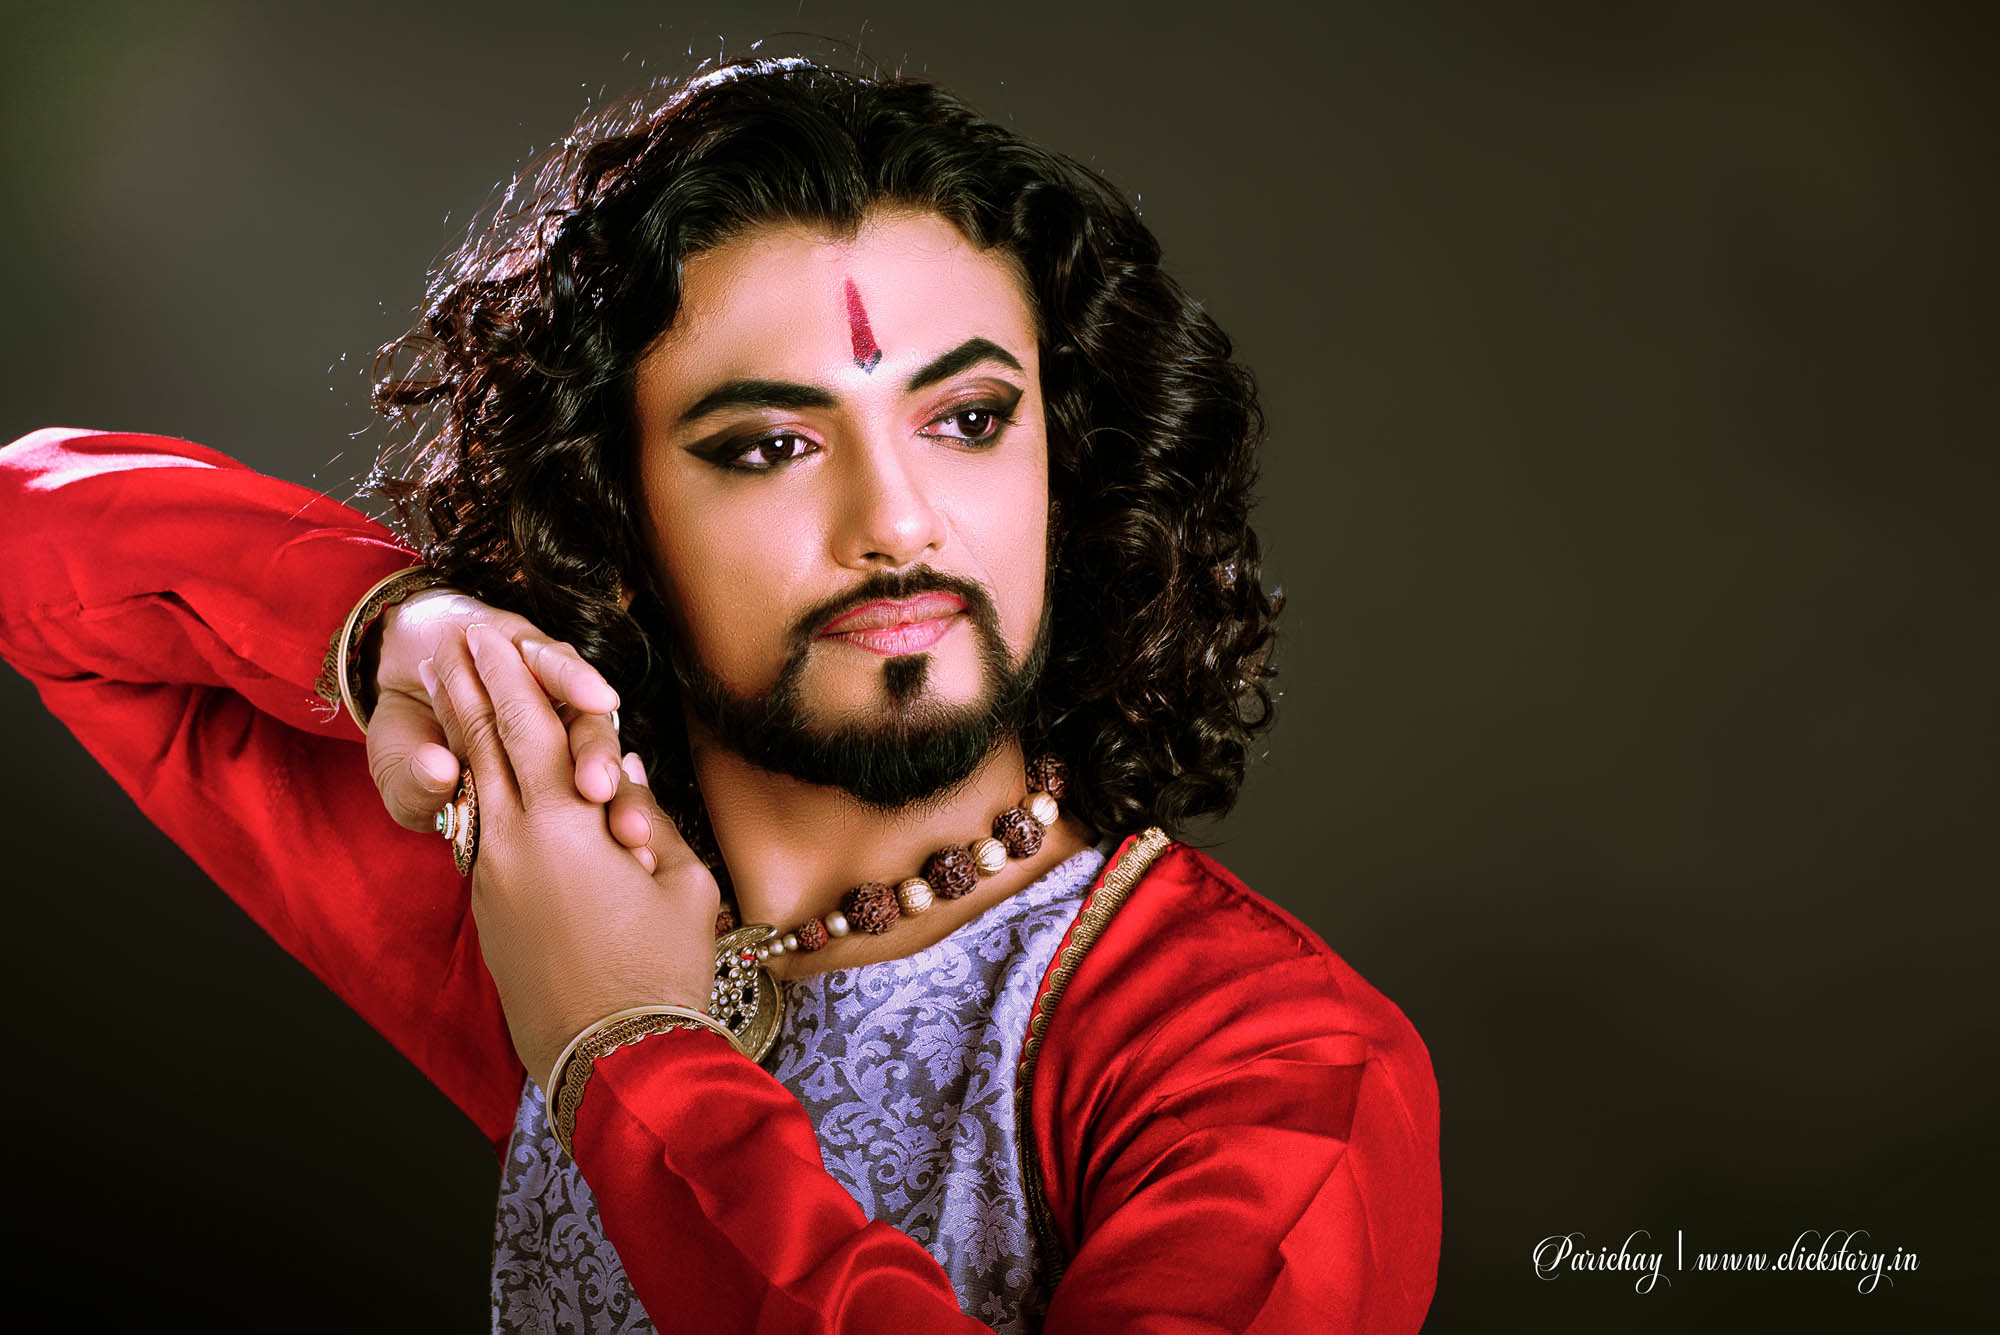
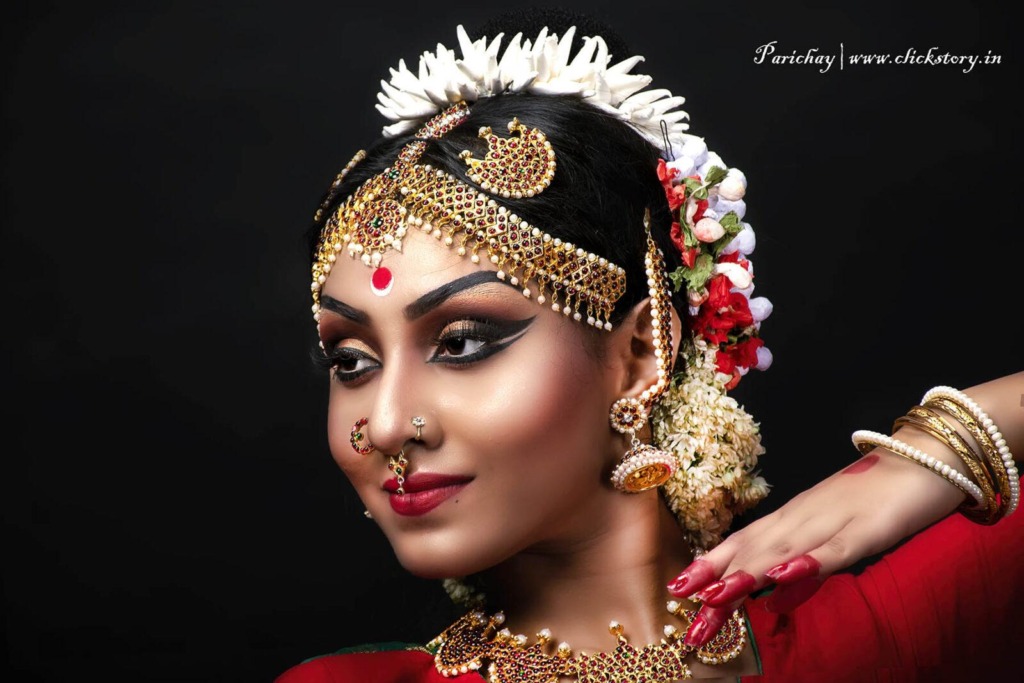
Portrait photography requires an understanding of some basic principles if you want to capture truly striking images. Often, when family members, friends, or colleagues say, “Yes, we know a very good portrait photographer,” it highlights the importance of knowing the fundamentals that make a great portrait. Learning these basics will help you create more compelling and professional-looking portraits.
Portrait Photography Tips:
- A short zoom lens like 55-200mm or 70-200mm or a fixed focal length lens like 50mm with f/1.8 etc (prime lens) will create a good texture in portrait photography.
- Window light with a reflector for wash light to recover the dark areas will create a beautiful stunning portrait with inexpensive materials. But the subject should be angle positioned against window.
- Prefer to focus the eye of the subject.
- Do not use a wide-angle lens for close up portrait because it will create an odd image of the subject.
- For children and woman portrait prefers natural light but the shutter speed will be high for children. A continuous shutter is very much helpful in this scenario.
- Always use aperture mode for portrait photography.
- For group portrait always be sure that all are visible, and the height should be short to tall (front to back). Use F-stop at least f/8 for razor sharp image of all subjects. If you are in indoor use wide angle and high the ISO so the F-stop will be f/8.
- Eliminate the raccoon effect. When the light reflects in your subject in such a way that the shadow of brow will affect the beneath of the eye. So, the subject turns into raccoon. Some suggestions to eliminate the raccoon effect.
- a) Move the subject under shade. By stopping the light coming from mostly overhead, the ambient light in the environment will fill in the eyes, making them far easier to see.
- b) A reflector or a piece of white paper or card can be used to reflect some light back into the eyes to illuminate them.
- c) Using another light source, such as a flash to directly illuminate the face to fill in the shadows.
- d) Holding a diffuser over the subject, to turn mostly directional overhead light into a much larger diffuse light source, which is more able to get under the brow the light the eyes.
- e) If the contrast isn’t too great, selectively lightening the eye area in post processing can help.
- Another advantage of reducing the effect of brow shadowing is getting something brighter reflecting in the subject’s eyes. These “catchlights” help bring the subject’s eyes to life and make for a much more pleasing photo.
- Choosing a subject alone is not enough. In portrait photography, every subject has their own individual character. A female portrait with gentle and soft skin defines a character which is very different from a wrinkled, older gentleman. Both are great subjects for portrait photography, but you have to select the best according to the composition you have in mind.
- To add flavour, spice and freshness to your portrait photography, never fear to experiment with position. After you have finalized the model, experiment with different poses, angles and postures of the face and body. This will ensure that you not only end up with great portrait shots, but also very interesting ones. A natural pose is great, but you can also have fun directing unusual an unusual pose or stance.
- Background can be sometimes as important as the subject itself. You could go for a beautiful bokeh blur effect, or a very high/low key approach with a black or white background. Either way, be sure to consider background in your mental checklist before pressing the shutter.
- A great tip is to open your Aperture as wide as possible, to create a shallow depth of field and make your subject “pop” out of the background.
- Use golden mean or rule of third.
- Be friendly in nature, give them time, be at ease in behaviour, talk to him/her when positioning lights and diffuser.
Last but not the least, always appreciate your model after clicking is over like wow, excellent, awesome, superb etc. it gives him/her a great confidence for the next shot and more natural picture will be framed in your next click.


