Photoshop is one of the most powerful photo editing tools in the world. One of its most important features is selection tools. These tools help you choose parts of an image so you can edit, move, or remove them without affecting the rest of the picture.
In this article, we will explore the different selection tools in Photoshop and how to use them.
Why Selection is Important in Photoshop
When editing an image, you might only want to change a certain part. For example, you may want to change the color of a shirt without changing the background. Photoshop’s selection tools allow you to do this by selecting only the shirt.
Types of Selection Tools in Photoshop
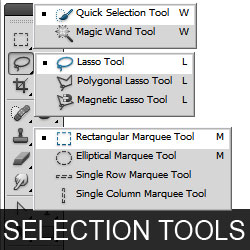
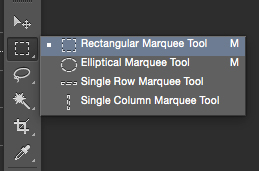
1. Marquee Tool
The Marquee Tool is one of the simplest selection tools.
Types of Marquee Tools:
- Rectangular Marquee Tool: Selects rectangular areas.
- Elliptical Marquee Tool: Selects circular or oval shapes.
Example:
Use the Rectangular Marquee Tool to select a photo frame on a wall. Once selected, you can copy it and paste it somewhere else.
2. Lasso Tool
The Lasso Tool allows freehand selection.
Types of Lasso Tools:
- Lasso Tool: Draw any shape to make a selection.
- Polygonal Lasso Tool: Makes straight-edged selections.
- Magnetic Lasso Tool: Automatically snaps to the edges of objects.
Example:
Use the Magnetic Lasso Tool to trace around a person’s hair for more accurate selection.
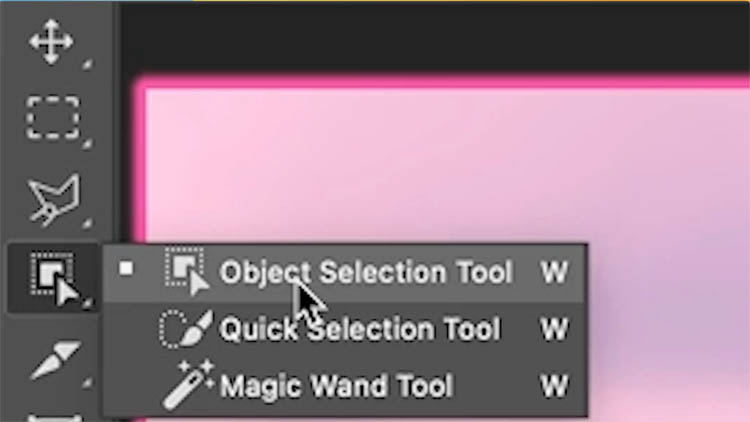
3. Quick Selection Tool
The Quick Selection Tool selects areas based on similar colors and textures.
How to Use:
Click and drag on the part you want to select. Photoshop will automatically select similar pixels.
Example:
Use the Quick Selection Tool to select a blue sky in a landscape photo.
4. Magic Wand Tool
This tool selects pixels with similar colors with a single click.
Tip:
You can change the “tolerance” level to select more or fewer colors.
Example:
Use the Magic Wand Tool to select and remove a solid white background from a product image.
5. Select Subject and Select Object
These are AI-powered tools in newer versions of Photoshop.
- Select Subject: Automatically finds and selects the main subject.
- Select Object: You draw a box around the object and Photoshop selects it for you.
Example:
Use Select Subject to instantly select a person in a portrait.
Selection Techniques and Tips
Feathering
Softens the edges of your selection. This is useful when blending two images together.
Refine Edge / Select and Mask
Helps you improve the edges of your selection, especially for hair or fur.
Example:
After selecting a person, use Select and Mask to smooth the edges and remove any background remains.
Inverting Selection
Go to Select > Inverse to select everything except your current selection.
Example:
If you select a logo and invert the selection, you can edit or delete everything except the logo.
Conclusion
Photoshop’s selection tools are essential for detailed editing. Each tool is useful in different situations. With practice, you’ll learn when and how to use each one for the best results.