Photography tips often highlight new gear, camera settings, or editing tricks, but one skill rises above all of these: pre-visualization. This simple yet powerful habit separates beginners from professionals—and it requires no equipment at all.
Pre-visualization is the ability to imagine the final picture before you press the shutter. While many people take photos the moment something catches their eye, professional photographers pause. They use pre-visualization to mentally shape the image first considering the emotion they want to express, the framing that strengthens the scene, the light that sets the mood, and the story they want the photograph to tell.
This single mindset shift can change the way you shoot forever.
What Pre-Visualization Really Means
Pre-visualization is the practice of seeing the final image in your mind before lifting your camera. Imagine it like sketching inside your mind. You stand in front of a scene and mentally shape it—deciding what deserves attention, what should be in focus, and what story the moment should tell.
For example, when you see a beautiful sunset, you don’t immediately click. Instead, you pause. You imagine the sky spreading across two-thirds of your frame, the warm orange glow highlighting the water, and a silhouette of a person standing quietly at the shore. You decide that this scene isn’t just about a sunset—it’s about calmness, reflection, and silence. Only after you see that mental picture do you raise your camera and capture it.
Pre-visualization is picturing the finished photograph in your mind first—framing, light, mood, and the tiny story you want to tell. Below are examples that show different ways that mental image can guide your choices.
- Single-subject silhouette: You imagine a person standing on a hill at sunset, small against the sky. You set the horizon low, wait for a clean outline, and expose for the sky so the person becomes a black shape that reads as solitude.
- Leading-line composition: You picture a curving fence guiding the eye toward a distant cottage. You choose a wide angle and position yourself, so the fence enters the frame at the lower corner.
- Color-contrast shot: You imagine a red umbrella in a gray, rainy street. You wait for someone to pass beneath a streetlamp, so the umbrella pops against the muted background.
- Minimalist frame: You see a single chair against an empty wall and decide on lots of negative space. You step back to isolate the subject and emphasize emptiness.
- Motion-implied image: You picture a cyclist blurred along a city crosswalk with sharp buildings behind. You select a slower shutter, pan with the bike, and keep the background crisp.
- Emotional close-up: You imagine a wrinkled hand holding an old photograph. You move close, use a shallow depth of field, and let the background melt away so the texture and story dominate.
Why Pre-Visualization Matters So Much
Pre-visualization turns your photography into a purposeful act. Instead of reacting to random moments, you begin shaping them. A photo becomes less of a snapshot and more of a crafted experience.
Think of it like painting. A painter doesn’t just throw paint on the canvas. They imagine the picture, choose the mood, decide the colors, then begin creating. Photography works the same way. When you pre-visualize, you step into the role of a creator instead of a passive observer.
One powerful change you’ll notice is how your images begin to carry emotion. A busy street suddenly becomes a story of movement. A quiet corner becomes a tale of loneliness or calm. Light stops being something you fight with and becomes a partner you work with. You start noticing how a soft morning glow makes a scene peaceful, or how hard shadows make a scene dramatic.

Pre-visualizing changes how you shoot
Fewer accidental snaps, more deliberate photos. These examples show practical benefits—how imagination becomes decisions.
- Less wasted frames: You picture exactly when to press the shutter—so you make one meaningful exposure instead of dozens of cluttered attempts.
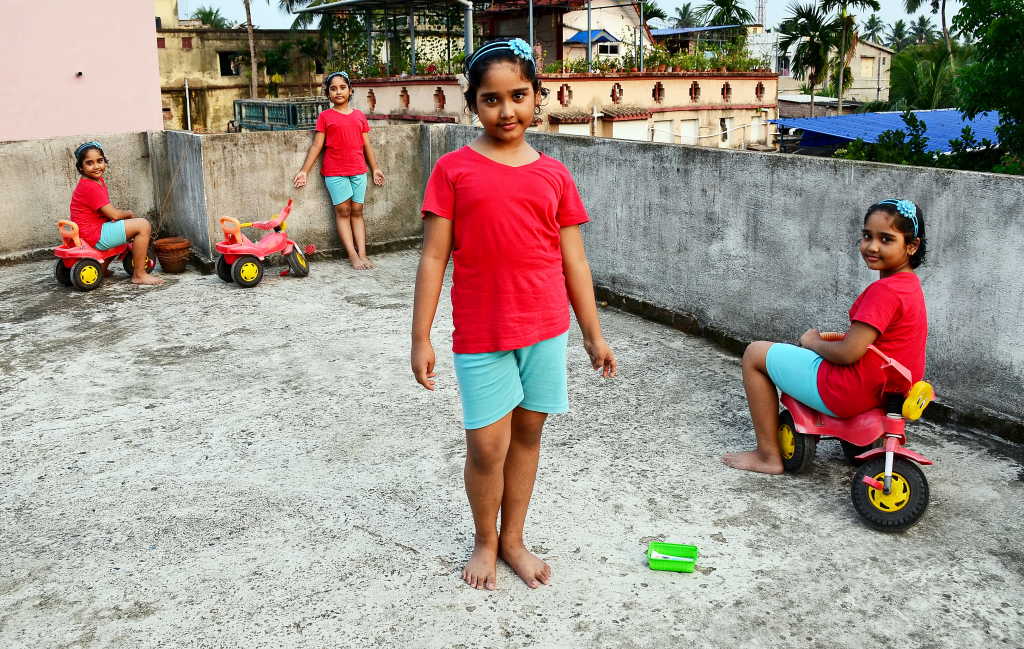
- Stronger narratives: Imagining a child looking at a toy, you wait until the child’s face shows wonder; the resulting image tells a story, not just a moment.
- Cleaner composition: Visualizing a busy scene as a simple triangle of action makes you remove distractions or change angle to keep the triangle clear.
- Controlled light use: You imagine backlight rim-lighting hair and then position the subject between you and the sun to get that glow on the edges.
- Consistency of style: You pre-visualize warm, soft portraits and then always choose shallow depth of field and golden-hour light to create a recognizable look.
- Faster editing: When your images were imagined first, they already match your idea—so editing becomes refining, not rescuing.
How Pre-Visualization Works in Different Photography Styles
Street Photography
Imagine you’re walking down a busy street. You notice a wall with a bold patch of sunlight cutting across it. A beginner might take a photo of the wall immediately. But a photographer who pre-visualizes pauses. They imagine a person walking through that sunlight—a silhouette perfectly framed by the brightness. They imagine the contrast, the mood, and the timing. Suddenly the empty wall becomes a stage. They wait patiently, and when someone steps into the space, they capture a powerful, meaningful moment instead of a random image.
Street work rewards patience and anticipation. Here are clear, repeatable scenes you can pre-visualize.
- Shadow-gap silhouette: Imagine a shaft of light across a sidewalk. You wait for someone to cross the lit strip, creating a dramatic silhouette against a dark background.
- Reflected layering: You picture a shop window reflecting a passing cyclist while a customer stands inside—layers of reality. You angle yourself to align those layers into one frame.
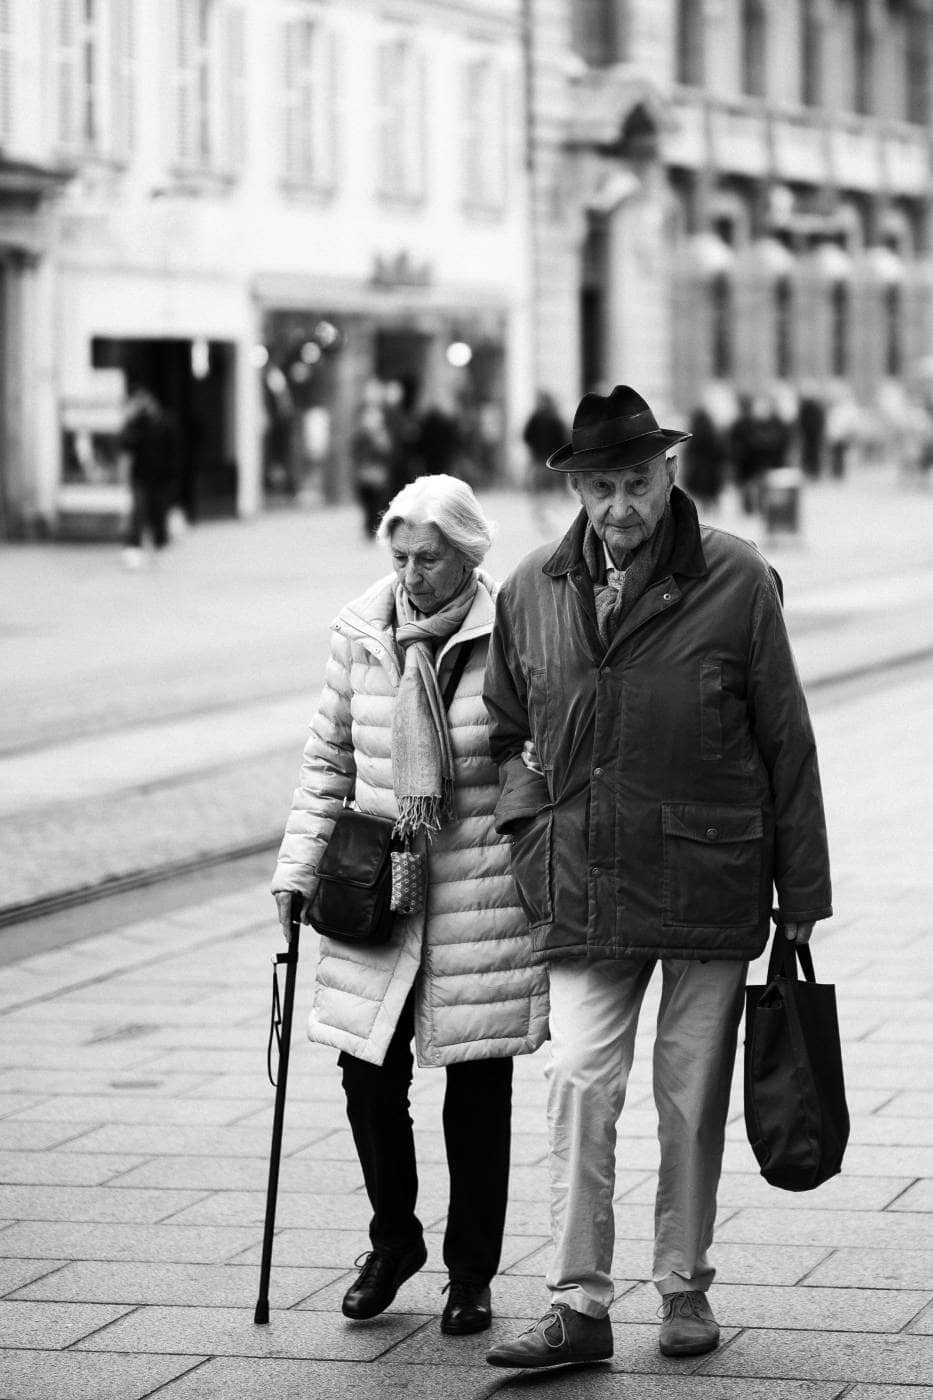
- Gesture and environment: You imagine an elderly person pausing at a fruit stall and raising a hand toward a bunch of bananas—capture the hand mid-reach to show intimacy with the market.
- Symmetry interrupted: You visualize a perfectly symmetrical alley and wait for a single person to walk off-center, breaking the symmetry just enough to create tension.
- Color pop moment: You imagine a passerby wearing a bright coat in a gray crowd. You pre-focus on the lane where they’re likely to appear and shoot when they enter that lane.
- Humor or irony: You imagine a “No Parking” sign perfectly placed behind a parked bicycle—wait until the bike sits there for the tongue-in-cheek shot.
Landscape Photography
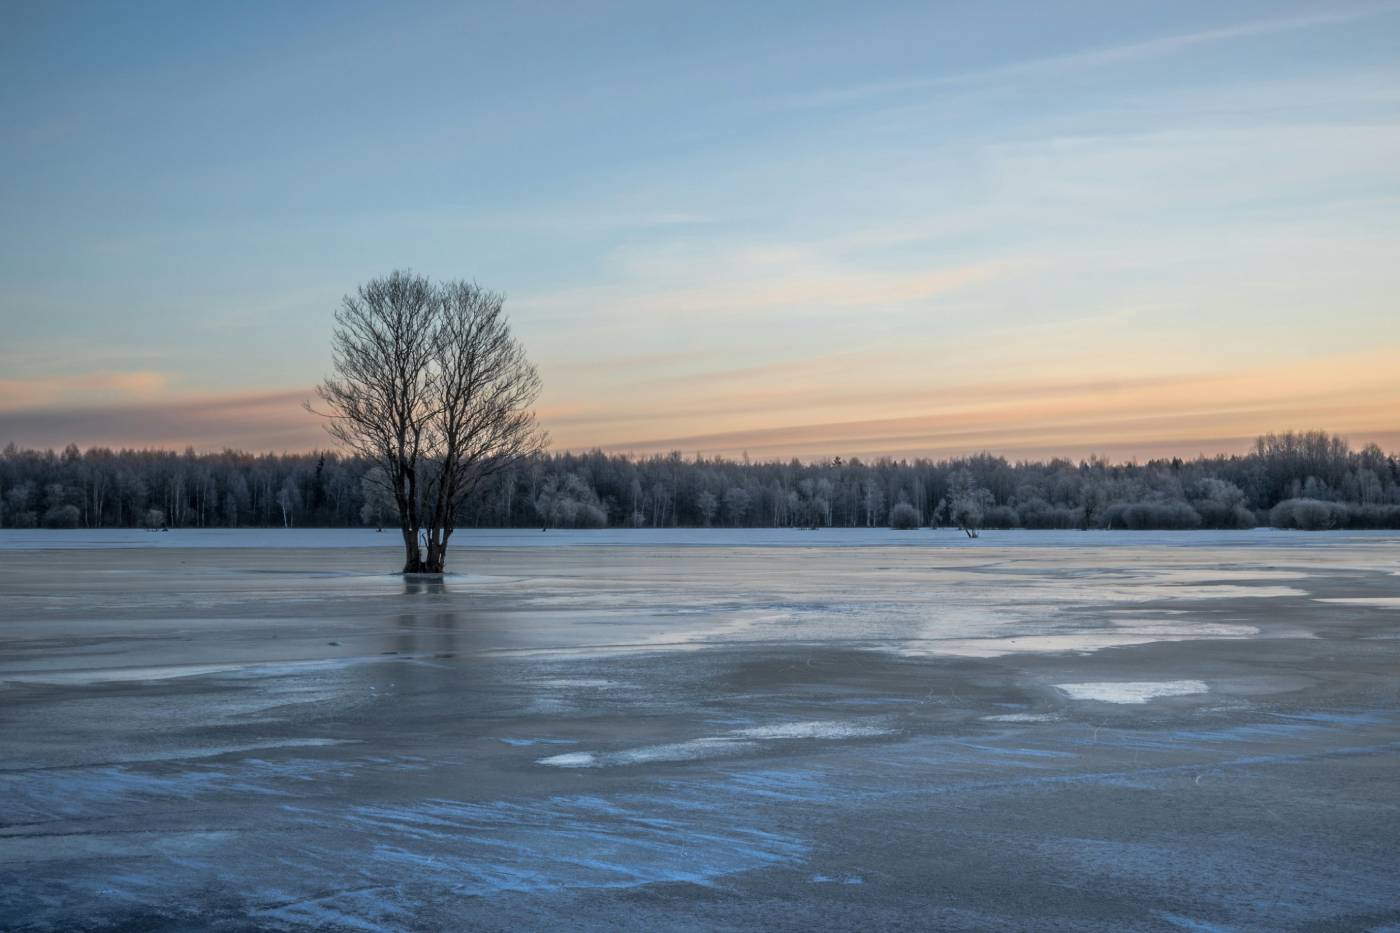
In landscape photography, pre-visualization is almost like predicting the future. When you stand before a mountain before sunrise, you may not see the beautiful colors yet, but you imagine them. You visualize how the sun will hit the top of the peaks first, how the valley will slowly fill with light, and how the clouds may glow pink along the horizon. You position your camera long before the light appears. When the sun finally rises, you capture exactly what you had imagined—an image filled with depth and emotion, not something rushed and reactionary.
Landscapes respond beautifully to pre-visualization because light and foreground choices are predictable and repeatable.
- Foreground anchor: You picture a field with a lone rock. Place the rock in the lower third so it anchors the sweeping sky you expect at golden hour.
- Reflected symmetry: You imagine a still lake doubling a mountain peak. You arrive early to catch the windless moment and frame the peak exactly centered for mirror symmetry.
- Rim-lit ridge: You see clouds hinting at sunrise and imagine the first sun stroking just the mountain ridgeline—expose for highlights to keep drama.
- Mist layers: You anticipate morning fog in the valley and choose a telephoto to compress the layers, turning distant hills into soft bands of tone.
- Leading-trail composition: You visualize a winding trail that pulls the eye into the frame; you position the trail entry at the corner and wait for the light to sculpt the path.
- Color contrast at dusk: You picture a field of yellow mustard under a violet sky—time your frame for that brief color clash and expose to preserve both tones.
Portrait Photography
Portraits come alive when the photographer imagines the mood beforehand. Let’s say you are photographing someone near a window. Instead of just snapping a picture, you imagine how the soft light will fall across their face, highlighting one side while gently fading on the other. You imagine a thoughtful expression, the background slightly blurred, and the feeling of peacefulness. When you begin shooting, you already know what you want the portrait to express. The resulting image feels intentional and intimate, not accidental.
Portraits gain emotional clarity when you imagine the feeling first—here are ways to pre-visualize mood, pose, and light.
- Soft-window glow: You imagine a subject by a large window at dawn. The soft light wraps their face; you set a wide aperture and ask them to look down for a reflective pose.
- Environmental portrait: You picture a baker in their warm kitchen, flour on their hands. You include the oven and dough to tell the viewer where the subject belongs.
- High-contrast drama: You visualize half the face plunged in shadow with a single rim light—use a black backdrop and one side light for theatre-like intensity.
- Candid-laugh shot: You imagine the subject laughing naturally when you mention a tiny joke—anticipate the laugh and shoot in burst to catch the honest expression.
- Movement portrait: You picture a dancer’s skirt sweeping mid-twirl—choose a shutter speed that freezes fabric motion and time your shot with the highest arc.
- Close-texture detail: You imagine the tiny lines around a person’s eyes conveying experience—move very close, use a macro-friendly lens, and let texture be the hero.
Food Photography
Even something as simple as a plate of food becomes a story with pre-visualization. Instead of placing the dish in front of a camera and clicking, you imagine how it can look appetizing. You picture warm tones if it’s comfort food, or bright natural light if you want freshness. You imagine placing the syrup, so it drips slowly over pancakes or adding fruits to bring balance and color. When the image forms in your mind, you recreate it in reality.
Food looks delicious when you see the final mood first: warmth, freshness, or indulgence. These examples show how to craft that mood.
- Drip moment: You imagine maple syrup slowly falling from a spoon onto pancakes—use a fast shutter to freeze each drop or a slightly slower one to show a silky stream.
- Steam and warmth: You picture a bowl sending up clouds of steam—use backlight and a narrow aperture to catch the steam’s texture and make the scene cozy.
- Top-down flat lay: You imagine a rustic table with scattered ingredients—arrange forks, herbs, and crumbs to create rhythm before photographing straight above.
- Close-up texture: You see the flaky layers of a croissant—use a macro lens and shallow depth to capture butter-rich layers that scream “fresh.”
- Contrast and color: You imagine a green salad next to bright red tomatoes—place them on a dark wood board so the colors leap forward.
- Action garnish: You visualize zest being grated over a dessert—capture the tiny ribbons mid-air for a dynamic detail shot.
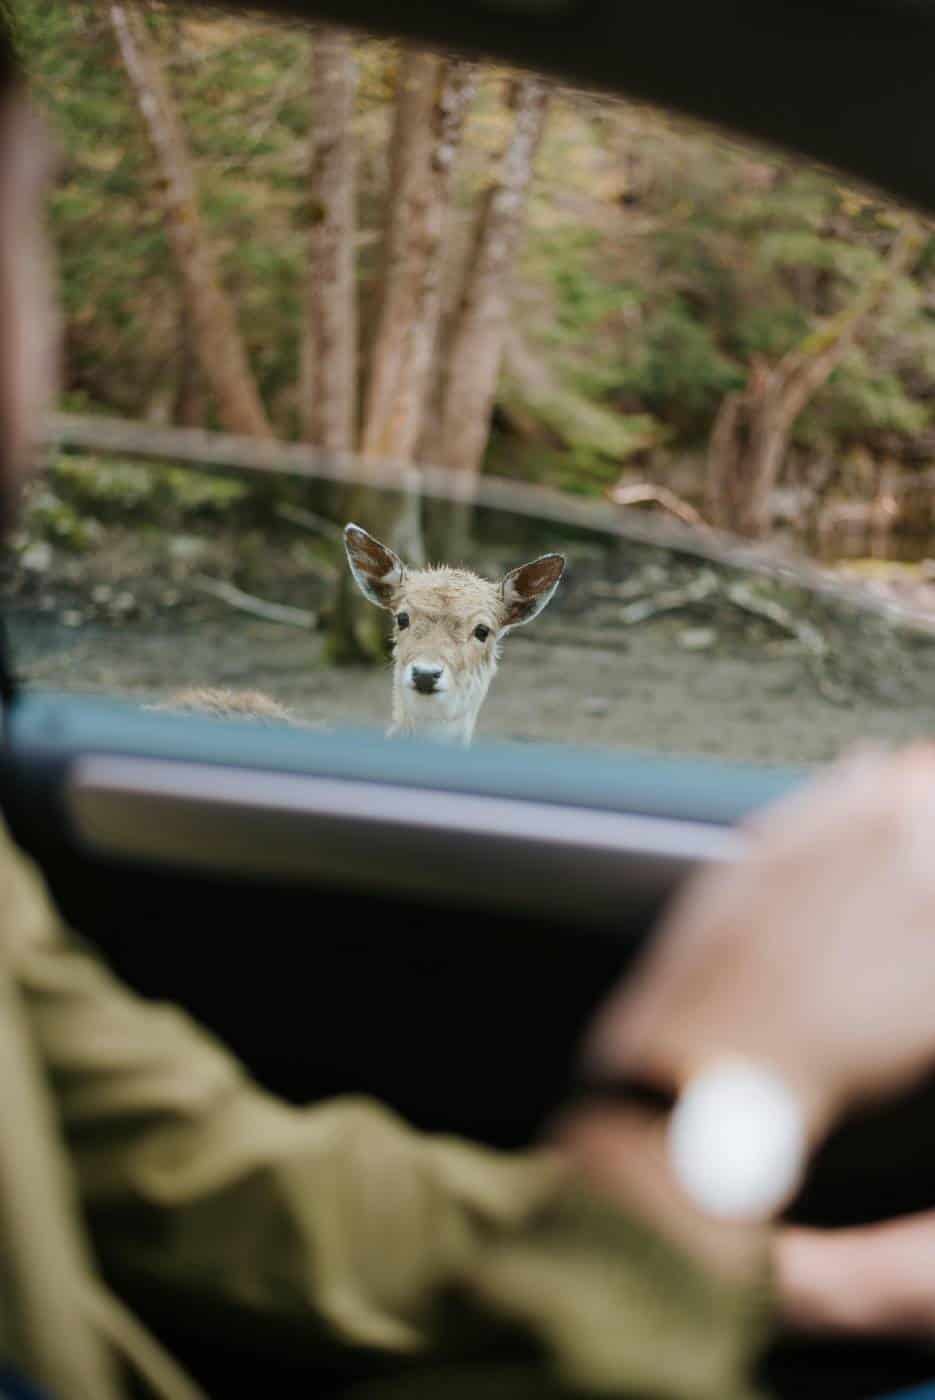
Wildlife Photography
In wildlife photography, pre-visualization often means anticipating movement. You spot a bird on a branch. Instead of immediately taking the photo, you imagine the moment the wings unfold, the shape the body will take mid-flight, and how the background will blur beautifully as the bird lifts off. You prepare your frame and wait. When the moment happens, you capture a dynamic, striking image rather than an ordinary snapshot.
Wildlife is about timing, but pre-visualization turns stalking into anticipation. These examples show what to prepare for.
- Takeoff freeze: You imagine a heron launching from a pond—pre-focus on the perch and wait for lift-off to catch wings mid-span.
- Predator gaze: You picture a tiger pausing with intent in tall grass—compose low and wide so the grass frames the head and eyes dominate the frame.
- Feeding detail: You imagine a squirrel holding a nut—use a telephoto and low ISO to render whisker detail and tiny claws sharply.
- Behavior sequence: You envision a mating dance—record a short video or burst of images to capture beginning, peak, and end of the behavior.
- Environmental portrait: You imagine an elephant with mountains behind—include some habitat so the animal reads as part of its world, not isolated.
- Silhouette at dusk: You foresee a herd walking along a ridgeline at sunset—expose for the sky so the herd becomes a dramatic silhouette.
Dynamic, Sports, Dance and Speed Photography
It requires a combination of technical skill, anticipation, and experience. Photographers often call this “pre-visualization,” “anticipation,” or “seeing the moment before it happens.”
Below is a practical explanation of how professionals achieve it and how you can develop the same ability.
How the Brain Helps You Pre-Visualize
In fast-moving photography, you don’t wait for the moment — you predict the moment.
With practice, your brain starts recognizing:
- movement patterns
- athlete/dancer behavior
- timing rhythms
- typical peak moments (jump apex, kick impact, spin extension, hand gesture, etc.)
This creates a mental model that allows you to press the shutter slightly before the moment happens, compensating for:
- subject speed
- camera lag
- your reaction time
Techniques to Pre-Visualize the Perfect Moment
1. Understand the Sequence
If you know the sport or the dance movement, you can predict:
- where the subject will be
- when the peak action will occur
- what body shape or posture to expect
For example:
- Dance: apex of a leap always comes 0.2–0.3 sec after take-off
- Cricket: ball impact happens in a predictable micro-moment
- Badminton: smash action peak happens right at the wrist snap
- Football: celebratory reactions occur immediately after a goal
2. Study Micro Patterns
Every athlete/dancer repeats a rhythm:
- preparatory steps
- acceleration
- moment of action
- release / recovery
Observe this pattern for 1–2 minutes, and you’ll pre-visualize the best frame.
3. Choose the Correct Autofocus Mode
These modes help the camera “pre-visualize” with you:
- AI Servo / AF-C on Canon, Nikon, Sony
- Predictive AF tracking
- 3D Tracking or Eye AF for sports
The autofocus predicts where the subject will be.
4. Prefocus & Preframe
Professional sports photographers often:
- lock focus on an area where action will occur
- frame the composition in advance
- wait for the subject to enter the frame
5. High FPS Burst Shooting
While talent matters, burst mode helps:
- 10–40 fps captures micro-moments
- increases accuracy at the peak action
But it should complement, not replace, pre-visualization.
6. Learn Body Kinetics
This is especially useful in dance photography:
- Every movement peak has a visual crescendo
- If you know the dance form (Odissi, Bharatanatyam, Kathak), you can anticipate the exact pose climax
This skill comes from observing hundreds of performances.
So… is it possible? Yes — and professionals do it all the time.
Pre-visualization is not magic; it is:
- understanding the movement
- predicting the peak
- preparing composition and camera settings
- pressing the shutter before the actual moment
With practice, your mind becomes faster than the moment.
How to Practice Pre-Visualization Every Day
You don’t need an expensive camera or complex knowledge to practice pre-visualization. It begins with slowing down. The next time you’re about to take a photo, stop for a moment. Look at the scene and ask yourself what you want it to become. Think about the emotion behind it—peace, drama, energy, mystery. Then imagine the frame that best expresses that feeling. You will notice your hands moving differently. You might crouch lower, step to the side, wait longer, or change your angle entirely. Those small choices come naturally when you see the final picture before taking it.
One useful exercise is to simply stand in a busy place—a market, a park, or a street—and observe without taking a single photo for five minutes. Let scenes form in your mind. Imagine where you would place people in the frame, how the light falls, and when the moment is most meaningful. This quiet practice helps your visual instincts grow stronger.
Build the habit with small, repeated exercises that force the imagination into action.
- Five-minute look: Go to a spot and don’t touch your camera for five full minutes. Imagine at least three different final images from that scene.
- One-line story: Before each shot, write one sentence: “This photo will show ___.” Then shoot to match that sentence.
- Angle-swap game: For each scene, force yourself to take one photo from eye level, one from low, and one from high. Compare which matched your imagined frame best.
- Light-think drill: Look at the light for 30 seconds and decide whether the mood is warm, harsh, or soft—then alter your exposure and composition to fit that mood.
- Limited-shots challenge: Give yourself five exposures to tell a single story. Pre-visualize each of the five frames and use them carefully.
- Mental sketching: Close your eyes for ten seconds, picture the final photo, then open your eyes and make small moves to recreate that image.
Final Thoughts
Pre-visualization is not a technical skill—it’s a creative mindset. It transforms photography from a quick reaction into a thoughtful craft. Instead of taking many random pictures, you start creating fewer but more meaningful ones. You begin noticing stories hidden in everyday life. Most importantly, the camera becomes a tool in your hand—not the reason you shoot, but the way you express what you see in your mind.
Once you start pre-visualizing, photography feels richer, calmer, and more connected to your imagination. It’s not just about capturing a moment—it’s about creating one.