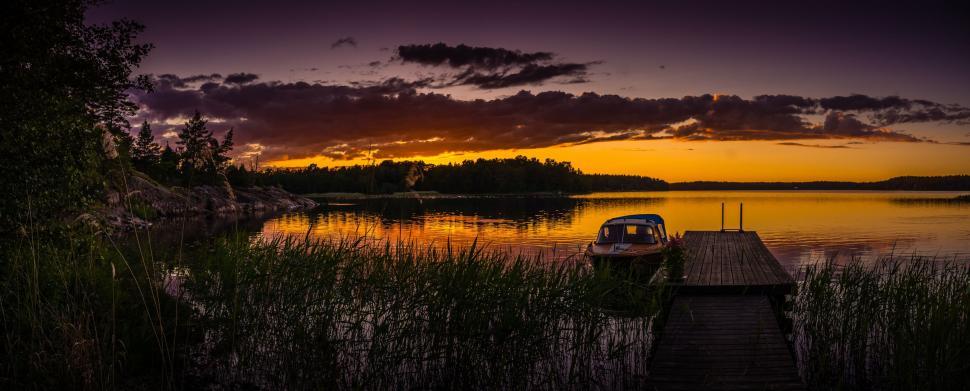
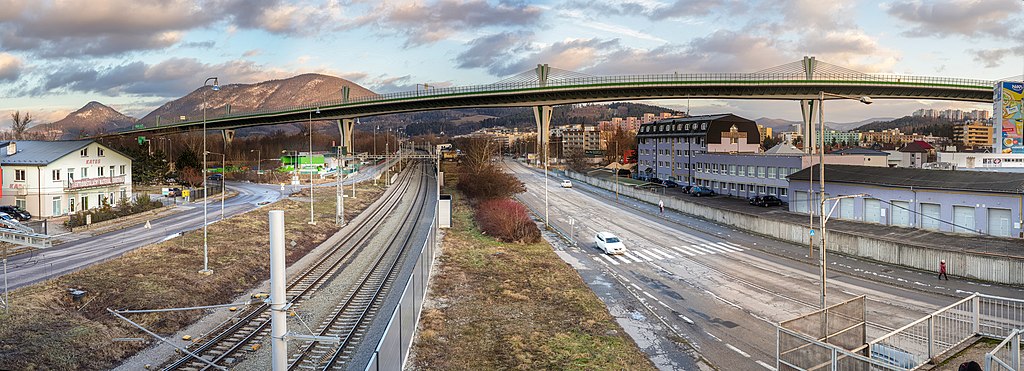
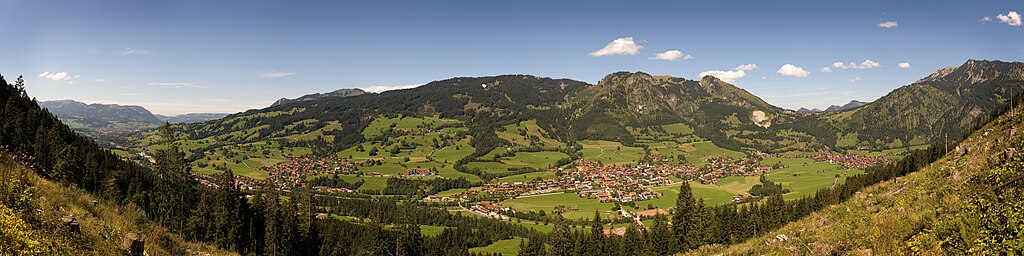
Panorama Photography
Panorama photography is a technique used to capture wide, horizontal views that go beyond what a regular photo can show. It combines several images into one long photo to give a fuller, more complete view of a scene. It’s perfect for landscapes, cityscapes, and wide indoor spaces.
A Brief History of Panorama Photography
Panoramic photos began in the 1800s with special rotating cameras. Early photographers wanted to show the full beauty of nature and big city views. With film, panoramas were harder to create. But now, with digital cameras and editing tools, anyone can take beautiful panoramic photos using simple gear—even with a smartphone.
Features of Panorama Photography
- Wide-angle view: Much wider than a single frame.
- Multiple image stitching: Combines several photos into one.
- High resolution: Large size and detail, perfect for printing.
- Smooth perspective: Helps show depth and space naturally.
How Panorama Photography Works
Panorama photography uses a method called “image stitching.” The camera takes several overlapping pictures from left to right (or top to bottom), and editing software joins them together to make one wide image.
Many smartphones and cameras now have a built-in Panorama Mode to do this automatically.
Step-by-Step Guide to Taking Panorama Photos
1. Gather Your Gear
- Camera: DSLR, mirrorless, or smartphone.
- Lens: Standard or wide-angle lens (24mm–35mm on full-frame).
- Tripod: Helps keep your shots steady and level.
- Panoramic head (optional): Keeps rotation smooth and even for stitching.
2. Choose the Right Scene
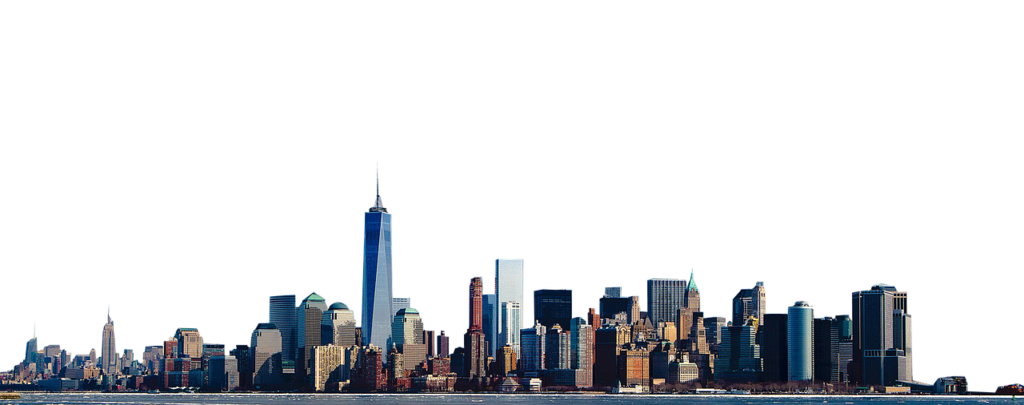
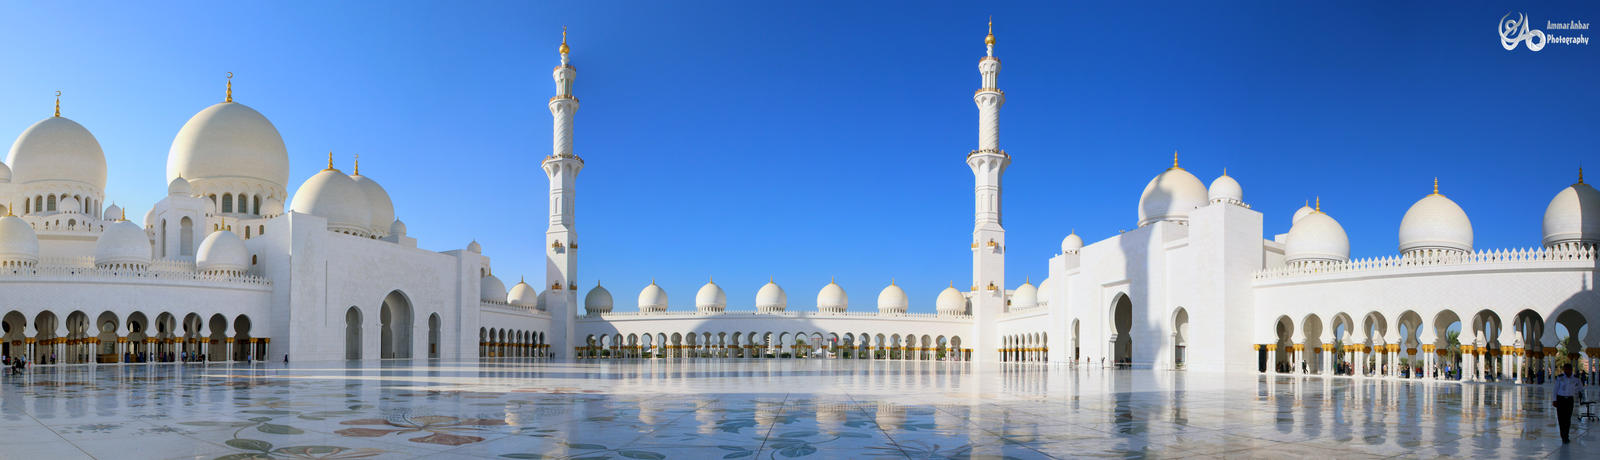
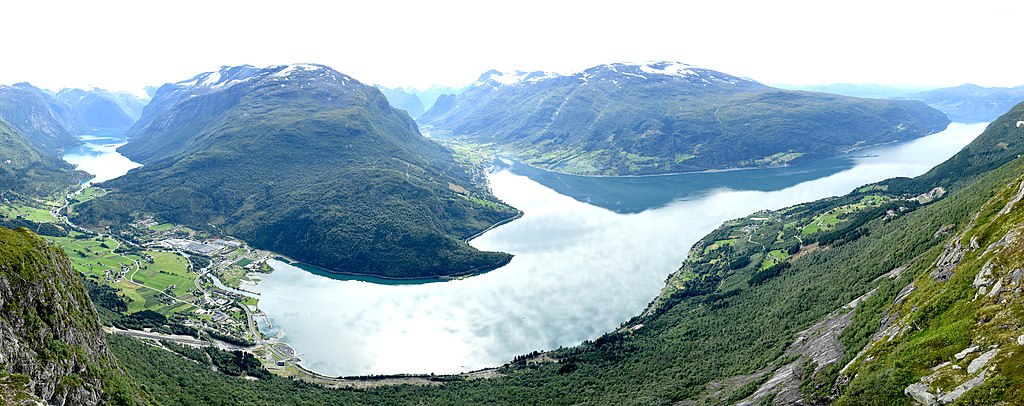
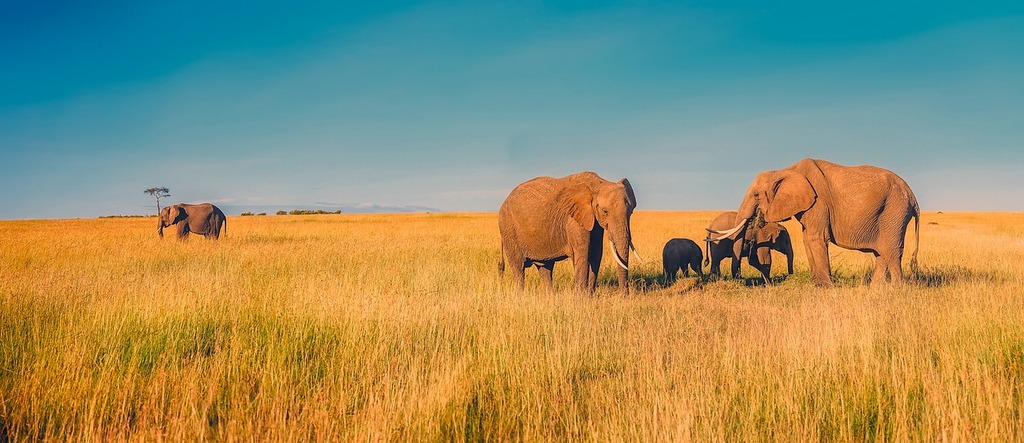
- Open landscapes, city skylines, mountain ranges, beaches, or wide interiors work best.
- Avoid scenes with moving subjects (like people or cars) to prevent stitching errors.
3. Camera Settings
- Shoot in manual mode to keep exposure the same in all images.
- Use the same focus, white balance, and ISO across the series.
- Use vertical orientation (portrait mode) to capture more sky and ground.
4. Shooting the Panorama
- Start on one side of the scene.
- Overlap each shot by about 30%.
- Keep the camera level and rotate smoothly from one frame to the next.
- Use a tripod for best results, especially in low light.
5. Stitching the Photos
- Use software like Adobe Lightroom, Photoshop, PTGui, or even phone apps.
- Import your series of images and choose the “Merge Panorama” option.
- Crop and adjust for any distortion or color differences.
Advantages of Panorama Photography
- Captures wide scenes in one detailed photo.
- Great for landscapes, real estate, and travel photos.
- Can be done with basic equipment.
- High resolution makes it ideal for large prints.
Disadvantages of Panorama Photography
- Needs careful alignment and steady shooting.
- Stitching software may fail with moving subjects.
- Can create distortion if not shot correctly.
- Files can be large and require more editing time.

The Future of Panorama Photography
With growing use of drones, 360-degree cameras, and AI editing tools, panorama photography is expanding fast. Virtual tours, VR experiences, and interactive panoramic images are becoming popular in real estate, tourism, and marketing.
AI stitching is also improving how we merge images, making panorama creation faster and more accurate—even in challenging light conditions.
How to Become an Expert in Panorama Photography
- Practice framing and rotation: Learn to shoot evenly and smoothly.
- Use a tripod often: Especially for long or complex panoramas.
- Study stitching software: Learn how to fix distortion and blend photos.
- Master exposure control: Shoot in manual for consistent lighting.
- Explore different subjects: Try cityscapes, interiors, nature, and night skies.
- Follow pro photographers: Watch tutorials and breakdowns of advanced techniques.
Panorama photography is a powerful and creative way to capture wide scenes with stunning detail. Whether you’re using a phone or a pro camera, with practice and the right tools, you can master the art of shooting breathtaking panoramic images.
Editing Walkthrough for Panorama Photography
Tools You Can Use
Desktop Software:
- Adobe Lightroom (Classic or CC)
- Adobe Photoshop
- PTGui (advanced panorama stitching)
- Hugin (free and open source)
Mobile Apps:
- Snapseed (Android & iOS)
- Lightroom Mobile
- Google Photos (basic stitching)
- Bimostitch or Panorama 360 (for Android)
Step-by-Step Panorama Editing Walkthrough
1: Import and Organize Images
- Transfer all panorama shots to your computer or phone.
- Rename them or place them in a separate folder for easy access.
- Make sure all images are from the same series (same location, focus, settings).
2: Stitch the Images Together
In Lightroom:
- Select all images in the series.
- Right-click and choose Photo Merge > Panorama.
- Choose a projection:
- Spherical: Best for wide, immersive views.
- Cylindrical: Good for wide horizontal scenes.
- Perspective: Best for architecture or straight lines.
Click Merge and Lightroom will create a new DNG file.
In Photoshop:
- Go to File > Automate > Photomerge.
- Select the image files and check “Blend Images Together”.
- Let Photoshop stitch them into one canvas.
- Use the Crop Tool to remove jagged edges.
On Phone (Snapseed or Lightroom Mobile):
- If your phone automatically stitched the image, just open the panorama in Snapseed or Lightroom Mobile to begin editing.
- If not, use apps like Bimostitch to manually stitch first.
3: Crop and Straighten
- Use the Crop Tool to remove empty or curved edges.
- Straighten the horizon for natural balance.
- In Lightroom, use the Transform panel to adjust distortion or tilt.
4: Adjust Exposure and Tone
- Use Exposure, Highlights, Shadows, Whites, and Blacks sliders.
- In Lightroom:
- Lower highlights to recover sky detail.
- Lift shadows for balance in darker areas.
- Adjust contrast to add depth.
5: Enhance Color and Clarity
- Use Vibrance and Saturation carefully—panoramas can get too colorful.
- Adjust White Balance if needed (cool for morning, warm for sunset).
- Use Clarity and Dehaze to bring out details in landscapes or skies.
6: Remove Distractions (Optional)
- Use the Spot Removal or Healing Brush to fix:
- Dust spots
- People or objects that moved between frames
- In Photoshop, use Content-Aware Fill for smoother edits.
7: Final Touches
- Add vignetting subtly to draw attention to the center.
- Sharpen slightly for web or printing.
- Export as JPEG for sharing or TIFF for printing.
Pro Tips for Better Panorama Edits
- Shoot in RAW to keep full detail during editing.
- Avoid auto settings while shooting; manual gives consistency.
- Overlap each shot by 30% to help the software align them perfectly.
- Check for ghosting (moving objects causing blur) and fix manually if needed.
Best Settings to Export
| Use Case | Format | Resolution | Quality |
|---|---|---|---|
| Web/Social | JPEG | 2000–3000px wide | 70–80% |
| TIFF | Full resolution | Max | |
| Archive/Backup | DNG/RAW | Full | Lossless |
By following this editing workflow, you can turn a simple series of shots into a beautiful, seamless panoramic photo. Whether you’re using free apps or professional software, the steps remain mostly the same — just focus on balance, detail, and natural-looking tones.
It helps me to capture panoramic views. Thank you.
A nice article.