3. Open Shade (Outdoor Portrait Photography)
Open shade is one of the best and safest lighting techniques for outdoor portrait photography, especially for beginners. It helps you avoid harsh sunlight while still using bright natural light. Many professional photographers use open shade every day because it creates soft, clean, and natural-looking portraits.
What Is Open Shade?
Open shade means:
- Your subject stands in the shade
- But faces an open area with light (like the sky)
The light does not come directly from the sun. Instead, it comes from the bright sky, which acts like a huge soft light source.
Example:
A person standing under a tree but facing the open sky—not the tree trunk—is in open shade.
Why Open Shade Is Great for Portraits
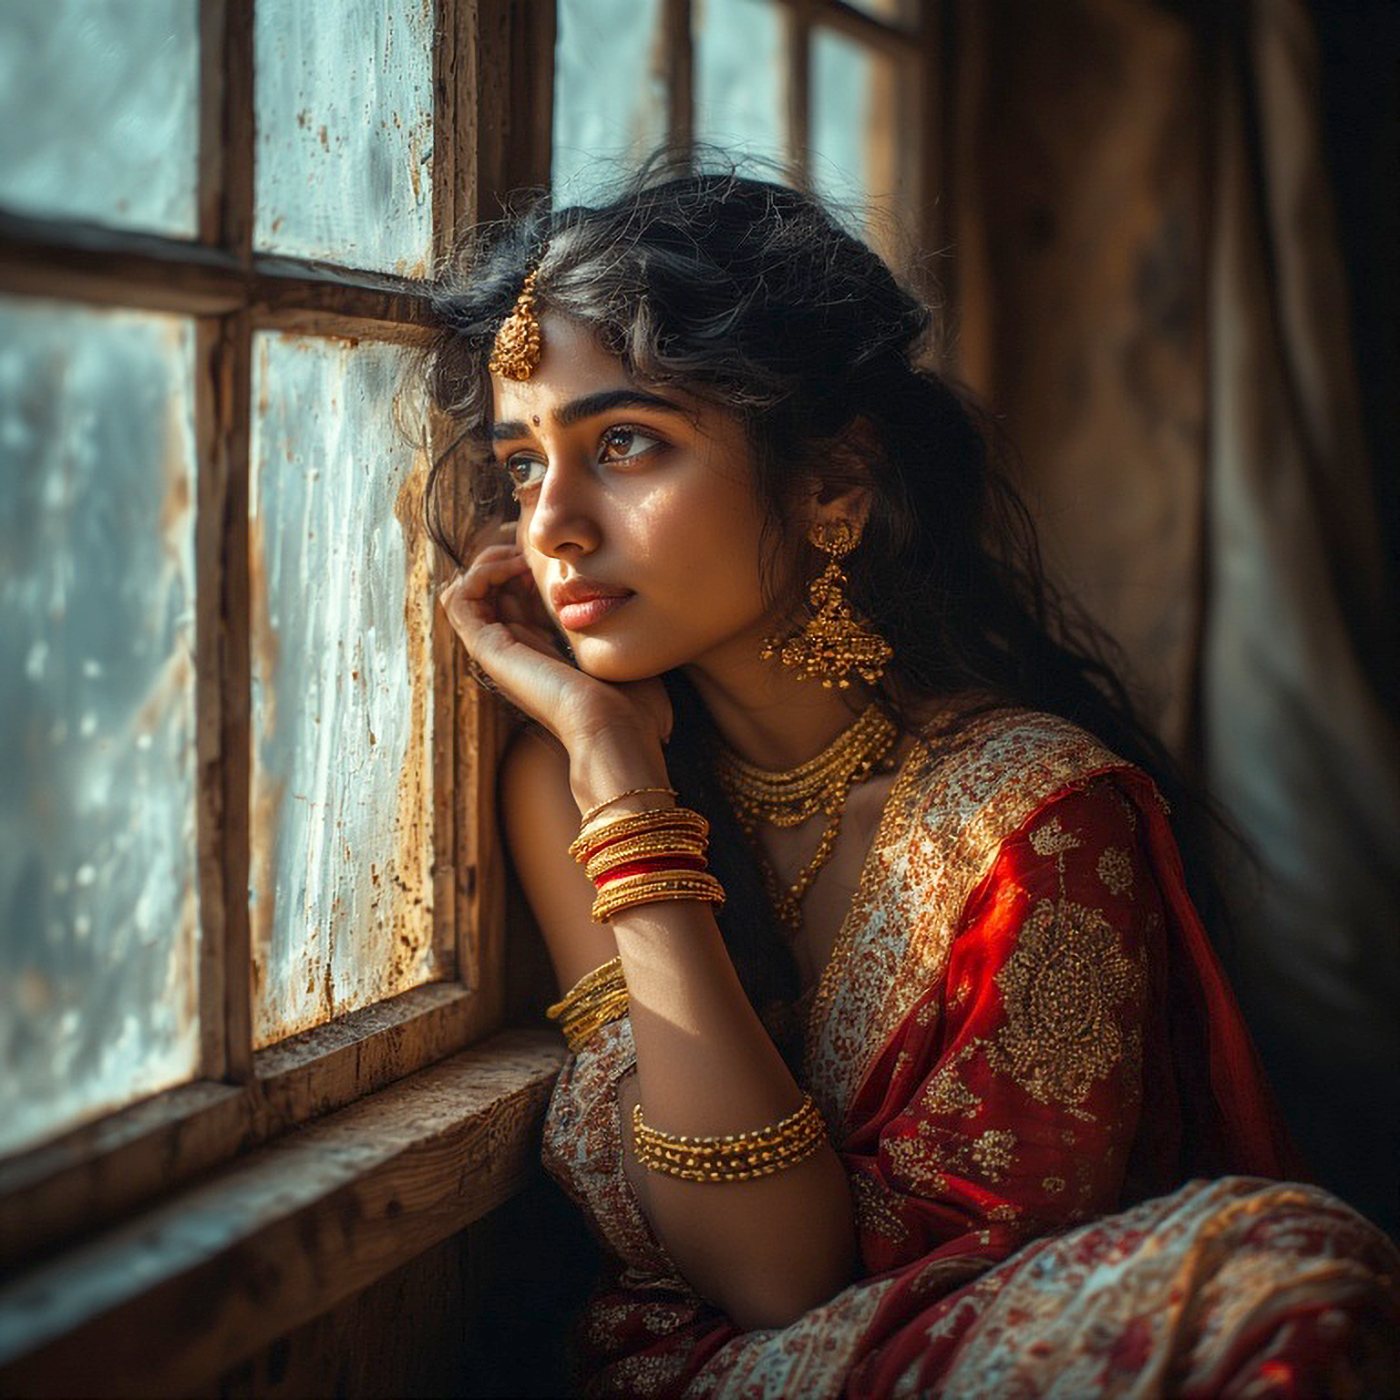
1. No Harsh Shadows on the Face
Direct sunlight creates strong shadows under the eyes, nose, and chin. Open shade removes these harsh shadows.
Example:
A portrait under a building shade looks soft and smooth compared to standing in direct sunlight.
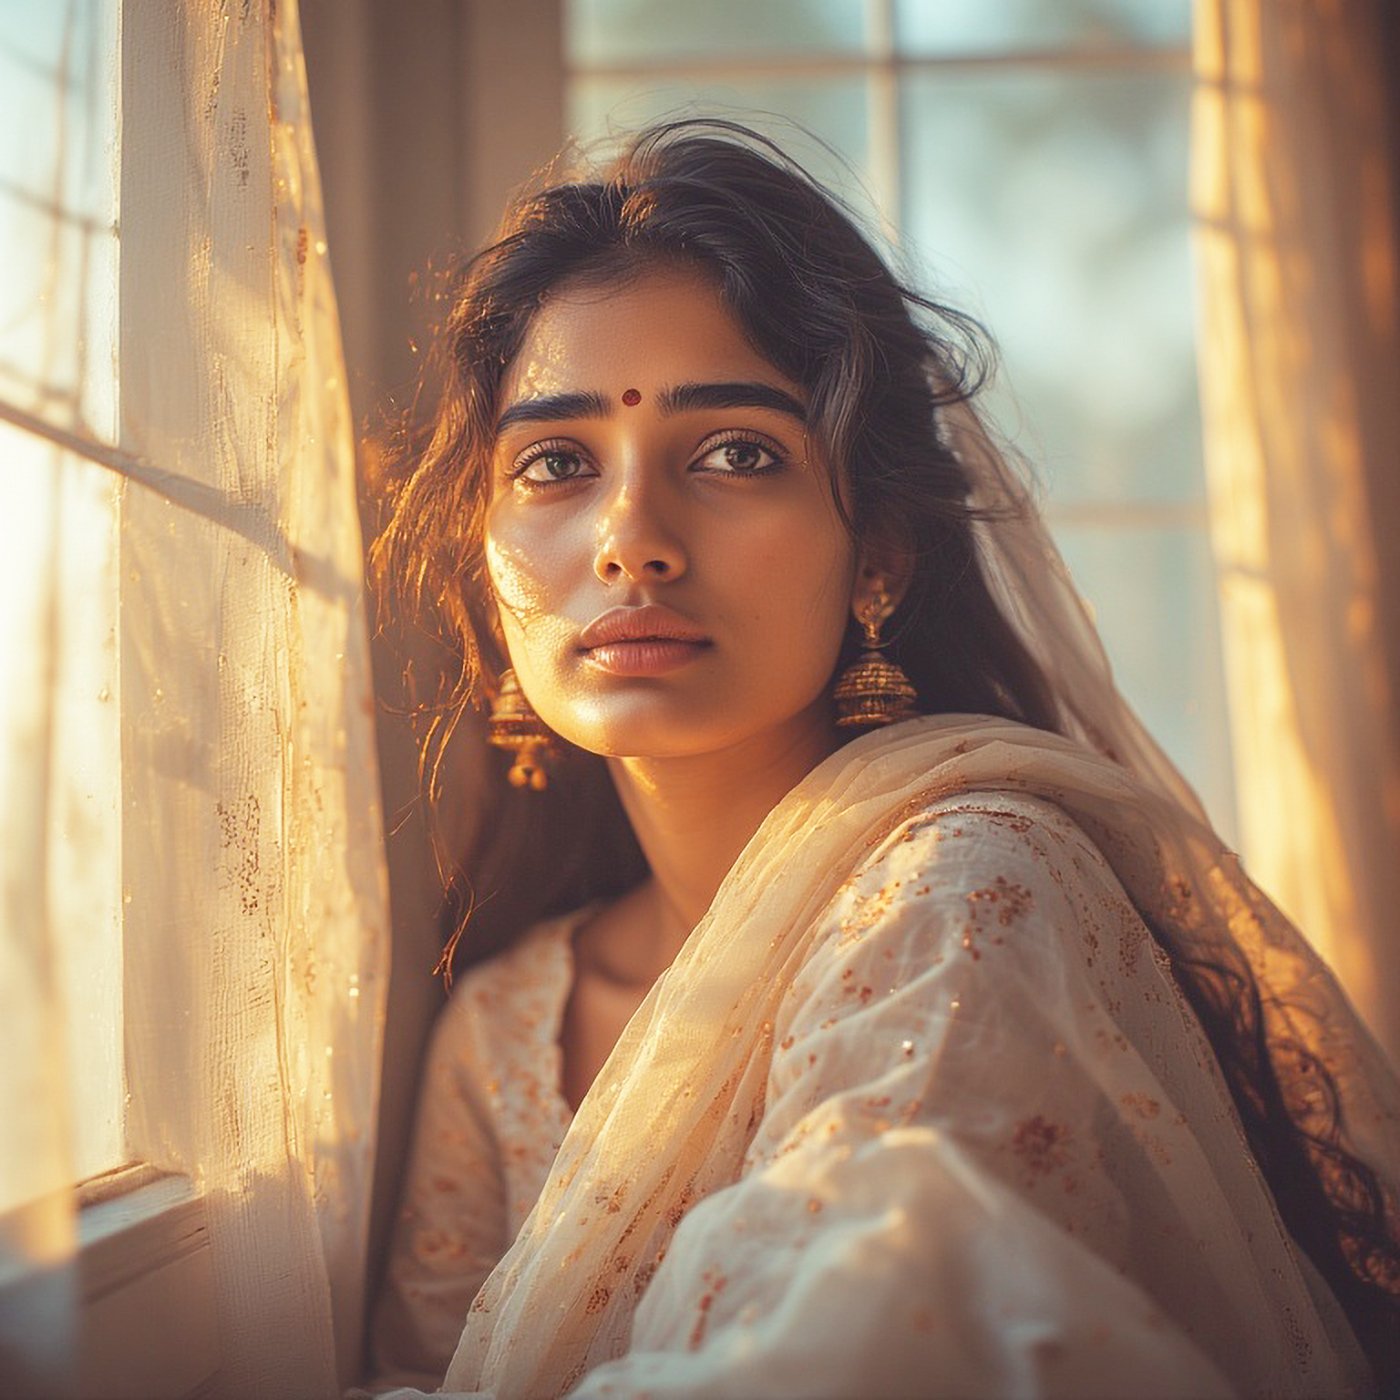
2. Even and Soft Light
Light in open shade spreads evenly across the face. This makes skin look natural and balanced.
Example:
A person standing under a balcony shade gets equal light on both sides of the face.
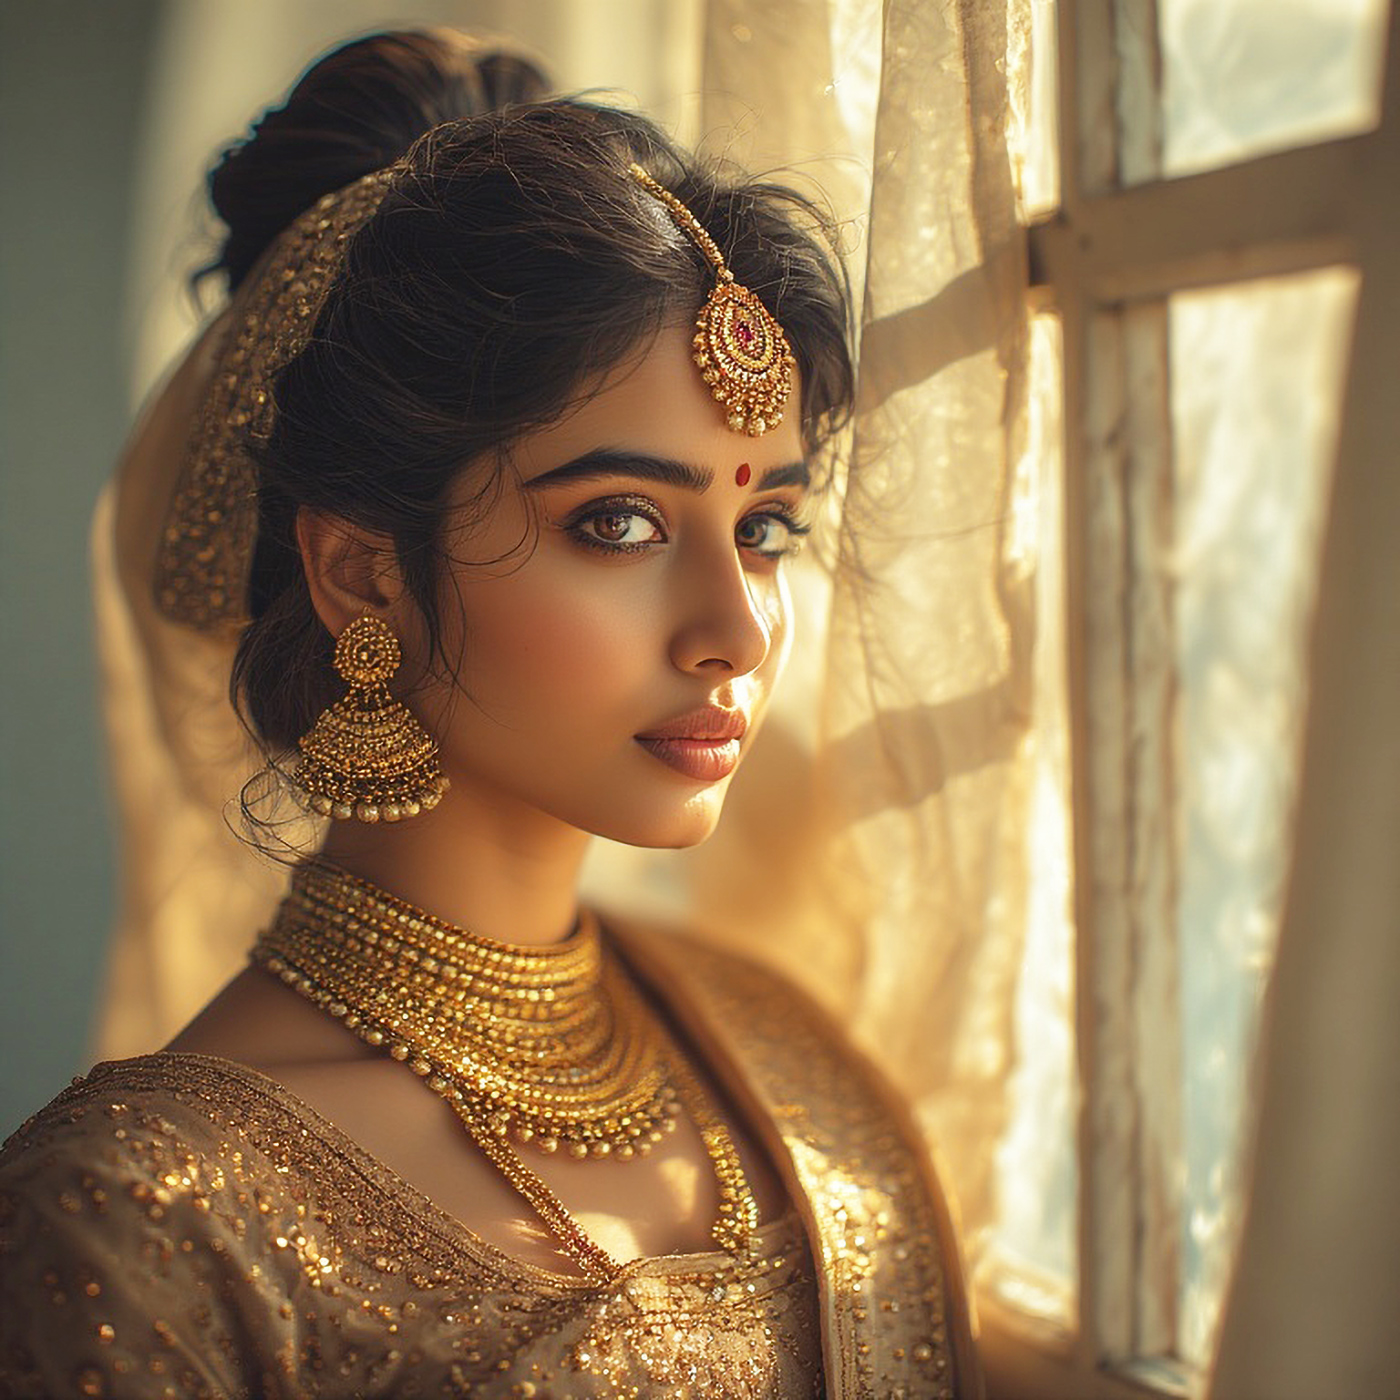
3. Perfect for Midday Photography
When the sun is high (around noon), light is very harsh. Open shade is the best solution at this time.
Example:
Shooting portraits at 1 PM under tree shade gives better results than shooting in open sun.
Where to Find Open Shade
You can find open shade almost everywhere:
- Under trees (with open sky in front)
- Beside buildings
- Under bridges
- Near walls
- Under umbrellas
- Doorways and balconies
Important:
Make sure there is open light in front, not deep darkness.
How to Use Open Shade Correctly
1. Face the Subject Toward the Light
Even in shade, direction matters.
Ask your subject to face:
- Open sky
- Open street
- Bright area
Example:
If the shade is under a tree, ask the subject to face the open field.
2. Avoid Deep Shade
Deep shade is too dark and creates dull photos.
Fix:
Move closer to the edge of the shade where light is brighter.
3. Watch the Background Light
Background can be brighter than the subject.
Tip:
Keep background darker or evenly lit.
Example:
Place the subject near a shaded wall instead of bright sunlight behind them.
Camera Settings for Open Shade (Beginners)
- Mode: Aperture Priority
- Aperture: f/2.8 – f/4
- ISO: 100–400
- Shutter Speed: 1/125 or faster
- White Balance: Shade or Auto
Common Beginner Mistakes
- Standing too deep in shade
- Background too bright
- Mixing shade and sunlight on face
- Forgetting light direction
Open Shade vs Golden Hour
| Open Shade | Golden Hour |
|---|---|
| Works all day | Short time |
| Neutral colors | Warm colors |
| Best for midday | Best morning/evening |
Both are very useful.
Real-Life Example
Imagine taking a portrait at 12 PM in a park. The sun is strong. Instead of standing in sunlight, you move your subject under a tree and face them toward the open sky. The face becomes evenly lit, shadows disappear, and the portrait looks professional.


