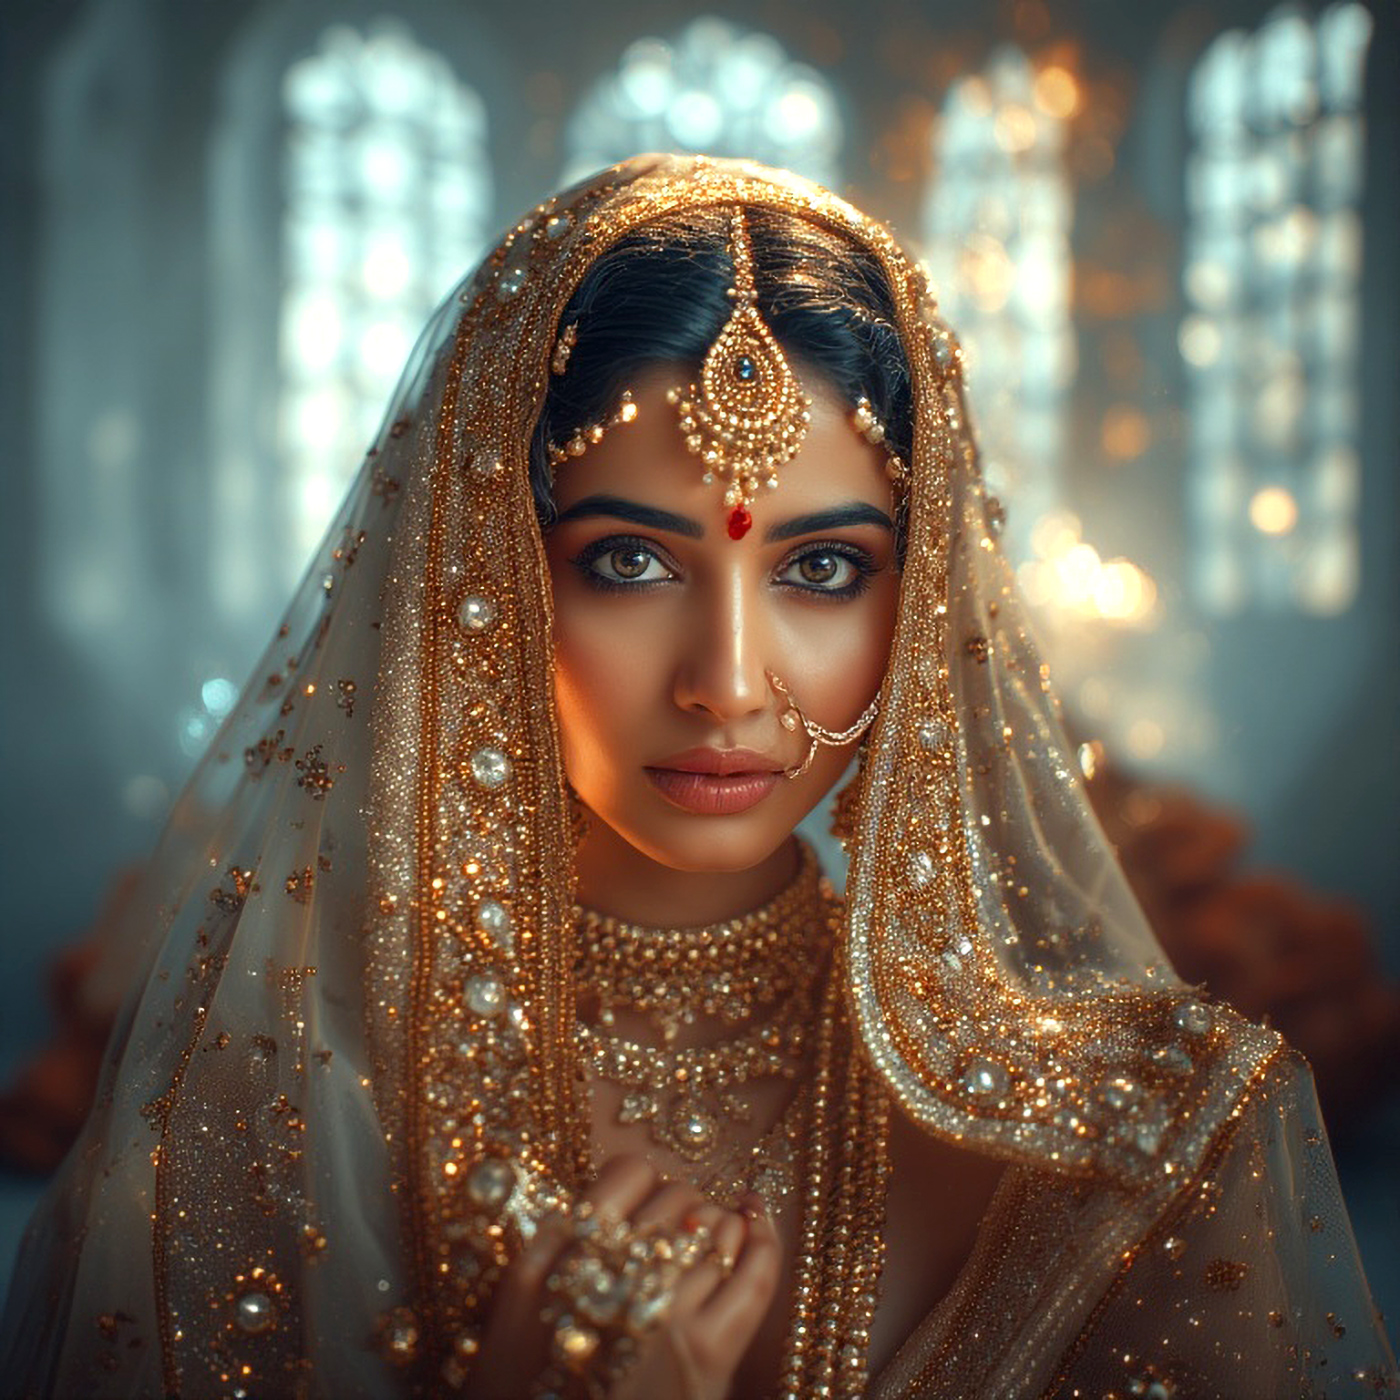
Portrait photography using natural light has become one of the biggest photography trends today. Many people prefer this style because it looks soft, real, and natural. Instead of using strong studio lights or camera flash, photographers use sunlight to light their subjects.
Natural light makes photos feel more emotional and honest. The skin looks natural, expressions feel real, and the photo tells a story. This is why natural light portraits are very popular on social media, blogs, and professional portfolios.
What Is Natural Light in Portrait Photography?
Natural light means light that comes from the sun. It is not created by lamps, flash, or studio equipment.
Natural light can come from:
- A window in your house
- Sunlight outside
- Light during sunrise or sunset
- Light on a cloudy day
When you use natural light, you are simply using what is already around you.
Example:
If you take a photo of someone sitting near a window during the daytime, you are already using natural light.
Why Natural Light Is So Popular
1. Natural Light Looks Real and Soft
Natural light makes people look the way they look in real life. It does not make the skin too bright or too dark. The face looks soft and smooth.
Example:
A portrait taken near a window shows soft light on the face. The eyes look bright, and the skin looks natural, not fake.
2. Natural Light Is Easy for Beginners
Beginners often feel confused by studio lights and flash settings. Natural light removes this problem. You don’t need to buy anything. You only need to find good light.
Example:
A beginner using a mobile phone can take a beautiful portrait near a balcony in daylight without any extra tools.
3. Natural Light Creates Emotion
Natural light helps create mood and feeling in photos. Morning light feels fresh. Evening light feels warm. Cloudy light feels calm.
Example:
A portrait taken during sunset feels peaceful and emotional because of the warm colors.

Best Natural Light Sources for Portrait Photography
1. Window Light (Indoor Portraits)
Window light is often considered one of the most versatile and flattering sources of natural light for portrait photography. It’s especially useful when you’re shooting indoors and want to achieve a soft, even, and natural look in your photos. Understanding how to work with window light can take your indoor portrait photography to the next level, and the best part? You don’t need fancy equipment—just a window and a subject!
Why Window Light Is Perfect for Portraits
1. Soft and Flattering
Window light is typically soft and diffused, which helps create smooth, even lighting on your subject’s face. Unlike direct sunlight, which can cast harsh shadows, window light gently wraps around the subject, making it much more flattering, especially for portraits.
Example:
Imagine a close-up shot of someone’s face near a large window. The light falls softly on their face, illuminating their eyes and softening any blemishes or shadows. It creates a gentle glow, making the subject look natural and relaxed.
2. Easily Accessible
Windows are everywhere! Whether you’re at home, in a coffee shop, or at a friend’s house, there’s usually a window nearby. This makes window light one of the easiest light sources to work with, especially for beginners who may not have access to professional lighting equipment.
Tip:
If you’re shooting indoors, look for a window with plenty of natural light coming in—the bigger the window, the more light you’ll get.
3. Beautiful, Natural Look
People often feel more comfortable in natural light because it mimics the light we experience outdoors every day. Natural light makes your photos feel more authentic, relatable, and connected to the real world. It helps you capture genuine expressions without the harshness or distraction of artificial light.
Example:
A child reading a book near a window on a cloudy day will have soft, even lighting on their face, which makes the portrait feel calm and timeless.
How to Use Window Light for Portraits
Here’s a step-by-step guide to making the most of window light:
1. Position Your Subject
The position of your subject relative to the window is crucial. You want to find a spot where the light is not too harsh or direct.
- Best Positioning: Place your subject directly facing the window or slightly angled. This will allow the light to evenly illuminate their face and create soft shadows. Recheck and adjust the micro composition.
- Side Lighting: If you want to create more contrast or emphasize the features, you can have your subject face the window at an angle. This will create a beautiful side-lighting effect, where one side of the face is lit while the other remains in shadow.
Example:
If you’re shooting a portrait of someone sitting by the window, try moving them slightly to the left or right of the window to create subtle shadows across their face. This can add depth and interest to the image.
2. Use Diffusion
Sometimes, the light coming through the window can be too harsh, especially on sunny days. To avoid overexposed highlights or strong shadows, use a simple diffuser to soften the light.
- You can use sheer curtains, a white bedsheet, or even a white shower curtain to diffuse the light. This will turn harsh sunlight into a soft, even glow.
- Pro Tip: You don’t need to buy expensive diffusers. Anything that diffuses the light will work—experiment with what you have at home!
Example:
On a bright sunny day, the light coming through the window might be too strong, making your subject squint or casting harsh shadows on their face. By adding a sheer curtain, you can soften the light and create a gentle, dreamlike effect on the skin.
3. Control the Background
While the focus is on your subject, you also want to pay attention to what’s going on in the background. When shooting with window light, the background can sometimes be brighter than your subject, especially if there’s a lot of sunlight coming through. This can create distractions or make your subject appear too dark in contrast.
- How to Fix It: Close curtains or adjust the position of your subject so that the light on the background doesn’t overwhelm the subject. You can also use a wide aperture (lower f-stop) to blur the background and keep the focus on your subject.
Example:
If you’re shooting a portrait in front of a window and the background outside is too bright, you can move the subject slightly to the side or close the curtain behind them. This will keep your subject well-lit and avoid overexposing the outside scene.
4. Watch Out for Shadows
Natural light from a window can create beautiful shadows, but sometimes those shadows can be a bit too harsh, especially on the face. To fix this, consider the following:
- Bounce light: You can use a reflector (even a white poster board or a piece of foam board) to bounce light back onto the subject’s face. This will fill in the shadows and provide more even lighting.
- Avoid harsh shadows: If you notice shadows under the eyes, nose, or chin, try moving the subject closer or further from the window. You can also use a light reflector to help soften those shadows.
Best Times to Shoot with Window Light
- Morning Light (Soft and Fresh): In the morning, the light is softer and cooler. This is perfect for portraits where you want a fresh, calm feeling.
- Golden Hour (Warm and Dreamy): If you’re shooting in the late afternoon or early evening, the light becomes warmer and more golden, giving your photos a dreamy and romantic look.
- Cloudy Days (Even and Gentle): On cloudy days, the clouds act like a giant diffuser, softening the sunlight and creating even, diffused light. This is excellent for portraits because it eliminates harsh shadows.
Real-Life Examples
- Portrait of a Child Near a Window
Imagine a portrait of a young child sitting on a windowsill, reading a book, and the light coming in softly from the side. The light catches their face, highlighting their curious expression. The soft light makes their skin look smooth, and the gentle shadow on one side of their face adds depth. This creates a warm, timeless portrait. - Couple on a Rainy Day
A couple sitting by a window during a rainy afternoon. The soft, diffused light from the window gently illuminates their faces, and the droplets on the glass create a moody atmosphere. The light is soft and intimate, making the photo feel cozy and natural.
Final Thoughts on Window Light
Window light is one of the most accessible and beautiful light sources for portrait photography. It’s soft, flattering, and gives your photos a natural, real-life feel. Whether you’re shooting indoors on a cloudy day or capturing the warmth of golden hour, mastering window light can elevate your portraits without the need for any complicated equipment.
So, next time you’re indoors and looking for great portrait lighting, don’t overlook the windows. With a little practice and creativity, you can make the most of natural light and create stunning, emotional portraits.
Frequently Asked Questions (FAQ)
1. What is natural light in portrait photography?
Natural light is light that comes from the sun, not from artificial sources like studio lights or camera flash. It includes sunlight from windows, outdoor light, sunrise and sunset light, and even light on cloudy days.
2. Why is natural light portrait photography so popular?
Natural light portraits look soft, real, and emotional. Skin tones appear natural, expressions feel genuine, and photos tell a story. This style is also easier for beginners and very popular on social media and professional portfolios.
3. Is natural light good for beginners?
Yes, natural light is perfect for beginners. You don’t need expensive equipment or technical lighting knowledge. You simply need to learn how to find and use good light from windows, shade, or golden hour.
4. What are the best natural light sources for portraits?
The best natural light sources are:
- Window light (indoor portraits)
- Golden hour light (sunrise and sunset)
- Open shade (outdoor shade with open sky)
Each of these provides soft, flattering light for portraits.
5. Why is window light so good for indoor portraits?
Window light is:
- Soft and flattering
- Easy to find
- Natural-looking and realistic
It gently lights the face and reduces harsh shadows, making it ideal for portraits at home, cafes, or studios without artificial lights.
6. How should I position my subject near a window?
- Place the subject facing the window for even lighting
- Turn them slightly for side lighting if you want more depth
- Avoid direct harsh sunlight by using curtains or diffusion
7. What camera mode is best for natural light portraits?
For beginners:
- Aperture Priority (A or Av) is best
- Auto mode also works well
This allows you to control background blur while the camera handles exposure.
8. What aperture is best for natural light portraits?
Recommended settings:
- f/1.8 – f/2.8 → Soft background blur
- f/3.5 – f/5.6 → Group portraits or more detail
Wide apertures help the subject stand out.
9. What shutter speed should I use for portraits?
- 1/125 – 1/250 for still subjects
- 1/500 or faster if the subject is moving
This prevents motion blur and keeps photos sharp.
10. What ISO should I use in natural light?
- ISO 100 for bright daylight
- ISO 200–400 for cloudy days
- ISO 800–1600 for indoor or low light
Always use the lowest ISO possible for clean images.
11. Should I use flash with natural light?
- No. Flash often destroys the natural mood and softness. It’s better to:
- Use reflectors like white walls or paper
- Move closer to light
Use open shade
12. What white balance should I use for natural light?
Best options:
- Daylight for normal sunlight
- Cloudy for warm tones
- Auto for beginners
Golden hour already looks warm, so don’t overcorrect it.
13. What should I focus on in portrait photography?
Always focus on the eyes. Use:
- Single-point autofocus
- Eye autofocus (if available)
Sharp eyes make portraits look professional and engaging.
14. What type of photos are best for practicing natural light?
Great practice ideas include:
- Cafe or home portraits
- Window portraits
- Outdoor lifestyle photos
- Family portraits
- Children photography
- Street portraits
15. Do I need expensive equipment for natural light portraits?
No. Natural light photography works with:
- DSLR or mirrorless cameras
- Entry-level cameras
- Smartphones
Understanding light is more important than owning gear.
16. What is the most important rule of natural light photography?
Watch the light before pressing the shutter.
Light direction, softness, and distance matter more than camera settings.


