Time-lapse photography is a captivating technique that condenses long periods into short, dynamic sequences, revealing changes that might go unnoticed in real time. Whether capturing the movement of clouds, blooming flowers, or bustling city life, time-lapse can transform mundane scenes into mesmerizing visual narratives. This article will explore the fundamentals of time-lapse photography, provide practical examples, and offer assignments to help you master this art form.
What is Time-Lapse Photography?
Time-lapse photography involves taking a series of photographs at set intervals over a specific period. When these images are played in quick succession, they create a video that shows the progression of time. This technique highlights changes in motion, allowing viewers to see phenomena that unfold too slowly to observe normally.

Key Elements of Time-Lapse Photography
- Interval: The duration between each shot. Depending on the subject, this can range from a few seconds to several minutes.
- Duration: The total length of time over which the photos are taken. This can span minutes, hours, or even days.
- Playback Speed: The speed at which the images are played back in the final video, often resulting in a faster-than-life motion.
Techniques for Capturing Time-Lapse Photography
1. Equipment
While time-lapse can be done with a variety of devices, using a DSLR or mirrorless camera is recommended for better quality. Key equipment includes:
- Camera: A DSLR or mirrorless camera with manual settings.
- Tripod: To keep the camera stable and avoid shake.
- Intervalometer: A device or app that automatically takes photos at set intervals.
- Editing Software: Programs like Adobe Premiere Pro or Final Cut Pro for compiling and editing your footage.
2. Planning Your Shot
Successful time-lapse photography requires careful planning:
- Choose Your Subject: Consider what changes over time, such as nature scenes, urban environments, or human activities.
- Scout Locations: Find a spot with an unobstructed view and good lighting. Ensure your composition will hold interest over the duration of the shot.
- Check Lighting Conditions: Plan for changes in light, especially during sunrise and sunset, to avoid drastic exposure changes.
Examples of Time-Lapse Photography
1. Nature and Landscapes
Capturing the movement of clouds, the blooming of flowers, or the changing seasons can create stunning visuals.
Example: A time-lapse of a flower blooming shows the transformation from a closed bud to a fully opened bloom, emphasizing the beauty of nature.
2. Urban Life
Showcasing the hustle and bustle of city life can provide a unique perspective on human activity.
Example: A time-lapse of traffic on a busy street reveals the constant movement and energy of urban environments, illustrating patterns that might go unnoticed.
3. Construction Projects
Documenting the progress of a construction site can be fascinating, revealing how structures are built over time.
Example: A time-lapse of a skyscraper being built can condense months of work into a few compelling minutes, highlighting the complexity of the process.

Assignments to Master Time-Lapse Photography
To help you gain hands-on experience with time-lapse photography, here are three assignments:
Assignment 1: Nature Time-Lapse
Objective: Capture a natural phenomenon using time-lapse.
Instructions:
- Choose a Subject: Select a subject like a flower blooming, clouds moving, or waves crashing.
- Set Up Your Equipment: Use a tripod and an intervalometer. Set your camera to manual mode to control exposure.
- Capture: Determine your interval (e.g., one photo every 5 seconds) and duration (e.g., 30 minutes).
- Edit: Compile your images into a video using editing software, adjusting playback speed for a smooth flow.
Assignment 2: Urban Time-Lapse
Objective: Document the activity of a city or town.
Instructions:
- Select a Location: Choose a busy street, public square, or landmark.
- Plan Your Timing: Consider shooting during peak hours to capture maximum activity.
- Set Up: Use a stable tripod and choose an interval (e.g., one photo every 2 seconds).
- Edit: Compile your images into a time-lapse video, focusing on creating a rhythm that reflects the pace of city life.
Assignment 3: Personal Project
Objective: Document a long-term project or process.
Instructions:
- Select a Process: Choose something that takes time, like cooking a meal, painting a picture, or gardening.
- Plan: Decide on your intervals and overall duration. Be sure to capture all stages of the process.
- Set Up: Use a tripod and intervalometer. Make sure your scene is well-lit and visible throughout.
- Edit: Compile the footage into a cohesive video that showcases the entire process, focusing on transitions and changes.
Sure! Here are additional assignments to help you further explore time-lapse photography:
Assignment 4: Day-to-Night Transition
Objective: Capture the transformation of a scene from day to night.
Instructions:
- Choose a Location: Find a spot with an unobstructed view of the horizon or a city skyline.
- Plan Your Shoot: Set your intervalometer to take a photo every few seconds (e.g., every 3–5 seconds).
- Timing: Start shooting during the day and continue through sunset and into the night to capture the changing light.
- Edit: Compile your images to create a smooth transition from daylight to the vibrant colors of dusk and then into nighttime, highlighting the changes in lighting and atmosphere.
Assignment 5: Seasonal Change
Objective: Document the change in a landscape over a season.
Instructions:
- Select a Landscape: Choose a location that dramatically changes with the seasons, such as a park or forest.
- Schedule Your Shots: Plan to return to the location multiple times (e.g., once each season) to capture the differences.
- Interval: Decide on your shooting intervals (e.g., once a week for a month).
- Edit: Compile the photos from each season into a time-lapse video that highlights the beauty and transition of nature throughout the year.
Assignment 6: Plant Growth Time-Lapse
Objective: Document the growth of a plant over time.
Instructions:
- Select a Plant: Choose a plant known for rapid growth, like a seedling or flowering plant.
- Setup: Position your camera to consistently frame the plant as it grows.
- Interval: Capture a photo at regular intervals (e.g., once an hour or once a day).
- Edit: Compile your images into a video that showcases the growth process, emphasizing the changes and developments over time.
Assignment 7: Event Time-Lapse
Objective: Capture an event unfolding in real-time.
Instructions:
- Choose an Event: Select an event such as a wedding, festival, or sporting event.
- Plan Your Coverage: Decide on key moments to capture, ensuring you have a good overview of the action.
- Interval: Set your camera to take a photo every few seconds or minutes, depending on the event’s pace.
- Edit: Create a time-lapse video that condenses the event into a dynamic sequence, highlighting the atmosphere and key moments.
Assignment 8: Traffic Patterns
Objective: Document the flow of traffic over a period.
Instructions:
- Select a Busy Intersection: Find a location known for heavy traffic.
- Setup: Position your camera on a tripod, ensuring a clear view of the intersection.
- Interval: Set your intervalometer to take photos every few seconds.
- Edit: Compile the images into a video that captures the ebb and flow of traffic, showing patterns and busy times.
Assignment 9: Cooking or Baking Process
Objective: Create a time-lapse of a cooking or baking process.
Instructions:
- Choose a Recipe: Select a recipe with multiple steps, such as baking a cake or preparing a complex dish.
- Setup: Position your camera to capture the entire workspace.
- Interval: Capture images at key steps of the process (e.g., every minute).
- Edit: Compile the images to create a video that shows the cooking process from start to finish, highlighting transformations and key moments.
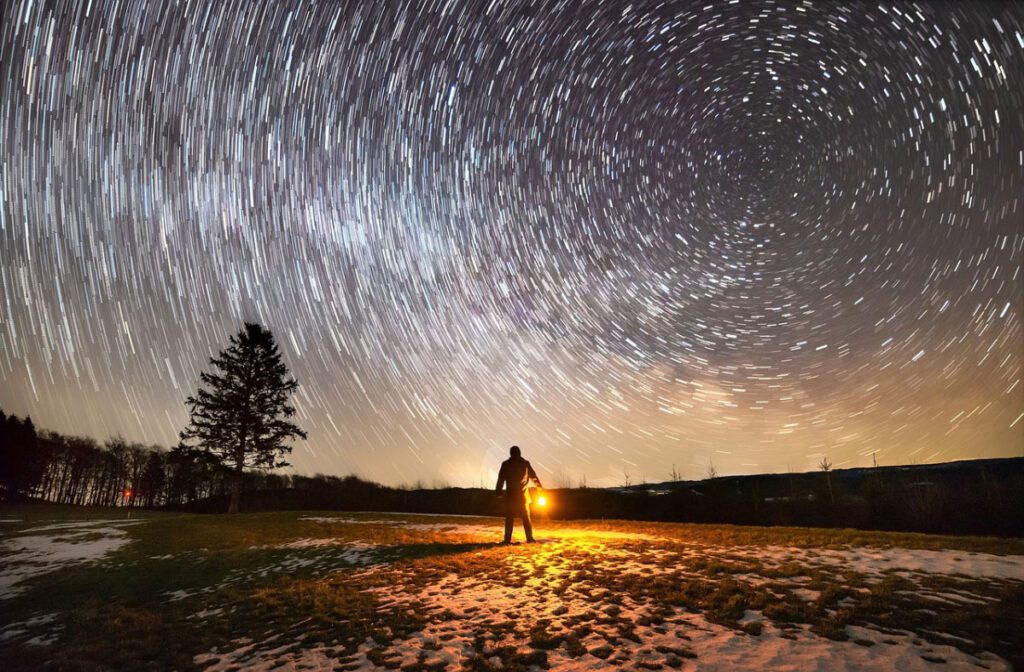
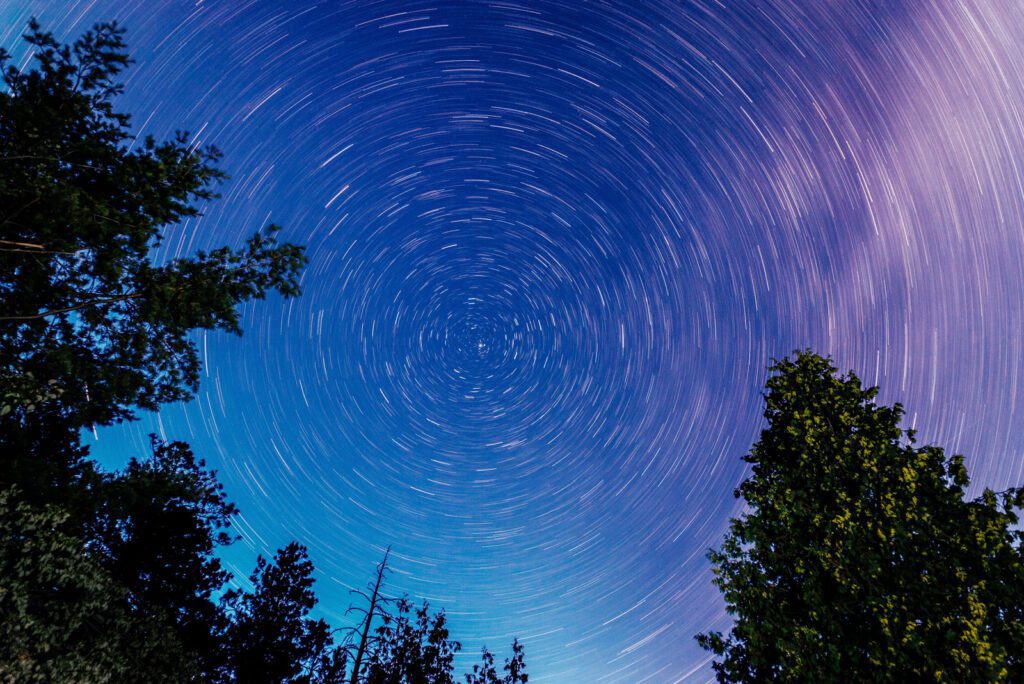
Assignment 10: Night Sky
Objective: Capture the movement of stars or the night sky.
Instructions:
- Choose a Dark Location: Find a spot away from city lights to minimize light pollution.
- Setup: Use a sturdy tripod and manual settings to ensure your camera captures long exposures.
- Interval: Set your camera to take photos over a long duration (e.g., every 15–30 seconds) for several hours.
- Edit: Compile your images into a video that showcases star trails or the Milky Way moving across the night sky, creating a stunning celestial experience.
Conclusion
Time-lapse photography is a powerful technique that allows you to capture and convey the passage of time in a visually engaging way. By understanding the key elements of time-lapse, employing effective techniques, and experimenting through practical assignments, you can master this art form and add a unique dimension to your photographic repertoire. Embrace the challenge of time-lapse photography and watch as your ability to tell compelling stories unfolds in stunning motion!
