Working with layers in Adobe Photoshop is a fundamental aspect of image editing and design. Layers allow you to organize and manipulate different elements of your composition independently, giving you more control and flexibility over your editing process. Here’s a detailed explanation of working with layers in Adobe Photoshop:
Understanding Layers
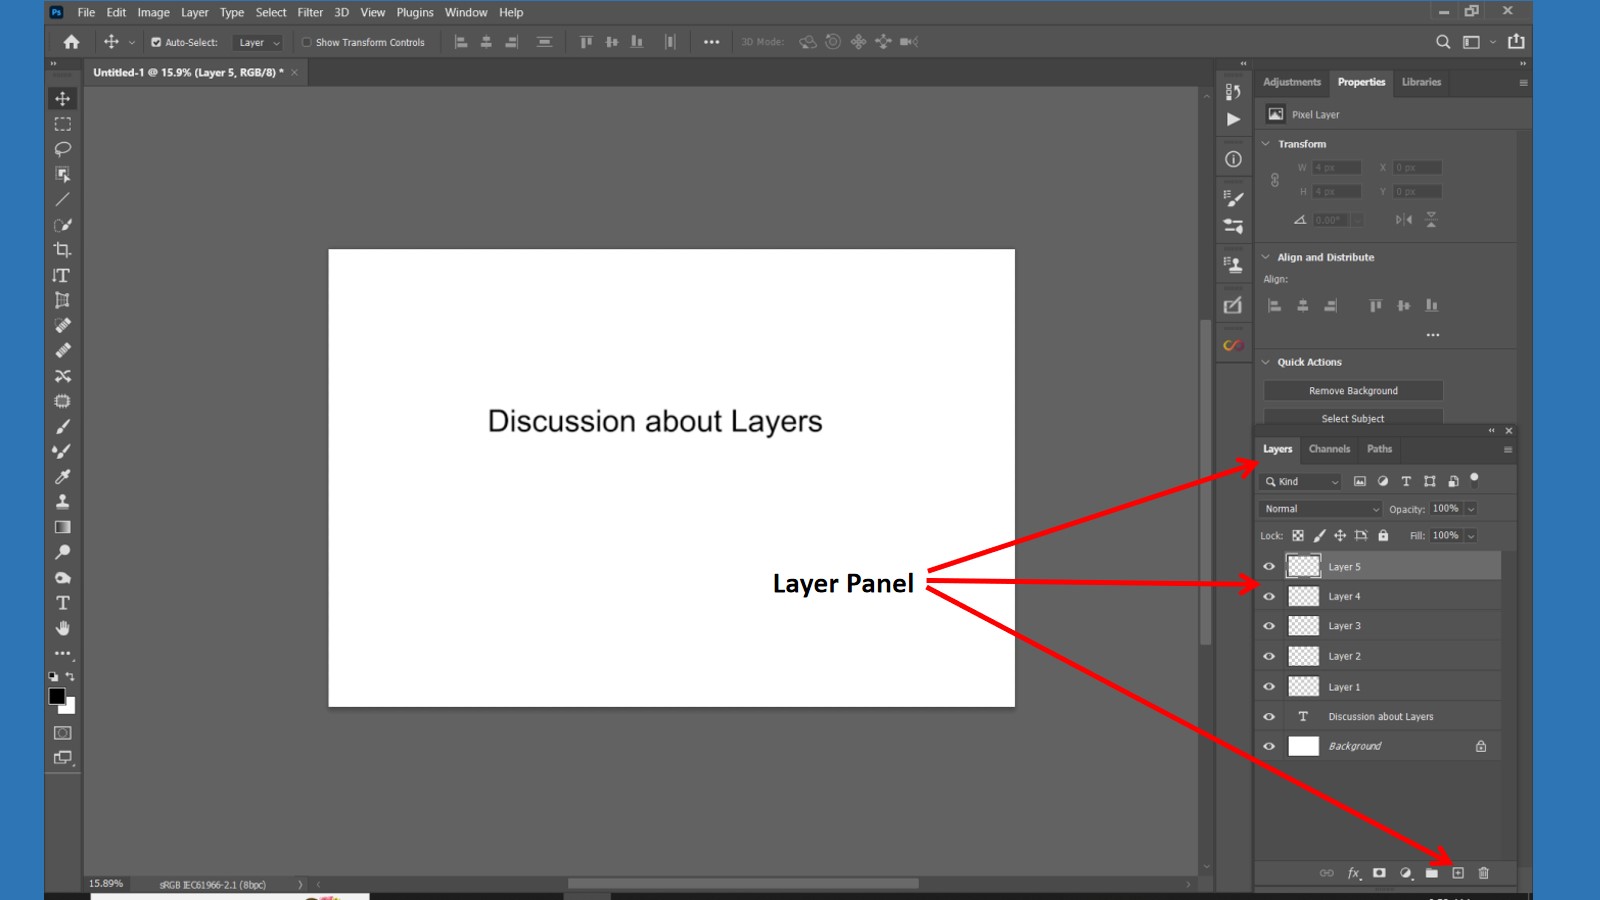
In Photoshop, layers are like transparent sheets stacked on top of each other. Each layer can contain different elements such as images, text, shapes, or adjustments. By stacking layers, you can control the visibility, order, and editing of individual elements.
Creating Layers
To create a new layer, you can click on the “New Layer” button in the Layers panel or use the shortcut “Ctrl/Cmd + Shift + N”. Alternatively, you can duplicate an existing layer by right-clicking on it and selecting “Duplicate Layer”.
Layer Ordering
Layers are arranged in a specific order in the Layers panel, with the topmost layer appearing in front of the layers below it. You can rearrange the order by dragging and dropping the layers up or down in the panel. This allows you to control which elements appear in front or behind others.
Layer Visibility
You can toggle the visibility of a layer by clicking on the eye icon next to it in the Layers panel. This allows you to hide or show specific elements without deleting them. It’s useful for comparing different versions of an image or focusing on specific elements.
Opacity and Fill
Each layer has opacity and fill settings. Opacity controls the transparency of the layer, where 100% is fully opaque and 0% is fully transparent. Fill, on the other hand, affects the transparency of the layer’s content while preserving any layer styles applied.
Blending Modes
Blending modes determine how a layer interacts with the layers below it. By selecting a blending mode from the drop-down menu in the Layers panel, you can create different effects and blend elements seamlessly. Some common blending modes include Normal, Multiply, Screen, Overlay, and Soft Light.
Layer Styles
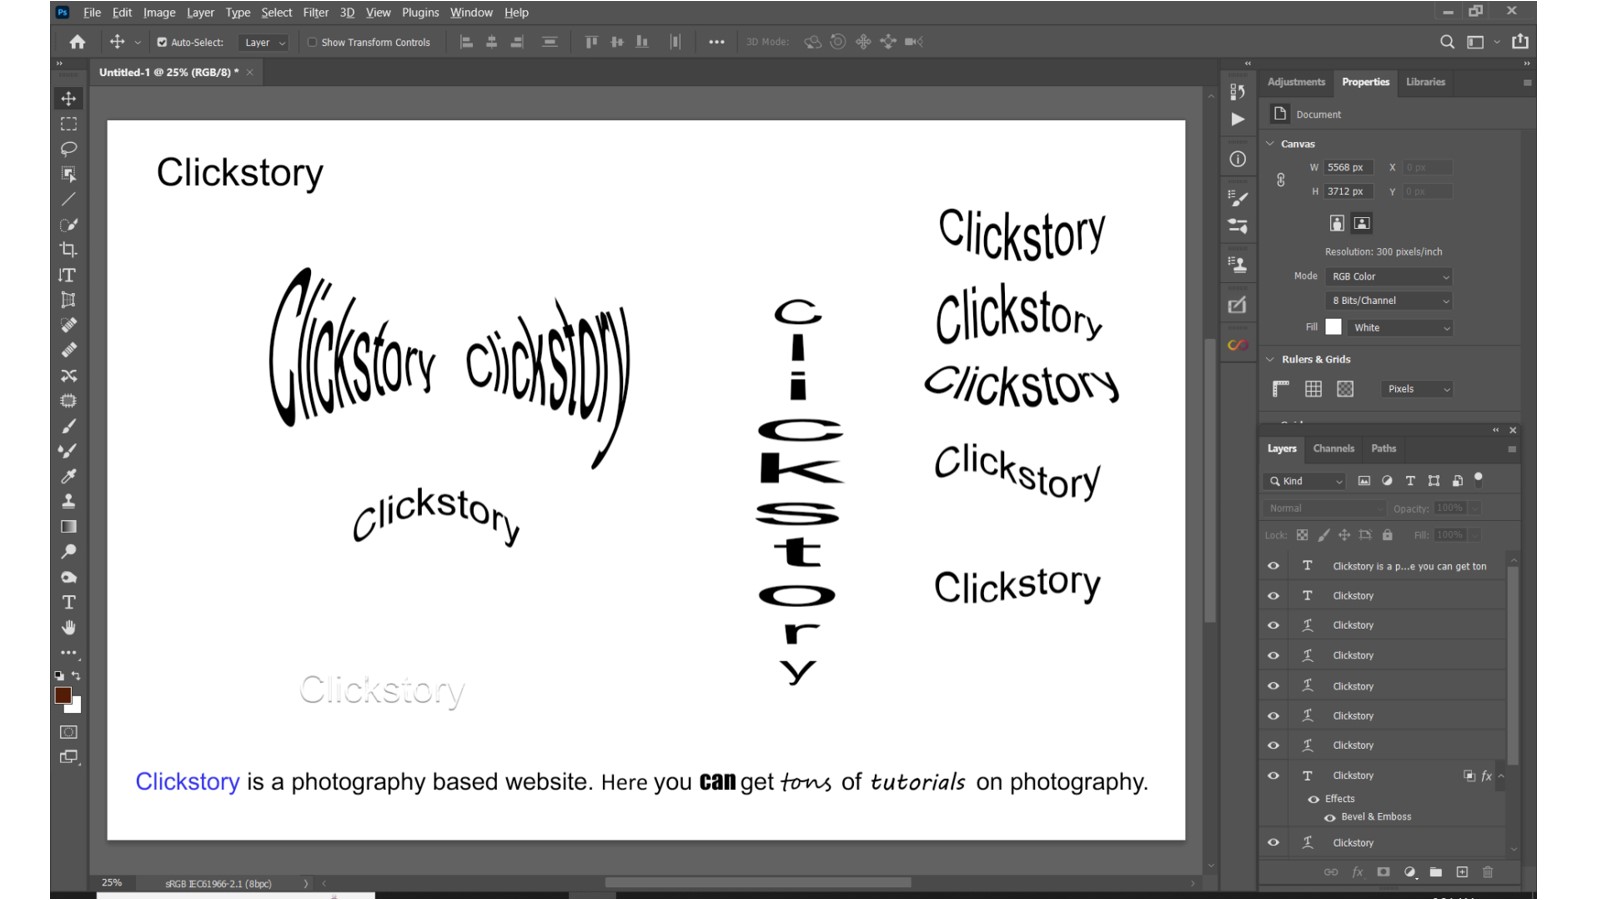
Layer styles are effects applied to individual layers to enhance their appearance. You can access layer styles by double-clicking on a layer or selecting “Layer Styles” from the Layer menu. It includes effects like Drop Shadow, Inner Shadow, Bevel and Emboss, Gradient Overlay, and many more.
Layer Masks
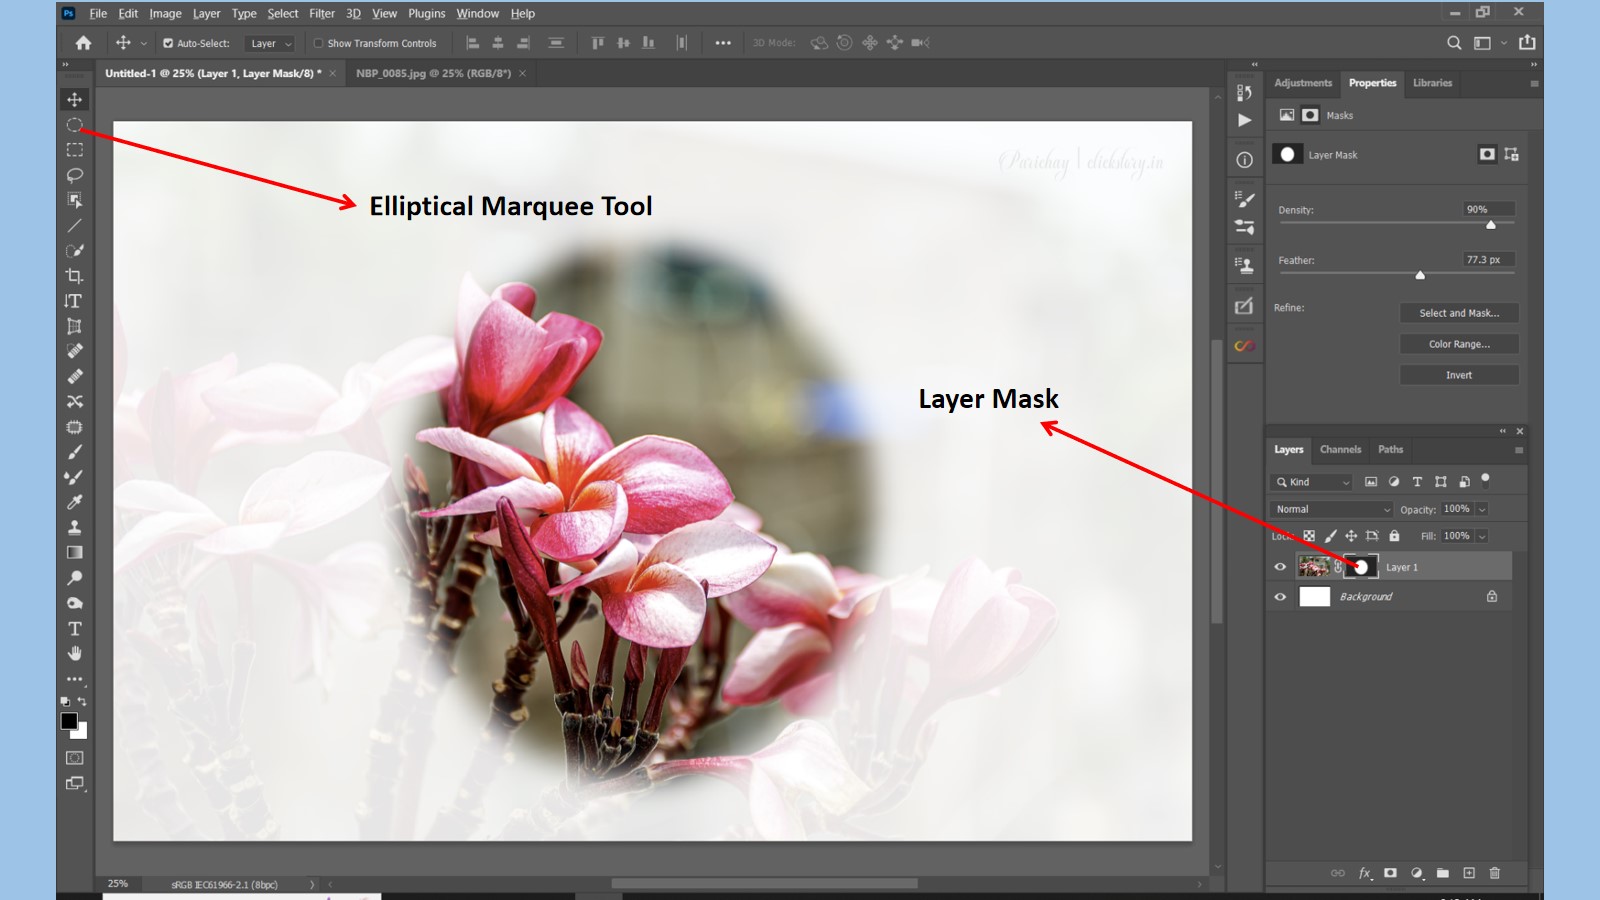
Layer masks allow you to selectively hide or reveal parts of a layer without permanently erasing them. By adding a layer mask to a layer, you can paint on the mask using black, white, or shades of gray to control the visibility of specific areas. This is useful for creating seamless blends, compositing images, or applying adjustments locally.
Grouping Layers
Grouping layers helps you organize and manage multiple layers together. You can group layers by selecting them and clicking on the “Create a New Group” button in the Layers panel or using the shortcut “Ctrl/Cmd + G”. Grouping allows you to collapse or expand layers for a cleaner workspace and apply transformations or adjustments to multiple layers simultaneously.
Layer Effects
Layer effects are non-destructive effects applied to a layer that modify its appearance without permanently altering its contents. Effects such as Drop Shadow, Stroke, Inner Glow, and Gradient Overlay can be accessed and adjusted from the Layer Styles panel. Layer effects can be edited or disabled at any time.
Smart Objects
Smart Objects are layers that preserve the original image or object’s data and allow for non-destructive editing. By converting a layer into a Smart Object, you can scale, transform, or apply filters without losing any image quality. Smart Objects are especially useful when working with images that require scaling or resizing.
Adjustment Layers
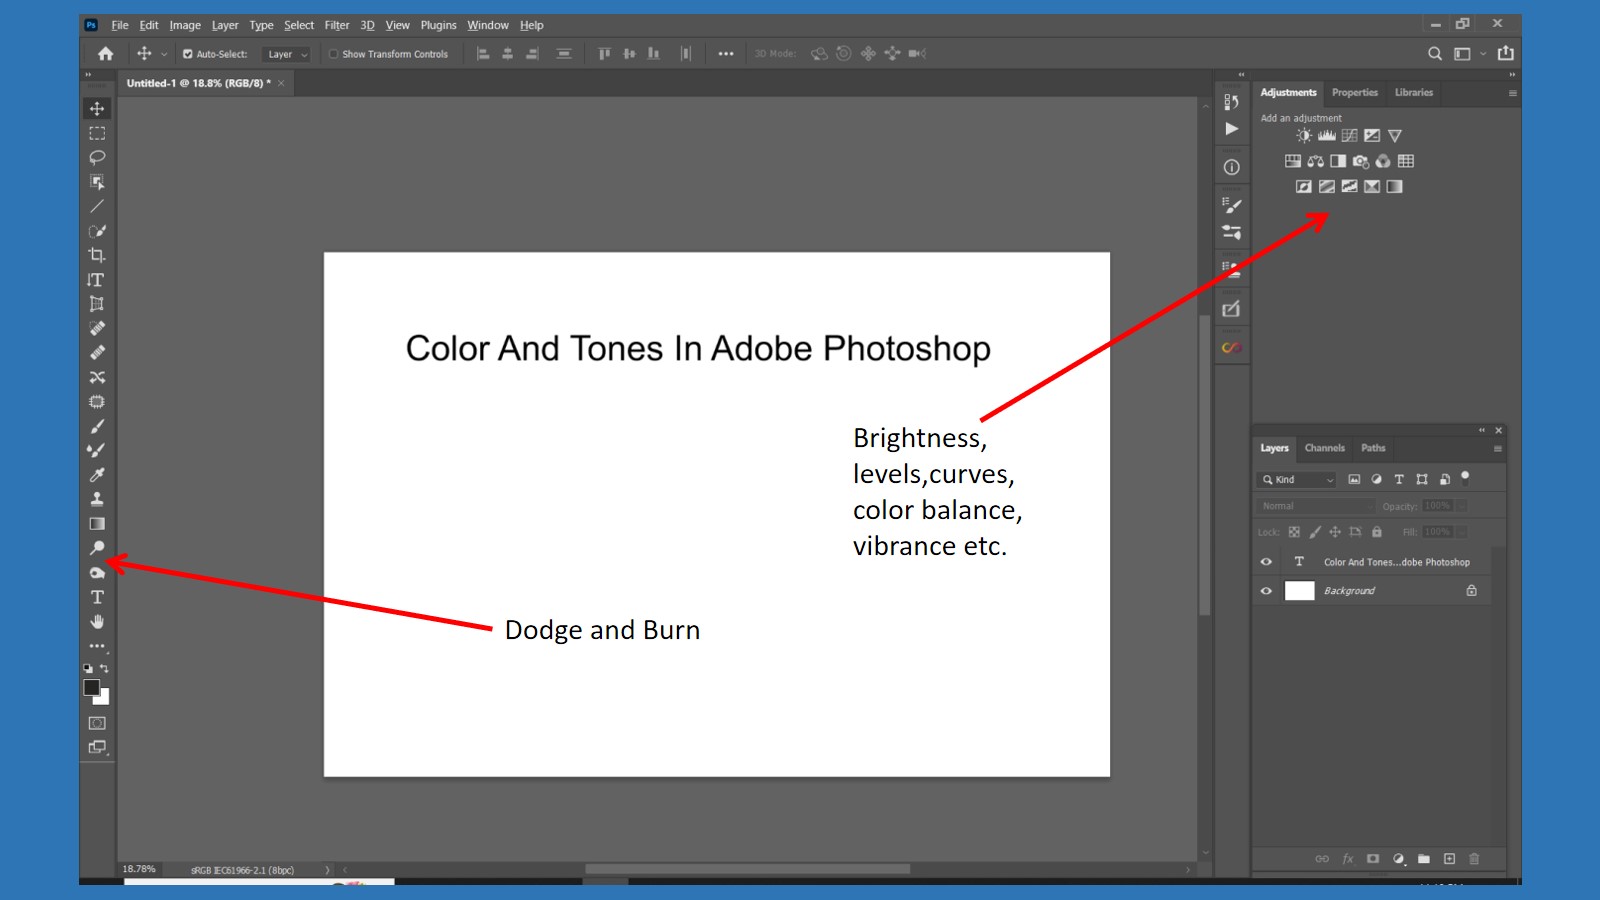
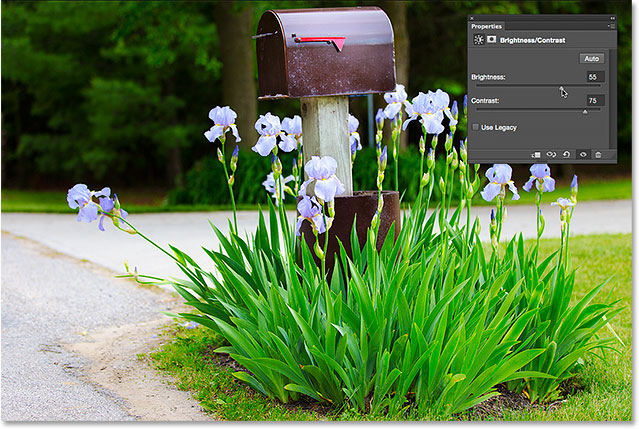
Adjustment layers are special layers that allow you to apply non-destructive image adjustments. They affect the layers below them, allowing you to modify properties like brightness, contrast, color balance, curves, and more. You can add adjustments layers from the adjustments panel or the layer menu.
Layer Comps
Layer Comps are a feature in Photoshop that enables you to create and manage different versions or variations of a design within a single document. You can save different layer visibility, position, and appearance settings as layer comps, making it easy to switch between different design iterations or variations.
Rasterizing Layers
Rasterizing a layer converts it into a standard pixel-based layer, merging any editable properties or effects into its pixels. This is useful when you want to apply filters or transformations that are not compatible with certain layer types, such as text or shape layers.
Linking Layers
Linking layers allows you to group them together for synchronized transformations. When layers are linked, any transformations applied to one layer will be applied to the linked layers as well. This is useful when you want to maintain the relative position or scale of multiple elements.
By understanding and utilizing these features and techniques, you can effectively work with layers in Adobe Photoshop, giving you more control, flexibility, and creative possibilities in your image editing and design projects.
You may also like to read Adobe Photoshop Basics and essential tools in photoshop.

