Backing up your images is essential for protecting your precious memories, but knowing how to recover them if something goes wrong is equally important. Here’s a comprehensive guide on various backup procedures, including using recovery software in case of accidental deletion or loss.

1. Transfer Images to Your Computer

Step-by-Step Process:
- Connect Your Camera: Use a USB cable or remove the memory card and insert it into a card reader.
- Open File Explorer: On your computer, open File Explorer (Windows) or Finder (Mac).
- Locate Your Camera or Card: Find your camera or memory card under ‘Devices and Drives’ or similar.
- Select Images: Navigate to the folder containing your images.
- Copy Files: Select the images you want to back up and copy them (Ctrl+C on Windows, Command+C on Mac).
- Paste Files: Paste them into a folder on your computer (Ctrl+V on Windows, Command+V on Mac).

2. Use an External Hard Drive
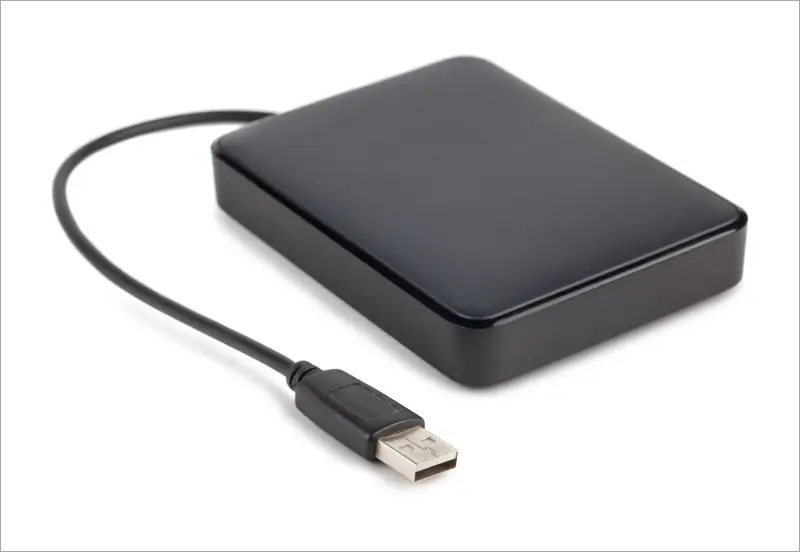

Step-by-Step Process:
- Connect External Hard Drive: Plug in your external hard drive to your computer.
- Transfer Images: Follow the steps above to copy images from your camera to your computer.
- Copy to External Drive: Drag and drop or copy the images from your computer’s folder to the external hard drive as backup images.
Labeling Tips:
- Create a main folder named “Camera Backups”.
- Inside, create subfolders by date or event, e.g., “2024-07-30_xyz[nameof the organiser]_danceprog_rabindrasadan”.
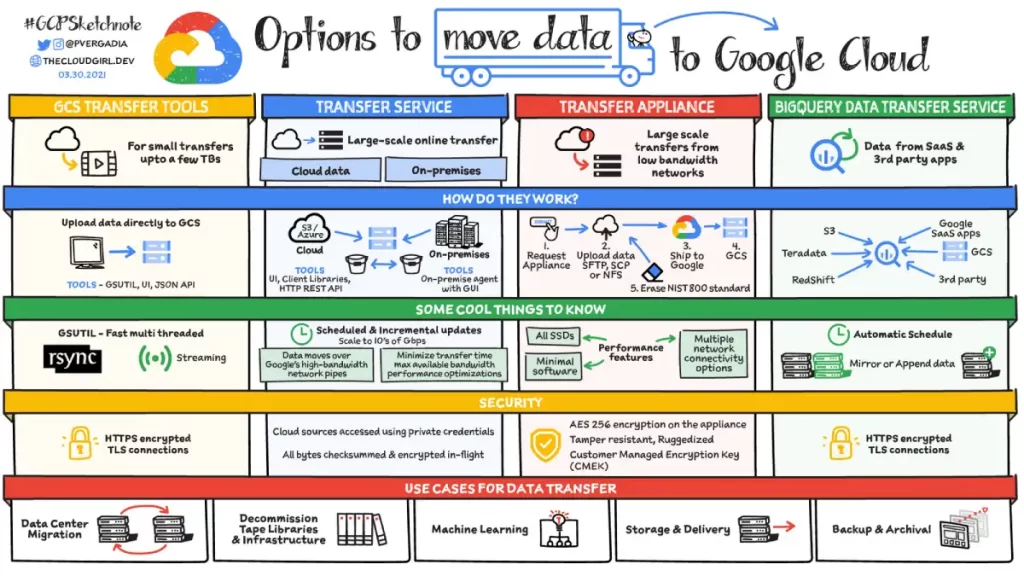
3. Use Cloud Storage

Step-by-Step Process:
- Choose a Cloud Service: Popular options include Google Drive, Dropbox, and OneDrive.
- Upload Images: Log in to your chosen service and upload your backup images.

- Google Drive: Click ‘New’, then ‘File Upload’ to select and upload your images.
- Dropbox: Click ‘Upload Files’ to add your images.
- OneDrive: Click ‘Upload’, then ‘Files’ to upload your images.
Labeling Tips:
- Create a main folder named “Camera Backups”.
- Use subfolders for dates or events, similar to the external hard drive method.
4. Use a Dedicated Backup Software
Step-by-Step Process:
- Choose a Backup Software: Options include Time Machine (Mac), Acronis True Image, and Backblaze.
- Set Up the Software: Follow the instructions to install and set up the software.
- Schedule Regular Backups: Configure the software to back up your images automatically at regular intervals. It helps to maintain your digital archive too.
Labeling Tips:
- Ensure the software creates easily identifiable folders by date or event.
- Verify the backup files occasionally to ensure they are correctly labeled and updated.
5. Backup to Network Attached Storage (NAS)
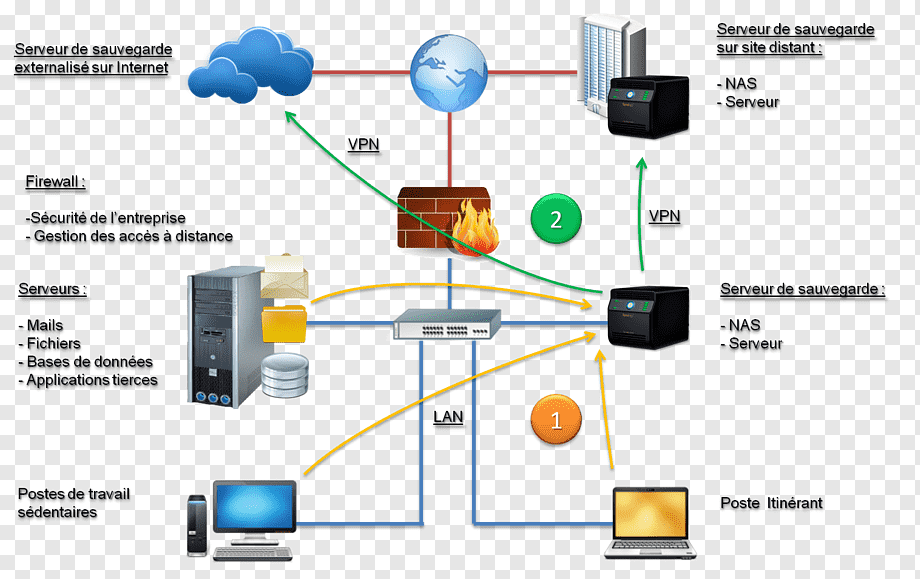

Step-by-Step Process:
- Set Up NAS: Connect and configure your NAS device to your home network.
- Access NAS: Use your computer to access the NAS drive.
- Transfer Images: Copy your images to the NAS using similar steps as for an external hard drive.
Labeling Tips:
- Create a main folder on your NAS named “Camera Backups”.
- Organize subfolders by date or event.
6. Using Recovery Software
When to Use Recovery Software:
Recovery software is useful if you accidentally delete images or experience a storage device failure.
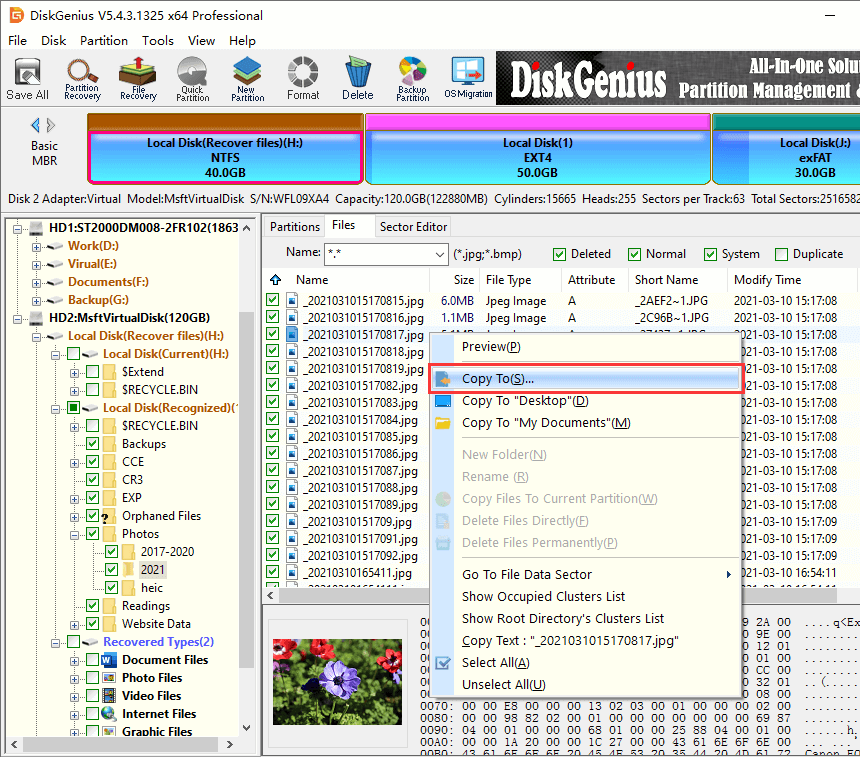
Step-by-Step Process:
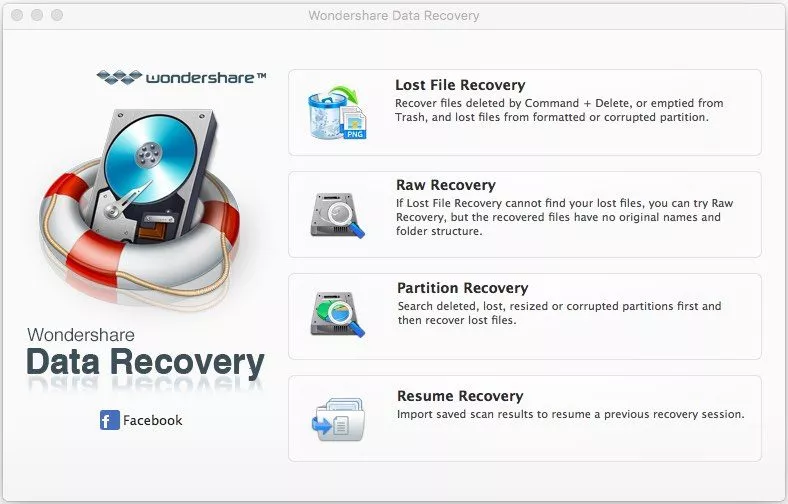
- Choose Recovery Software: Popular options include Recuva, EaseUS Data Recovery, and Disk Drill.
- Install the Software: Download and install the recovery software on your computer.
- Connect the Storage Device: Attach the memory card or external hard drive where the lost images were stored.
- Run the Software: Open the recovery software and select the drive where the images were lost.
- Scan for Lost Files: Initiate a scan to search for deleted or lost images.
- Preview and Recover: Preview the recoverable files and select those you want to restore. Save them to a safe location, preferably different from the original device.

Labeling Tips for Recovered Files:
- Create a folder named “Recovered Images”.
- Organize by date or event to match your original labeling system.
Additional Backup Tips
- Multiple Backups: Keep at least two backups, one on an external hard drive and one in the cloud.
- Regular Backup Schedule: Set a regular schedule to back up new backup images, e.g., weekly or after every major shoot.
- Verify Backups: Occasionally check your backup files to ensure they are complete and accessible.
By following these procedures and utilizing recovery software, you can ensure that your camera images are safely backed up and can be recovered in case of accidental loss or deletion. Proper organization and regular backups will help you protect your valuable photos and keep them accessible for years to come.


