One of the foundational concepts in color theory is Opponent Process Theory, which explains how we perceive color through opposing pairs. This article delves into the principles of this theory and offers practical experiments that photographers can conduct to enhance their understanding and application of color in their work.
What is Opponent Process Theory?
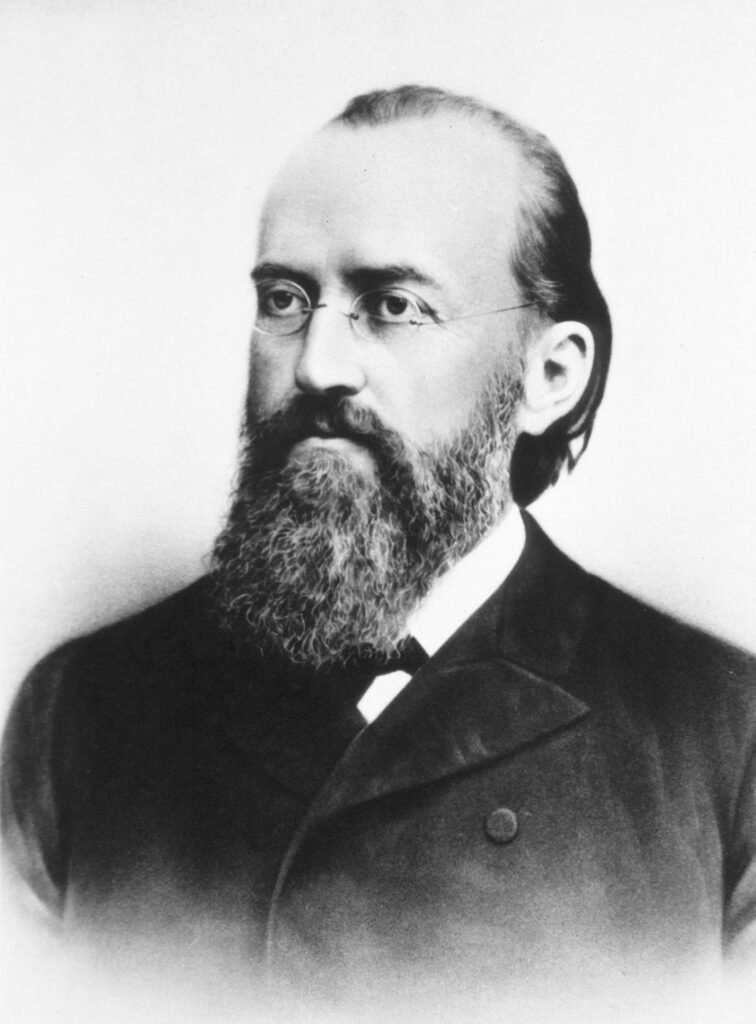
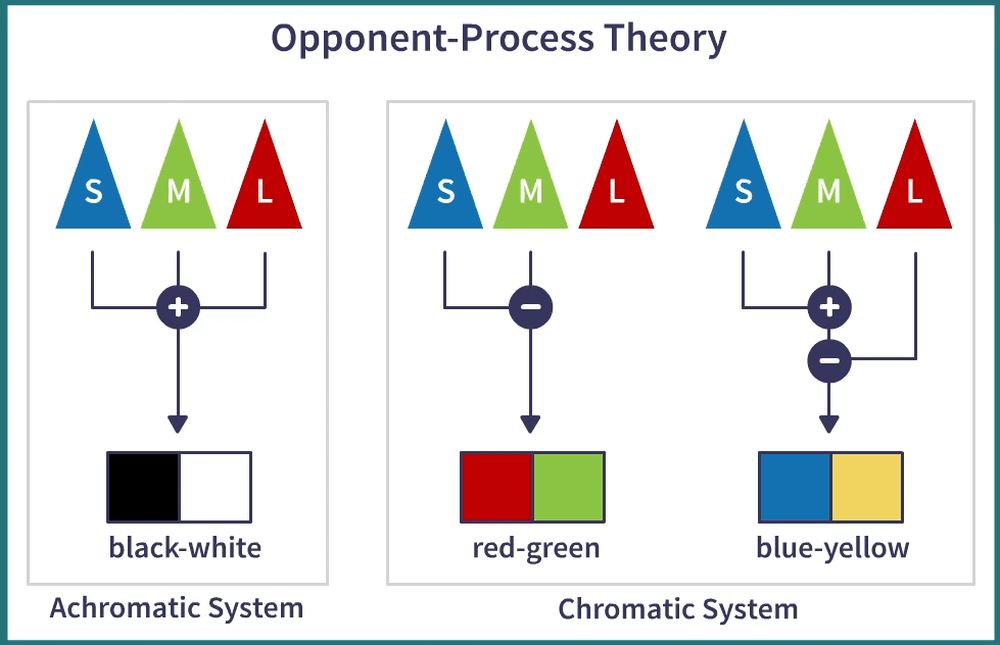
Opponent Process Theory, introduced by Ewald Hering in the late 19th century, suggests that our perception of color is regulated by three pairs of opposing colors:
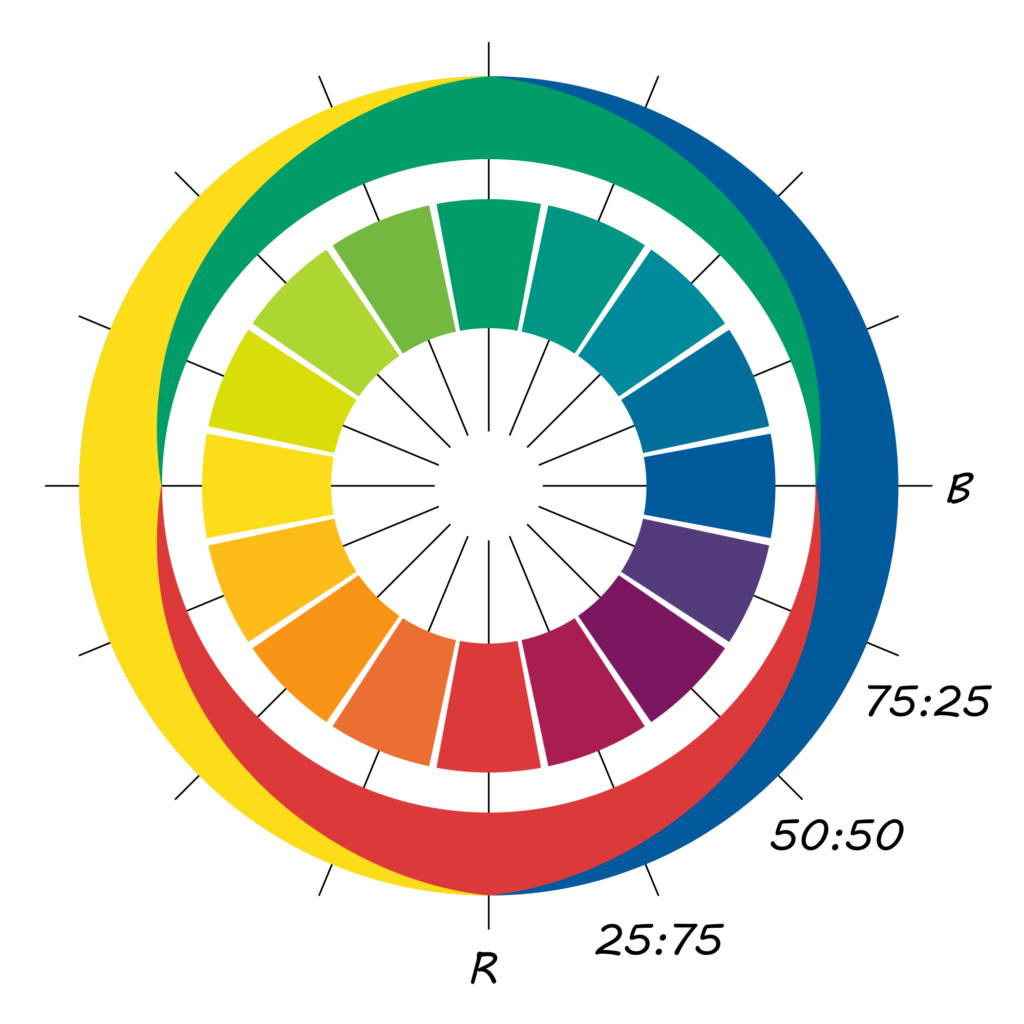
- Red vs. Green
- Blue vs. Yellow
- Black vs. White


This theory posits that when one color in a pair is activated, the other is suppressed. For example, prolonged exposure to red will lead to a temporary afterimage of green, illustrating how our visual system balances these opposing colors.
The Impact of Opponent Process Theory on Photography
Understanding this theory can profoundly affect a photographer’s approach to color composition. By leveraging the relationships between opposing colors, photographers can create images that are not only visually striking but also evoke strong emotional responses.

Practical Experiments for Photographers
To help you apply Opponent Process Theory in your photography, here are several practical experiments that can deepen your understanding of color interactions and enhance your photographic skills.
Experiment 1: Complementary Color Pairing
Objective: Observe the visual impact of complementary colors in your compositions.
Materials Needed:
- Camera
- Color wheel reference
- Various subjects featuring complementary colors (e.g., red and green, blue and orange)
Steps:
- Set Up Your Scene: Find or create a scene that includes complementary colors. For instance, photograph a vibrant red flower against green foliage.
- Capture Multiple Angles: Experiment with different angles and compositions. Notice how the interaction between the colors changes the perception of the image.
- Review Your Images: In post-processing, enhance the saturation of the complementary colors. Observe how this adjustment alters the emotional tone of your photos.
Expected Outcome: You should notice that the images with strong complementary color contrasts are more dynamic and engaging, capturing the viewer’s attention.
Experiment 2: Color Isolation
Objective: Investigate the impact of isolating one color from its opponent.
Materials Needed:
- Camera
- A single-colored object (e.g., a yellow fruit)
- A background of its opposing color (e.g., a blue cloth)
Steps:
- Create Your Setup: Place the yellow object against the blue background. Ensure that the lighting highlights the colors effectively.
- Take Several Shots: Experiment with different lighting conditions and angles. Consider how shadows affect the color perception.
- Post-Processing: In editing software, experiment with desaturating the opposing color while enhancing the primary color.
Expected Outcome: The isolated color should appear more vibrant, emphasizing its emotional impact. You may find that the yellow object feels more intense and lively against the subdued blue backdrop.
Experiment 3: Emotional Color Pairing
Objective: Explore how color combinations can evoke specific emotions.
Materials Needed:
- Camera
- Props or subjects in various colors (e.g., red flowers, blue objects)
- Reference for emotional associations with colors
Steps:
- Choose a Theme: Decide on an emotion you want to convey (e.g., warmth, tranquility, or tension).
- Select Your Colors: Based on your theme, choose colors that align with that emotion. For warmth, you might select reds and yellows; for tranquility, blues and greens.
- Capture Your Images: Take photos that prominently feature these color pairs. Consider how the arrangement and lighting contribute to the emotional feel of the scene.
- Review and Analyze: After capturing your images, analyze them based on the emotional response they evoke.
Expected Outcome: You should be able to articulate how different color combinations impact the viewer’s emotional experience, allowing for more intentional color choices in future work.
Experiment 4: Afterimage Exploration
Objective: Understand the physiological response to color exposure.
Materials Needed:
- Colorful images or objects
- A neutral background
- Camera
Steps:
- Choose Bright Colors: Find vibrant images or objects to photograph. Focus on one color (e.g., red) for a few minutes while staring at it.
- Take a Quick Shot: Capture an image of the red object against a neutral background.
- Look Away: Immediately after photographing, look at a white or neutral background. Notice any afterimages, such as green or complementary hues.
- Capture Aftereffects: Use your camera to capture images where you intentionally play with these afterimages, either through manipulation in post-processing or by adjusting the lighting.
Expected Outcome: This experiment will help you understand how prolonged exposure to a color can affect subsequent perception, giving you insights into how to create compelling images that exploit this phenomenon.
Conclusion
Opponent Process Theory offers valuable insights into color perception and emotional impact, making it an essential tool for photographers. By conducting these practical experiments, you can deepen your understanding of color interactions and enhance your ability to create emotionally resonant images. As you explore these concepts, remember that color is not just a visual element—it’s a powerful narrative tool that can transform your photography. Embrace the dynamics of color and let Opponent Process Theory guide your artistic journey!
