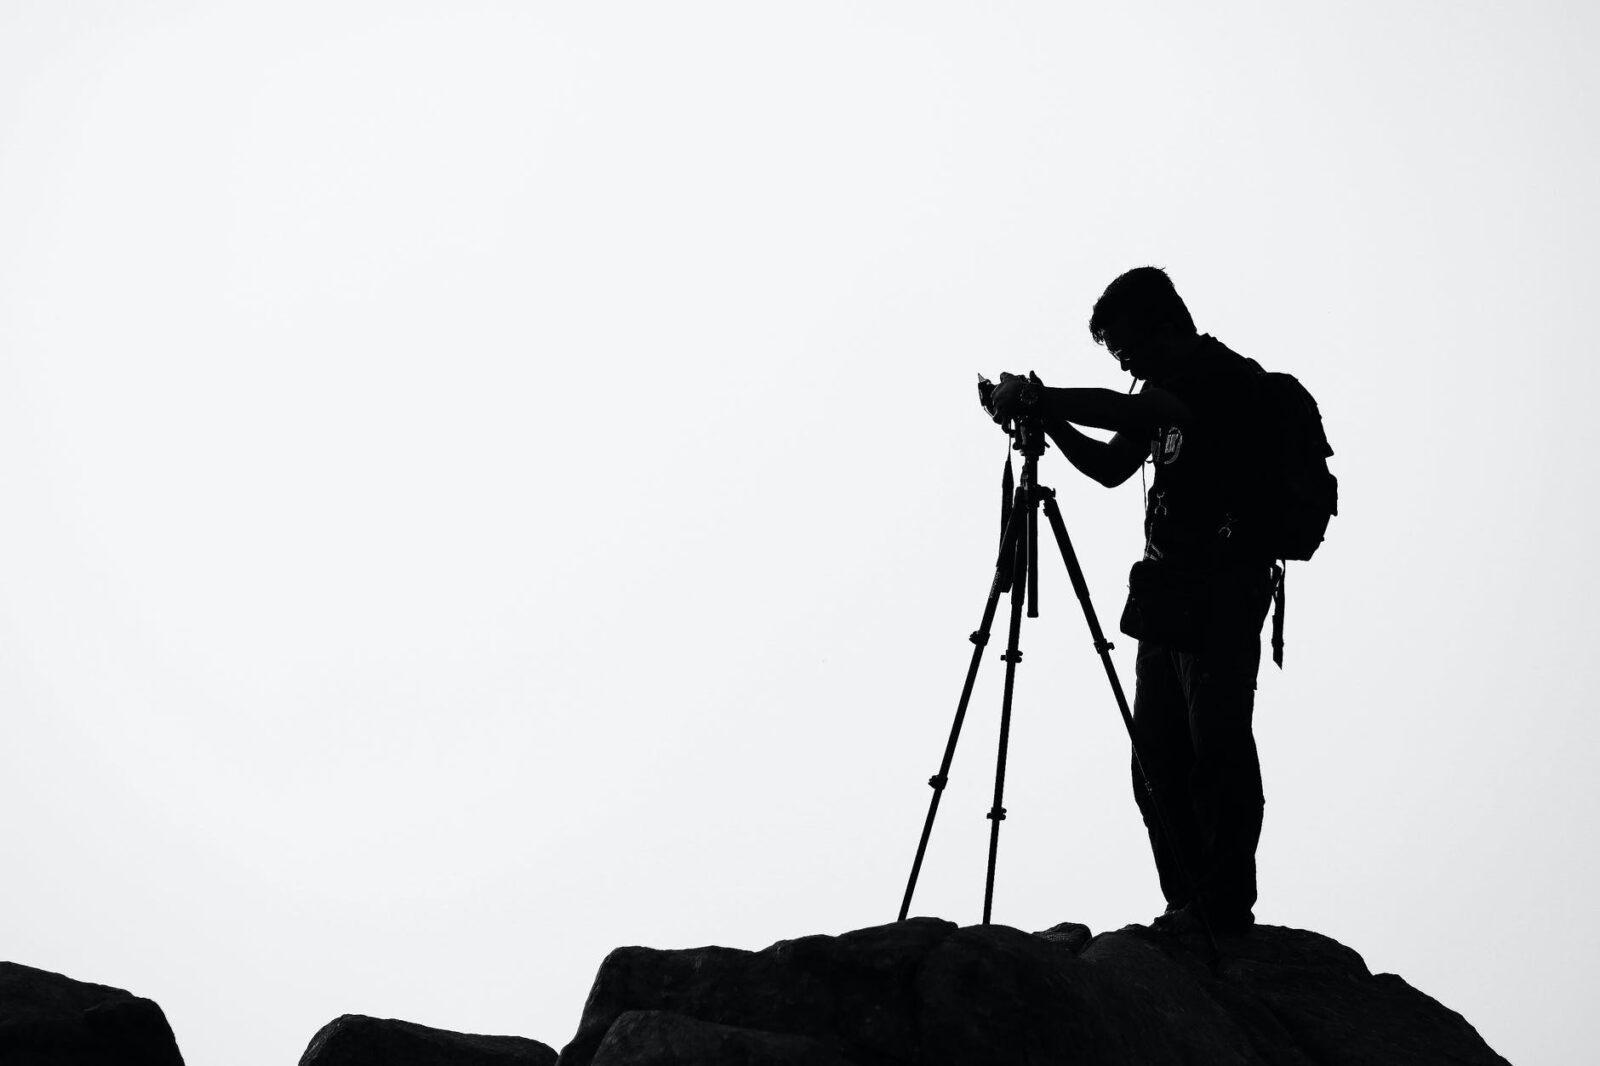
I appreciate you to motivate me to write digital photography basics part II. One of the most common problems faced by new digital (and film) photographers is camera shake, which results in blurry images. This usually happens when the camera is not held steady while the shutter is pressed. The issue is especially noticeable in low-light conditions, where the shutter remains open for a longer time. Even the slightest movement can cause blur, and the most effective way to eliminate camera shake is by using a tripod.
Adding to camera shake is a technique that is increasingly common with digital camera users of holding the camera at arms length away from them as they take shots – often with one hand. While this might be a good way to frame your shot the further away from your body (a fairly stable thing) you hold a camera the more chance you have of swaying or shaking as you take your shot.
How to Hold a Camera
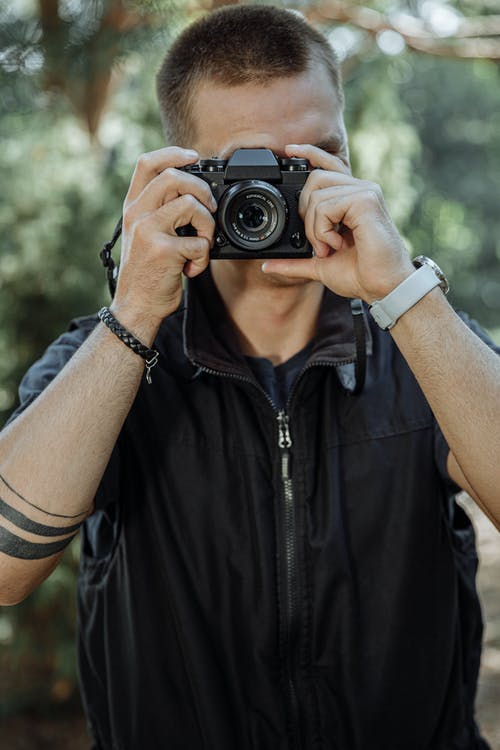
Tripods are the best way to stop camera shake because they have three sturdy legs that keep things very still – but if you don’t have one then another simple way to enhance the stability of the camera is to hold onto it with two hands.
While it can be tempting to shoot one handed two hands will increase your stillness (like three legs on a tripod being better than one).
Exactly how you should grip your camera will depend upon what type of digital camera you are using and varies from person to person depending upon preference. It is an important factor in digital photography basics. There is no real right or wrong way to do it but here’s the technique that I generally use:

1. Use your right hand to grip the right hand end of the camera. Your forefinger should sit lightly above the shutter release, your other three fingers curling around the front of the camera. Your right thumb grips onto the back of the camera. Most cameras these days have some sort of grip and even impressions for where fingers should go so this should feel natural. Use a strong grip with your right hand but don’t grip it so tightly that you end up shaking the camera. (keep in mind our previous post on shutter technique – squeeze the shutter don’t jab at it).
2. The positioning of your left hand will depend upon your camera but in in general it should support the weight of the camera and will either sit underneath the camera or under/around a lens if you have a DSLR.
3. If you’re shooting using the view finder to line up your shot, you’ll have the camera nice and close into your body which will add extra stability but if you’re using the LCD, make sure you don’t hold your camera too far away from you. Tuck your elbows into your sides and lean the camera out a little from your face (around 30cm). Alternatively use the viewfinder if it’s not too small or difficult to see through (a problem on many points and shoots these days).

4. Add extra stability by leaning against a solid object like a wall or a tree or by sitting or kneeling down. If you have to stand and don’t have anything to lean on for extra support, put your feet shoulder width apart to give yourself a steady stance. The stiller you can keep your body the stiller the camera will be.
Holding a camera in this way will allow you flexibility of being able to line up shots quickly but will also help you to hold still for the crucial moment of your shutter being open.
Another quick bonus tip on how to hold a camera – before you take your shot take a gentle but deep breath, hold it, then take the shot and exhale. The other method people use is the exact opposite – exhale and before inhaling again take the shot. It’s amazing how much a body rises and falls simply by breathing – being conscious of it can give you an edge.
Of course, each person will have their own little techniques that they are more comfortable with and ultimately you need to find what works best for you – but in the early days of familiarizing yourself with your new digital camera it’s worth considering your technique.
One last note on how to hold a camera – this post is about ‘holding a camera’ in a way that will help eliminate camera shake. It’s not rocket science – but it’s amazing how many people get it wrong and wonder why their images are blurry.
There are of course many other techniques for decreasing camera shake that should be used in conjunction with the way you hold it. Shutter speed, lenses with image stabilization and of course tripods can all help – we’ll cover these and more in future posts.
References
1) AnirbanSaha.com
2) http://www.photographyicon.com
3) http://en.wikipedia.org/wiki/Photography
For other query’s contact me at my Facebook Page:https://www.facebook.com/AritraSadhuPhotography and
Facebook profile: https://www.facebook.com/aritramalay.sadhu
Happy Clicking.
Author: Aritra Sadhu
