Adjusting color and tones in Adobe Photoshop allows you to enhance the overall appearance of your images, correct color imbalances, and create a desired mood or atmosphere. Here’s a detailed explanation of how to adjust color and tones in Adobe Photoshop.
Adjustment Layers
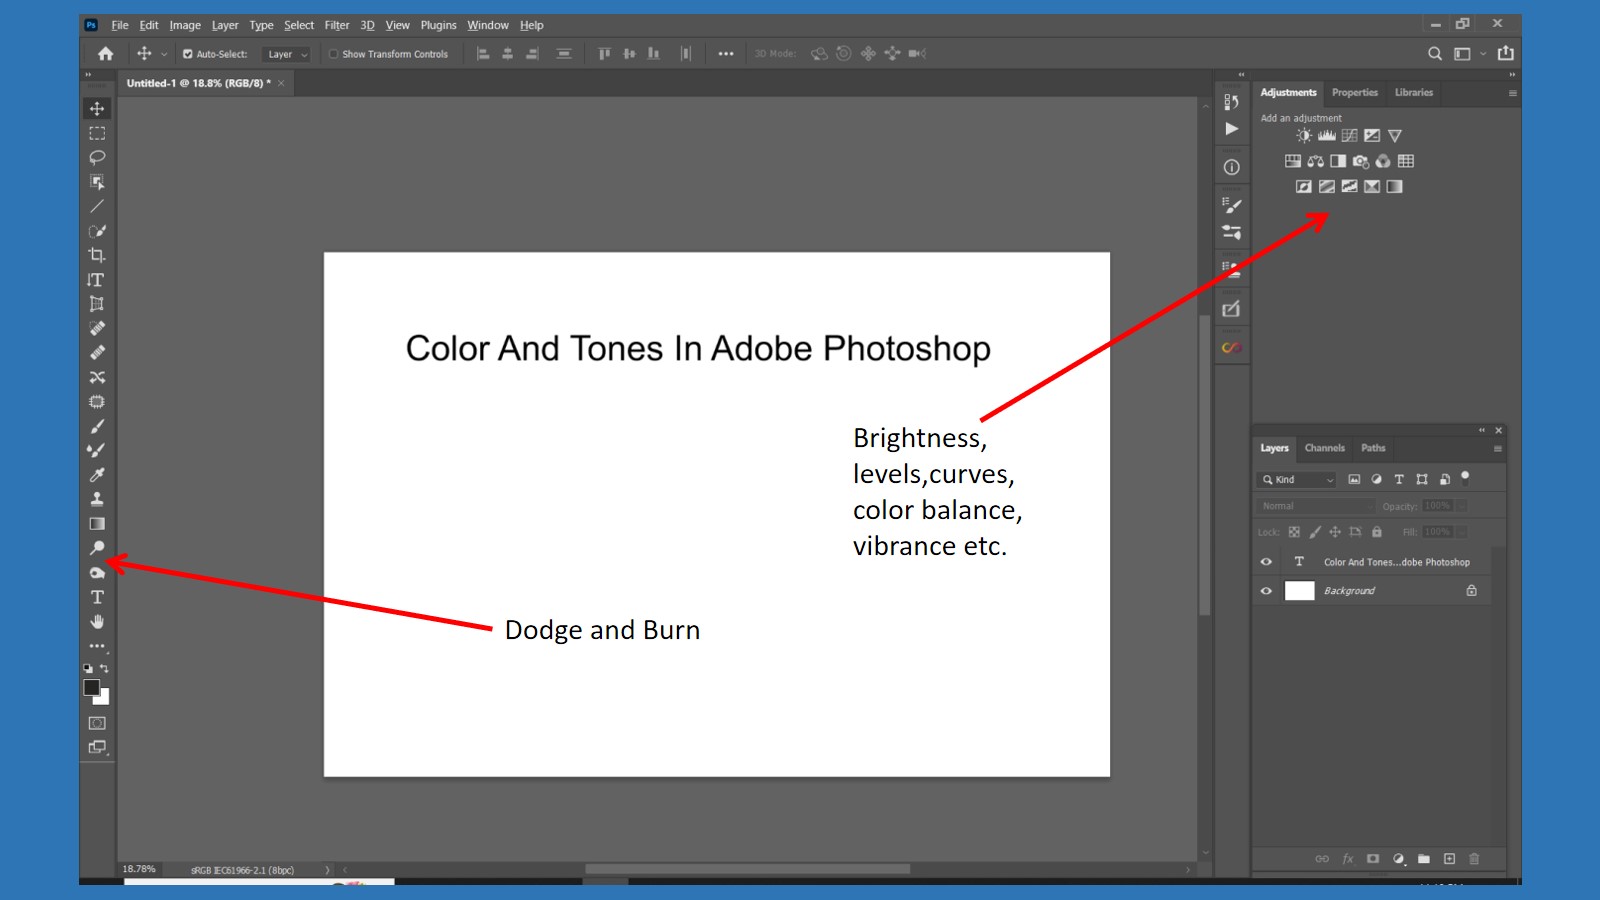
One of the most powerful and non-destructive ways to adjust colors and tones in Adobe Photoshop is by using Adjustment Layers. You can access them through the Adjustments panel or by clicking on the “Create new fill or adjustment layer” button at the bottom of the Layers panel. Adjustment Layers provide a wide range of options to modify color and tones.
Levels
The Levels adjustment allows you to adjust the brightness, contrast, and tonal range of an image. By manipulating the histogram and adjusting the black point, white point, and midtones, you can fine-tune the overall tonality and enhance the contrast of your image.
Curves
The Curves adjustment provides precise control over the tonal range and color balance of an image. With the Curves dialog box, you can create custom curves by manipulating points on a graph. Adjusting the curve allows you to selectively brighten or darken different tonal regions, improving contrast and color balance.
Brightness/Contrast
The Brightness/Contrast adjustment enables you to quickly adjust the overall brightness and contrast of an image. You can increase or decrease the brightness level and adjust the contrast to make the dark areas darker and the light areas lighter.
Hue/Saturation
The Hue/Saturation adjustment allows you to modify the hue, saturation, and lightness of specific colors or the entire image. You can target specific color ranges or individual colors to change their appearance. This adjustment is useful for creating dramatic color effects or correcting color casts.
Color Balance
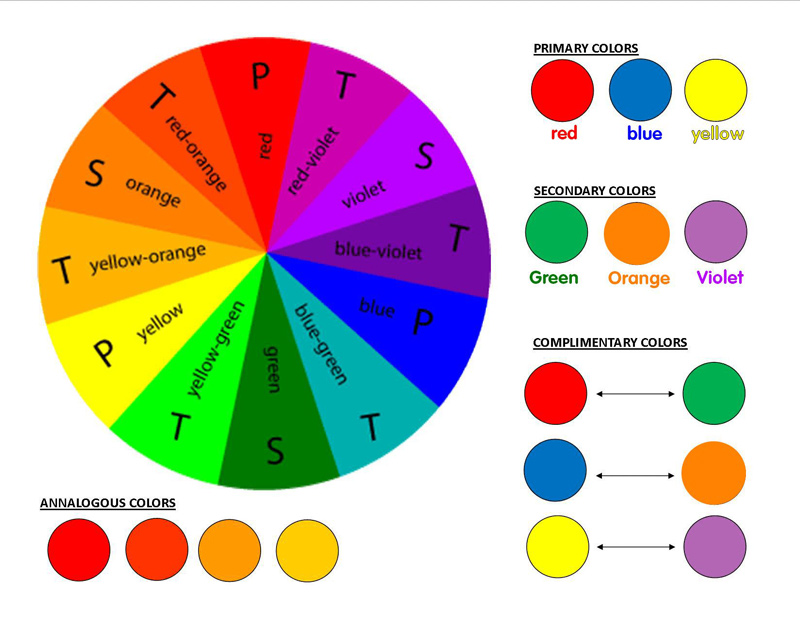
The Color Balance adjustment lets you control the balance between the primary colors (red, green, and blue) in an image. It enables you to adjust the overall color cast of an image by adding or subtracting specific color tones.
Selective Color
The Selective Color adjustment provides precise control over the individual color channels (reds, yellows, greens, cyans, blues, and magentas) of an image. It allows you to fine-tune the color balance by adjusting the amount of each color in the image.
Vibrance
The Vibrance adjustment increases or decreases the intensity of the less saturated colors in an image while protecting skin tones and highly saturated colors. It’s a useful tool for enhancing colors in a subtle and controlled manner.
Photo Filter
The Photo Filter adjustment allows you to simulate the effect of different color filters on an image, such as warming or cooling filters. It can be used to add a specific color tone or correct color casts.
Gradient Map
The Gradient Map adjustment maps the tonal values of an image to a gradient. By applying different gradients, you can create various color effects or convert an image to black and white while maintaining tonal separation.
Color Lookup
The Color Lookup adjustment applies predefined color transformations to an image, giving it a specific look or style. Photoshop provides a range of built-in lookup tables that you can apply to your images to adjust colors and tones in Adobe Photoshop.
Dodge and Burn Tools
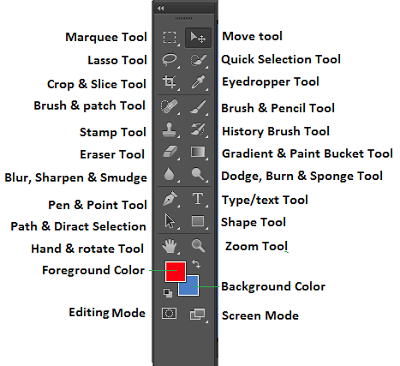
The Dodge and Burn tools are selective editing tools that allow you to lighten (dodge) or darken (burn) specific areas of an image. They simulate the traditional darkroom techniques and help you enhance tonal details and add depth to your image.
Brushes and Layer Masks
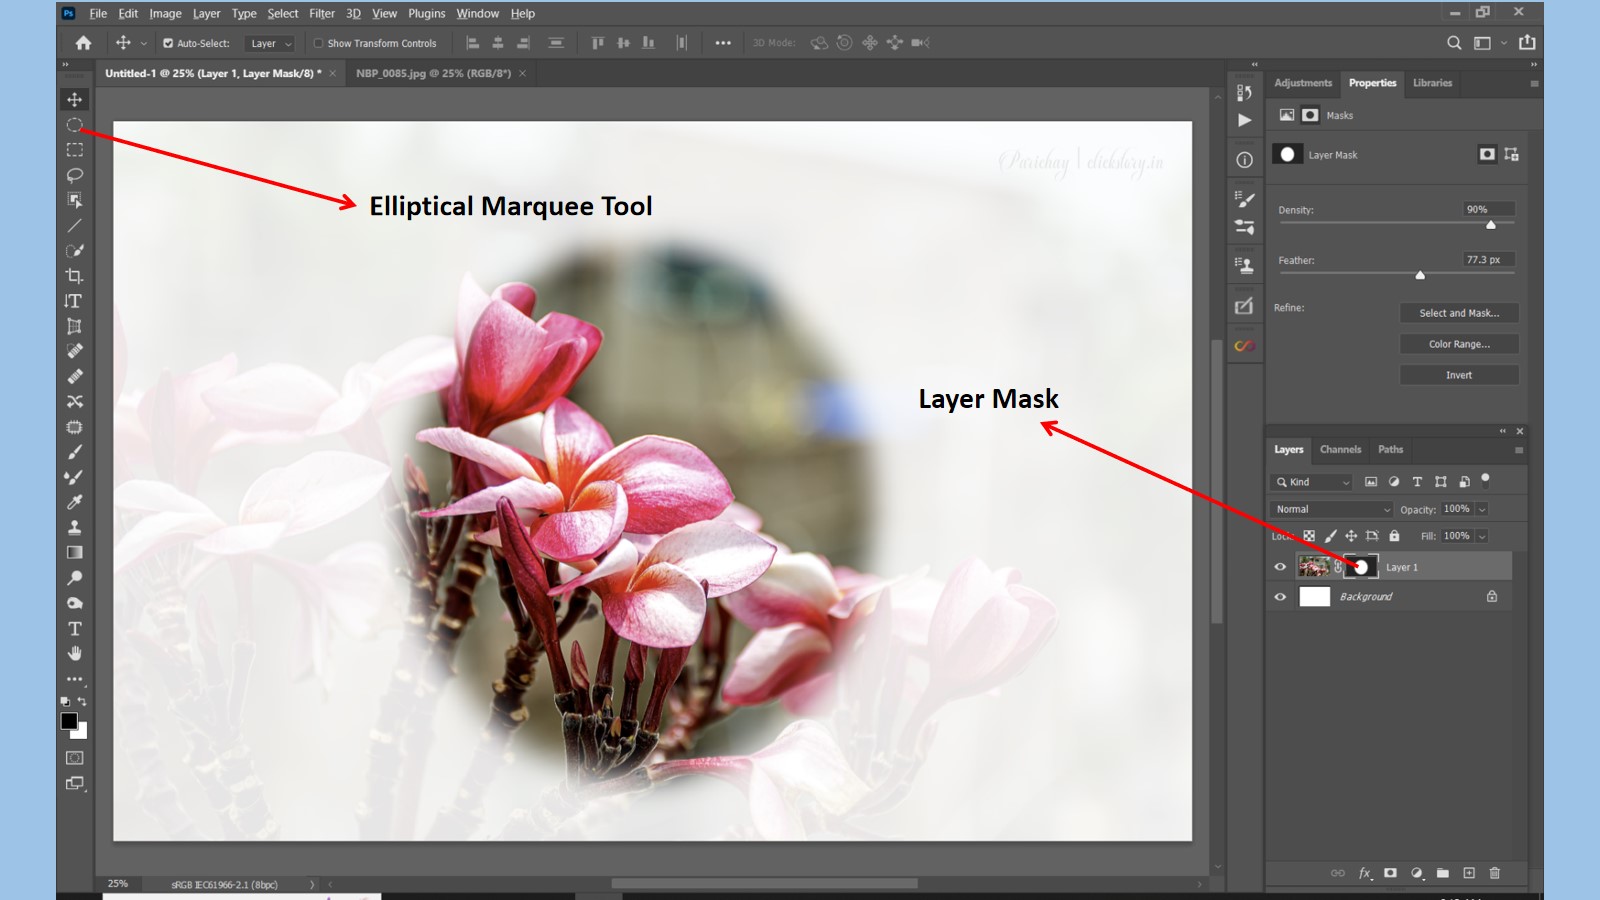
Brushes and Layer Masks provide additional control when adjusting color and tones. By painting on a layer mask with a brush, you can selectively reveal or hide the adjustments on specific areas of the image. This technique allows for precise local adjustments.
Blend Modes
Blend Modes can be applied to adjustment layers to change how the adjustments interact with the underlying layers. Experimenting with different blend modes can yield unique and creative effects.
Before and After View
To compare the changes made to an image, you can use the “Before and After” view options in Photoshop. This allows you to toggle between the original and edited versions of the image to assess the impact of your color and tone adjustments.
By using these techniques and tools, you can effectively adjust color and tones in Adobe Photoshop, bringing out the best in your images, correcting color imbalances, and creating visually appealing results. Remember to experiment and practice to develop your own style and achieve the desired aesthetic for your images.


