What Is Bright Colors Photography?
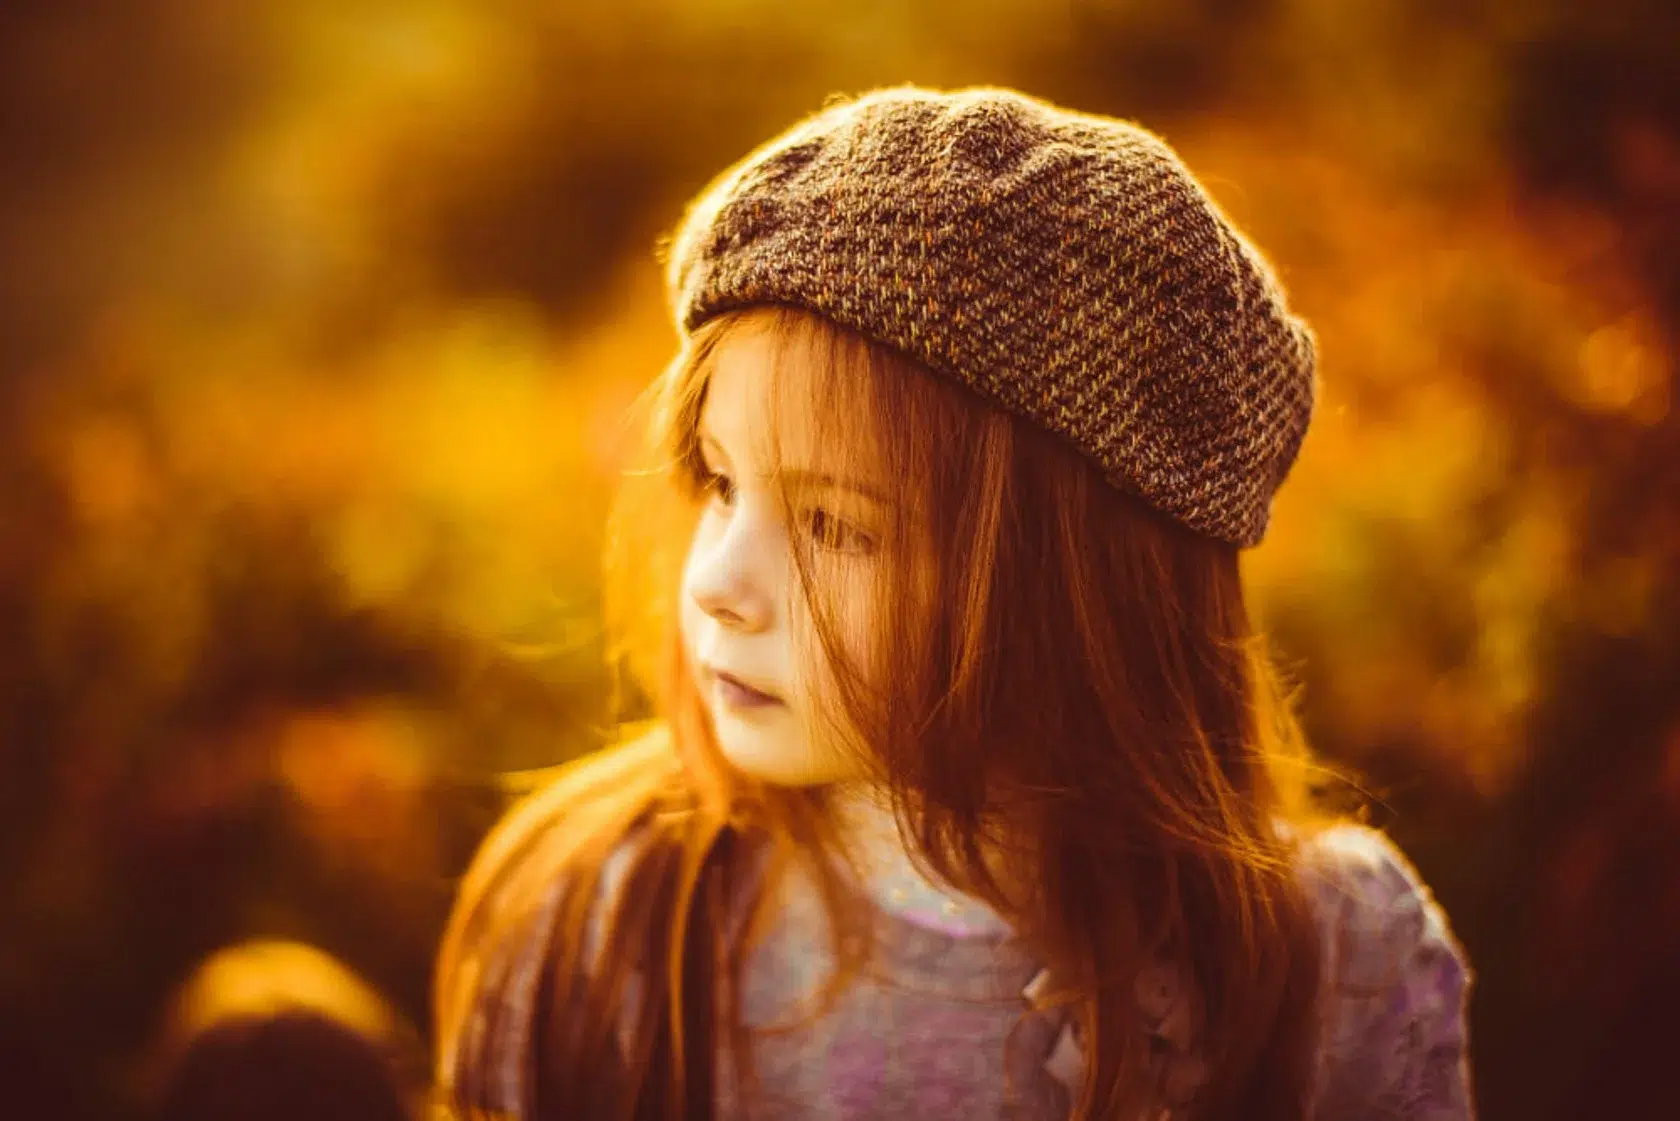
Bright colors photography is a style of photography that focuses on using strong, vivid colors to create eye-catching images. These photos are bold, playful, and full of energy. They often use primary colors (red, blue, yellow) and contrast to grab attention.
This style is popular in fashion, advertising, product photography, social media, and travel blogs.
A Short History of Bright Colors in Photography
Color photography began in the early 1900s but became popular in the 1960s with the rise of color film like Kodachrome. Photographers like William Eggleston helped make everyday scenes with bright colors into art.
In the digital age, editing tools made it easier to boost colors. Now, this style is widely used for its modern, fun, and powerful look.
Features of Bright Colors Photography
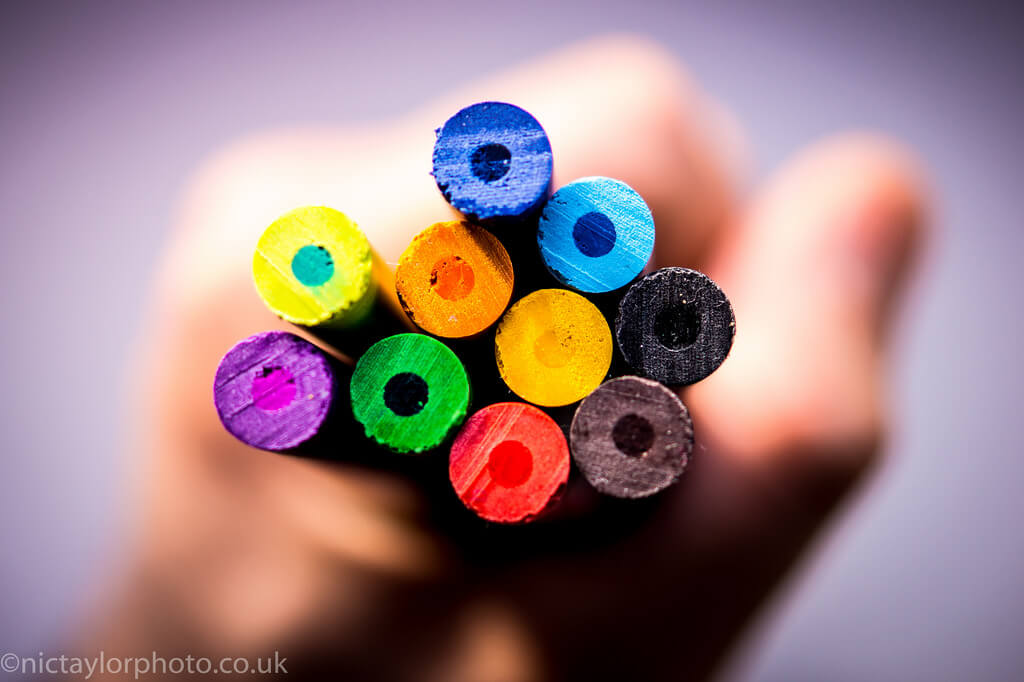
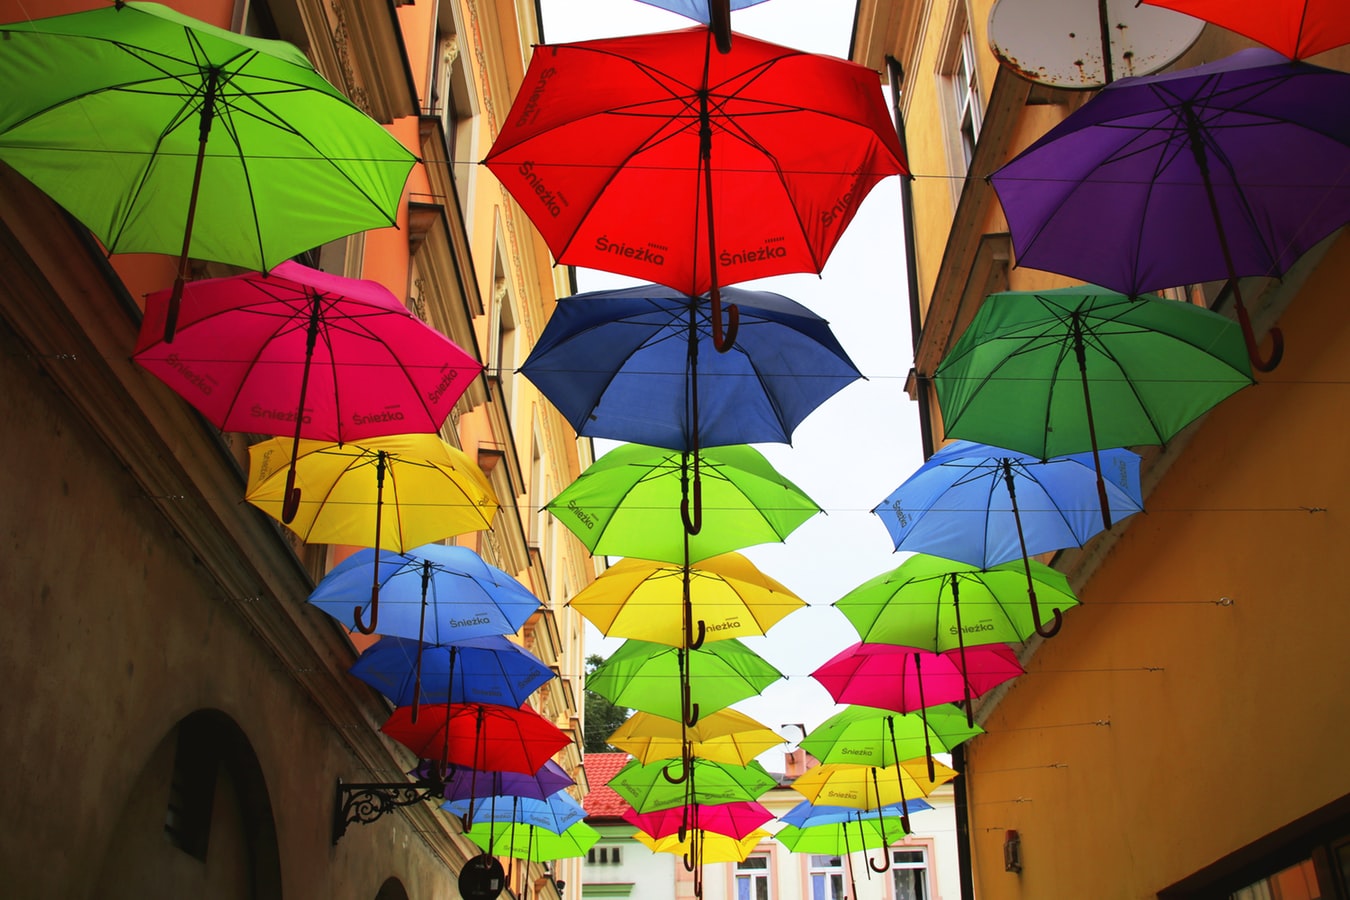
- High Saturation: Colors are intense and rich.
- Bold Contrast: Strong differences between light and dark or opposite colors.
- Simple Backgrounds: Clean spaces that let colors pop.
- Playful Props: Bright objects like balloons, fruit, umbrellas, paint, and clothes.
- Minimal Shadows: Often uses soft light to make colors more visible.
Functionalities of Bright Color Photography
- Mood Booster: Bright colors make photos feel happy and energetic.
- Attention-Grabbing: Perfect for social media and marketing.
- Clear Message: Colors help send strong visual messages quickly.
- Focus Control: Color can guide the viewer’s eye to the subject.
Step-by-Step Development of Bright Colors Photography
1. Plan Your Color Palette
- Choose 2–3 bold colors that go well together (like red + yellow, or blue + orange).
- Use a color wheel to find complementary or contrasting colors.
2. Choose Props
- Items like colored paper, candy, flowers, sunglasses, or neon signs work great.
- Make sure props are clean and simple, so colors stay the focus.
3. Pick the Right Background
- Use solid color walls, backdrops, or fabrics.
- White or black backgrounds also help colors pop.
4. Select the Right Gear
- Camera: Any camera that shoots in manual mode or RAW format.
- Lenses: 50mm or macro lenses are good for clear, sharp images.
- Lighting: Use natural light or softbox lights to reduce shadows.
- Reflectors: Help bounce light to keep colors even.
5. Frame the Shot
- Keep the composition clean and centered.
- Use symmetry or rule of thirds to balance your colors.
6. Edit Smartly
- Boost contrast and saturation without making it look fake.
- Adjust white balance to keep colors accurate.
- Use apps like Lightroom, Snapseed, or VSCO.
Advantages of Bright Colors Photography
- High Impact: Quickly catches viewers’ attention.
- Fun and Creative: Allows freedom to play with themes and props.
- Popular Online: Bright images perform well on Instagram and websites.
- Versatile: Works in portraits, product photos, fashion, and travel.

Disadvantages of Bright Colors Photography
- Color Overload: Too many colors can be distracting.
- Hard to Get Right: Bright light and bold colors need careful control.
- Editing Pressure: May require detailed color correction.
- Less Suitable for Some Themes: Not ideal for calm or serious tones.
How to Become an Expert in Bright Colors Photography
- Learn Color Theory: Understand how colors work together.
- Practice Styling: Try mixing colors with outfits, makeup, props, and backdrops.
- Study Famous Color Photographers: Look at work by Martin Parr, David LaChapelle, and others.
- Master Your Lighting: Know how to avoid harsh shadows and overexposure.
- Build a Bright Portfolio: Show your work on platforms like Instagram or Behance.
- Experiment Often: Try new ideas with food, fashion, flowers, or abstract colors.
- Get Feedback: Ask for honest opinions and improve from each shoot.
The Future of Bright Colors Photography
Bright colors photography is here to stay. With the rise of AI tools and better phone cameras:
- People can edit bold color photos faster and easier.
- Brands are choosing brighter images to stand out in crowded markets.
- New technology allows even more control over color tone and lighting.
Whether it’s for fun, art, or business, this style continues to grow in popularity. It brings energy, positivity, and personality to the visual world.
Bright Colors Photo Project
Step 1: Define the Theme or Mood
Start by choosing a theme or feeling you want your shoot to express. This will guide your color palette and prop choices.
Examples:
- Fun & Playful: Think of candy, balloons, bubble gum.
- Retro Pop: Think of neon, vintage glasses, old phones.
- Nature Brights: Use flowers, fruits, summer outfits.
- Bold Fashion: Focus on colorful clothing and bold makeup.

Step 2: Choose a Color Palette
Pick 2 to 4 main colors that work well together.
Color Combos for Inspiration:
- Red + Yellow: Energetic and attention-grabbing.
- Turquoise + Pink: Soft yet bold.
- Blue + Orange: High contrast, visually striking.
- Green + Purple: Rich and artistic.
Use free tools like Coolors.co or a color wheel to plan your palette.
Step 3: Plan the Background Setup
Choose a simple but colorful background that won’t distract from the subject.
Background Ideas:
- Colored paper rolls (Seamless Backdrops)
- Painted wooden boards
- Bright walls or murals outdoors
- Fabric sheets in solid colors
- Wrapping paper or poster boards
Tip: Use colors that contrast with the subject or props for a pop!

Step 4: Pick Bright and Thematic Props
Props should match your theme and color palette.
Popular Bright Color Props:
| Prop Type | Examples |
|---|---|
| Fun Props | Balloons, bubble wands, confetti, toys |
| Food Props | Bright fruits (oranges, lemons, strawberries), candy, cupcakes |
| Fashion Props | Sunglasses, hats, scarves, bold shoes |
| Home Props | Vases, cushions, neon signs, lamps |
| Creative Props | Paint cans, color powder, pinwheels |
Pro Tip: Avoid props with small details or logos that can distract from the colors.
Step 5: Set Up Lighting

Best Lighting Options:
- Natural light: Use morning or afternoon light near a window.
- Softbox or ring light: Helps keep shadows minimal and colors true.
- Reflectors: Use white boards or silver reflectors to bounce light.
Avoid harsh light that washes out colors or creates hard shadows.
Step 6: Compose the Shot
Tips for Strong Composition:
- Use the rule of thirds to place your subject off-center.
- Leave some negative space to let colors breathe.
- Frame with props (like holding balloons at the edge or placing fruits around).
- Shoot from above for flat lays or get eye-level for portraits.
Step 7: Edit for Bright Impact
Even though the photo is colorful, gentle editing helps enhance it:
- Boost saturation slightly.
- Adjust contrast and vibrance to make colors pop.
- Make sure white balance is correct so colors look natural.
- Use apps like Lightroom, Snapseed, or VSCO.

Example Setup: Color Pop Flat Lay
Theme: Summer Vibes
Color Palette: Yellow, teal, coral
Background: Teal poster board
Props: Pineapple, yellow sunglasses, coral flip-flops, sunscreen bottle
Lighting: Softbox or natural window light
Camera Angle: Top-down flat lay