Drone Photography
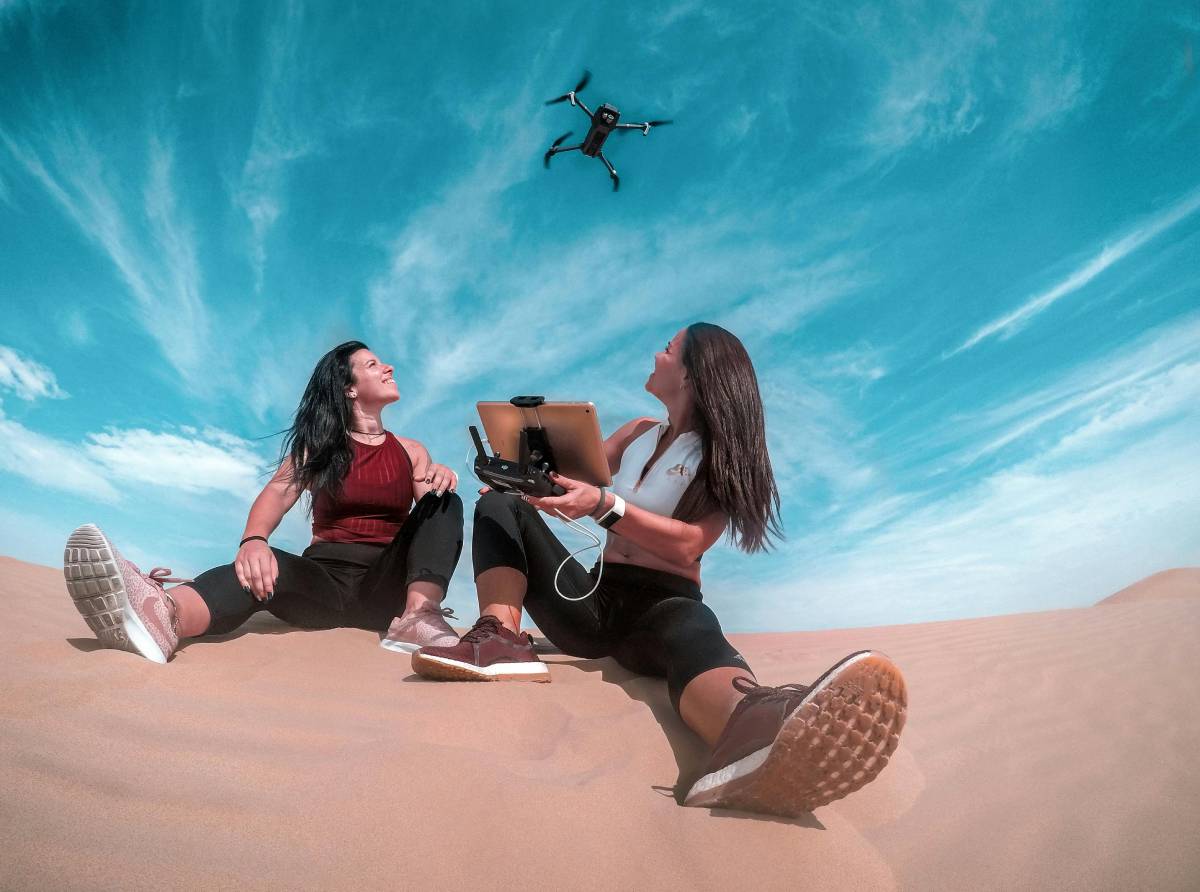
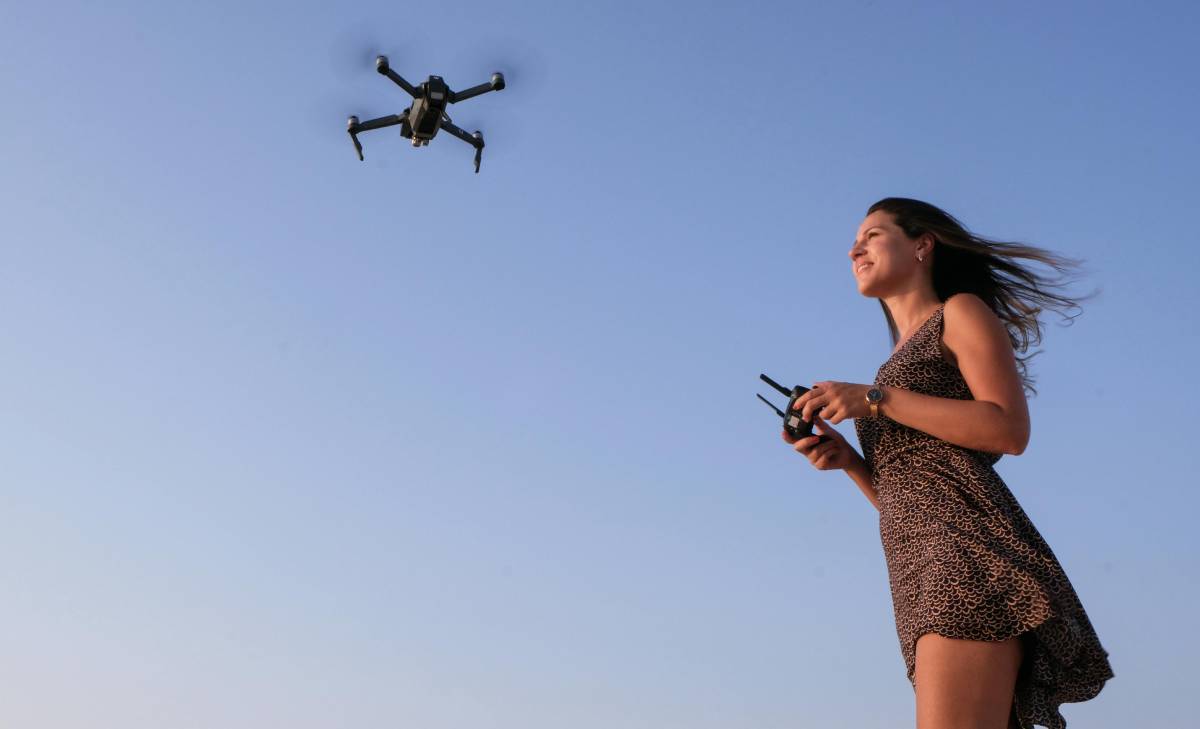
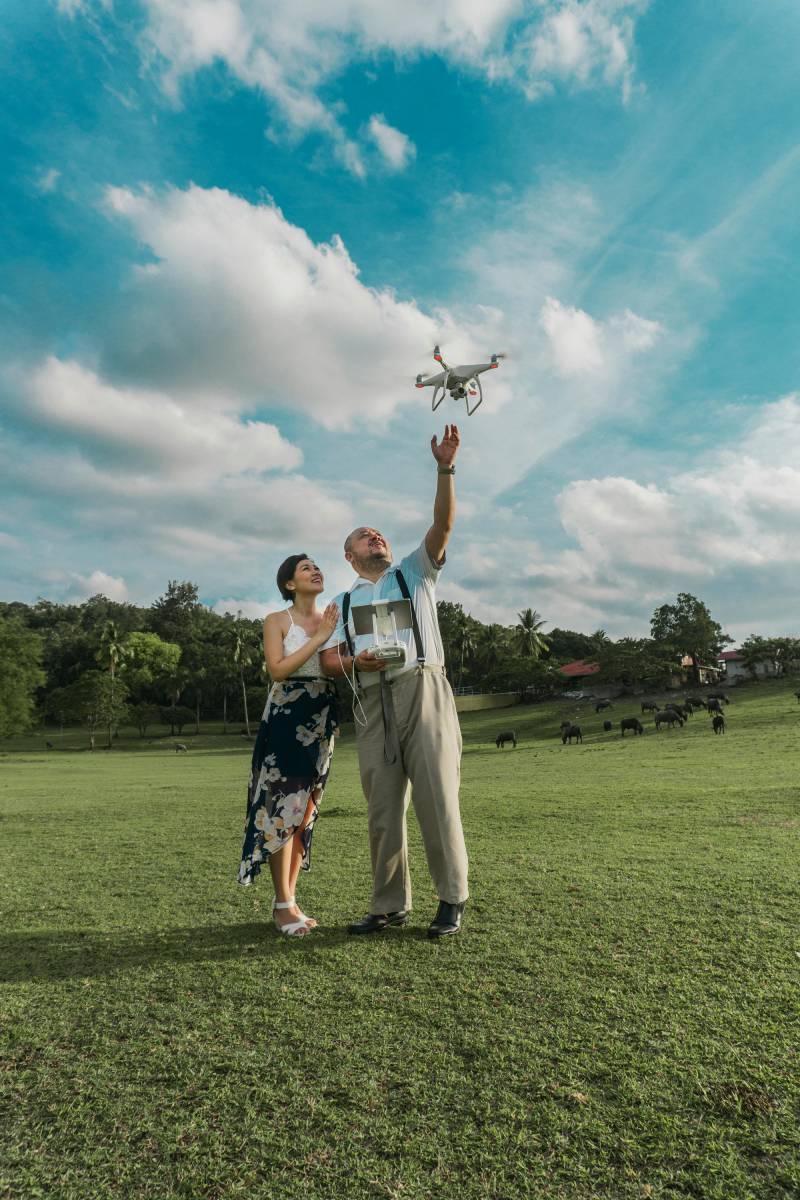
Drone photography is the art of capturing photos and videos using a drone equipped with a camera. Drones fly in the air and allow photographers to take unique aerial shots from high angles that would otherwise be impossible or very expensive to achieve.

A Brief History of Drone Photography
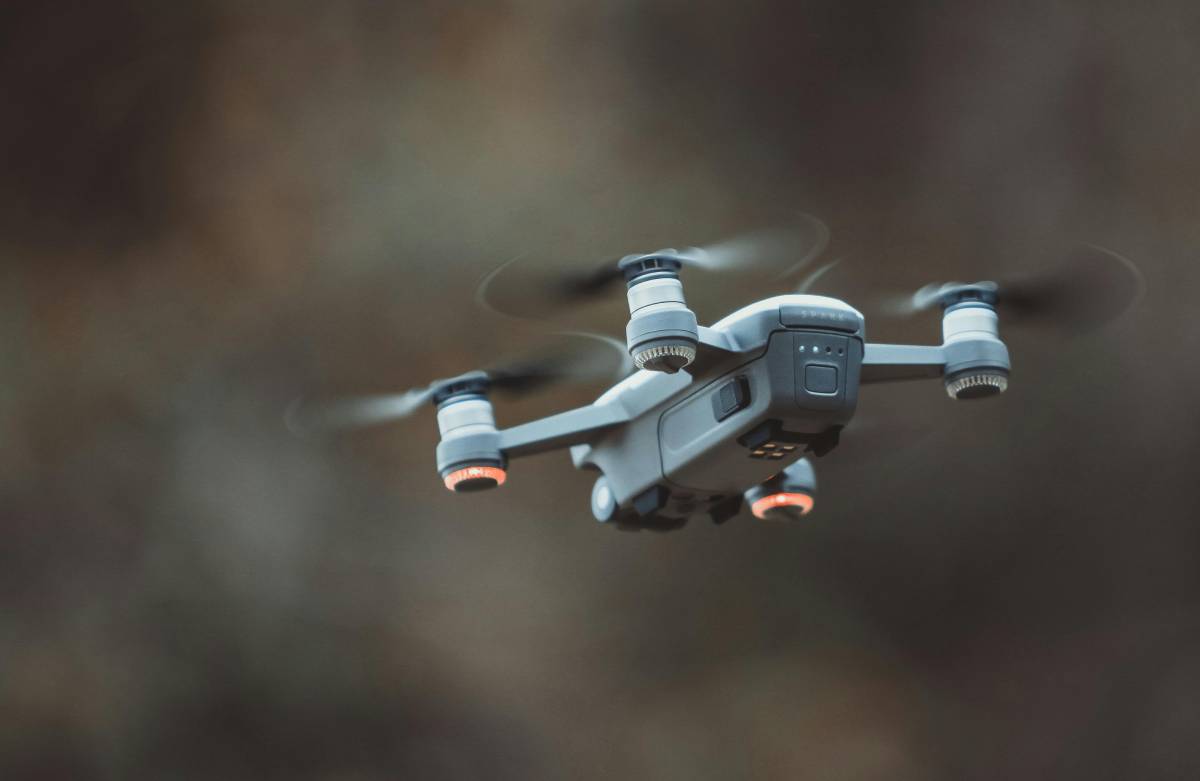
Drone photography began with military and surveillance drones in the 1900s, but consumer drones with cameras became popular in the 2010s. Brands like DJI, Parrot, and Autel made drones easier to use and more affordable. Today, drone photography is used in weddings, travel, real estate, sports, nature, and filmmaking.
Features of Drone Photography
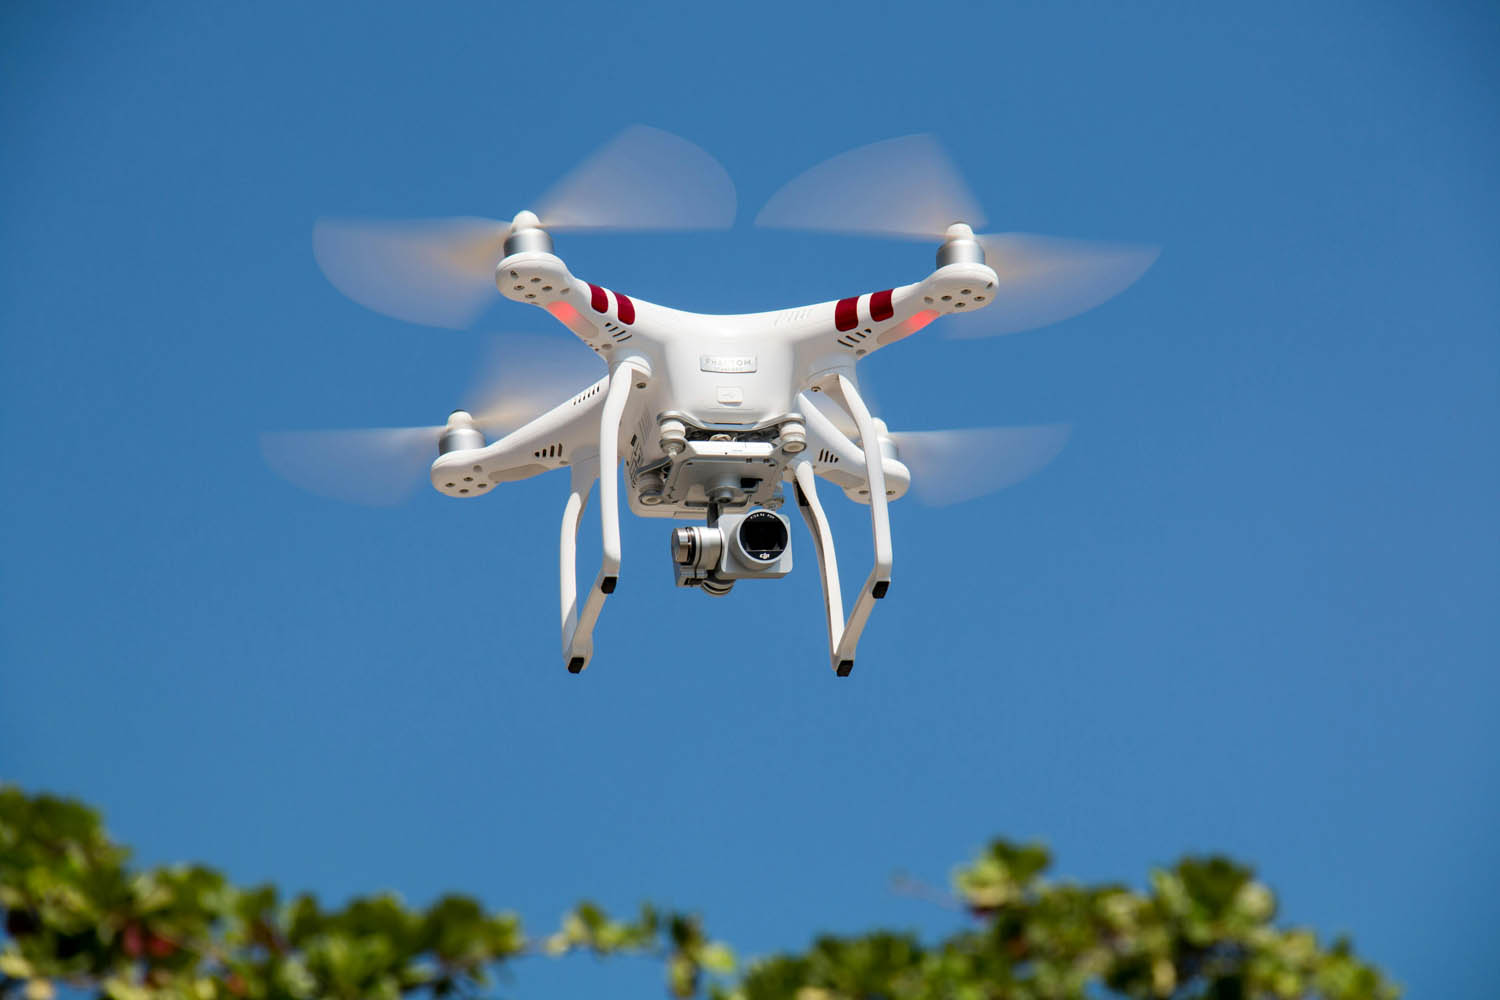
- Aerial Perspective: Unique view from above
- High-Quality Cameras: 4K video and 12MP–48MP photos
- Stabilization Systems: Gimbals help keep footage smooth
- Autopilot & Tracking Modes: The drone can follow a subject
- GPS Navigation: Helps plan flight paths and hold position
- Live View on Mobile: See what the drone sees in real-time
Functionalities of Drone Photography
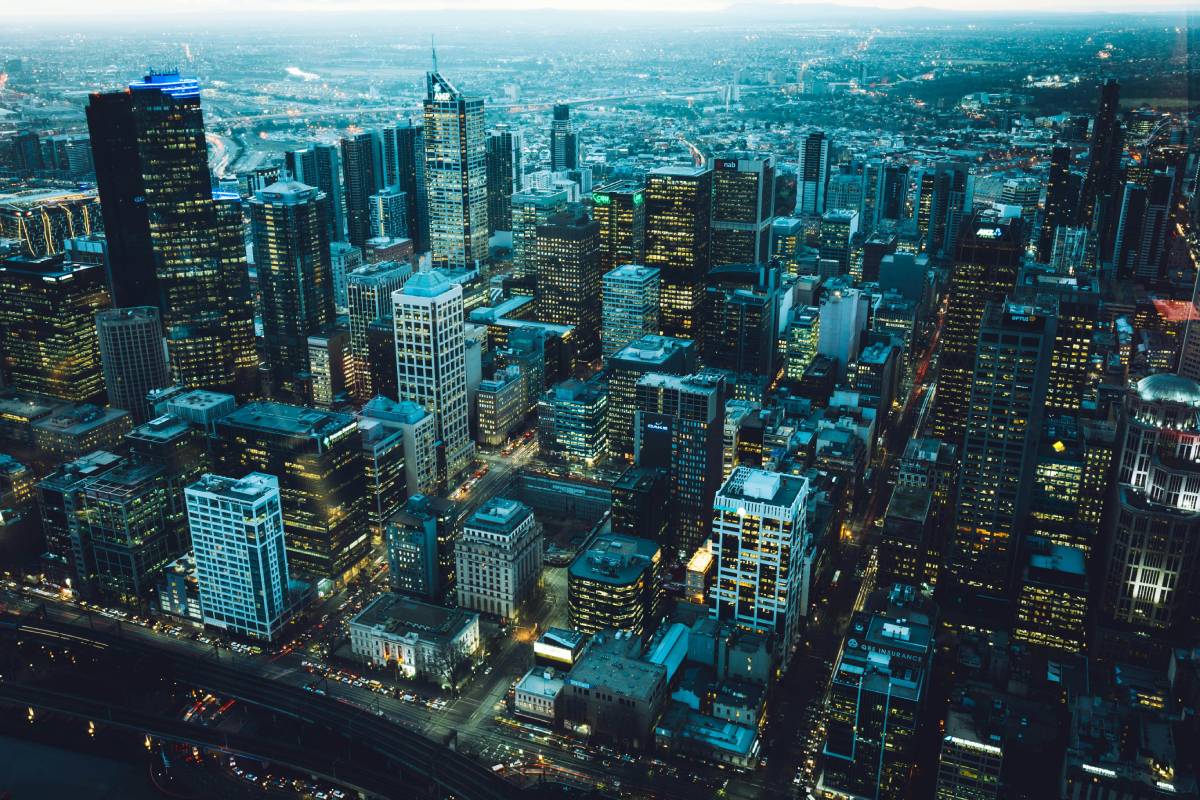
- Real Estate: Show buildings from above
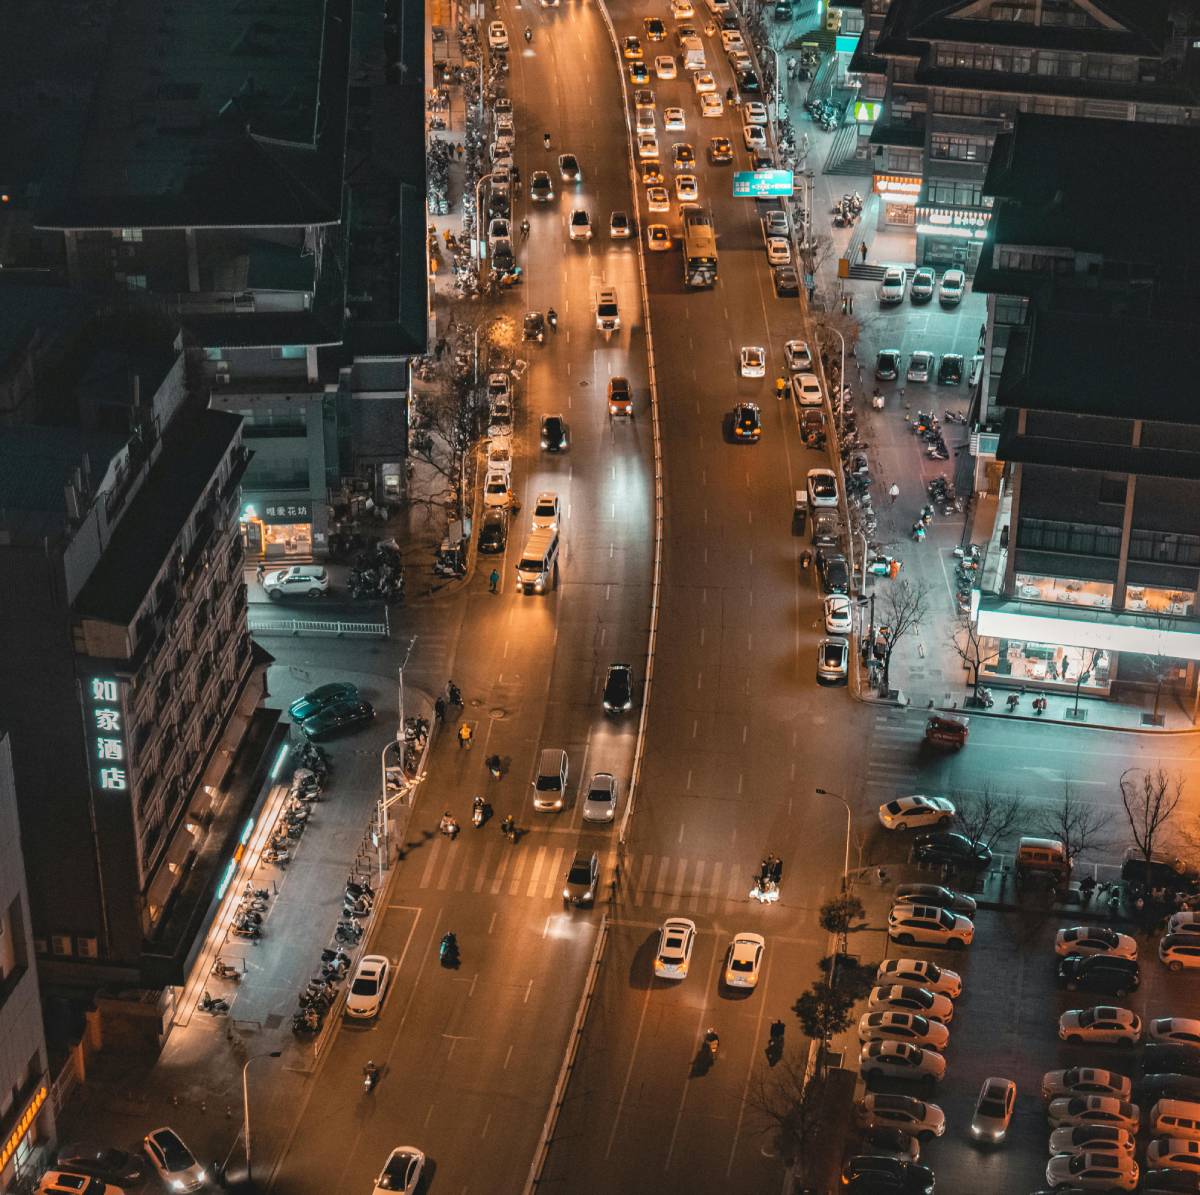
- Travel & Landscape: Capture wide scenes and nature
- Events: Cover festivals, weddings, and sports
- Inspections: Check roofs, towers, bridges
- Content Creation: For YouTube, Instagram etc.
- Mapping & Surveying: For construction and agriculture

Advantages of Drone Photography
- Unique and eye-catching shots
- Ability to capture wide areas in one frame
- Good for storytelling and location scouting
- Faster and cheaper than using helicopters
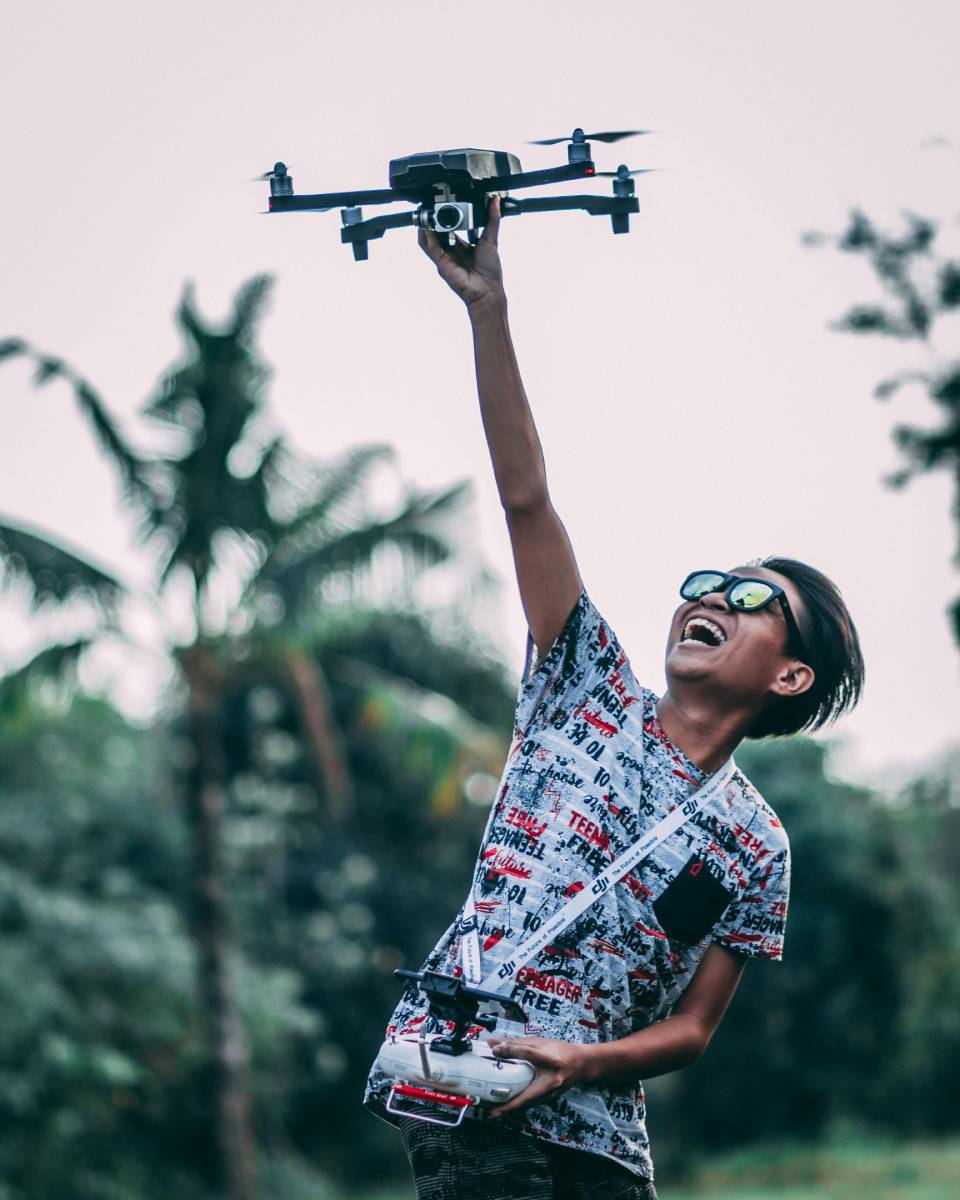
- Fun and engaging to use
Disadvantages of Drone Photography
- Limited battery life (usually 20–30 minutes)
- Weather conditions can affect flying
- Requires licenses or permits in some countries
- Risk of crashing or losing signal
- Not allowed in no-fly zones (e.g., near airports)

Step-by-Step Guide: How to Start Drone Photography
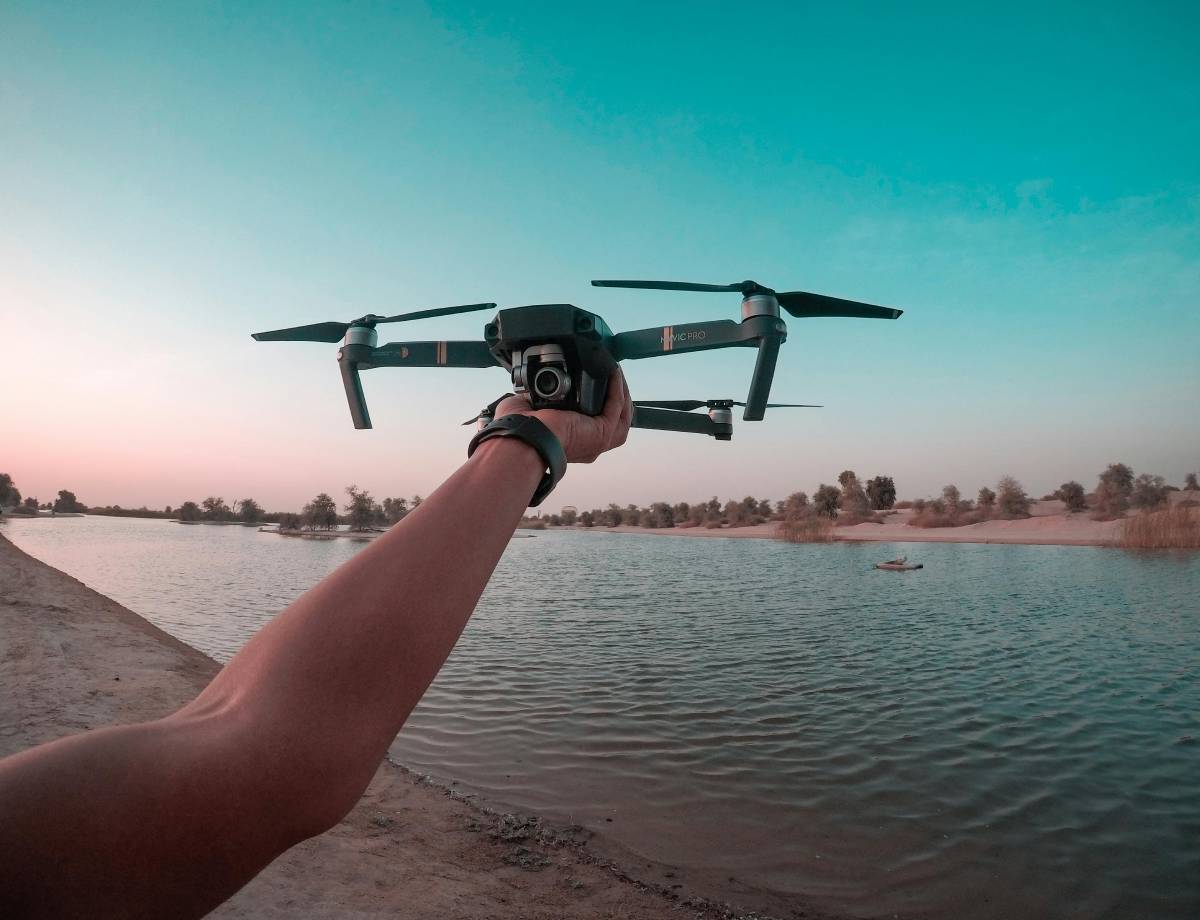
1. Choose the Right Drone
Beginner-Friendly Drones:
- DJI Mini 2 / Mini 4 Pro (lightweight, portable, no license in most areas)
- DJI Air 3 (mid-range with dual cameras)
- Autel Evo Nano+ (great color and performance)
Look for:
- Camera quality (4K or higher)
- Gimbal stabilization
- Battery life
- Ease of flying (auto takeoff, return-to-home)
2. Learn the Rules and Get a License (If Required)
Before flying:
- Register your drone if needed (e.g., FAA in the U.S.)
- Learn local airspace laws
- Avoid flying over crowds, airports, or restricted zones
- Use apps like B4UFLY or AirMap to check legal areas
3. Pick the Right Props and Locations
Props/Subjects to Capture:
- Boats, mountains, buildings, waterfalls, forests, beaches, roads
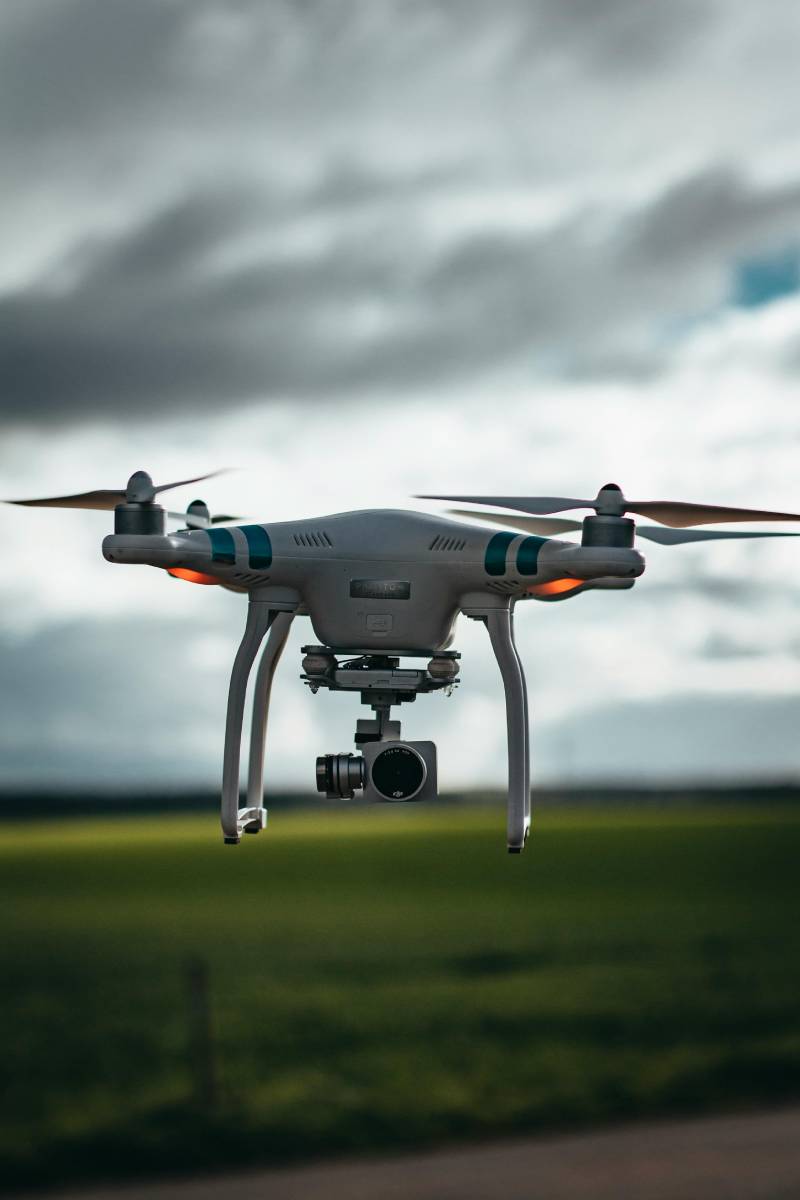
Best Times to Shoot:
- Golden Hour (sunrise/sunset) for soft, beautiful lighting
- Cloudy Days for even lighting without harsh shadows
Ideal Locations:
- Open fields, coastlines, cliffs, lakes, cityscapes (where allowed)
4. Master Composition from the Sky
Drone Composition Tips:
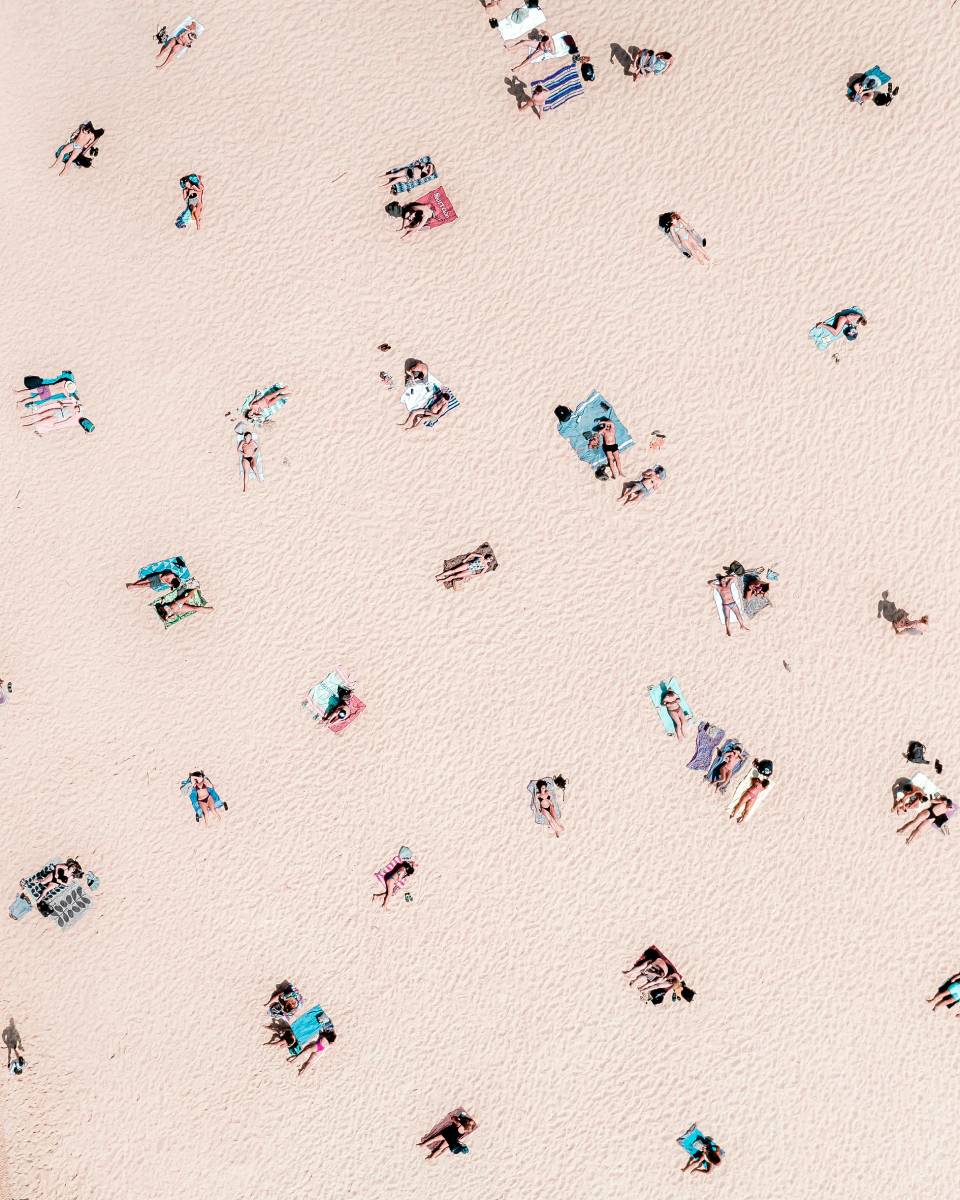
- Top-down (flat lay): Straight down from above—works great for patterns, water, and crowds
- Leading Lines: Roads, rivers, or fences guiding the viewer’s eye
- Rule of Thirds: Place your subject off-center for balance
- Framing: Use natural elements like trees or bridges
5. Edit for Maximum Impact
Use apps like Lightroom, Snapseed, or DroneDeploy to:
- Increase sharpness and contrast
- Adjust exposure (avoid blown-out skies)
- Boost colors without overdoing it
- Crop to improve framing
How to Become an Expert in Drone Photography
- Practice Flying in Open Spaces
Get comfortable with the controls before trying tricky shots. - Understand Weather & Light
Wind and lighting change everything in drone shooting. - Shoot in RAW Format
Gives more editing power in post-processing. - Take Online Courses
Platforms like Udemy, Skillshare, or YouTube offer free tutorials. - Build a Portfolio
Start with nature, then move into real estate, events, or travel photography. - Stay Updated with Drone Laws
Rules often change—stay legal and safe.
The Future of Drone Photography
Drone photography is evolving quickly. In the future, we can expect:
- AI tracking and obstacle avoidance to improve even more
- Longer flight times with better batteries
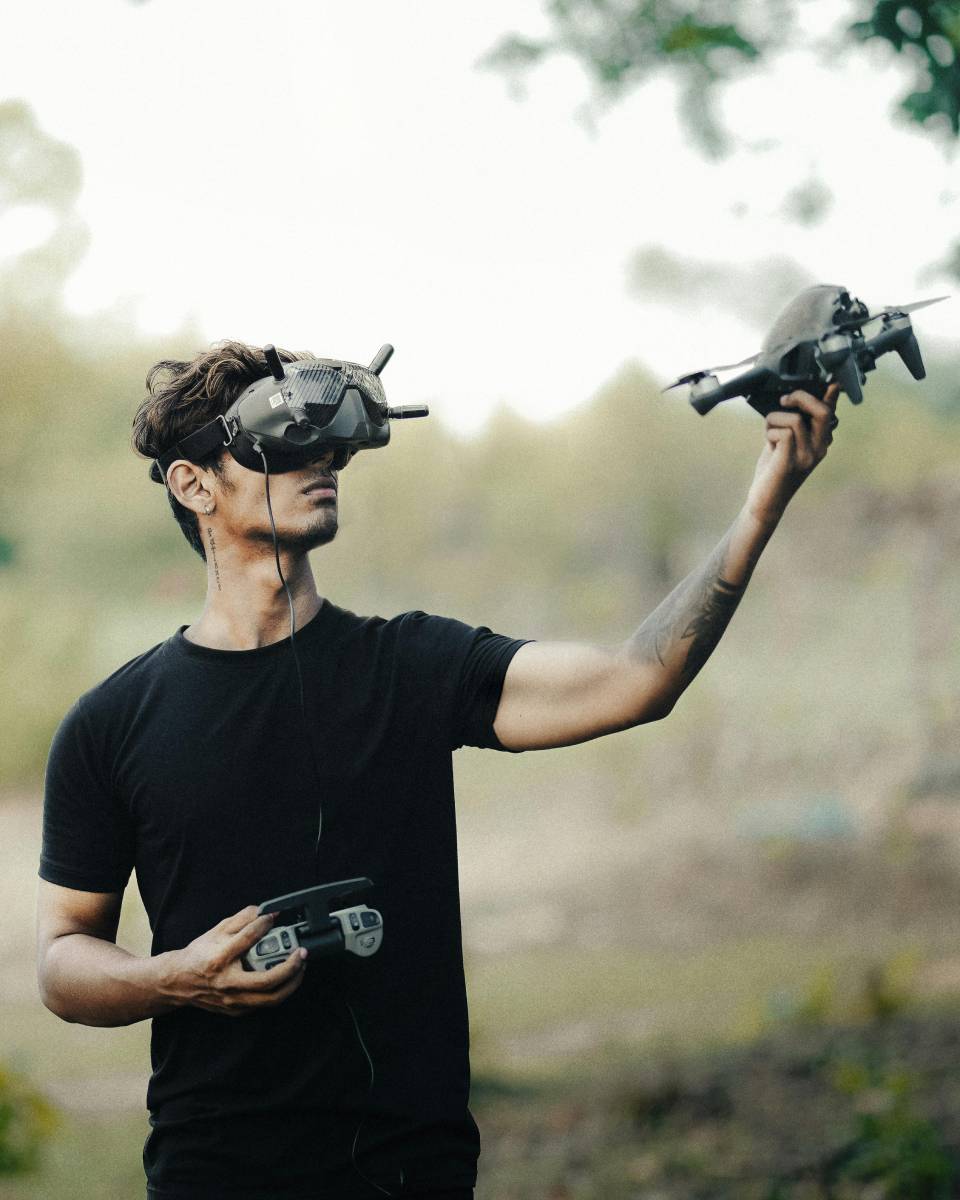
- 4D drone videos and VR integration
- Legal updates allowing more freedom for commercial flyers
- Drone swarms for coordinated light shows and complex scenes
Drone Photography Checklist
Equipment Checklist
Make sure you pack all your essential gear before heading out:
| Item | Description |
|---|---|
| Drone & Controller | Fully charged and updated |
| Extra Batteries | At least 2–3 for longer shoots |
| MicroSD Cards | High-speed cards with enough space (32–128GB) |
| Smartphone/Tablet | With drone app installed (DJI Fly, Autel Explorer, etc.) |
| ND Filters | For bright outdoor lighting control |
| Propellers (Extra) | In case of damage |
| Toolkit | Screwdriver, cleaning cloth, zip ties |
| Carry Case/Backpack | For safe transport of gear |
Pre-Flight Guide
1. Check Airspace & Rules
- Use apps like B4UFLY, AirMap, or Drone Assist (UK)
- Avoid no-fly zones: Airports, military bases, crowded events
- Respect privacy laws and wildlife areas
- If required, register your drone and get a remote pilot license
2. Check Weather Conditions
- Ideal wind speed: Under 10 mph (15 km/h)
- Avoid rain, fog, and snow
- Check visibility, especially for top-down shots
3. Battery and Gear Check
- Fully charge drone, controller, and phone/tablet
- Format and insert MicroSD card
- Attach ND filters if needed
- Inspect propellers and motors for damage or dirt
4. Calibrate and Connect
- Calibrate compass and IMU (in settings)
- Ensure GPS signal is strong (at least 10+ satellites)
- Connect your device to the drone’s app
- Set return-to-home (RTH) altitude safely above obstacles
5. Camera Settings Setup
- Choose photo mode: JPEG or RAW (recommended for editing)
- Set ISO as low as possible (100–200)
- Use manual exposure when possible
- Set white balance (avoid auto for consistent shots)
- Adjust focus and framing before taking off
During Flight Checklist
- Start with a low altitude test flight
- Monitor battery level (land before it reaches 20–25%)
- Always keep the drone in sight (VLOS)
- Use cinematic or tripod mode for smoother photos
- Take multiple angles: top-down, wide landscape, subject-focused
- Watch for birds, people, or obstacles
After Flight Checklist
- Safely land and power off
- Remove SD card and backup files
- Clean drone and check for damage
- Recharge all batteries and devices
- Log flight info (optional for portfolio or license tracking)
Optional Extras for Organized Shoots
| Tool | Purpose |
|---|---|
| Shot List | Plan your photo goals ahead (e.g., top-down beach, bridge symmetry) |
| Map/Route Plan | Pre-visualize flight path using Google Maps or drone software |
| Model or Subject Prep | If shooting people or vehicles, brief them on movement and positioning |
| Permits | Required for commercial shoots in cities, parks, or private land |
A comprehensive guide to drone photography in India, focusing on the DGCA (Directorate General of Civil Aviation) regulations, which are crucial for both hobbyists and commercial drone operators. (The Legal Affair)
Drone Photography in India: DGCA Regulations
Drone Categories in India
The DGCA classifies drones based on their Maximum Takeoff Weight (MTOW):(asteria.co.in)
- Nano: ≤ 250 grams
- Micro: 250 grams to 2 kilograms
- Small: 2 to 25 kilograms
- Medium: 25 to 150 kilograms
- Large: (newagewear.in)
Note: The Nano category is exempt from certain regulations, such as registration and pilot licensing, under specific conditions. (UAV Coach)
No-Fly Zones
Drones are prohibited in certain areas, including:
- Airports and their vicinity
- Military installations
- Vijay Chowk in Delhi
- Strategic locations and international borders(asteria.co.in, rptoindia.com, UAV Coach)
Note: Flying in these zones without explicit permission is illegal.
Airspace Zones
India’s airspace is categorized as:(POINT IAS)
- Green Zone: No permission required for drone operations.
- Yellow Zone: Controlled airspace; permission from Air Traffic Control (ATC) is needed.
- Red Zone: No-fly zones; drones cannot operate without special clearance.(POINT IAS, asteria.co.in)
Note: The Digital Sky Platform provides an interactive map to identify these zones.(The Legal Affair)
Digital Sky Platform
The Digital Sky Platform is an online portal for:
- Drone registration
- Pilot licensing
- Flight permissions
- Airspace management(asteria.co.in, newagewear.in)
Note: All drone operations must be conducted through this platform.(Getty Images, newagewear.in)
Licensing Requirements
- Nano drones: No license required for non-commercial use.
- Micro and above drones: A Remote Pilot License (RPL) is mandatory.
- Unmanned Aircraft Operator Permit (UAOP): Required for commercial operations.(newagewear.in)
Note: Training for RPL is available through DGCA-approved organizations.(asteria.co.in, newagewear.in)
Penalties for Non-Compliance
Violations of drone regulations can lead to:
- Fines up to ₹1,00,000
- Suspension or revocation of licenses
- Criminal charges in severe cases(Rotorize Aviation)
Note: Penalties vary based on the nature and severity of the offense.(Rotorize Aviation)
Drone Photography Tips in India
- Pre-Flight Planning: Always check the airspace map for zone restrictions.
- Equipment Check: Ensure your drone complies with DGCA specifications.
- Flight Permissions: Obtain necessary approvals through the Digital Sky Platform.
- Safety Measures: Maintain Visual Line of Sight (VLOS) and avoid flying over crowds. (POINT IAS, asteria.co.in, UAV Coach)
For detailed and up-to-date information, always refer to the official DGCA website or the Digital Sky Platform.


Too long but helpful
Where to purchase those drones in Jharkhand? Please help.
Informative and tips are helpful.